Creating Architectural and Structural model with 3D rendering using REVIT
1 aim to build a multi story residentil building
1 open revit
2 open an architectural template
3 now draw the outerwalls with the help of the wall option present in the architectural tab
4 now go to the edit option in the propertys tab and go to the edit structure
5 now draw a floor and select the borders to create a floor
6 now select the floor and draw a rec to create a balconey after making the balcony copy the entire section and then pste it by level
7 give railings to the balconey
8 make the bottom and frount part with a curten wall
9 now go to thefloor and edit the floor by editing the structure of the floor
10 now go to the elivation and draw the roof by selecting the points
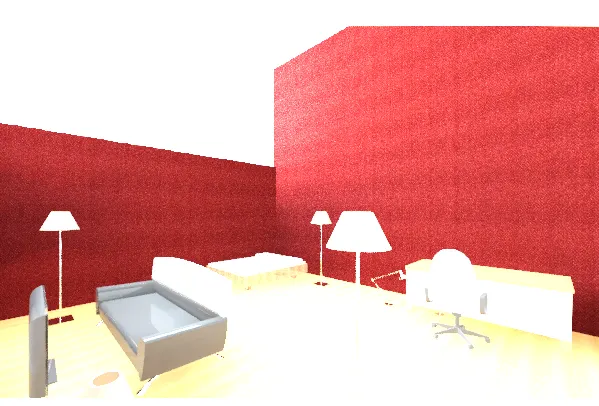
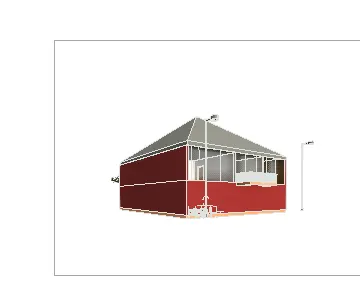
reult 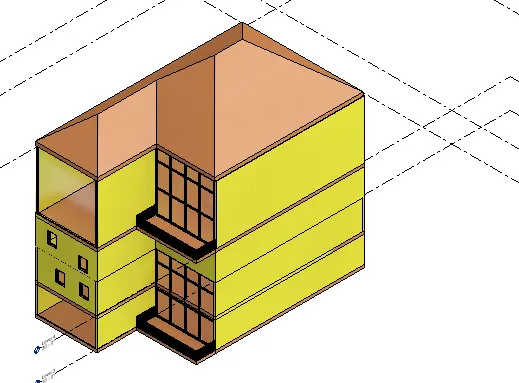
2 building conditions in a city
ex hyderabad
1 the maximum height of the building should not excede 501 feet for the recidential appartmenrt
2 the appaartment should not be build on losesoil
3 the foundatioon should be kept on hard rock
4 rec and square footing is recomended
5 builing projects in sllopy areas should be avoided
6 an emergencyexit should be provided
3 aim to build a structural model incuding the following
a. Foundation – Isolated / Wall/Matt Foundation
b. Columns
c. Beams Connected to Columns
d. Roof Framing/ Truss
e. Floor / Decks
f. Floor Openings for Elevators and Stairs
1 open revit
2 open the structural template
3 open the structural tab
4 open the grid element and draw the horizontal and vertical grids
5 openthe elivation view and draw the levels required
6 name the levels ang grids
7 now go to the structural tab and select coloumb at grids
8 the coloumbs will be plabed at the grids
9 now take the beam option
10 turn the 3 d snapping on
11 draw the beams
12 now select the structure andcopyit and pate it to the assined levels
13 now tsake the foundation place the foundation at foundation level
14 now use the wall option and cover the externl part of the wall
15 now go to the top view and draw a floor for the lift and stairs
16 now draw a shaft for the lift and stairs
17 copy the levell and paste it to the asssined level
18now go to the top view and draw the roof ny selecting the option
18 resut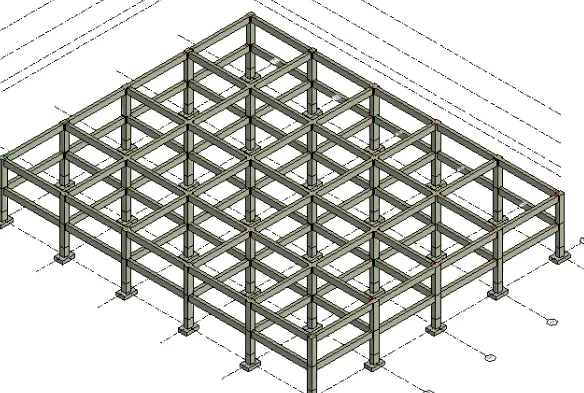
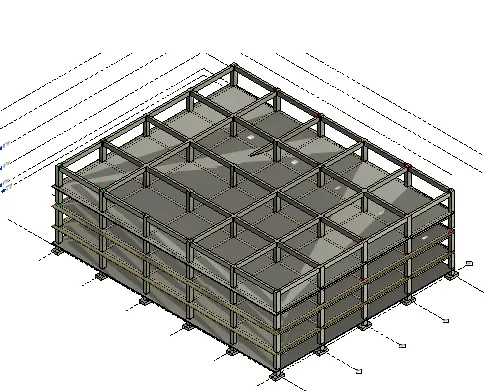
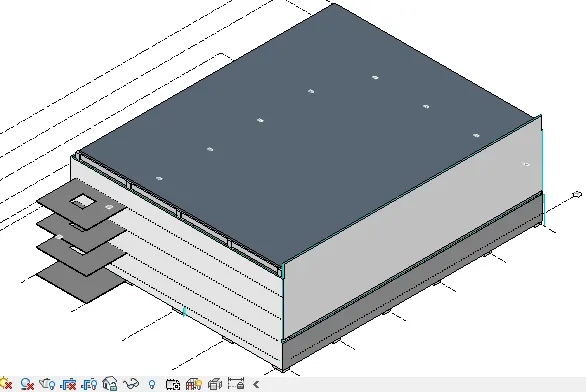
4 aim to draw an architectural model that include
a. Wall Layout with appropriate material and finishing
b. Exterior façade with fancy finish
c. Interior partition walls to size rooms
d. Components to add details to a room ( Desk, Chair, Lighting, Plumbing fixtures)
e. Add components such as stairs Elevators
f. Have at-least one side of the building with curtain walls and glass panels
g. Include interior and exterior lighting fixtures
h. Place proper topographic components from outside ( Trees, Parking, Plants) to add details to the model
1 open revit
2 open ann archhitectural template
3 now go to the wall option and draw the externel walls
4 go to the edit option and change the structure
5 now select the internal wall option
6 make the partions
7select the floor option and select the boundrys
8 go to the insert tab and place alll the elements inside the room as required by going into the family option
9
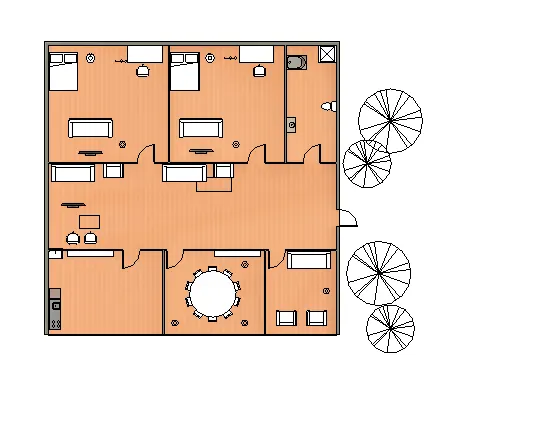
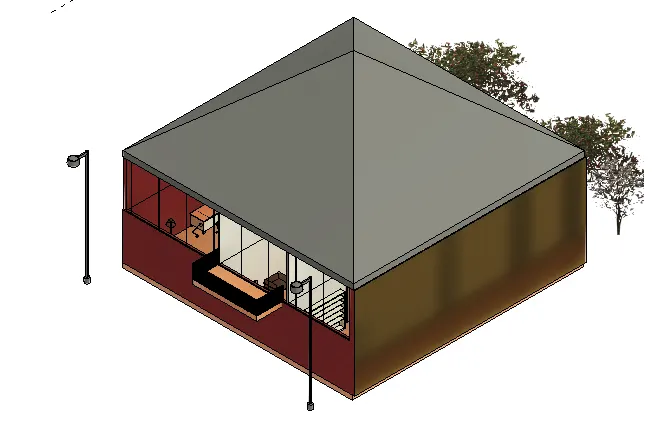
5 aimto draw the floor plan with anotation
1 open revit
2 open the arcitectural template
3 open the last project created for the floor plan
4 now go to the anotation tb
5 select the allined option
6 and make the anotations at every aapliance
7 from the walls
result 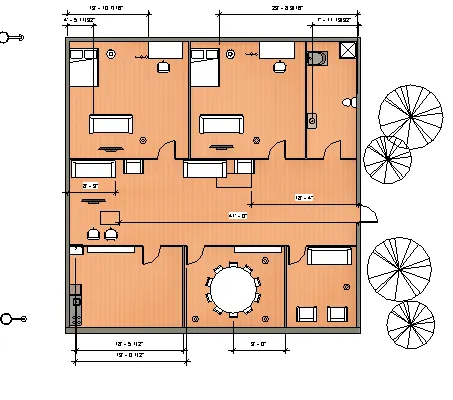
to make the elivations go to the propertys and select the elivation view
frm diffrent angels
for exaample
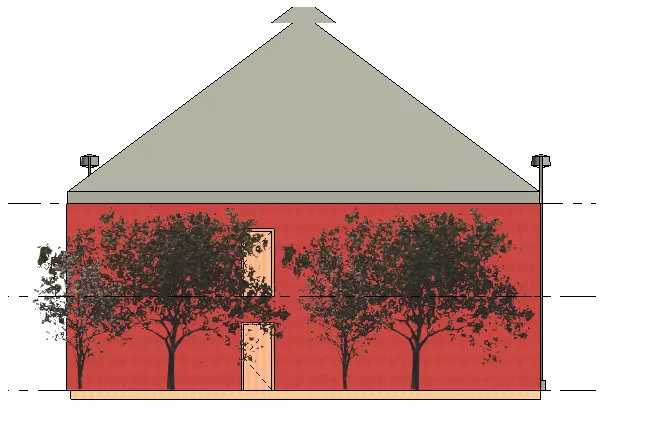
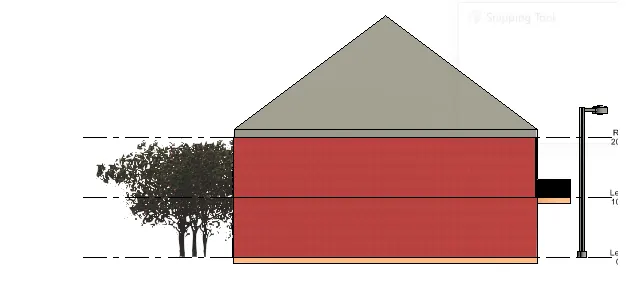
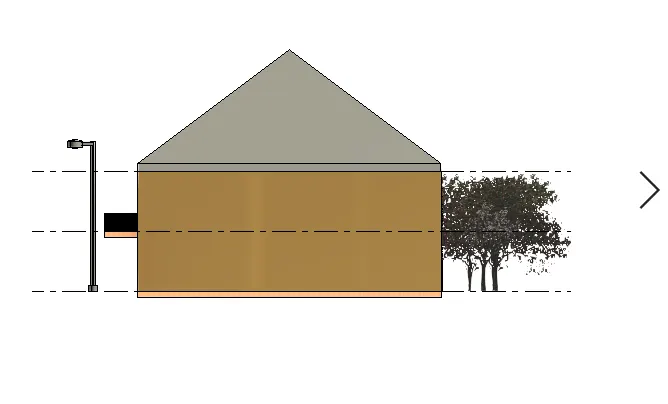
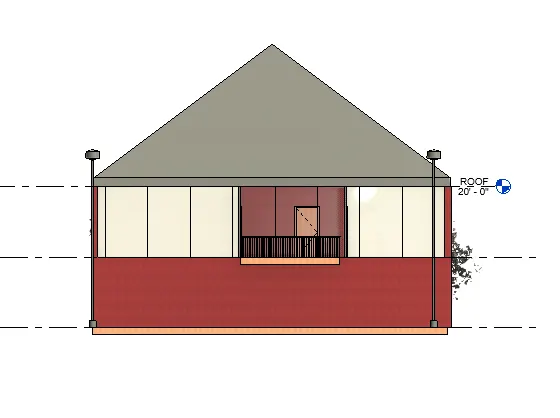
to draw the section view make go to the vie w tab and draw a section
from the propertys select the section view
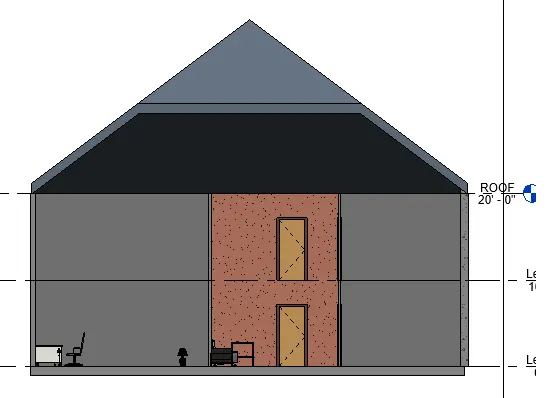
section 2
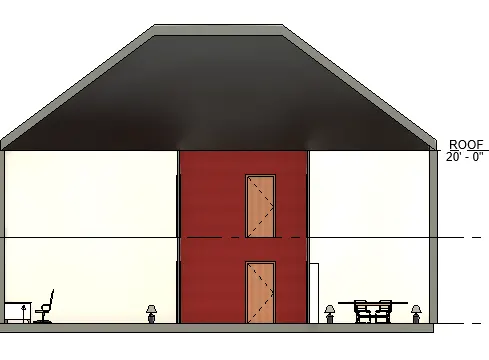
section 3 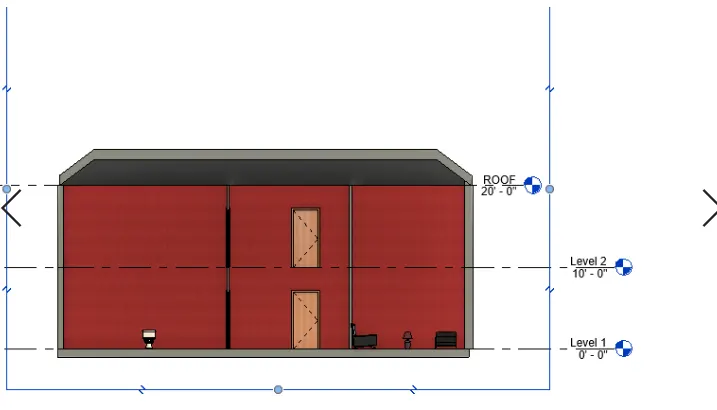
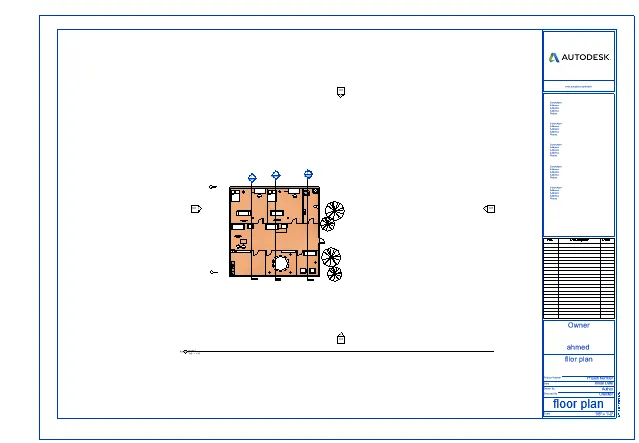
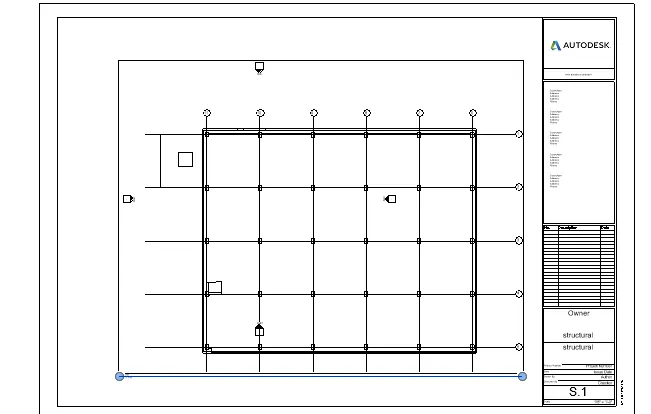
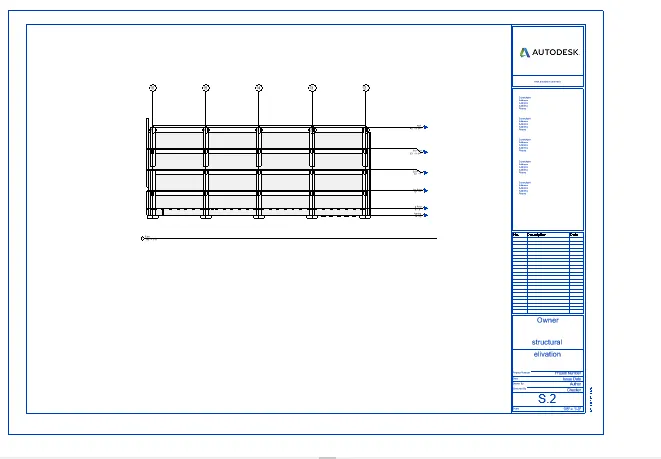
7 aim to create the drawing sheets from architectural and structural model
1 open revit
2 open an architectural template
3 now open the floor plan
4 go to the view tab and make 3 sections
5 now go to the view tab and create a sheet place the views in the sheet to submit
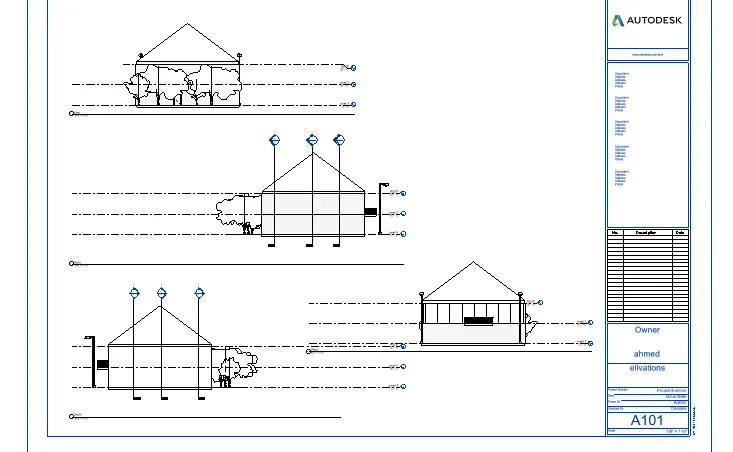
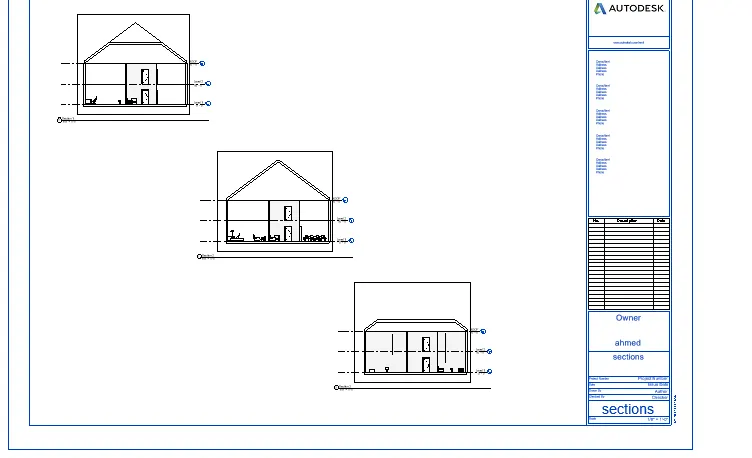
6 aim to render the room images
1 open autocad
2 open a architectural templat
3open the floor plan
4 go to the viiew tab
5 now select the camera option
6 selec the room view
7 select the render option
8 adjust the render settings
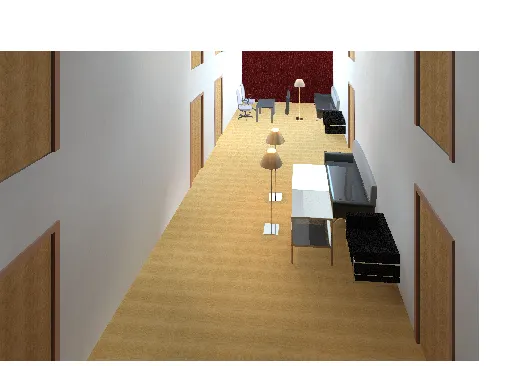
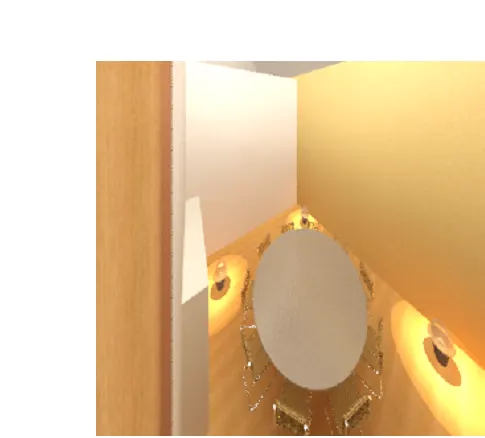
9 result