Creating a Residence Layout, Seating plan, Toilet and Utility room plan using AutoCad
1. Residence Plan:
Sketch the layout of a residence as shown in the Figure 1. Consider all dimensions as reference to sketch the unit plan. Also the text in the layout are only for reference. Assume the missing dimensions. Also, refer the schedule for size of the doors.
Commands used
1. Units
2. Rectangle
3. Explode
4. Offset
5. Extend
6. Line
7. Copy
8. Rotate
9. Fillet
10. Dim (dimension)
11. Layer
Steps
1. Set the units to "Engineering" and select inches as insertion scale.
2. Create the layers.
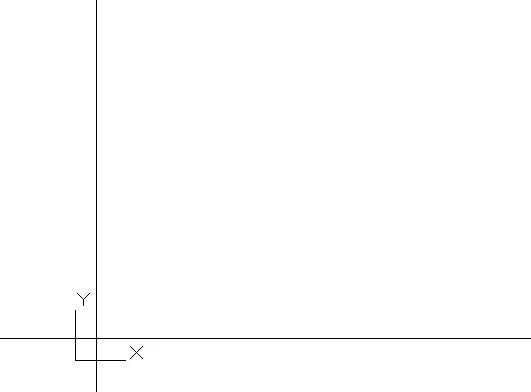
3. Using the XL Command, make the following lines.
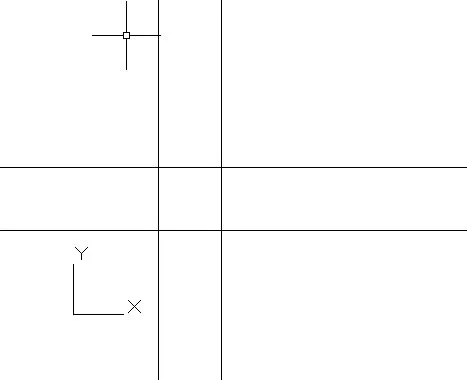
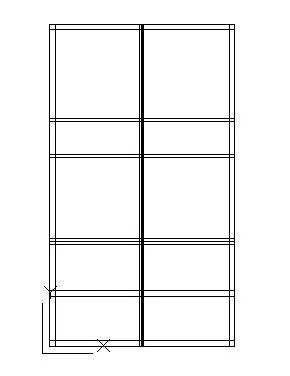
4. Using the offset tool, make the following horizontal lines,vertical lines .
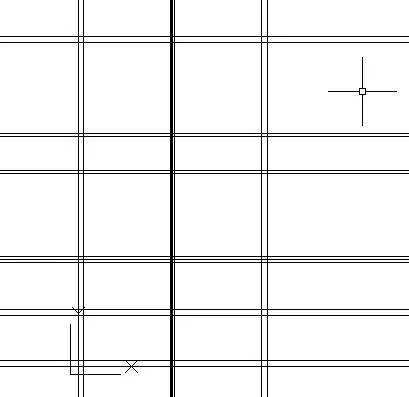
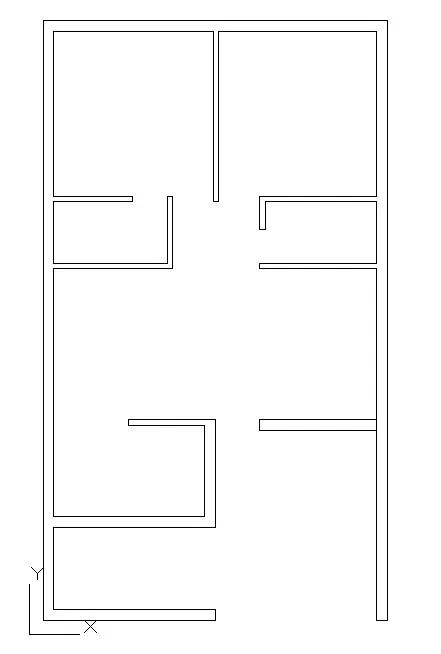
5. Remove the unwanted part (get the drawing shown below) using the trim and extend command.
6. creating doors and windows.
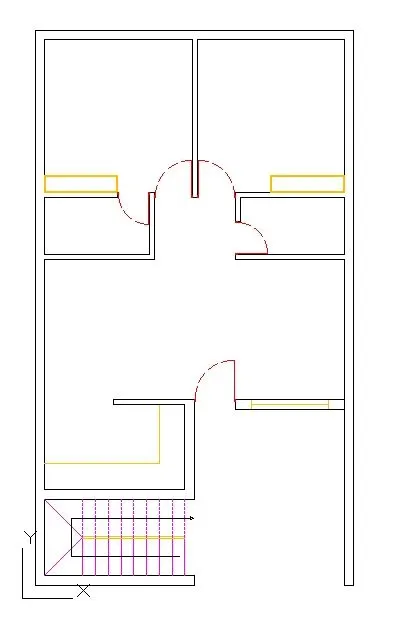
7. Make the doors, window, kitchen platform and cupboards in their respective layers.
then dimensions
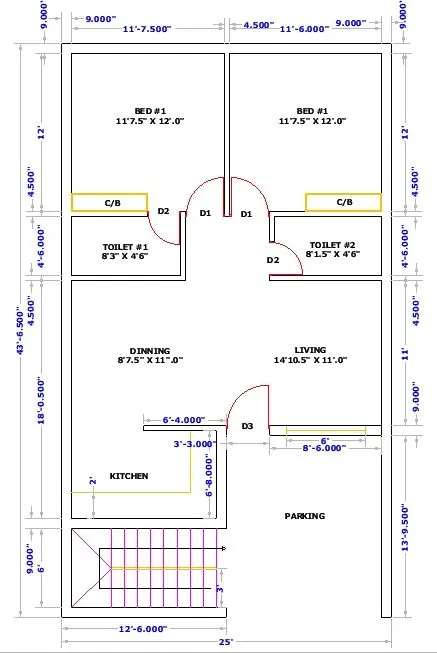
Floor plan
2.Seating plan
Sketch the seating plan for an outdoor canopy. Assume the dimensions for the seating. Also, consider the dimensions in mm.
Commands used
1. Circle
2. Rectangle
3. Offset
4. Arc
5. Fillet
6. Move
7. Xline
8. Array
Steps
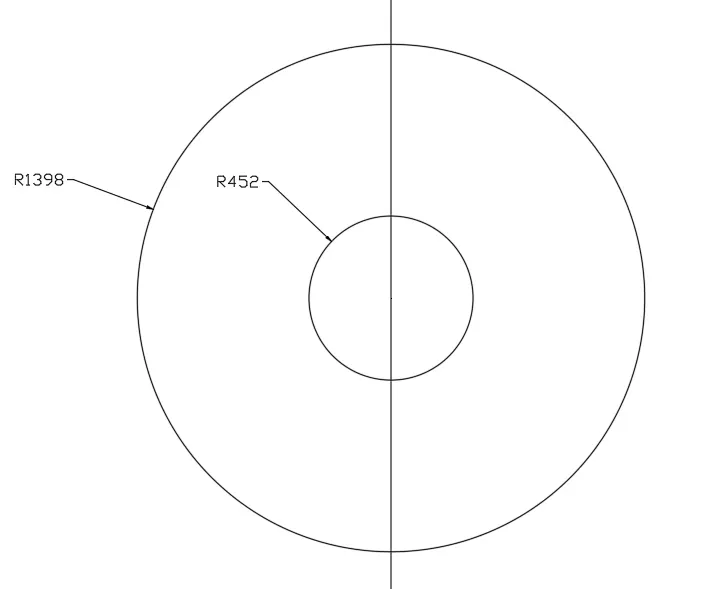
1. Create 2 concentric circles of radii 452 and 1398 and make a vertical construction line passing through the center.
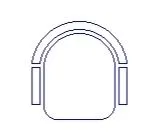
1. Make a rectangle (assume)
2. Make a semicircle above it, its diameter being the upper side of the rectangle.
3. Offset this semicircle with an offset distance (assume)
4. Fillet the two bottom corners of radius 100
5. Using the offset and extend command create the two rectangles as shown.
6. Trim the upper side of the rectangle
7. Using the array command (polar type), make 4 copies of the chair each separated by 90 degrees.
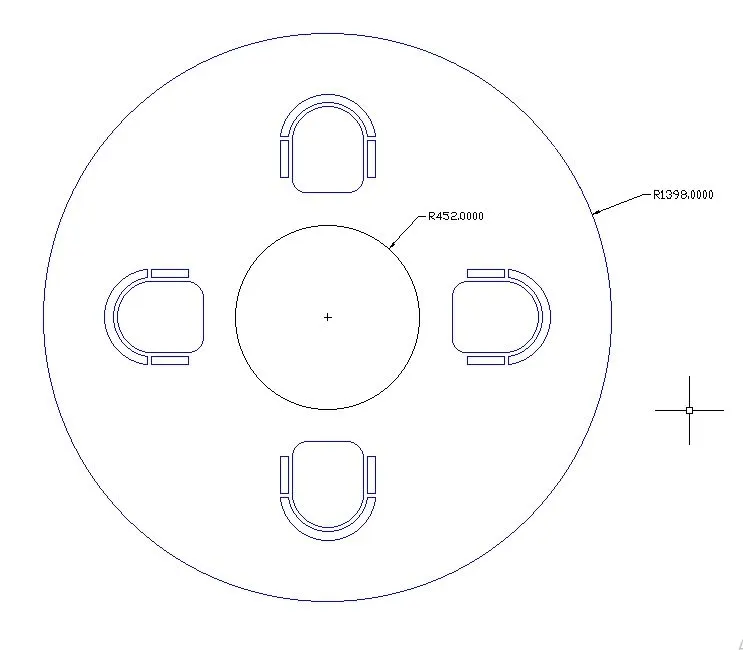
3.Plan for toilet and utility room
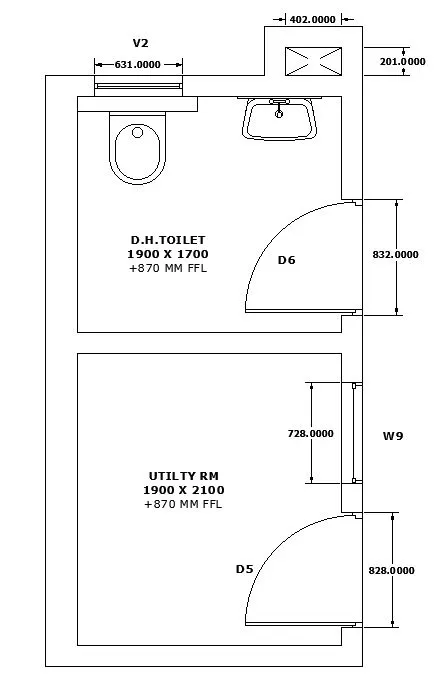
Sketch the part plan for the toilers and utilities room. Consider the outer wall thickness as 300mm and inner wall thickness as 150mm. Also, assume the missing dimension, Texts, dimensions, and hatches are only for references. Also, symbols for toilets and w/c are also for references.
Commands used
1. Rectangle
2. Offset
3. Fillet
4. Line
5. Circle
6. Trim
7. Extend
8. Scale
9. Move
Steps
1. Make a rectangle of 2244*4258 and create the smaller sections of 1900*1700 and 1900*2100 considering the wall thickness.
2. Make the following doors, window, and ventilator with assumed dimensions.
3. Make the duct of the assumed dimensions.