Challenge 8 : Concept Modeling of Seats
Tile:
Concept modeling of car seat
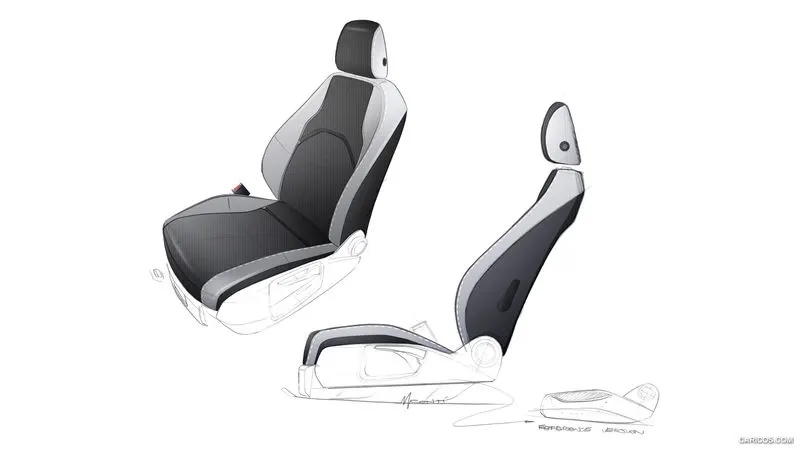
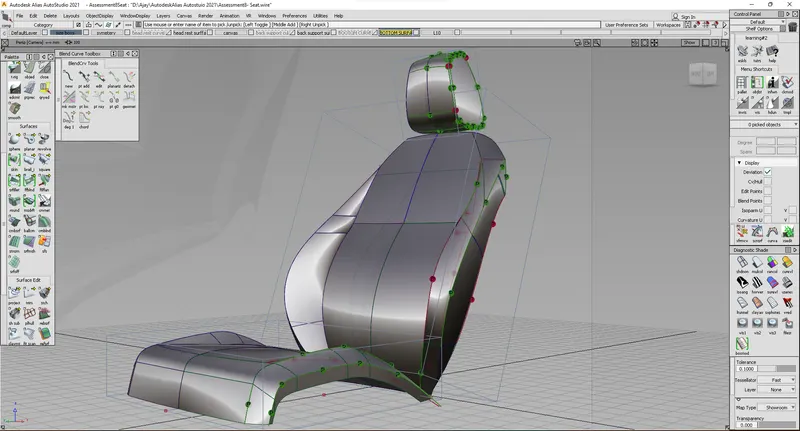
Objective:
To be able to model a car Seat using Concept Modeling.
Introduction:
The car seat is made of foam and then covered with textile material, it is designed for comfortable seating and we need to assume some of the curves to get the accurate model as the picture is a final product some of the dimensions will be changed after application of textile material.
I considered the seat as three parts which are Headrest, back support, and base.
We have only side and 3 quarter views so the width is considered based on the isometric view.
Design Methodology/ Approach:
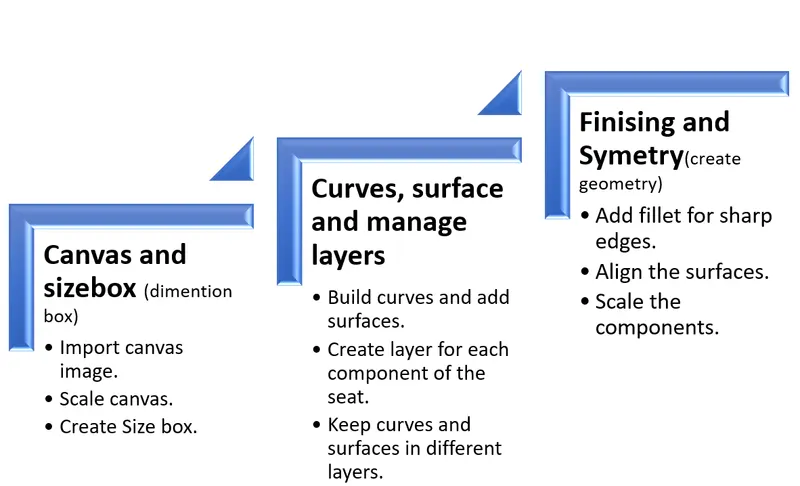
Description:
The car seat consists of three parts which are head support, back support, and base, and as the seat width is unknown, we need to find it from the isometric view, for find proportions the width we need to draw the vertical line on anyone edge and then draw the second line on the other edge to which we need width and then connect both lines form the point where we need width as given in below figure.
Note: The width between two green is equal to red lines distance. From these distances, we can assume the proportion between the width and assume actual width.
Start building the curves from the side, based on the width assumed give the width to curves and create the surface, one by one. And keep the all curves of each part in separate layers to manage multiple curves and surfaces.
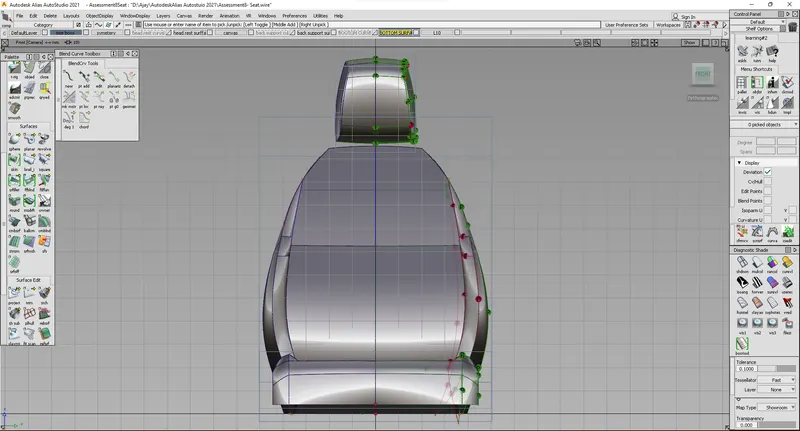
While modeling the back support side part the curves are to be built considering all views to get good quality curves and surfaces.
Tools used:(major tools)
- Import Canvas
- Scale
- Move
- Non-Proportional scale
- CV Curve
- Pick Curves, CV, Object
- Align
- Duplicate
- Extend
- Blend
- Blend Edit
- Surface
- Project
- Trim
- Draft
- Intersection
Procedure:
At First, we need to import canvas image in the side view cause the image we have is consists of only side view, then create a size box for each component in the seat, start building the curves and surface, firstly I started building the headrest as it is the easy part and complete by using few curves and then moved to the back support.
While creating the back support I face an issue with one blend at the side part and by using manual controlling the CV I solved the issue.
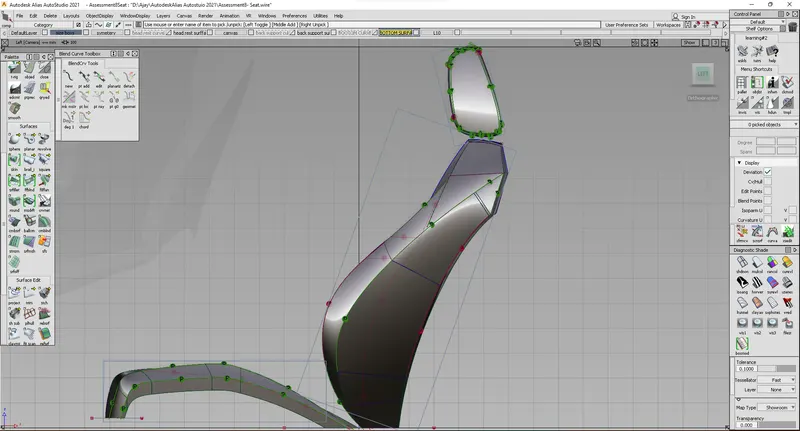
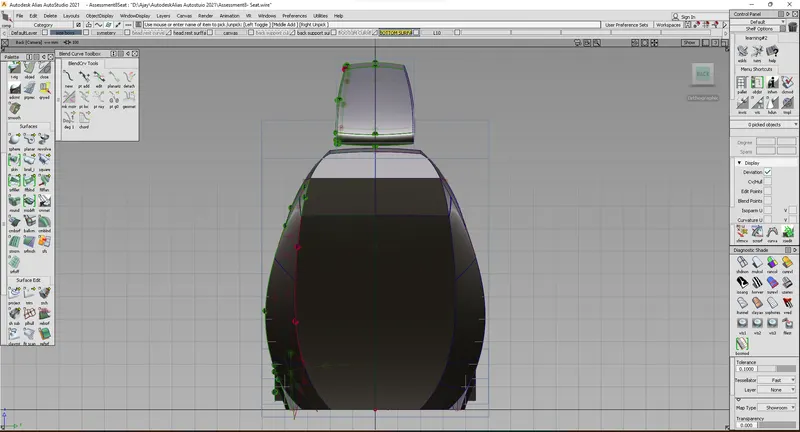
Followed the same flow of modeling created all the parts and at last, I found my headrest is a little wide then I reduced the width of the headrest by using not proportional scale.
ISO metric view:
Left side view:
Front Side:
Back view:
Conclusion:
The car seat is modeled by following the above procedure and completed.