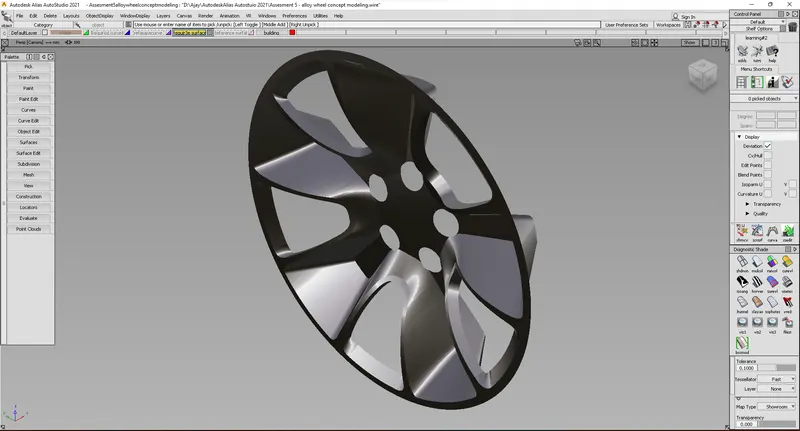
Challenge 4 : Concept Modelling of Alloy Wheel
Concept Modeling of a Car Alloy wheel
Objective:
To be able to create a surface for the alloy wheel of a car using a single side view as the concept model
Introduction:
concept modeling is building a model using a single view of the model as a reference image and we will start building the curves by assuming all sides, in this stage, we are just making the model or styling the model as required.
as a reference, I imported a photo of an alloy wheel and started building the curves, and the surface ( As the wheel is symmetrical we can build a segment of the wheel and then duplicate the same)
Design methodology/Approach:
>Improt the concept canvas image and make the pivot point in the center
>Build Curves
>Edit Curves
>Align
>scale objects
>surface
>project
>trim the surface
>Symmetry and symmetry create geometry
>Duplicate
Description:
Open the Autodesk alias and choose the default workflow
>Import the canvas image(concept reference image)
*>select the plane
>Layouts
>select the required plane
>File
>Import
>Imorit canvas image
>Build the curves
Analise the Image and understand the surface flowing direction and the depth of the geometry
>Curves
>Circle
Select the center point(pivot) of the image so the circle will be formed and then select the circle and scale to match the canvas
>CV Curve
Snap-on the curve of the select and select the place where the canvas matches, and continue to build similar curves from the circle.
Similarly, build a circle for forming the inner surface and snap the curves and connect the surface and form the surface
>Edit the curve
To form the required surface, edit the curves and align
>Move the CV's and form the curve as required.
>By using the Extend tool adjust the length of the curve.
> move the curves to create the depth and height by selecting the other plane(left)
>Surface
>Create surface
>Pallets
>select Surfaces
>Skin, Rail, Square Select as required
>Project
>Pallets
>Surface Edit
>project
select the surface on which we need to project the curves and then select the curves which need to be projected (while projecting select the plane or else projection will be in the current plane which is not as per required.
>Trim Surface
>Pallets
>Surface edit
>Trim
Select the surface which needs to be trim and then click again to select the required area(At the Right bottom of the screen we can find the trim option to complete our job after selecting the area)
>Symmetry and Symmetry-create geometry
>Symmetry
>Layers
>symmetry
If the job is not in the Y-Z plane then we have to create a Symmetry plane by
>layres
>Symetry
>Set plane
Then
>Duplicate
Before selecting the duplicate we have to select the object which needs to duplicate
> Edit
>Duplicate (select the small rectangle box next to the tool name to open the options then give the count of duplicates and the rotation angle(rotation angle is =360/count of the duplicates) and give translation and scale if required.
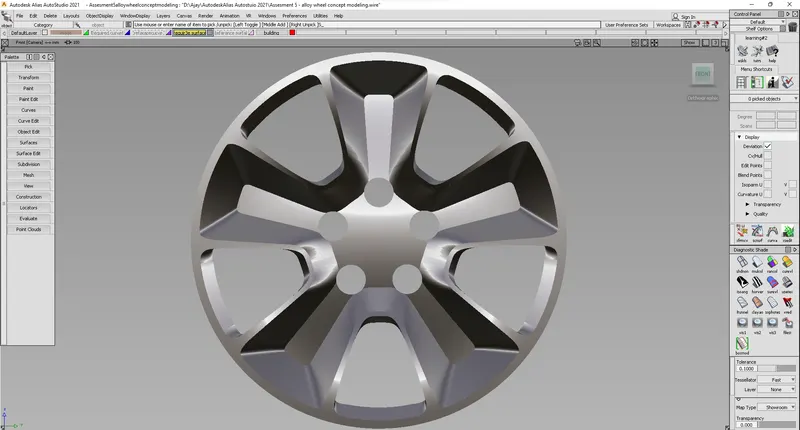
Front:
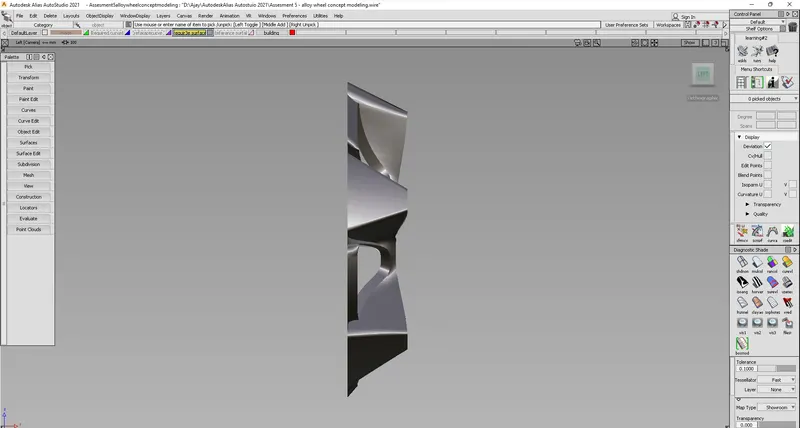
Left :
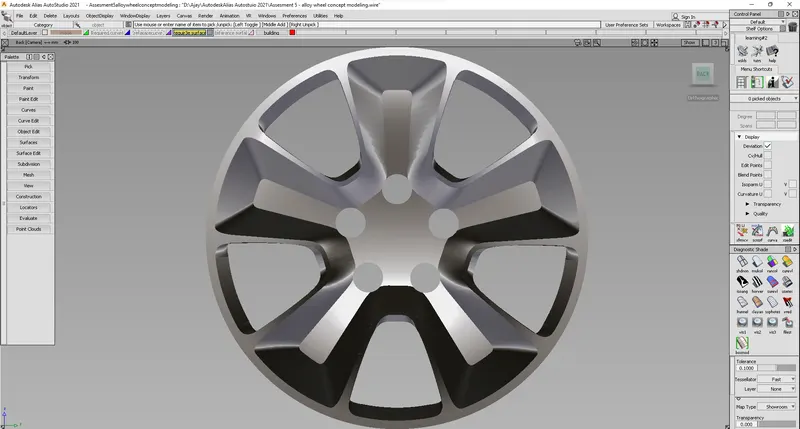
Back:
ISO: