2. RADIOSS Engine File Editing & 3D Meshing
OBJECTIVES:
1. Check the material properties of the rail component and calculate the speed of sound in steel rail.
2. The length of the rail is about 1000 mm. calculate the time takes for a shock wave to travel from one end of the rail to the other.
3.Time for sound to travel the length of the rail.
4.Edit the engine file so that the stress wave can be monitored, moving from one end of the rail to the other during an impact -this will require a termination time equal to the time it takes for the sound to travel the length of the rail(set on/RUN card).
5.Set the frequency of animation output to a time that will give 20 animation steps(/ANIM/DT).
6.Change /print -10.
7.3d meshing tetra mesh and hex mesh.
- Repeat class examples and, maintain the quality.
- Target tet size=5mm,hex size=10mm,tet collapse=0.15.
SOLUTIONS:
1. Check the material properties of the rail component and calculate the speed of sound in steel rail.
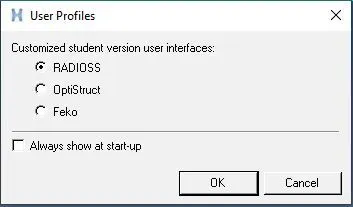
- To check the material properties of the rail component, Let's first import the 0000.rad file to Hypermesh to with the user profile as RADIOSS.
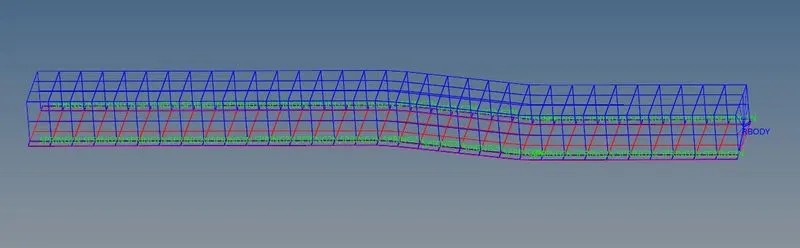
- After importing the rad file, select the material option from the browser tab.
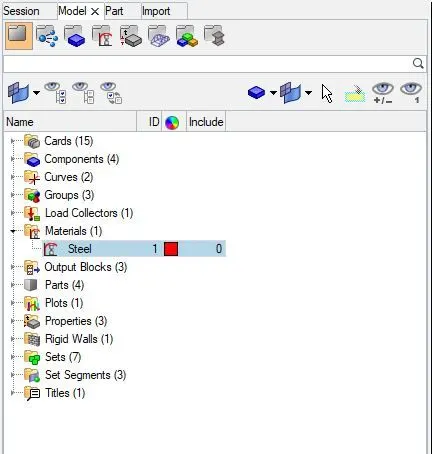
- A list of properties of the material will appear. From that, check the properties of the rail component and then calculate the speed of sound in steel rail
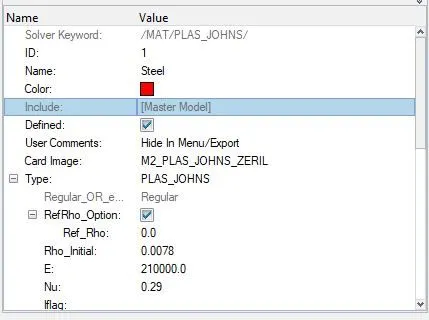
therefore,
speed of sound(c) = `sqrt frac{E}{rho}`
where E= youngs modulus
`rho= density`
c = `sqrt frac{210000}{0.0078}`
= 5188.745 m/s.
2. The length of the rail is about 1000 mm. calculate the time takes for a shock wave to travel from one end of the rail to the other.
- Shock wave travels at the speed of sound.
- So, speed of shock wave = speed of sound = 5188.745 m/s
- time(t) = `frac{distance(D) }{speed of shockwave}`
- t= `frac{1000}{5188.745} =0.1935s`
3.Time for sound to travel the length of the rail.
- `time= frac{Distance(D)}{speed of sound(c)}`
- `t=frac{1000}{5188.745} = 0.1935s`
4.Edit the engine file so that the stress wave can be monitored, moving from one end of the rail to the other during an impact -this will require a termination time equal to the time it takes for the sound to travel the length of the rail(set on/RUN card).
- Import the 0001.rad file in Hypermesh with the user profile as RADIOSS.
- In the browsers tab, select the Cards option and the select the ENG_RUN card from the list.
- change the Tstop value to 0.1935 and then press return.
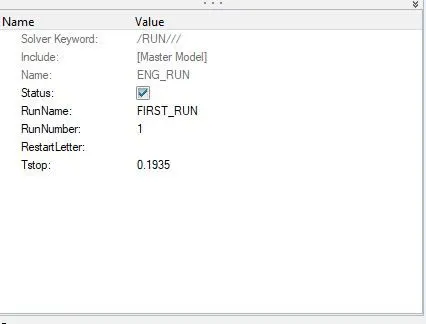
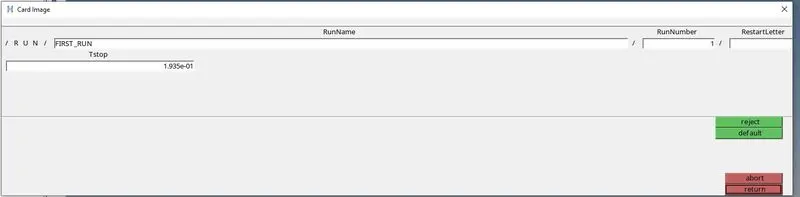
- Run the file. This will change the values in the 0001.rad file by itself.
- this process will edit the engine file so that the stress wave can be monitored, moving from one end of the rail to the other during an impact.
5.Set the frequency of animation output to a time that will give 20 animation steps(/ANIM/DT).
- `Frequency = frac{time}{no . of revolutions} = frac{0.1935}{20} = 0.009675`
- So to set this value, we have to choose the ENG_ANIM_DT option from the cards tab.
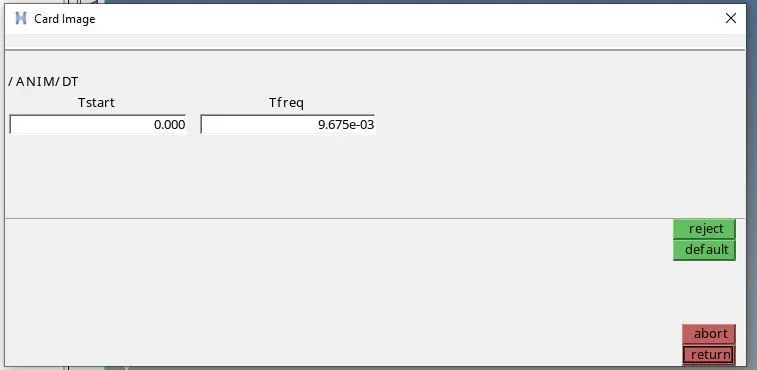
- select edit card option and change the Tfreq value to 0.009675 and run the file to change value in the 0001.rad file by itself.
6.Change /print -10.
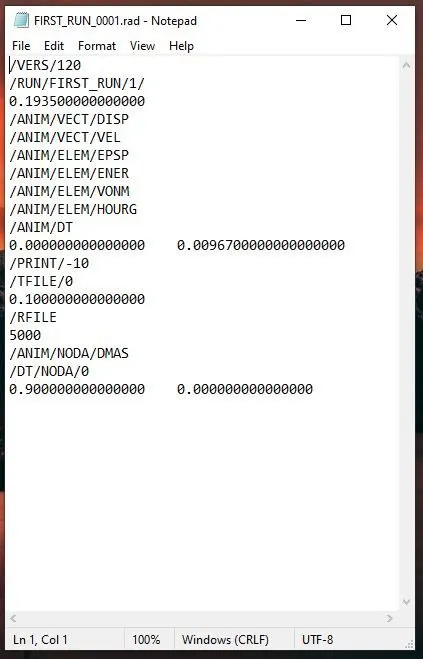
- Open the 0001.rad file in notepad.
- We can see that, by default the PRINT value is 10. So, there is no need to change that.
7.3d meshing: tetra mesh and hex mesh
- The objective is to perform tetra meshing operation on the housing part which consists of two components: cover and the hub and also perform Hex Meshing operation on the bracket part.
TETRA MESHING OF THE HOUSING PARTS:
PROCEDURE:
- Firstly, The Housing geometry which was provided in stp file format shall be converted and saved in hm file format.
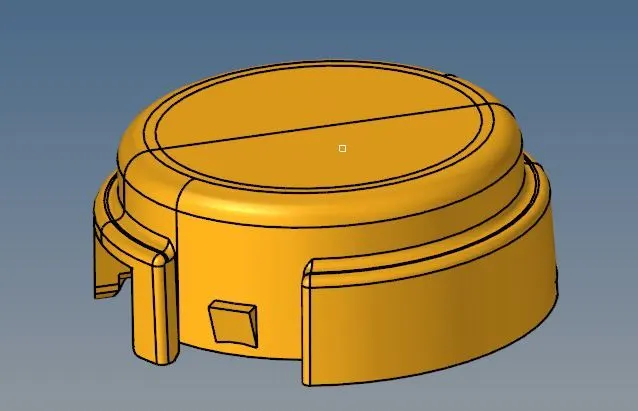
- After saving, open the file and delete all the solids present in it.
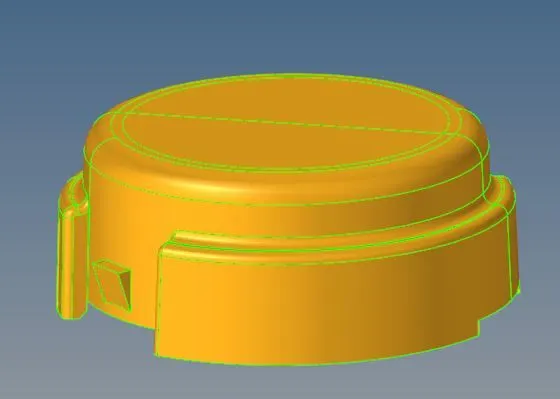
- Check for geometrical errors. No errors were found in this file.
- Now first we are going to perform tetra meshing to the hub part, so hide the cover part.
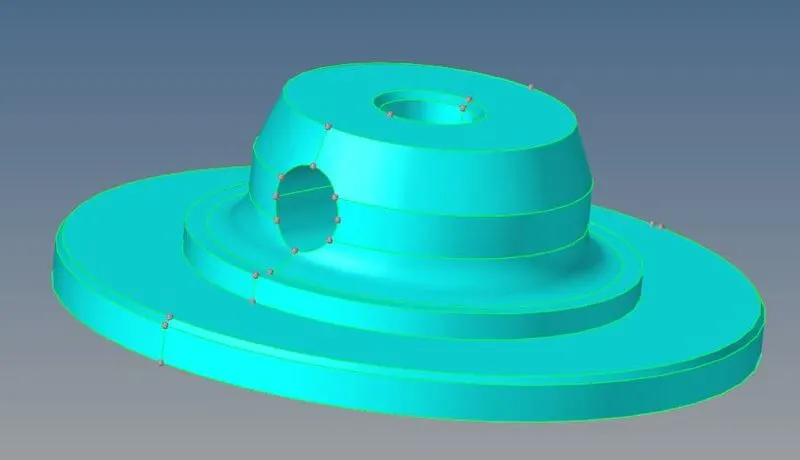
- Go to 2D>automesh>select trias and element size as 5>select the surfaces>click mesh.
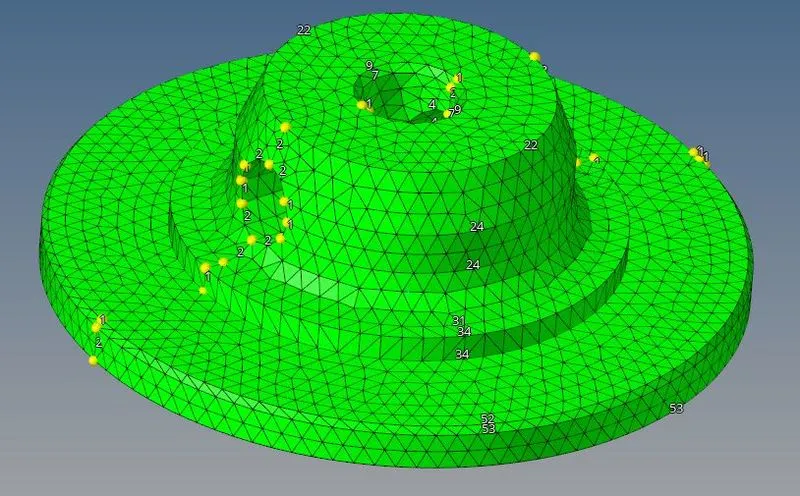
- Do the same with the cover part.
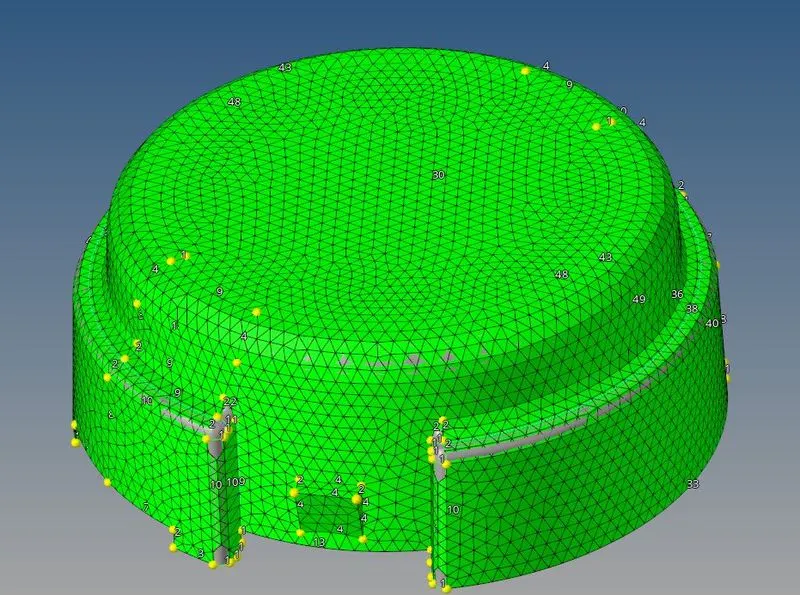
- Now the shell mesh needs to be coverted to tetra 3D elements
- Before doing that, a new component "tetras" has to be created in the model browser to store the tetra elements which are going to be formed.
- After that, now goto 3D>tetramesh>select the 2D elements>click mesh
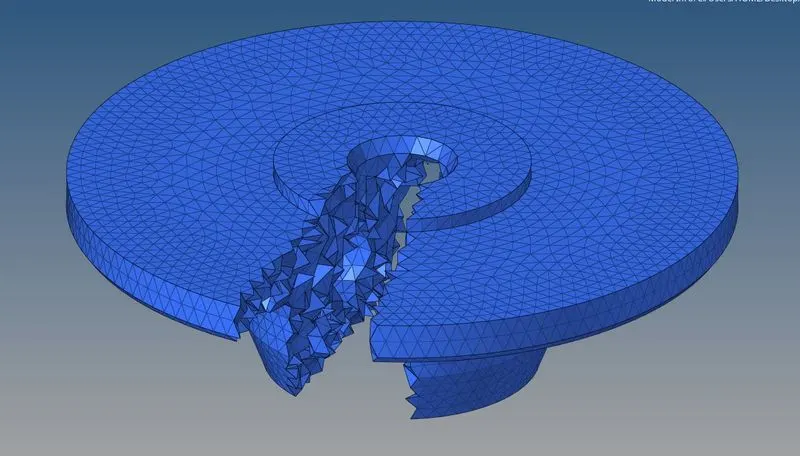
- Now we want the tet collapse to be less than 0.15. So we are going to check that from the check elements. In that, we are going to the 3-d and we are going to give the value of tet collapse to be 0.15 and we are going to check that how many of the elements are failing for the tet collapse.
- To remove the failed tet collapse elememts we are going to do the tetra remesh. So again we go to the tetra mesh and we are going to give the Tetramesh parameter and there we are going to give the tet collapse to be 0.15. There we can also give the maximum and minimum tetra size.Now we are going to do the remesh.
- After that, we check the tet collapse again in the mesh and check that if any elements are failing for the tet collapse.
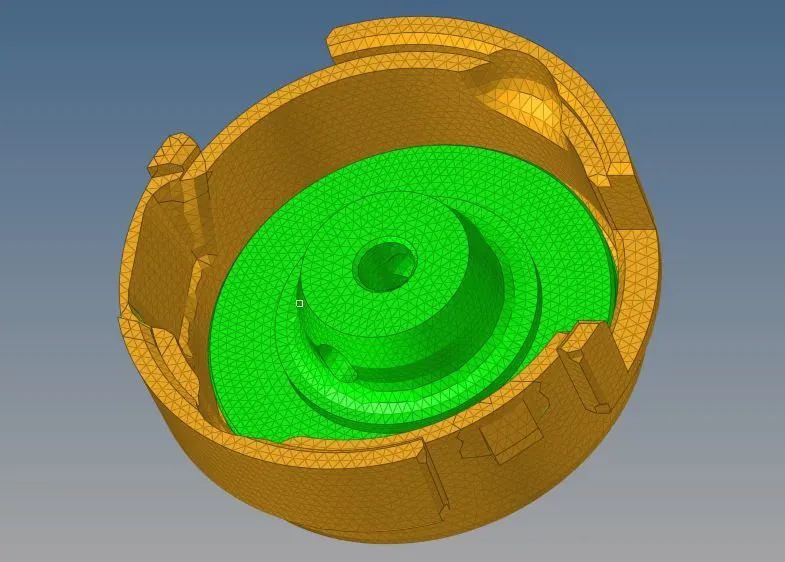
- The final results are shown below:
TET COLAPSE:
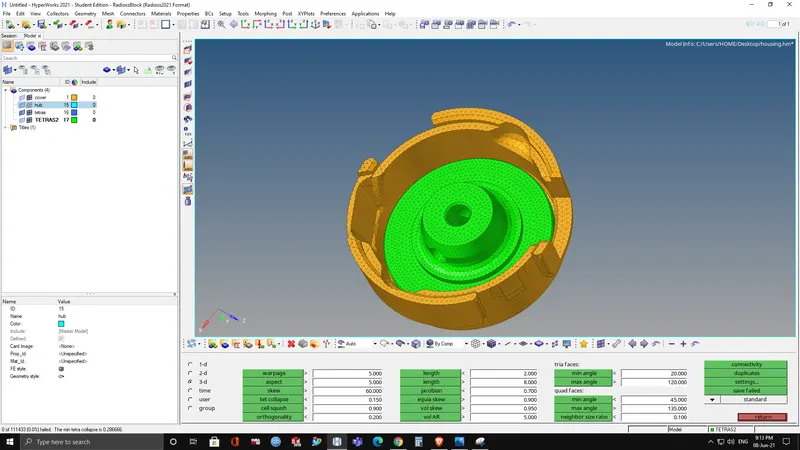
Min size:
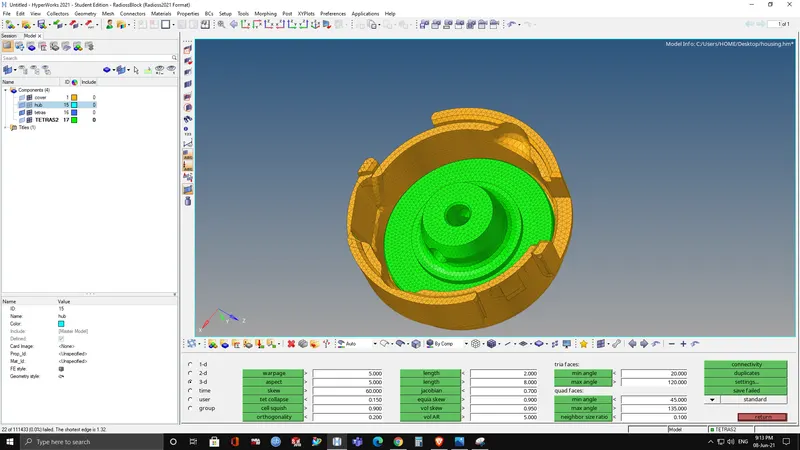
FINAL MODEL AFTER TETRA MESHING:
HEXA/BRICK MESHING of Arm bracket:
PROCEDURE:
- Firstly, the arm bracket model was imported
- The meshing of any component using Hexa elements is complicated as compared to the mesh using tetra elements. Generally, tetra mesh is widely preferred when the stresses generating on the component are not the part of concern and vice versa.
- In this assignment, the arm bracket has to be meshed using only brick elements. To do that, different methods had to follow for different sections of the arm bracket.
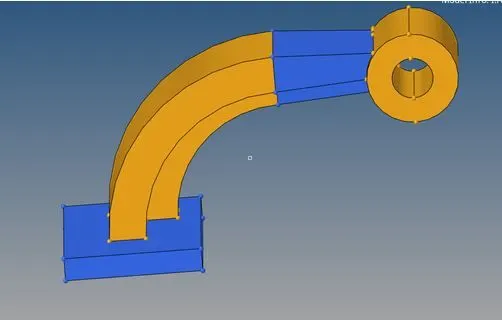
- From the figure, it can be observed that the arm bracket model consists of four different sections.
- While meshing using Hexa elements, manual inspection is required for nodal connectivity.
- Thus, each section had meshed individually. Firstly, the face of section 1 has meshed with 2d elements of size 10 units
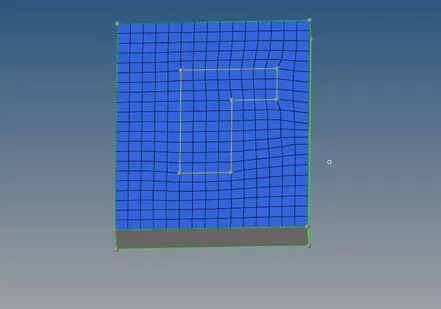
- Now, using 3D> Elem offset > solid layers, the 2d shell mesh is converted to 3d Hexa mesh with element thickness of 25 units and 5 layers
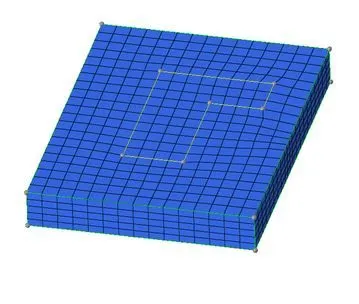
- After the meshing of section 1, for the meshing of section 2, the different methods had to follow because of its curved shape
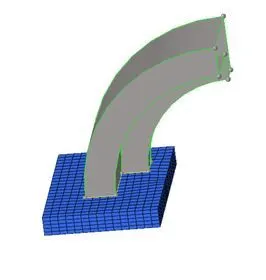
- To mesh section 2, firstly, a center of the curve is obtained for reference. It can be obtained using Geom >nodes > Arc Center, or Geom > distance >three nodes.
- After taking out the center, using 3D >spin > spin elements, the shell mesh inscribed by the curve is selected and it is spin about the center for 90º with 40 layers of elements
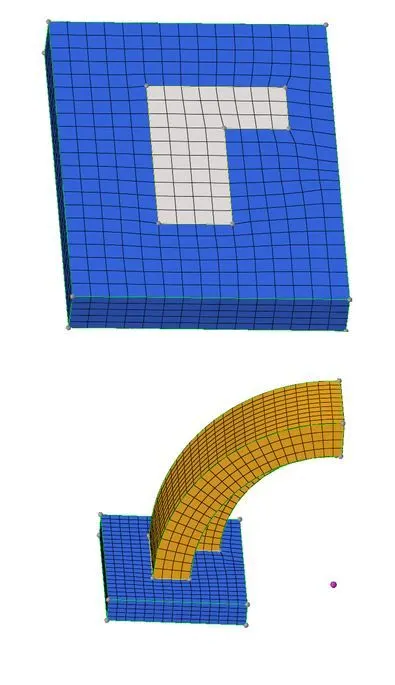
- The spinning of shell m along the x-axis for 90º to create 3d Hexa mesh on the curved section.
- Once section 2 is ready with 3d Hexa mesh, for meshing of section 3, which is a tapered section, the shell mesh of section 2 is required.
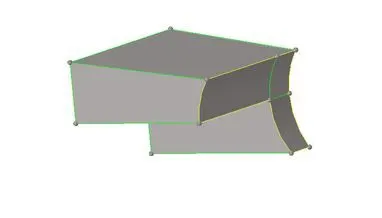
- To get the shell mesh of section 2, Tool → faces → elements are used. It appears exactly like 3d Hexa mesh of section 2, it is hollow from inside.
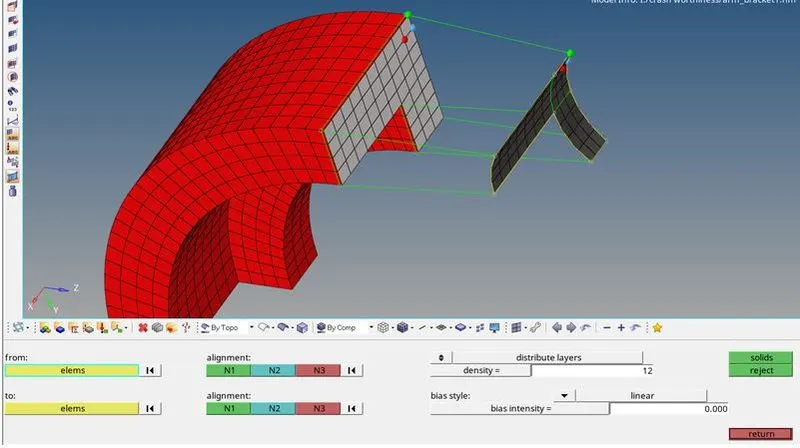
- Now, to mesh section 3, the rows and columns of shell elements available on one side of it, the other side has to mesh with the same number of rows and columns using shell elements
- Go to 3D> linear solid
- From elements and to elements can be selected as the two end faces elements respectively. The alignment node should bethe same on both the faces
- Density can be set 12 >solids
- The next component to mesh is the boss. The option used for generating the mesh for this component is "Solid map".
- Initially, one side surface has meshed with 2D quad elements
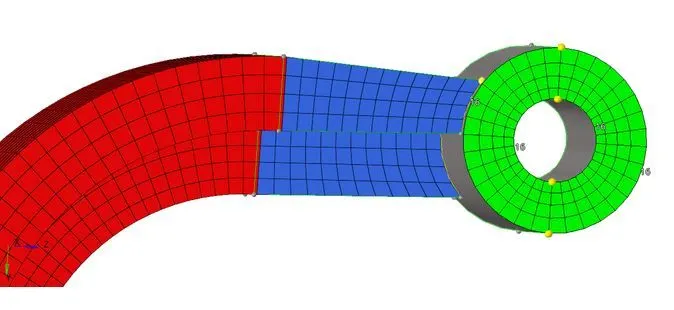
- The same number of nodes should be there at both ends. In order to have the quad elements.
- Now With the help of a solid map tool, the destination surface, the elements to be mapped, nodes to which the connectivity should be there are selected. For a better understanding of the solver, lines along which the mesh should be generated are also selected.
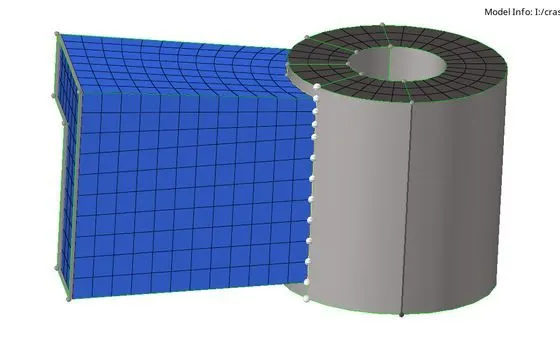
- After generating the Hexa mesh. The next step is to check for the connectivity for the elements in the arm straight component and boss component.The final model with the entire hexa meshed
RESULT:
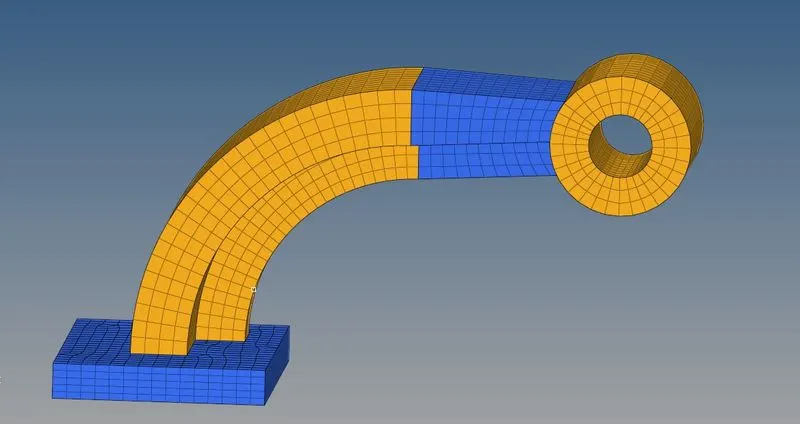
-
Finally, we have generated a 3D mesh (using tetra and Hexa elements) on the given models. By following the given quality criteria.
CONCLUSIONS:
By doing this challenge, the following concepts can be understood:-
- Some calculations such as speed of sound, time step, T frequency values.
- Types of files in radios like starter & Engine files.
- Editing of engine file.
- 3D meshing using tetra & Hexa elements.