Assignment 1-2D Meshing Challenge
AIM:--
To carry out 2D meshing for
- Practice
- Clip Repair
- Mounting Bracket
OBJECTIVE:--
- Import the CAD
- Cleanup the geometry
- Extract the mid-surface for the geometry
- Meshing the Model as per quality
- Improve the mesh quality
- Assign thickness to the mid surface
PROCEDURE:--
- Import the model first
- Visualize the model thoroughly so that you can get idea how to approach the model.
- Switch to TOPPO for better view.
Above all the procedure is common for all the three model.
PART-1
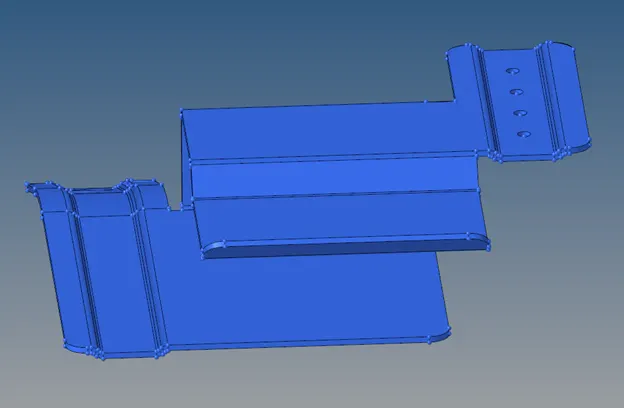
Topo view
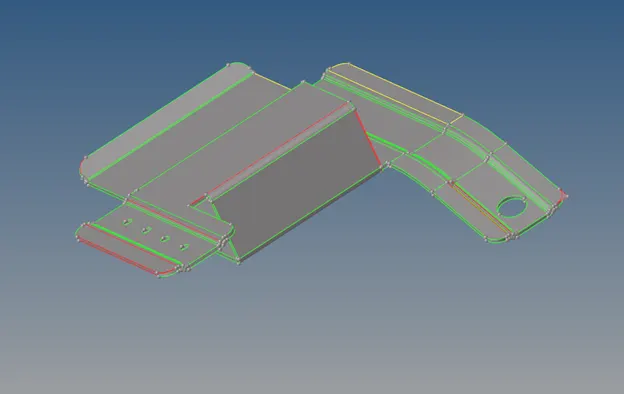
- There should not be any free edge otherwise it will not be closed and then you will not be able to use AUTO MID
- Remove all the red line by using TOGGLE EDGE option (F11) or you can use the FILLER SURF (F11)
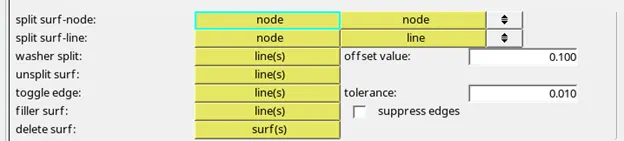
- There is some duplicate surface nearby hole region so delete those duplicates.
- After doing geometry cleanup model will have only green edge(shared edge)
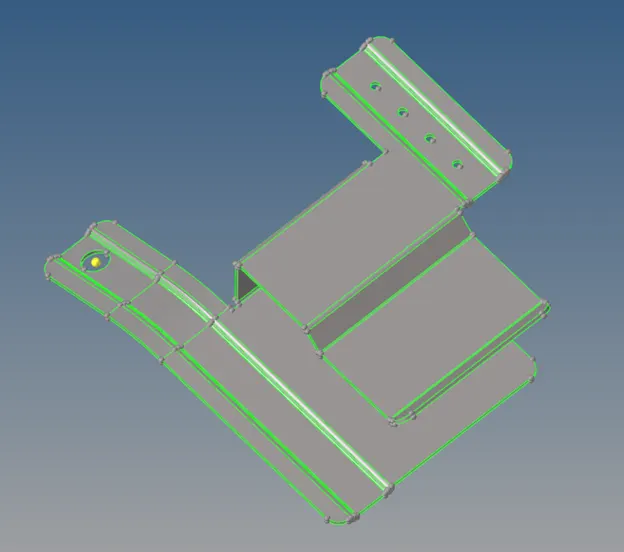
- Now we can extract the mid surface by using AUTO EXTRACT option
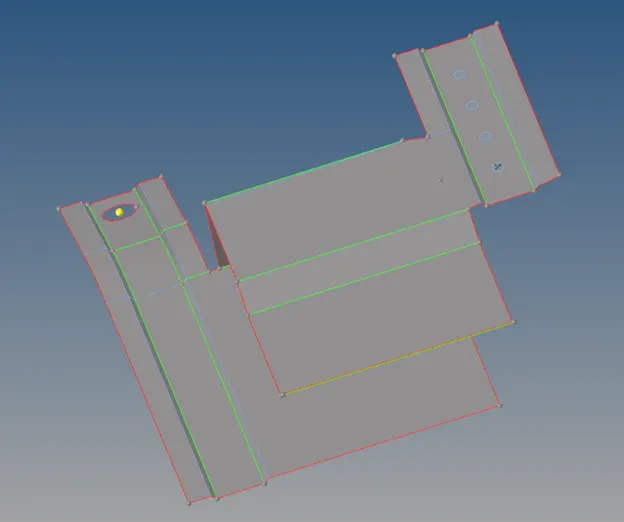
- Before meshing check feature where elements will fail for minimum length
For these area you can prefer two method
- Give priority to feature and let the elements fail
- Give priority to failing elements and compromise the feature.
- So I toggled the feature and compromise with feature.
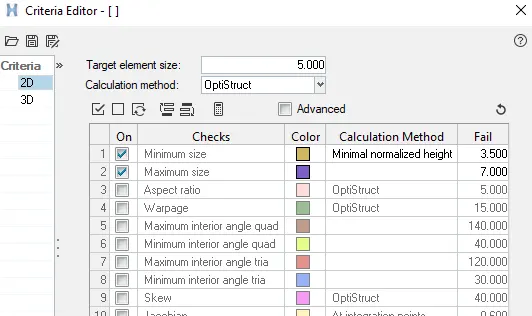
- Assign quality criteria
- Start meshing AUTOMESH (F12) element type MIXED.
- Try to reduce the concertation of tria.
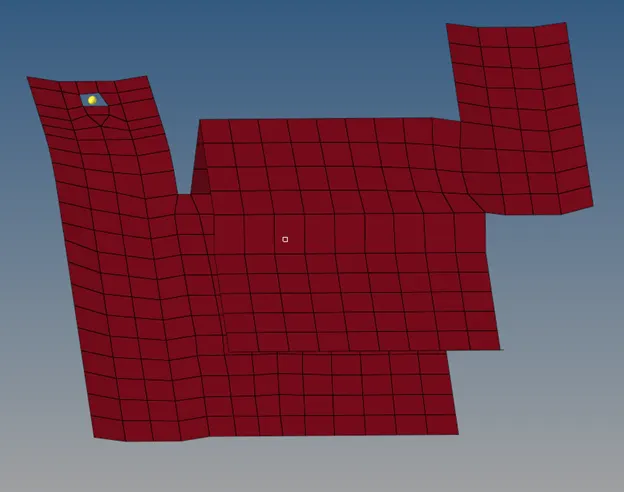
- To remove the failing element go to QUALITY INDEX in 2D tab

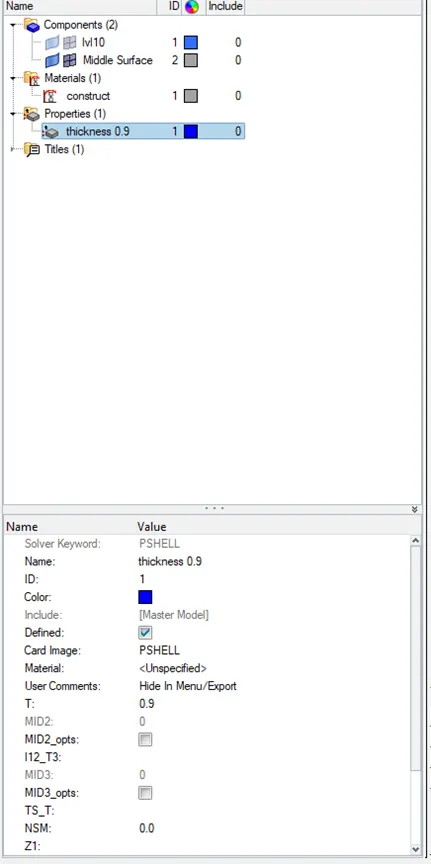
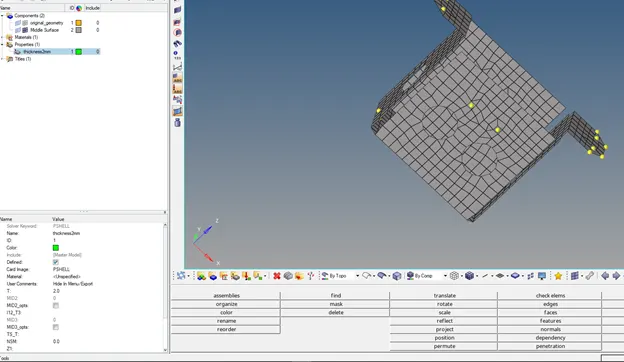
- After meshing is completed assign the thickness of the model.
PART-2
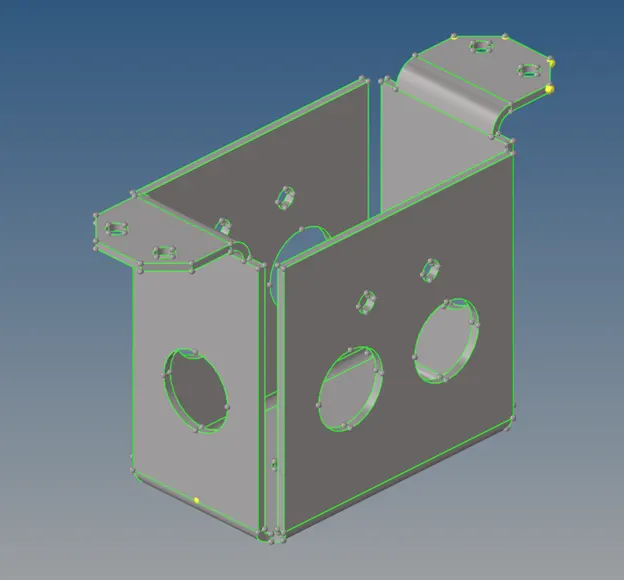
- In this model in corner place we have to replace the point so that model will be proper. This happen while importing the CAD geometry.
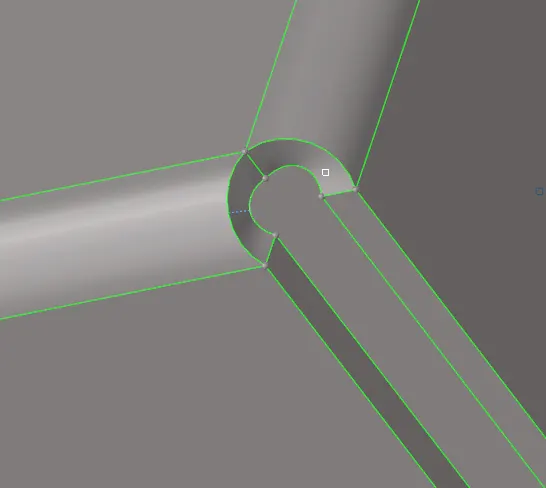
We have to do the same process for all the four corner of the model.
- Now extract the mid surface
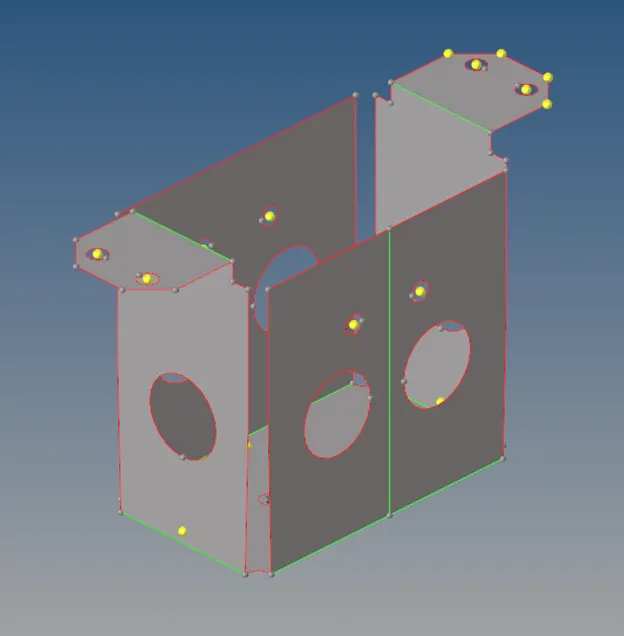
- Assign quality criteria and start meshing.
- Here we will not ignore the hole because hole diameter is not less than 5mm.
- Represent the hole with even no. of nodes.
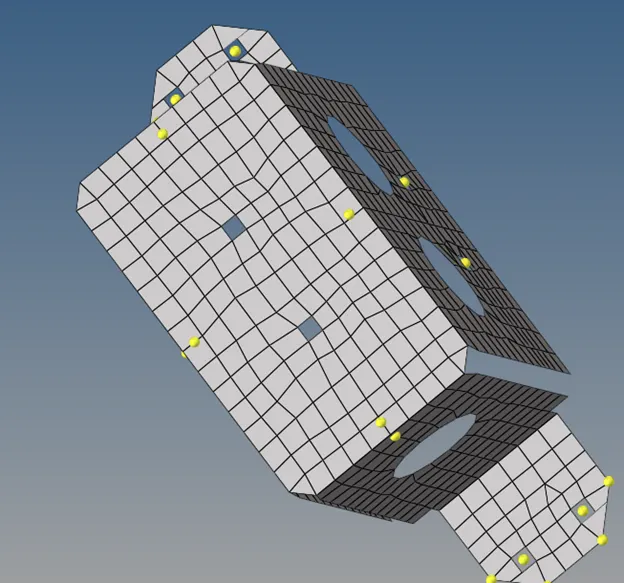
- In this model, we have same surfaces with same feature. So we can mesh the one surface and by using the POSITION (IN TOOL TAB) option we can deploy the mesh on another surface which is same.

- So by using this option we can save time and spend time to get proper mesh flow.
- After meshing, assign the thickness.
PART-3
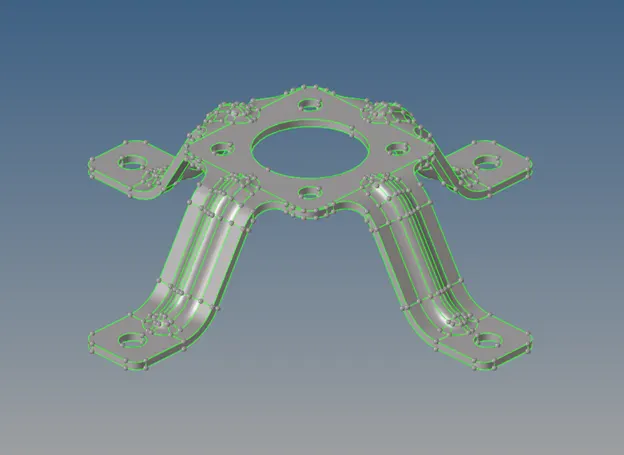
- Extract the mid surface. AUTO EXTRACT
- De feature the feature line remove the edge fillet by using DEFEATURE option.
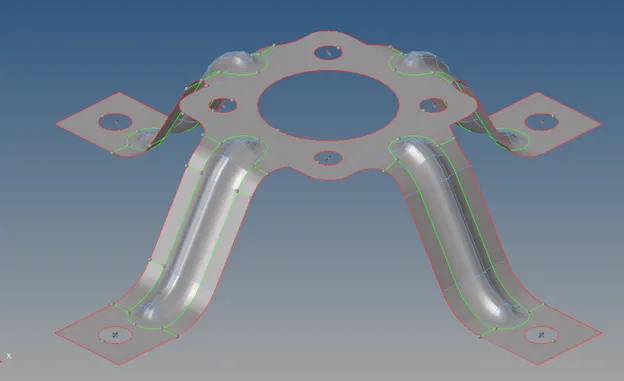
- Assign the QUALITY and start meshing
- Here also hole will not be ignored because hole diameter are not less than 5mm.
- In this model also, we can use POSITION option for the BIT feature
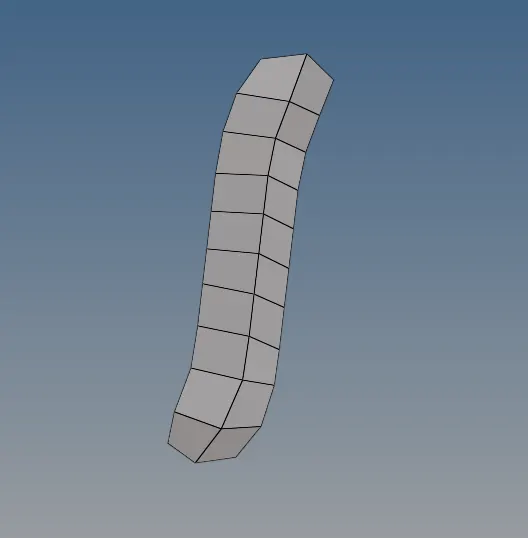
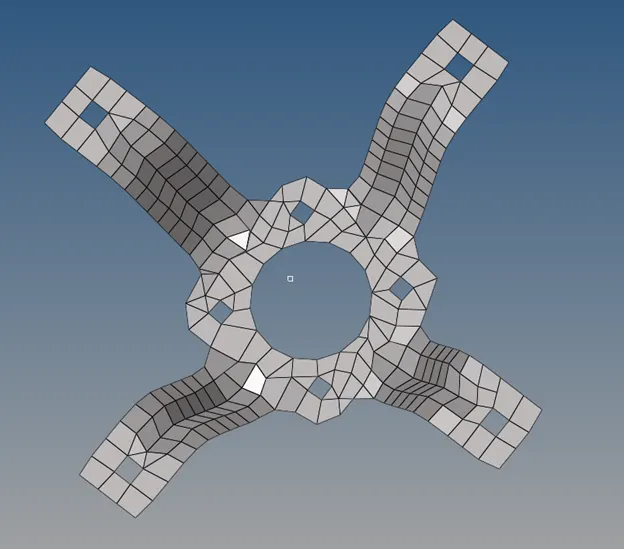
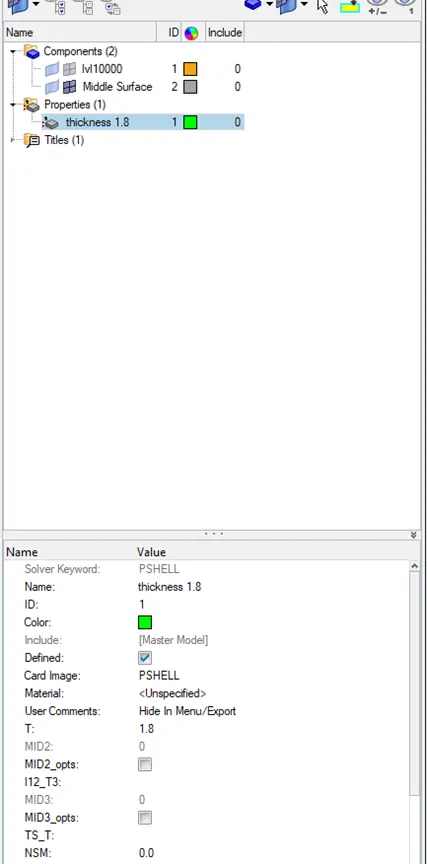
- After meshing assign the thickness
CONCLUSION:--
- Learned about the geometry cleanup
- Learned how to get proper mesh flow
- Learned how to assign thickness