Assignment 1-2D Meshing Challenge
2D Meshing Challenge - Geometry Cleanup Exercise
Objective
To Carry out the geometry cleanup operation and to create 2D mesh on the given 3 files.
- Practice
- Clip Repair
- Mounting Bracket
The Mesh should have target length 5mm, min 3.5mm max 7mm and holes with less than dia 5mm must be ignored then assign thickness for all three model
Procedures:
Geometry Import
After the geometry has been imported, the model is next processed for midsurface extraction after being checked for any missing surfaces or triple cons and the symmetry surfaces are deleted, geometry with single and triple cons are shown in Figure 1 and the proper cleaned geometry is shown in figure 2, 3, & 4.
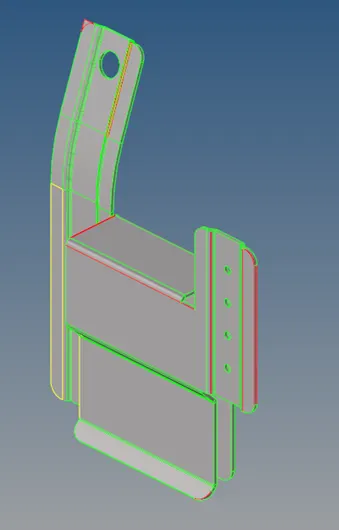
Figure 1: Geometry with single and triple cons
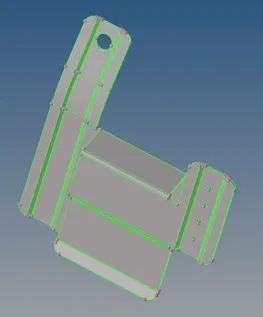
Figure 2: Practice Geormntry after clean-up
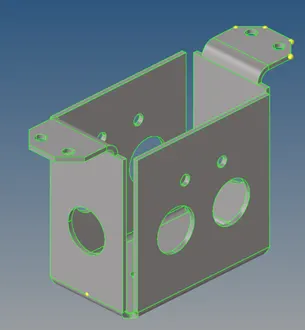
Figure 3: Clip Repair Geormntry after clean-up
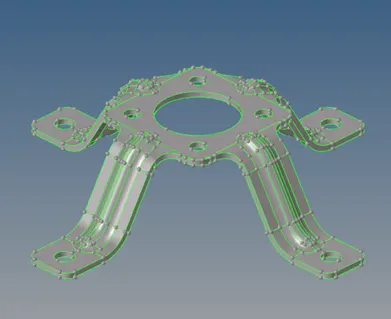
Figure 4: Mounting Bracket Geormntry after clean-up
Quality Criteria
The quality criteria has been assigned as per the given data by Preference + Criteria File Settings. In the Criteria Editor dialog box as shown in Figure 5.
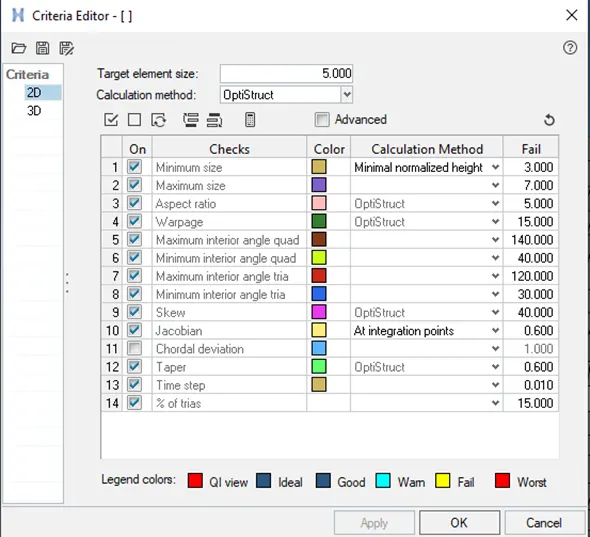
Figure 5:Criteria Editor dialog box
Extracted Midsurface
Midsurface can be extracted by Skin Offset
Command: Geometry + Midsurface + Select Skin Offset extraction option + select the surface + extract.
Geomentry Cleanup
Clean the geometry by the use of Quick edit option in the geometry. Use washer split, split surf-node, split surf-line, release point, project point, replace point, & toggle edge features for apt surface for mesh generation as shown in figure 6,7,8.
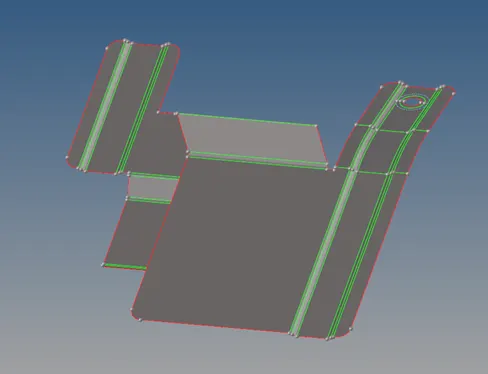
Figure 6: Practice Midsurface
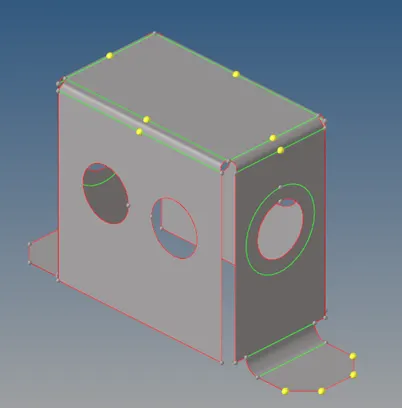
Figure 7: Clip Repair Midsurface
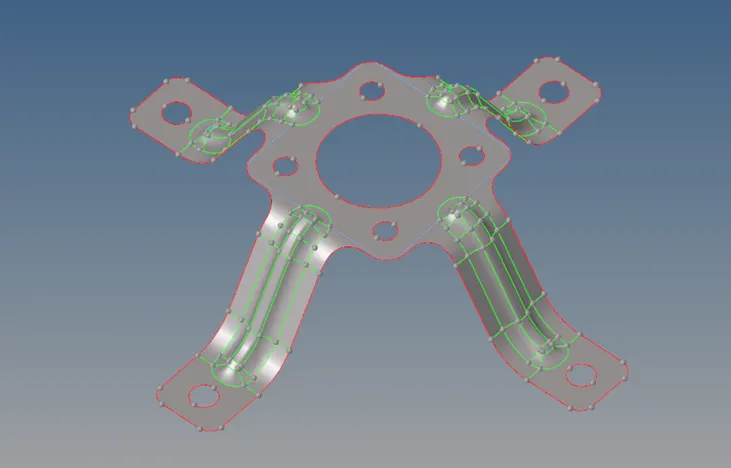
Figure 8: Mounting Bracket Midsurface
Component Mesh
Generate the mesh of element size as 5mm with mixed element type.
Command: 2D + Automesh + All Surface + Mixed element + Create
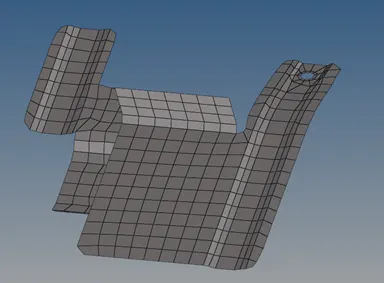
Figure 9:Practice Mesh element
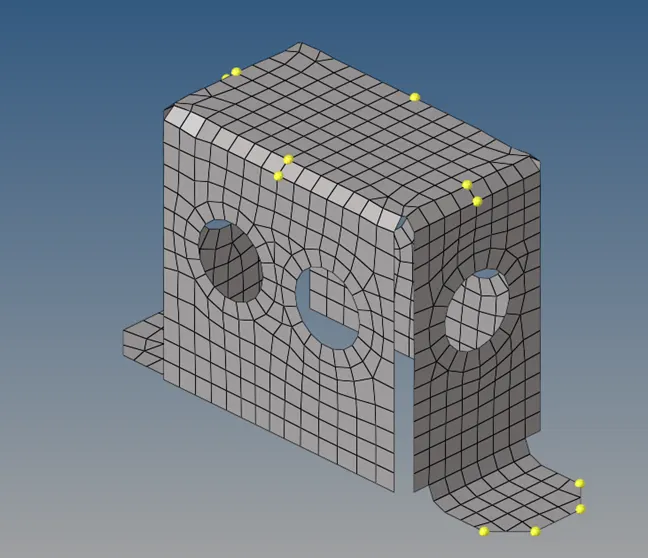
Figure 10: Clip Repair mesh element
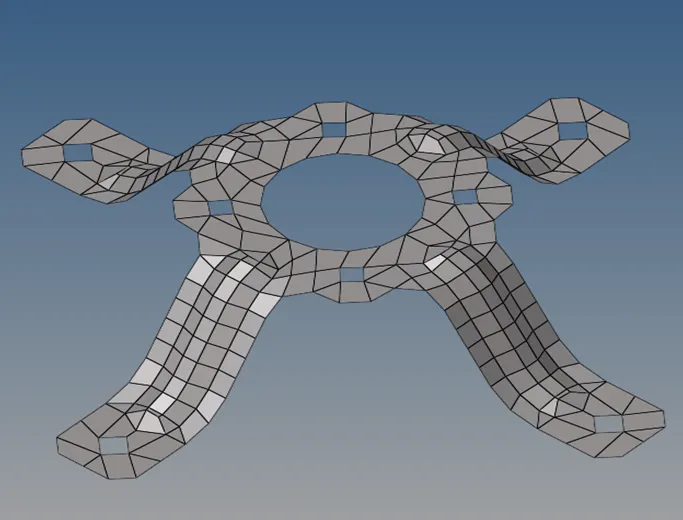
Figure 11: Mounting Bracket mesh element
Assigning thickness
To properly thickness the elements, we must first add properties and modify the thickness value at the property. then you must modify the thickness value for this property. Thickness value for a property is located under "T" value under the property tab. So, we must alter the value of "T" to 0.5 if the component's thickness is 0.5 mm. The property must be assigned to the component after it has been constructed in order for it to appear on the elements. Simply pick "Assign" from the context menu when doing a right-click on the component to accomplish this. The assigned thickness is shown in Figure 12.
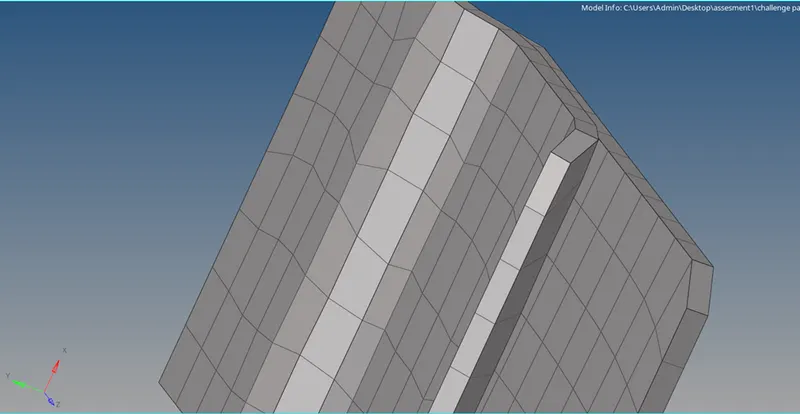
Figure 12: Assigned Thickness
Conclusion
I became skilled to use the tools for geometry cleanup , meshing and assign the thickness in this challenge.