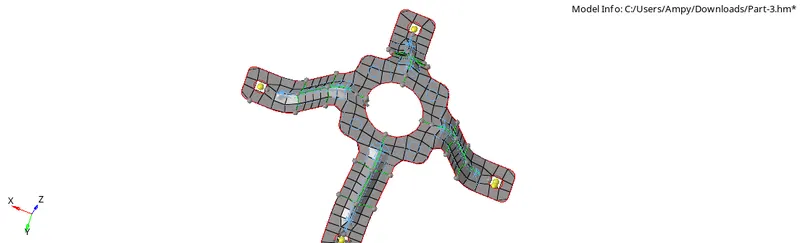
Assignment 1
Objective:To properly conduct a goemetry claen up, set proper quality criteria and mesh properly avoiding all the trias touching each other and no opposite tria in the component.
PART1:
Set up procedure:
Initally import the model and then delete all the solids present it.
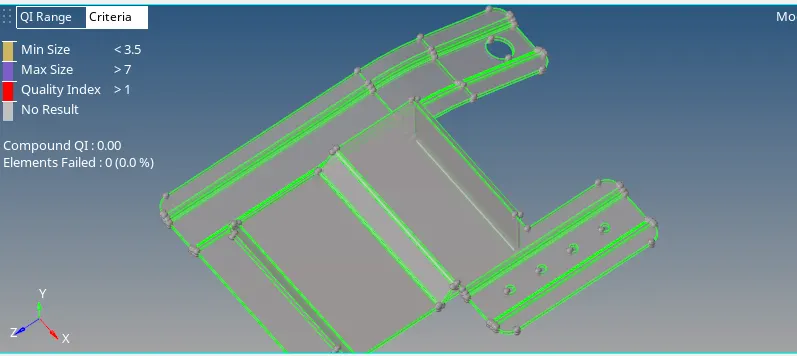

check the thickness of the model at each and every end.
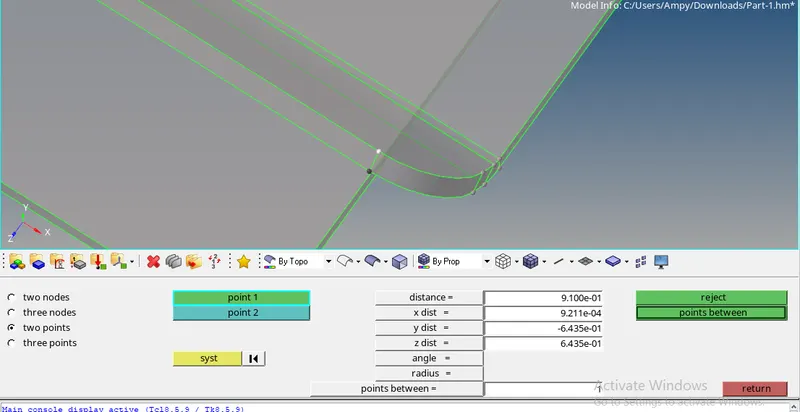
check for the errors like unfilled surface, some irregular surface.
By using the Filler tool fill up the hles that are less than 5mm .

The toggle the sides of the circle
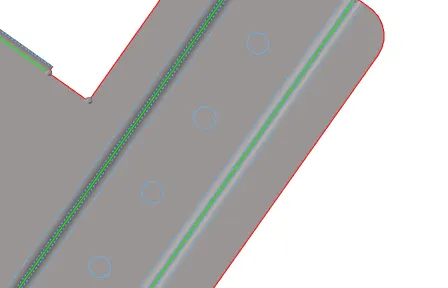
now with the help of distance command check the lines where the elements are going to fail for the minimum
toogle those lines.
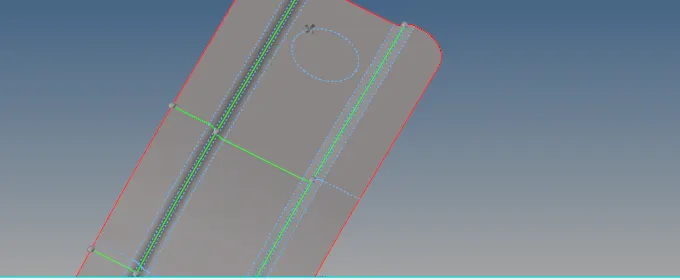
with the help of mid line produce a line in between two lines so that there is no gap between the lines

Then use trim with line option and then select the surafce,lines and click ok the surface gets trimmed
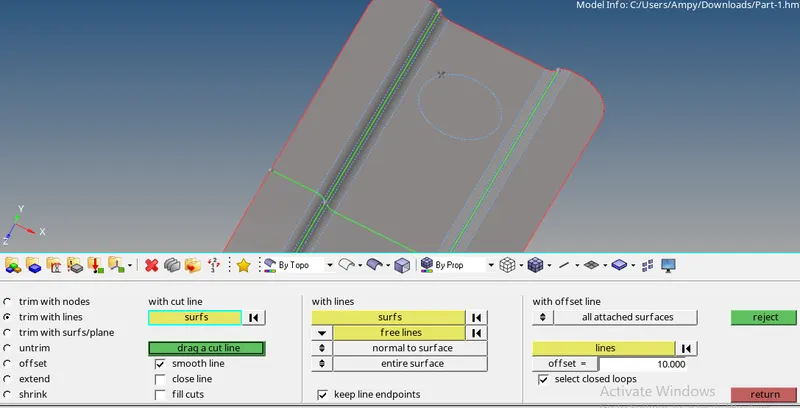
click F12 and start the meshing part
set quality criteria to target elemnt-5, min-3.5,max-7
start to mesh each part and avoid trias touching each other and trias at feature lines
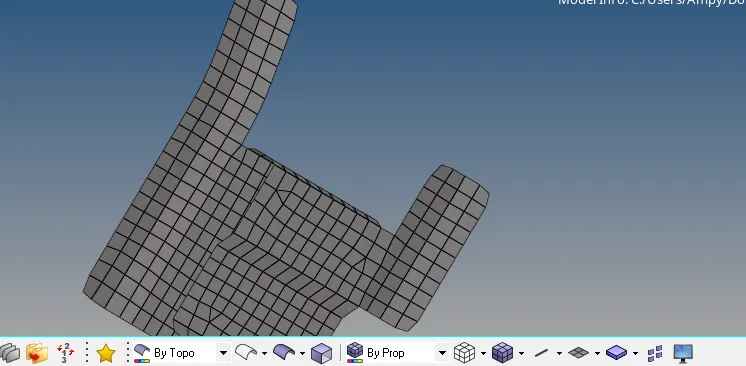
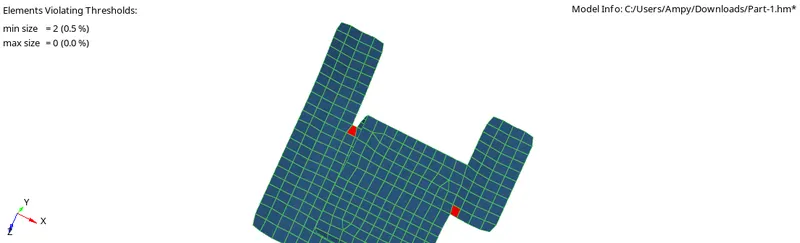
check for quality, use qualityindex and resolve the errors and smooth the mesh using smooth tool

check all the parts are meshed and asve the model in .hm format.
Result:Proper mesh flow is maintained and all qaulity is resolved.
Final image of the model:
PART2:
Set up procedure:
Initally import the model and then delete all the solids present it.
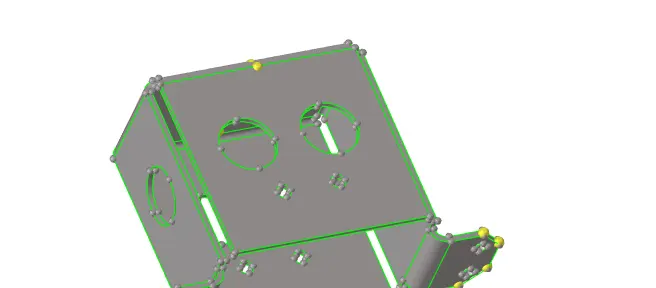
check the thickness of the model at each and every end.
check for the errors like unfilled surface, some irregular surface.
To produce a mid surface use midsurface tool it auto matically produces mid.
(if the produced mid is not proper use offset option and produce a mid surface)
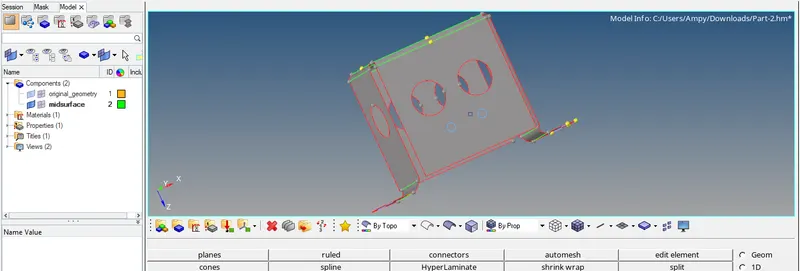
By using the Filler tool fill up the holes that are less than 5mm .
now with the help of distance command check the lines where the elements are going to fail for the minimum
click F12 and start the meshing part
set quality criteria to target elemnt-5, min-3.5,max-7
start to mesh each part and avoid trias touching each other and trias at feature lines
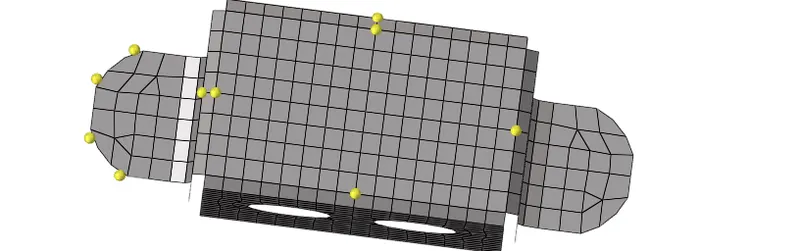
check for quality, use qualityindex and resolve the errors and smooth the mesh using smooth tool
check all the parts are meshed and asve the model in .hm format.
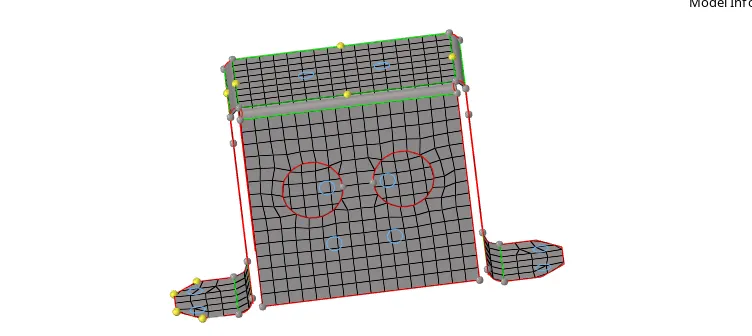
Result:Proper mesh flow is maintained and all qaulity is resolved.
Final image of the model:
PART3:
Set up procedure:
Initally import the model and then delete all the solids present it.
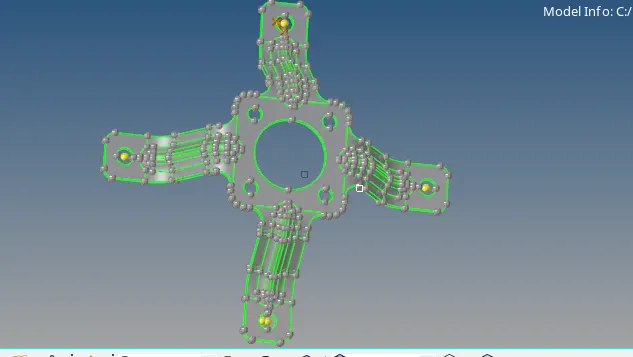
check the thickness of the model at each and every end.
check for the errors like unfilled surface, some irregular surface.
To produce a midurface use midsurface tooland produce mid
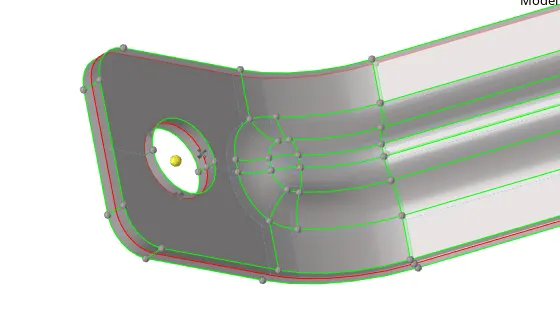
By using the Filler tool fill up the hles that are less than 5mm .
The toggle the sides of the circle
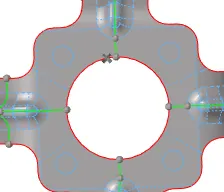
now with the help of distance command check the lines where the elements are going to fail for the minimum
toogle those lines.
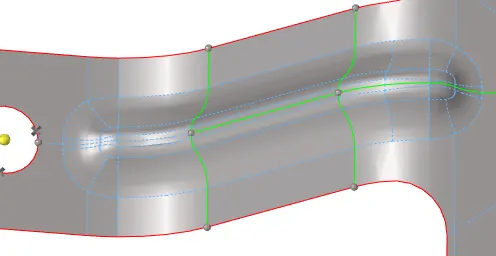
with the help of mid line produce a line in between two lines so that there is no gap between the lines
Then use trim with line option and then select the surafce,lines and click ok the surface gets trimmed
click F12 and start the meshing part
set quality criteria to target elemnt-5, min-3.5,max-7
start to mesh each part and avoid trias touching each other and trias at feature lines
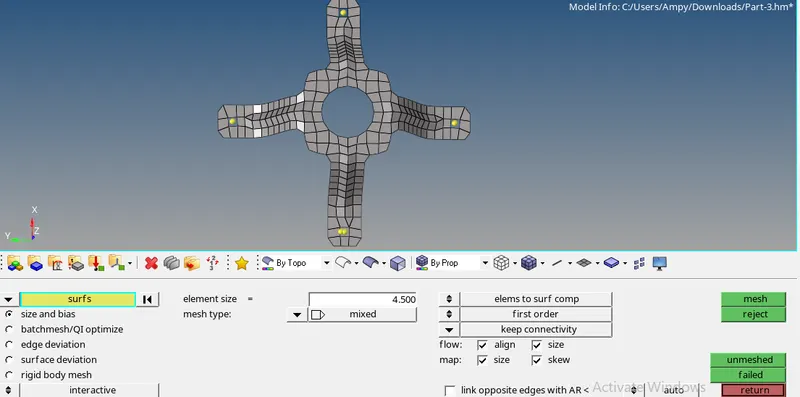
check for quality, use qualityindex and resolve the errors and smooth the mesh using smooth tool
check all the parts are meshed and asve the model in .hm format.
Result:Proper mesh flow is maintained and all qaulity is resolved.
Final image of the model: