Wiring harness routing & packaging Rules Week 3 Challenge
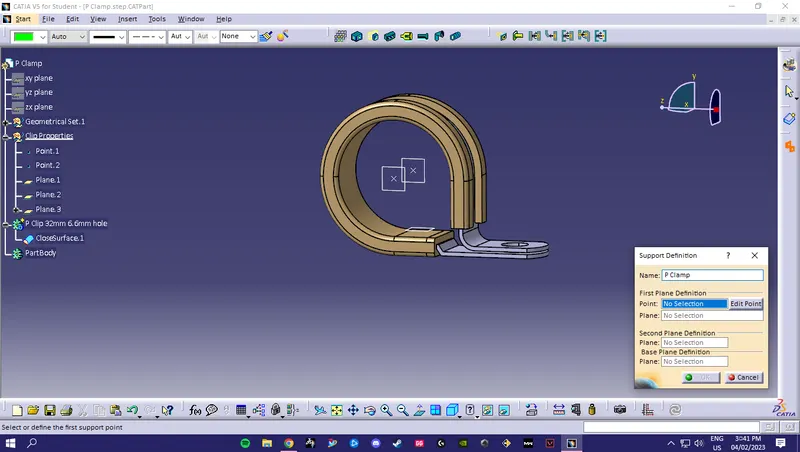
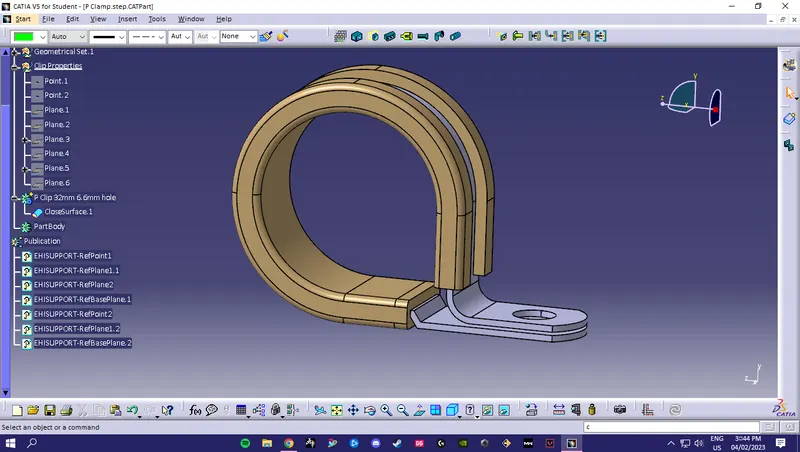
Q1. Download following cad data & define it as Electrical support using Electrical Part design Workbench. Define all the necessary properties.
WIRING HARNESS ASSESMBLY STRUCTURE- CLIP
- GET THE CLIP 3D PARTS
- DEFINE GEOMETRY PARAMETERS
- DEFINE PART AS SUPPORT
- DEFINE ENTRY POINT AND PLANE
- DEFINE BASE AND EXIT PLANE
PROCESS USED FOR THIS:
- First we downloaded the step file from the challenge.
- Then we used "join" command to join the part and then used "closed surface" command to obtain the 3d part.
- Then we created points using "clircle/elipse/Sphere"
- Then we created first 2 planes using "Parallel through point" and the base plane by "Offset from plane"
- Then we switched to Electric part desgn
- Then Clicked on support definition - select part - select entry point - select entry plane, exit and base plane.
- We do it two times as the entry and exit is from both direction of the provided clip.
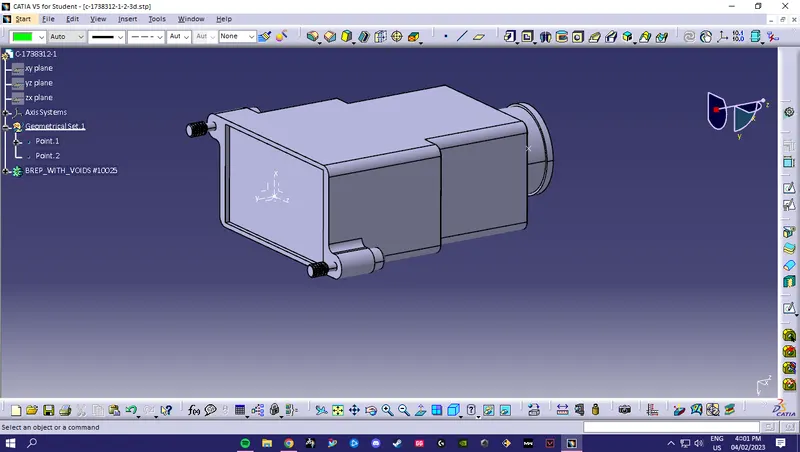
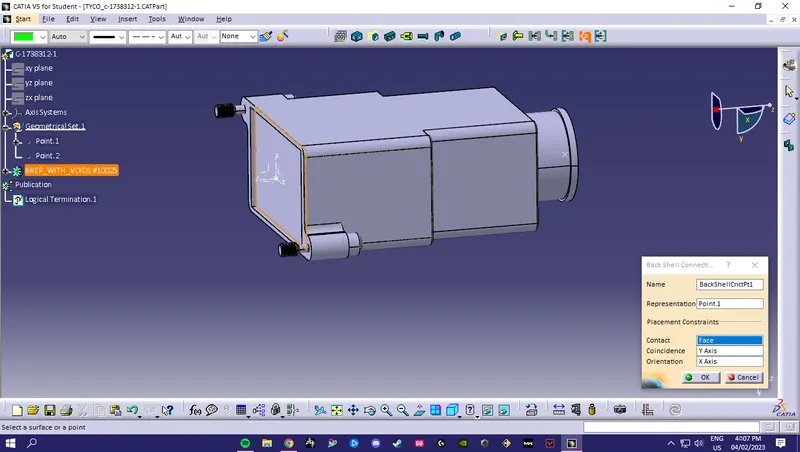
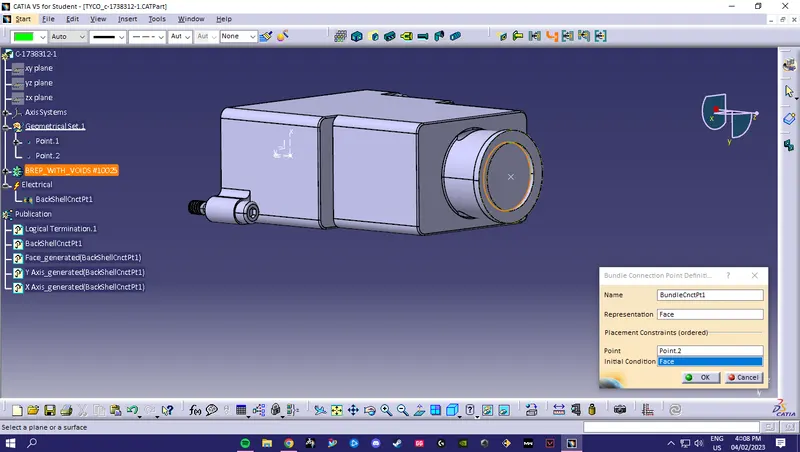
Q2. Download following Back shell cad data & define it as Electrical back shell using Electrical Part design Workbench. Define all the necessary properties.
BACKSHELL BASICS:-
- GET THE 3D PART
- DEFINE THE GEOMETRY PARAMETERS
- DEFINE THE PART AS BACKSHELL
- DEFINE THE BACKSHELL CONNECTION POINT
- DEFINE THE BUNDLE CONNECTION POINT
PROCESS:-
- First we create a Back shell entry point.
- Then we create axis system for back shell entry.
- After that we create the bundle connection point.
- Then we switch to Electrical part design.
- Then we define part electricaly as back shell.
- Then we define Back shell connection point.
- At the last we define bundle connection point.
Q3. Create Following Corrugated tubes & Add them in Catalogue under “Slit COT” family.
|
Name |
ID (mm) |
OD (mm) |
Thickness (mm) |
|
15mm COT |
12 |
15 |
1.5 |
|
20mm COT |
17 |
20 |
1.5 |
|
35mm COT |
32 |
35 |
1.5 |
|
10mm COT |
7 |
10 |
1.5 |
|
5mm COT |
3 |
5 |
1 |
PROCESS:-
FIRST WE CREATE THE CATALOUGE :-
STEPS 1:-
- new part -
- catalogue document -
- add family -
- give name -
- type -
- select Conduit -
- save.
STEP 2:-
- Open part to add catalogue -
- store device command -
- select catalogue -
- family -
- Slit_cot_tube -
- ok
THEN WE CREATE THE COT TUBES AND ADD THEM INTO THE FAMILY:-
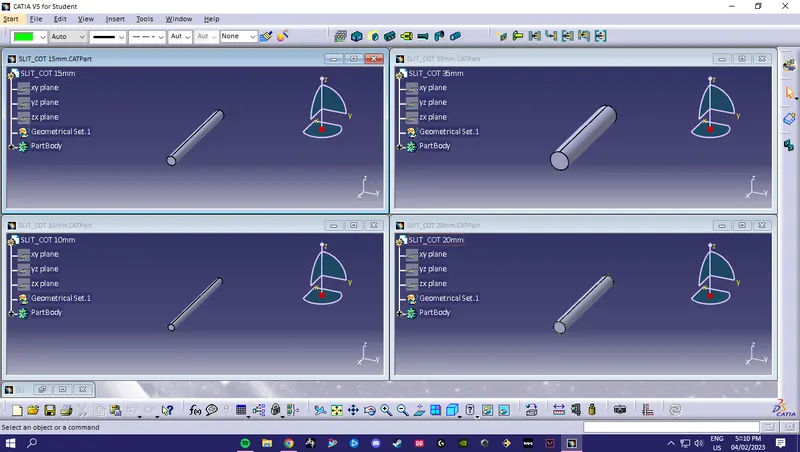
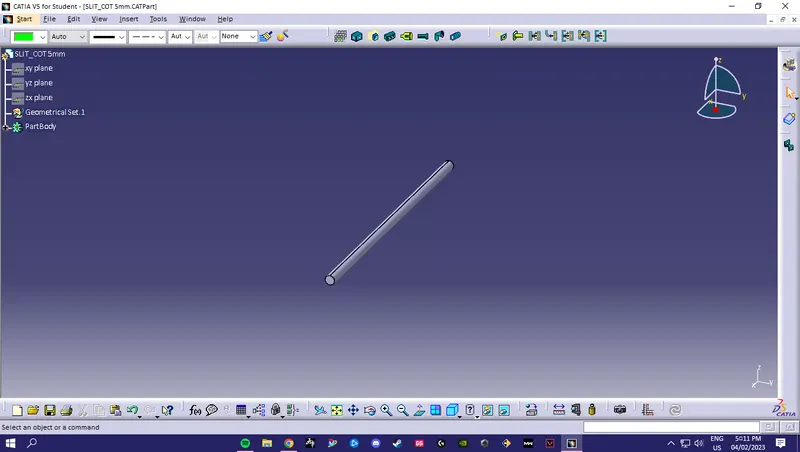
PROCESS TO CREATE COT TUBES:
- Switch to Electrical part design
- Select Define protection Part
- Click on part (on file name in specification tree)
- Provide given parameters and bend radius as '1.5 x Outer Dia'.
CONCLUSION:- ALL THE QEUSTIONS FOR Wiring harness routing & packaging Rules Week 3 Challenge HAVE BEEN COMPLETED
ALL THE NECCESSARY FILES ARE ATTACHED WITH THIS CHALLENGE