Wiring harness routing & packaging Rules Week 3 Challenge
1ans)
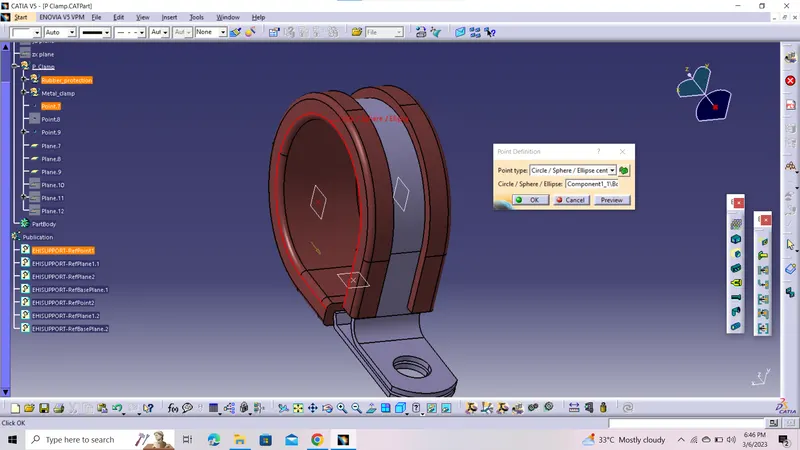
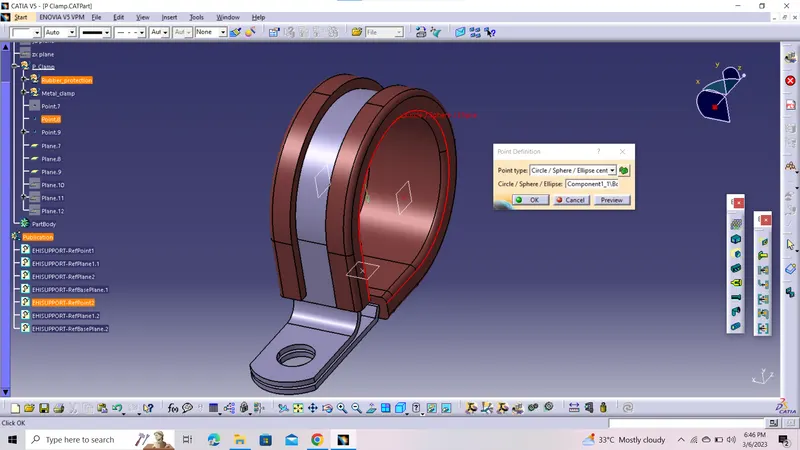
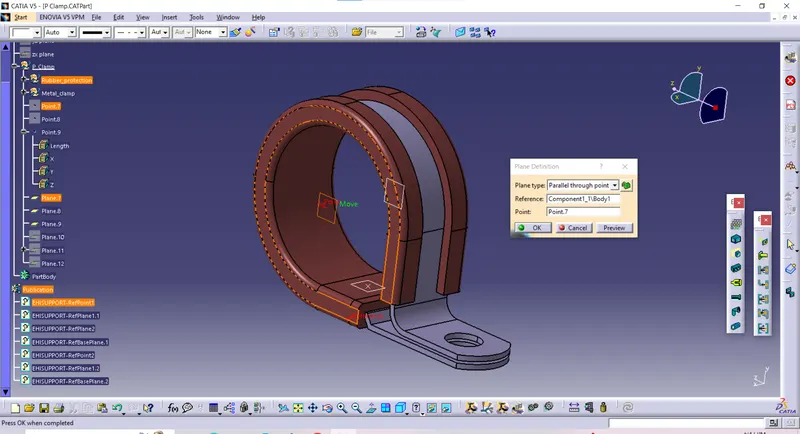
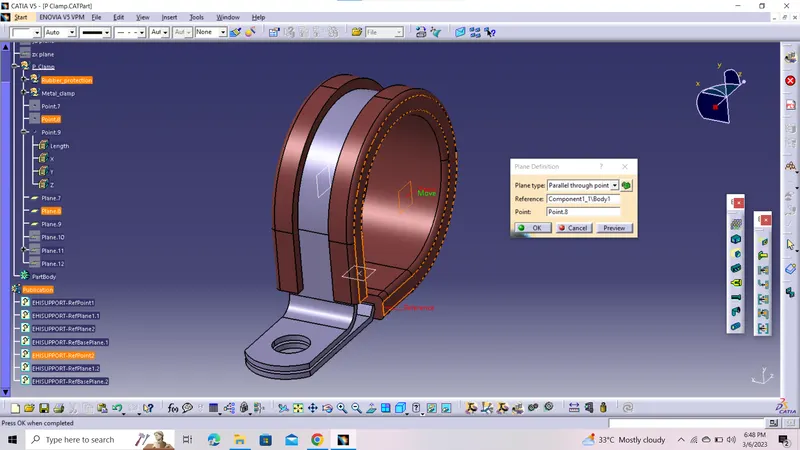
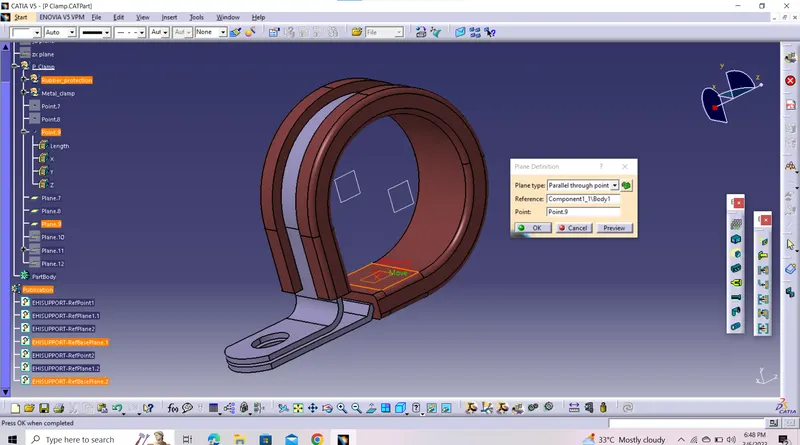
- Create the Points and Planes in Part Design Work Bench.
- Define the part as support in Eletrical Part Design Workbench.
- Select the point and Plane for First entry point and Select the exit plane and base plane.
- Similarly Select the point and Plane for Second entry point and the exit plane will be automatically selected and base select plane.
2ans)
- In Part Design Workbench.
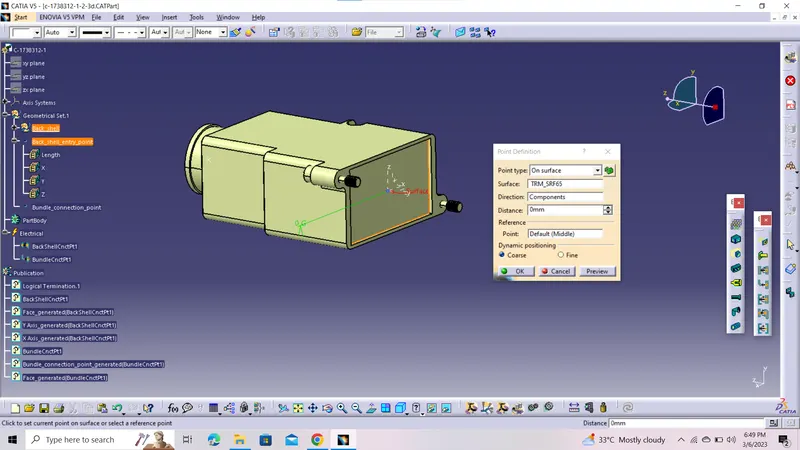
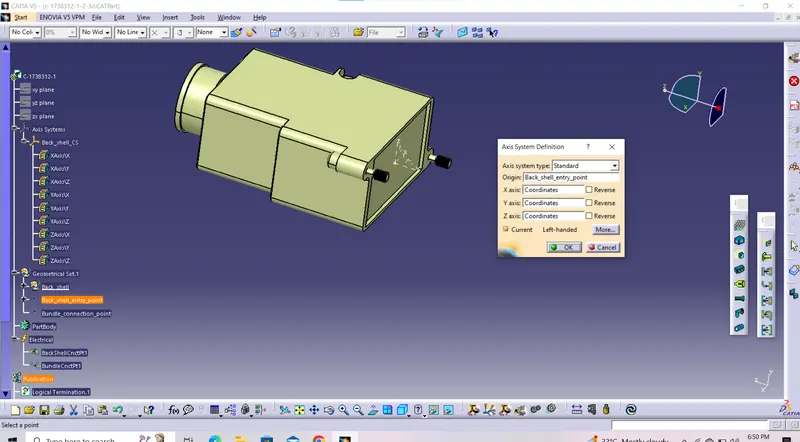
- Create Backshell Entry Point.
- Create Axis system for Backshell Entry.
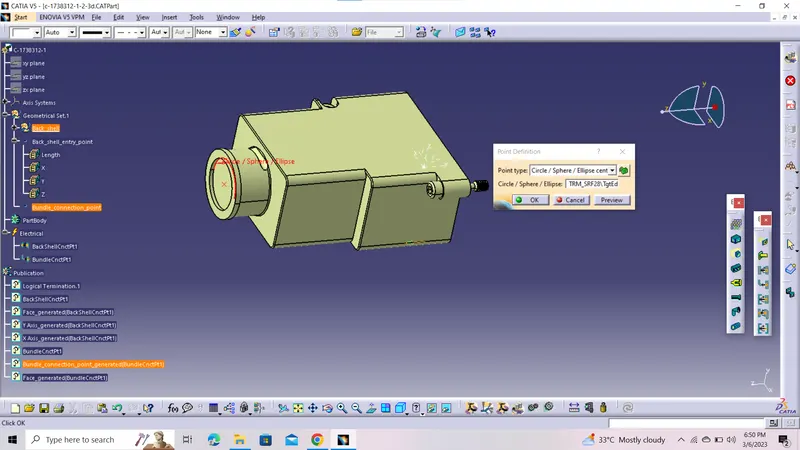
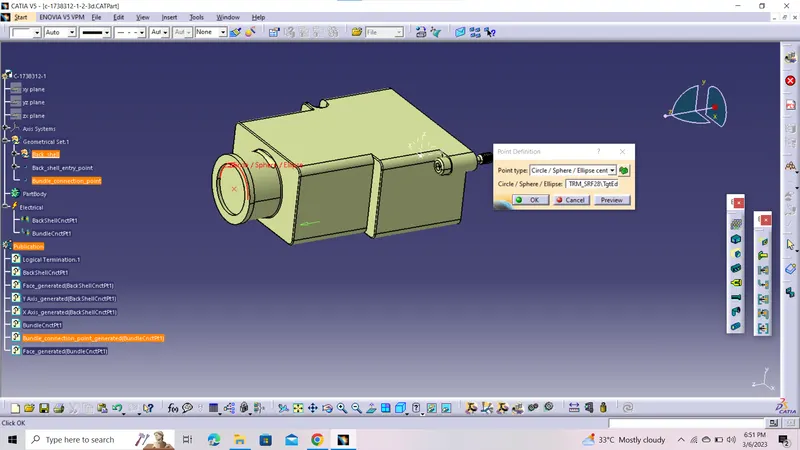
- Create a Bundle Connection point.
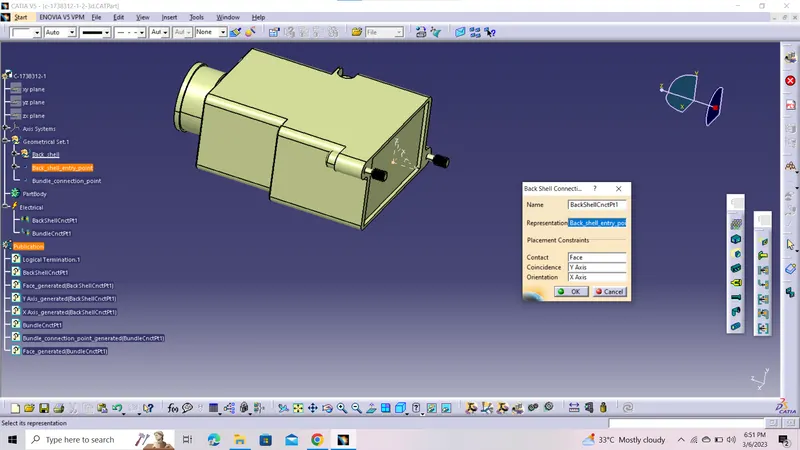
- Switch to Electrical Part Design Workbench.
- Define the part as Backshell.
- Define Backshell Connection point and define Bundle connection point.
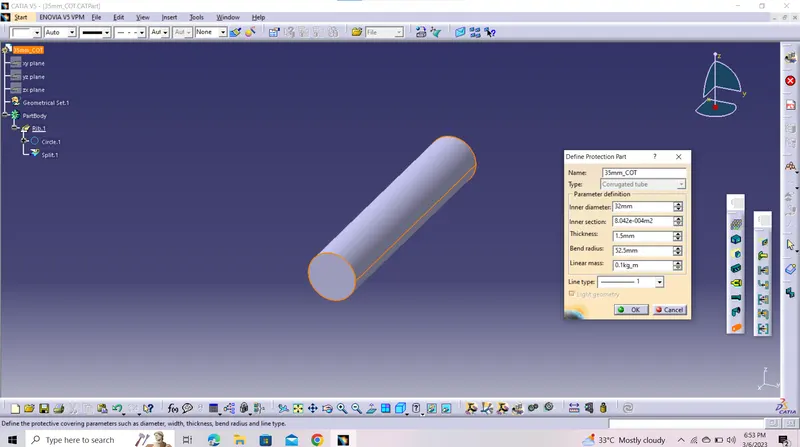
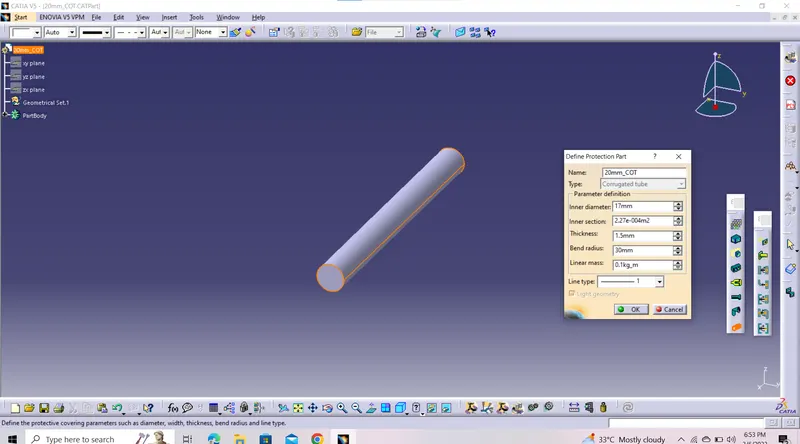
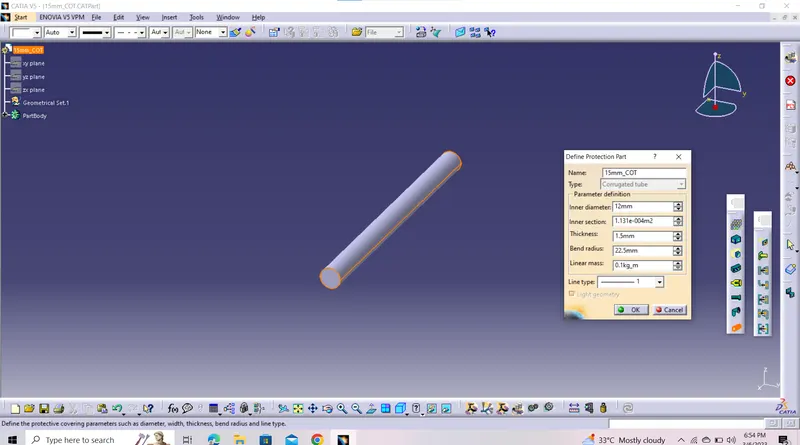
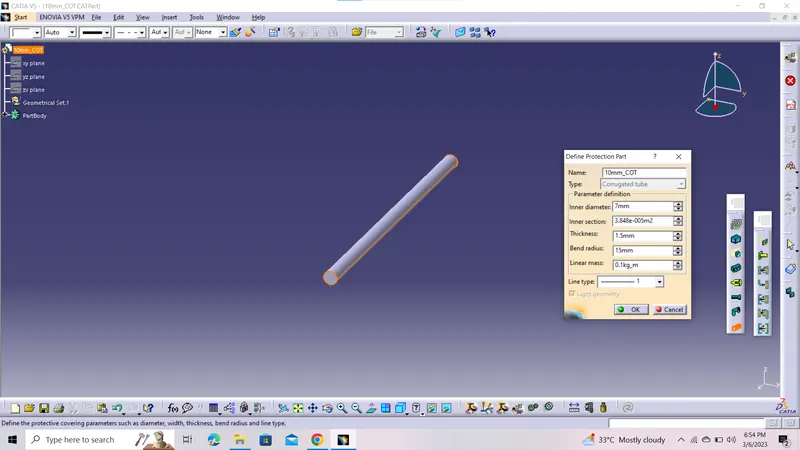
3ans)
|
Name |
ID (mm) |
OD (mm) |
Thickness (mm) |
|
15mm COT |
12 |
15 |
1.5 |
|
20mm COT |
17 |
20 |
1.5 |
|
35mm COT |
32 |
35 |
1.5 |
|
10mm COT |
7 |
10 |
1.5 |
|
5mm COT |
3 |
5 |
1 |
Process:
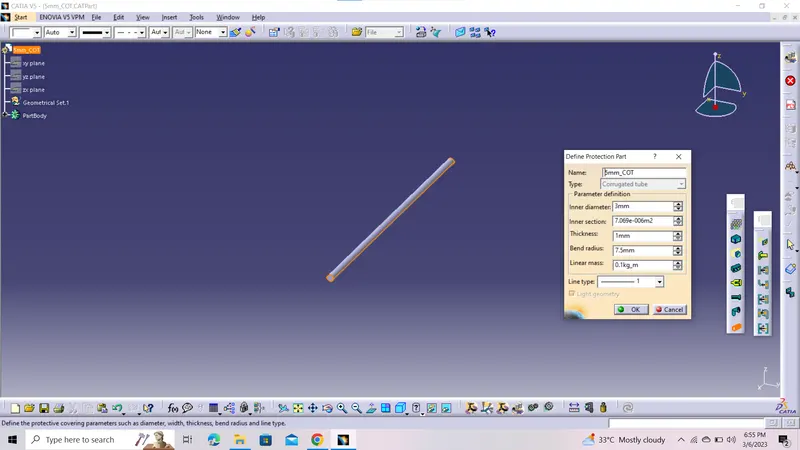
- Create a new Part - switch to Electrical Part Design work bench.
- Define Protection Part
- Provide the parameter as per given in chart and bend radius to be kept as 1.5times the diameter.
Clatalogue creation:
- File - New Part - catalogue document.
- Add Family - Provide Name.
- Select Type - as Conduit and Save.
- Then Goto Part (COTs Created) - Store Device Command - Select Catalogue family - and select the part.