Wiring harness routing & packaging Rules Week 3 Challenge
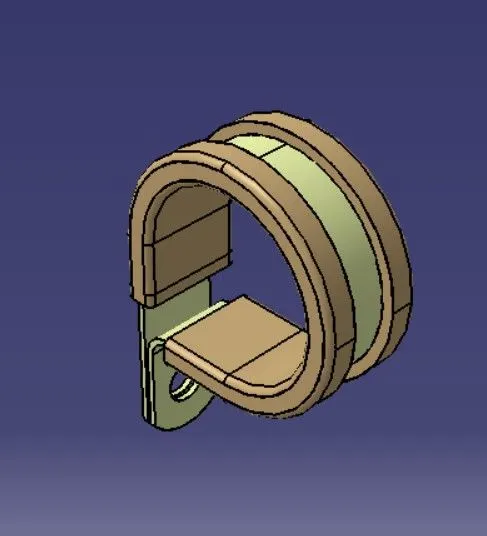
REPORT WRITING FOR P-CLAMP
Accroding to the given question at first we need to download the CAD files in. IGS fromate from given the video #5 go to the P-Clamp Drive link as given then download. Then to define Electrical Part design work bench, we need to do certain steps such as:-
Following important parameters required to do defined.
- Entry point & plane
- Exit point & plane
- Base plane
Fast open catia and go to the file and open and Get the click 3D part (IGS Format), Define the geometry parameters so initially we need to the point and go with the circle/sphere /elipse center and we select this entry circle and get point, similarly click on the circle/sphere /elipse center we select the circle and i have create Entry point &plane at center, Create exit point & plane at center & Create Base Plane Bottom(2mm).
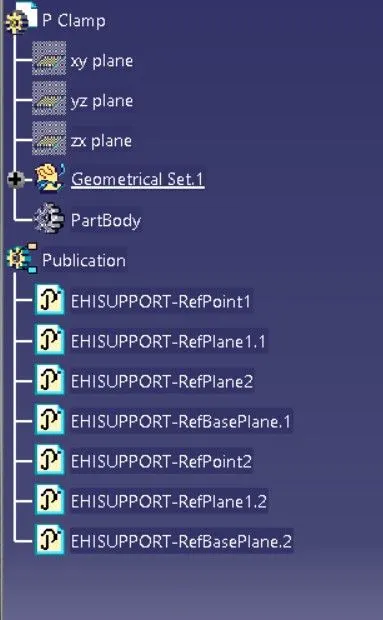
We can go to the electrical part design we have an option is support and create support part and click on p clamp and select this entry point , plane , second plane and base plane then click ok.again i have to do the give it other side and again i click support on this p clamp and select point , plane & base plane now click ok.
Now this P- Clamp is electrically define and forther can used for wring harness bundel assembly.
REPORT WRITING FOR BACKSHELL TYCO-1738312-1 :-
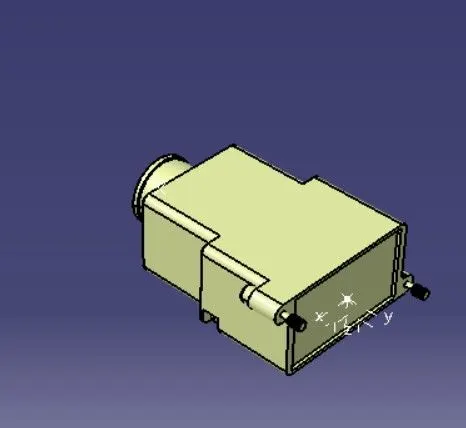
According to the given question at first we need to download the CAD files in .IGS format from Tyco Electronic website as given , then to define TYCO 1738312-1 as Electrical Backshell using Electrical Part Design workbench , we need to do certain Steps such as:-
First we need to do Geometry parameters such as PONTS & AXIS , So first we need a POINT in the Backshell connecting connection point so take POINT toolbar , select 2 Points ,press MiddlePoint and press OK ,we got POINT-1 , go to AXIS toolbar select origin as POINT-1 , Keep the X,Y,Z axis according to orientation and mounting the backshell to the Connector .
Also we need a POINT in the Bundle Entry side , So Click to the POINT toolbar then Point type select Circle/sphere then click to edge ,then press OK . POINT -2 is created , Save the Model .
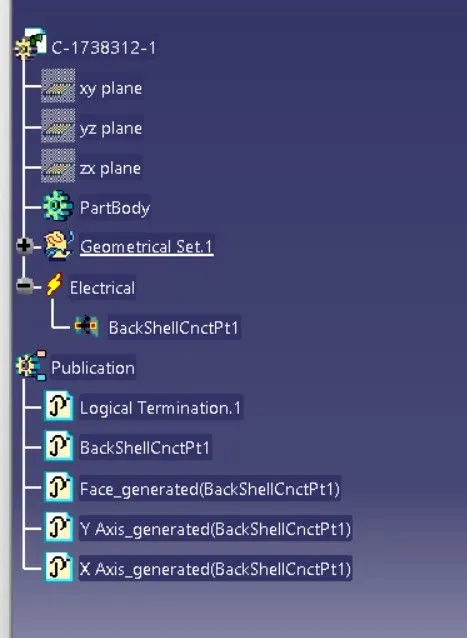
Then Switch to Electrical Part design Workbench, then Select "DEFINE BACKSHELL" from the toolbar ,then click to the body a dialogue box appears then let the part number accordingly and in Extra length let it be UNSET .then Press OK .
Then we have to define the backshell connection point so, Select "DEFINE BACK SHELL CONNECTION POINT" in the toolbar , select the body a dialogue box appear , then let the name be as it is , in the representation select the POINT-1 which we have created , in the contact select the face which is going to mate with the connector , Coincidence Y-AXIS , Orientation X- AXIS . Press OK . save the model .
Then we have to define Bundle connection point so, Select "BUNDLE CONNECTION POINT" in the toolbar then select the body , let the name be as it is , in representation select the face , in Point select the POINT-2 which we created and in Initialcondition is same face which is normal to the bundle entry .Then Press OK . Save the part .
Now the Backshell TYCO-1738312-1 is defined as Electrical back shell and ready to use in the wiring harness
REPORT WRITING FOR CORRUGATED TUBES(COT):-
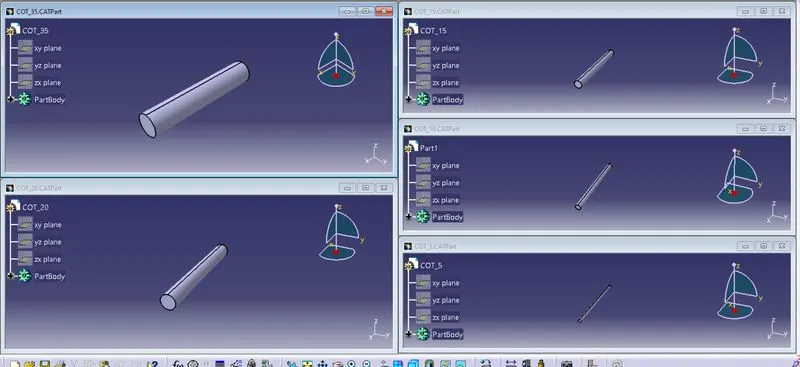
According to the given question the Corrugated tubes cannot be downloaded , we have to create the tubes through "DEFINE PROTECTION PART '' toolbar in Electrical part Design workbench , Steps are :-
First we need to Create a new part file , open the electrical work bench then click to the "DEFINE PROTECTION PART'' then we have to click the part a dialogue box appear .
Then Give the Internal Diameter , thickness according to the requirement or provided by the manufacturer , here in this case according to the question.
Then the bend radius we have to calculate it by 1.5x times of the given outer diameter . Then press OK
You can see we have created a COT Tube as asked in the given question according to sizes we have to create .
Then Open a new file as catalogue document , then add family then save it naming SLIT COT , then store all the COT tubes we made .
So the COT tubes we made are defined and we can use it for wiring harness