Wiring harness routing & packaging Rules Week 3 Challenge
WIRING HARNESS ROUTING AND PACKAGING RULES
Now as we are all familiar, what actually is the wiring harness design and for what purpose it is used. Previously we have worked on the electrical connector definition along with the connector clip. Now we have got the next challenge of defining the electrical components like the P- Clamp, Back shell along with the design of corrugated tubes having certain inner and the outer diameter.
Let’s start with the first one i.e defining the P-Clamp.
We are given the P-Clamp as an input as shown in the figure below. Our task is to define the P-Clamp the geometrical parameters and then define the component as the support part using the electrical part design workbench.
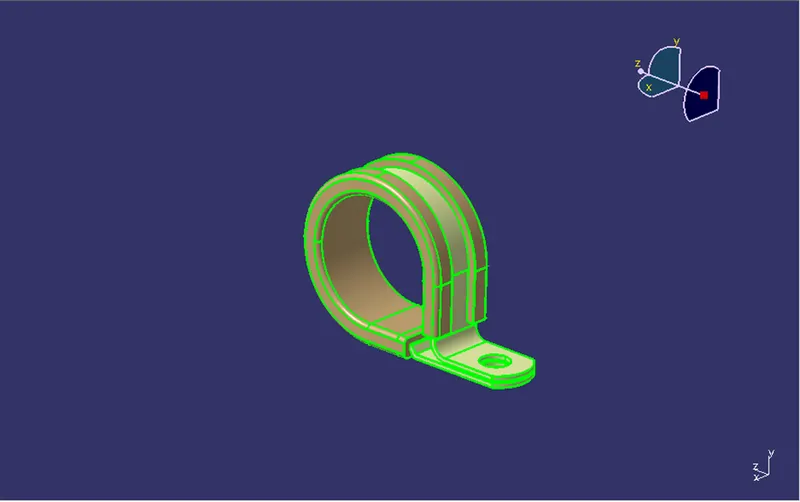
The above given is the input of P-Clamp.
Here initially we get to know that this part is the support part for the wiring harness design. Initially here the center points and planes are defined using part design workbench as shown in the figure below. Here the extra plane is added, offset from the face of about 2mm for the clearance.
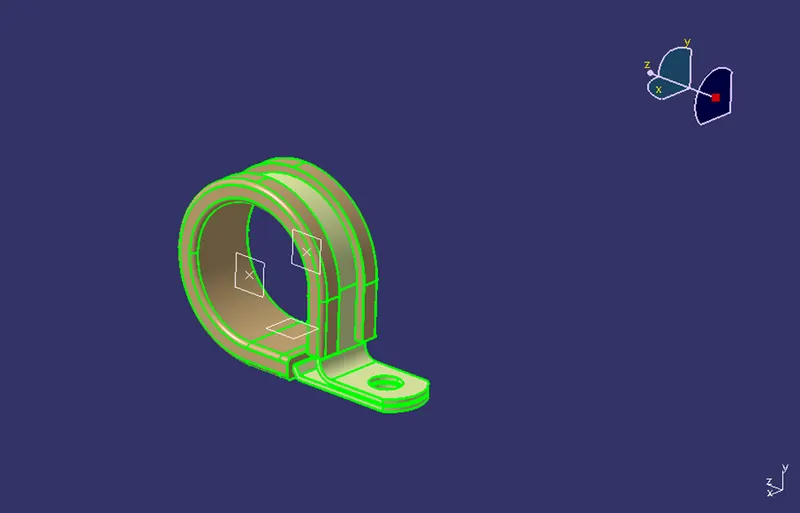
Here after defining all the geometrical constraints in part workbench, the electrical part design workbench was opened. Then this part is defined as the support as shown in the figure below.
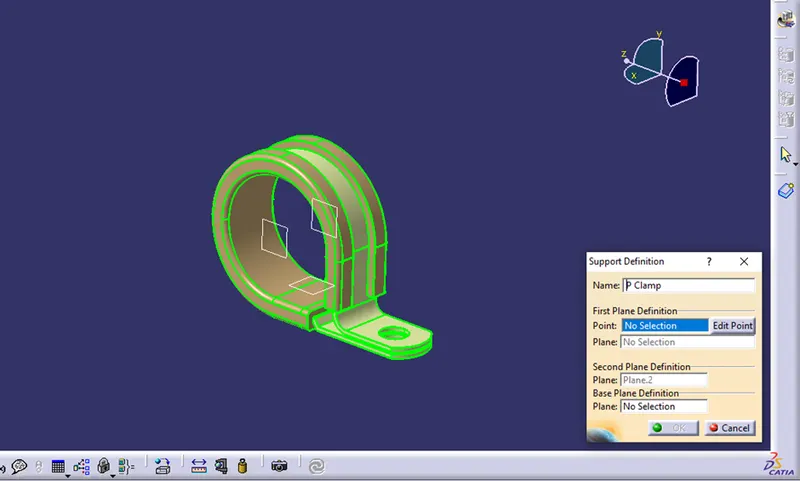
In the support definition we need to select initially the entry point of the wiring and then select the planes and the points. Likewise same for the other side but here the plane 2 is automatically selected as shown in the figure below.
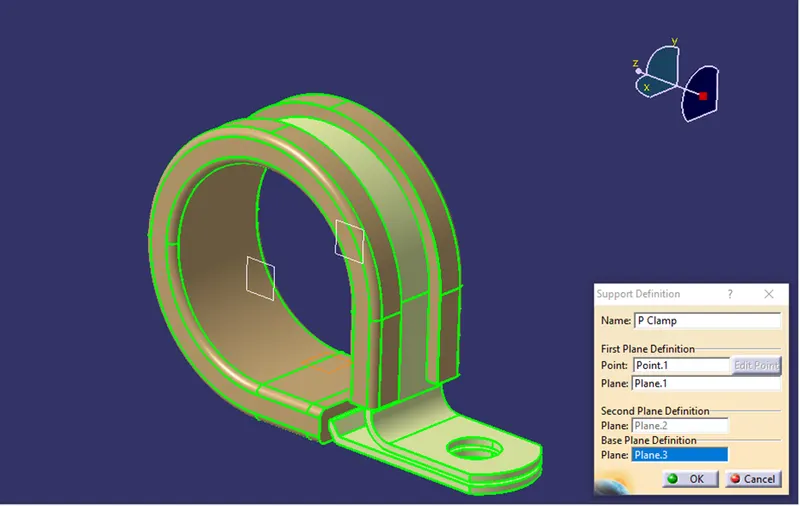
Hence the defining of the support P-Clamp is done successfully.
The next component is back shell. The purpose of the back shell is to protect the wiring from external damage, making the aesthetics of the wiring assembly look good.
So here the input of the back shell is given as shown in the figure below.
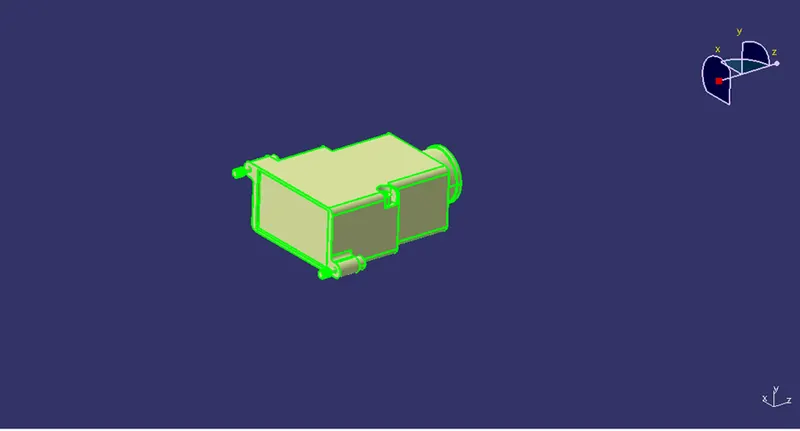
Here we need to define the geometry for the back shell using the part define workbench as shown in the figure below.
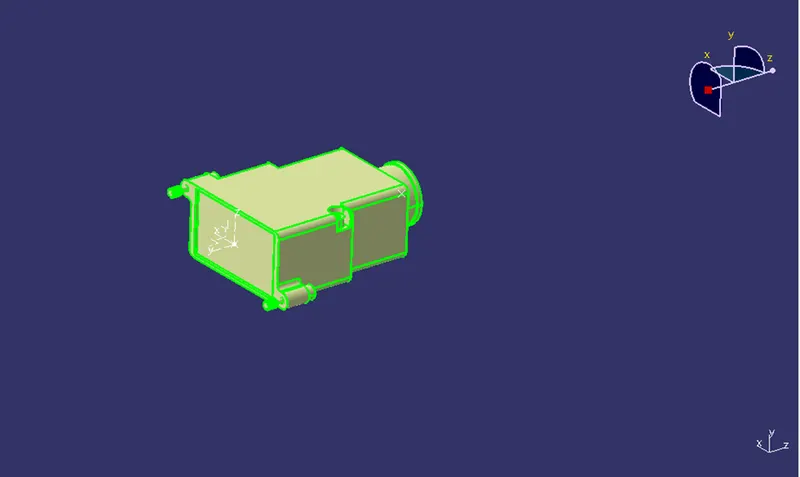
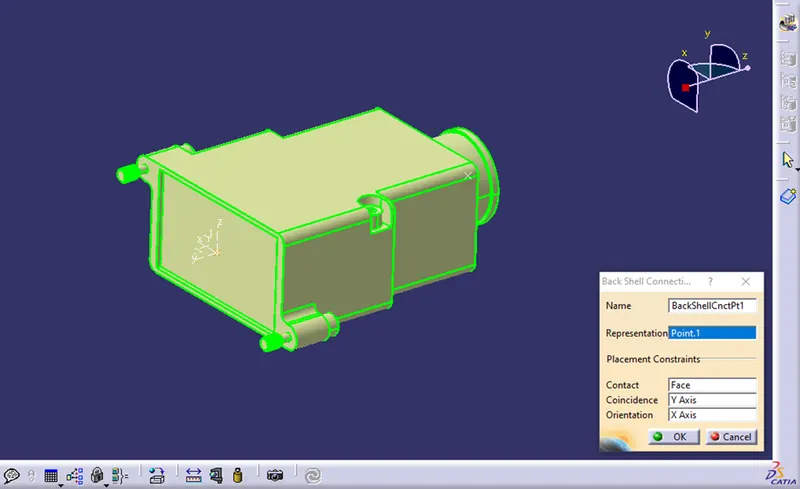
After defining the geometry here the electrical part design workbench is switched, and then the back shell connection point is defined as shown in the figure below.
After defining the back shell connection point here the bundle connection point is defined as shown in the figure below.
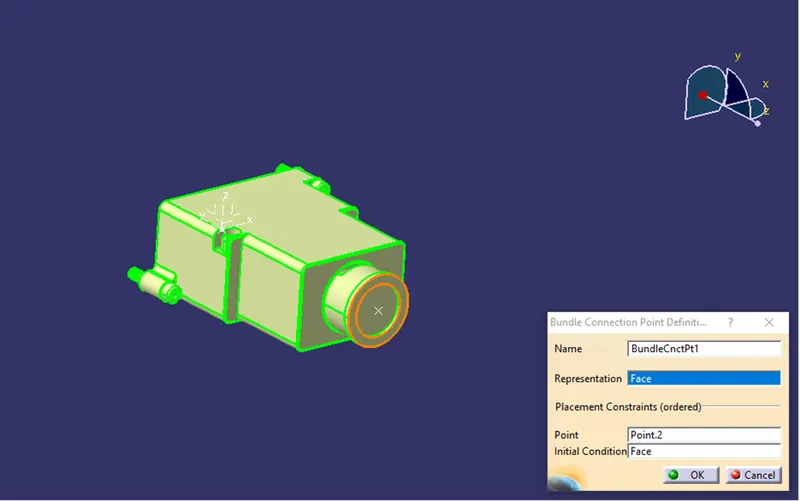
Hence here the back shell component is fully defined.
Now the next task is to create the corrugated tubes catalogue including the design of the corrugated tubes.
The input for the corrugated tube design is given as follows :-
Create Following Corrugated tubes & Add them in Catalogue under “Slit COT” family.
|
Name |
ID (mm) |
OD (mm) |
Thickness (mm) |
|
15mm COT |
12 |
15 |
1.5 |
|
20mm COT |
17 |
20 |
1.5 |
|
35mm COT |
32 |
35 |
1.5 |
|
10mm COT |
7 |
10 |
1.5 |
|
5mm COT |
3 |
5 |
1 |
The above data is for designing of the corrugated tubes.
Initially we have to create the catalogue for the tubes so that we can save the designed tubes into the catalogue.
Here initially the new catalogue document is opened and then add family option is used to create the new catalogue as shown in the figure below.
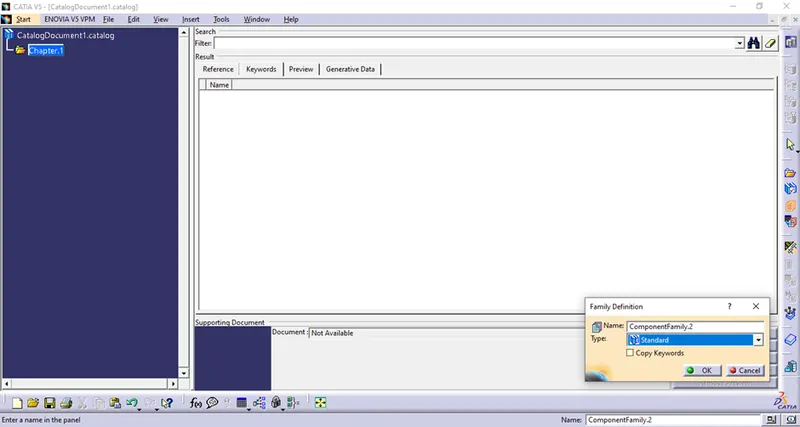
Here in the name, type the name for the catalogue and then in the type use the conduit type as we are designing the corrugated tubes. Finally save the file and close the catalogue document.
Then here the electrical part design is opened and then the protection definition is clicked and then clicked on to the part as shown in the figure below.
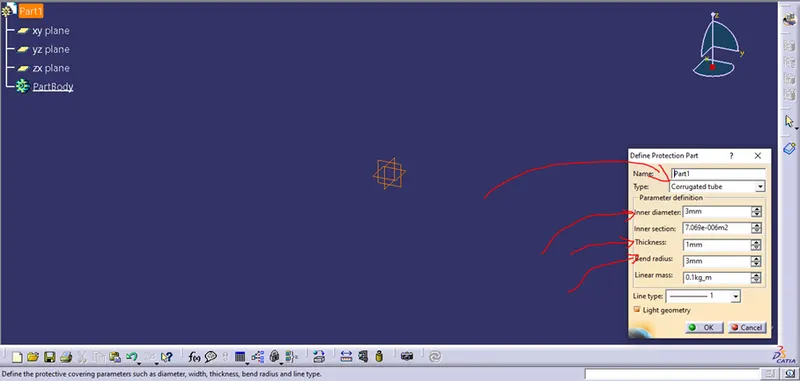
Here the name of the tube is given i.e the cot outer diameter and then the inner diameter is entered. Then the thickness is provided to the tube and then finally the bend radius is given by formulae inner diameter * the thickness will be our bend radius as shown in the figure below.
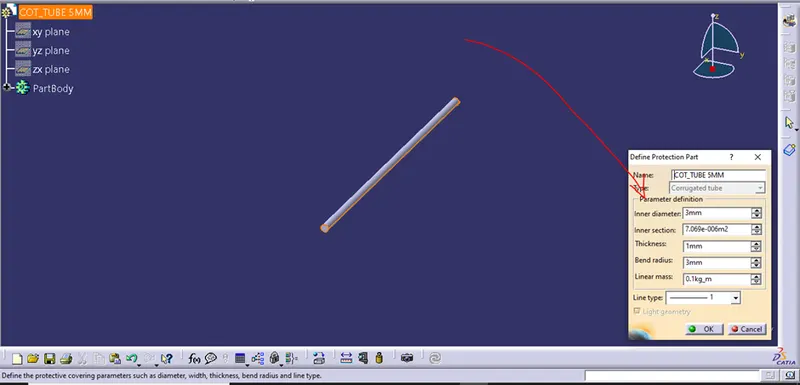
Here the rod is designed as per the given values.
Similarly all the design of the corrugated tubes are designed in the same way as shown in the figure below.
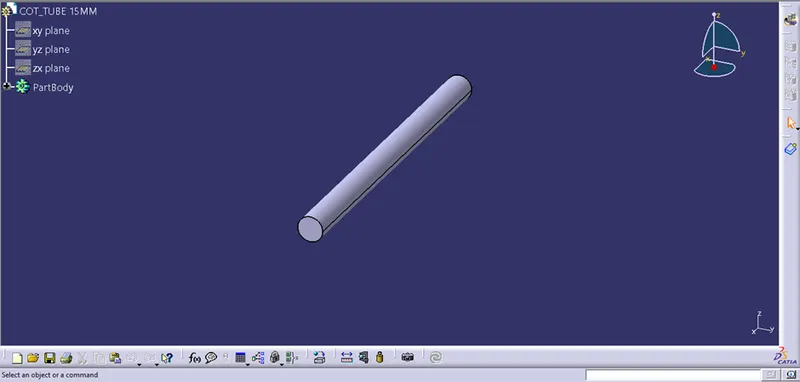
15mm tube
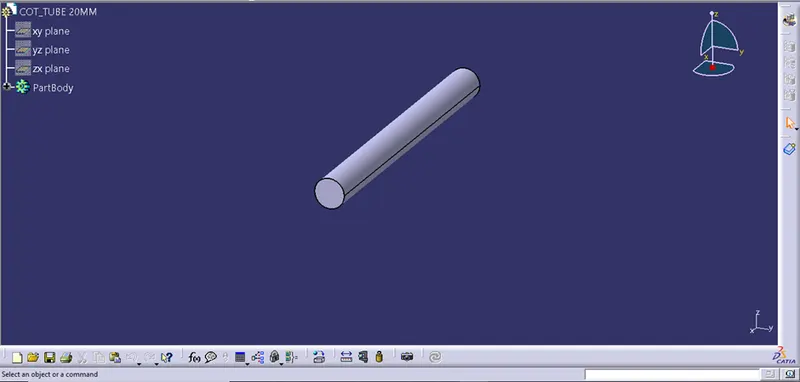
20mm tube
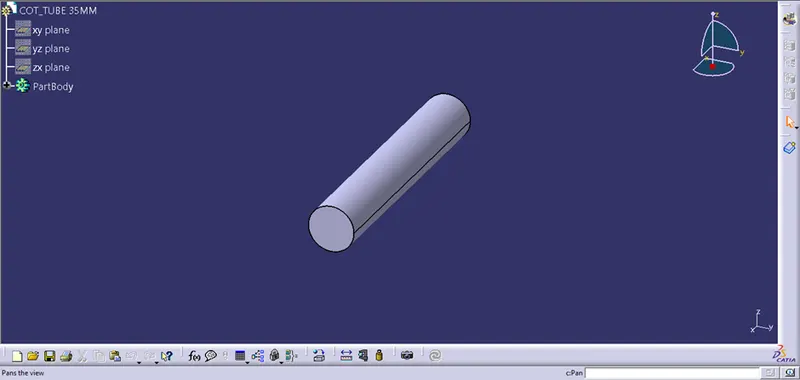
35mm tube
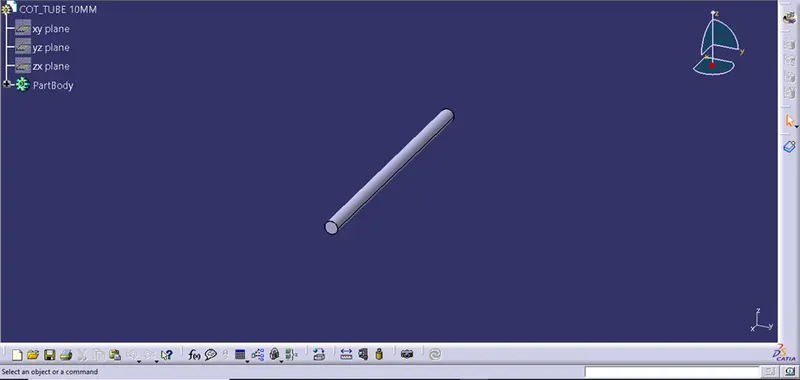
10mm tube
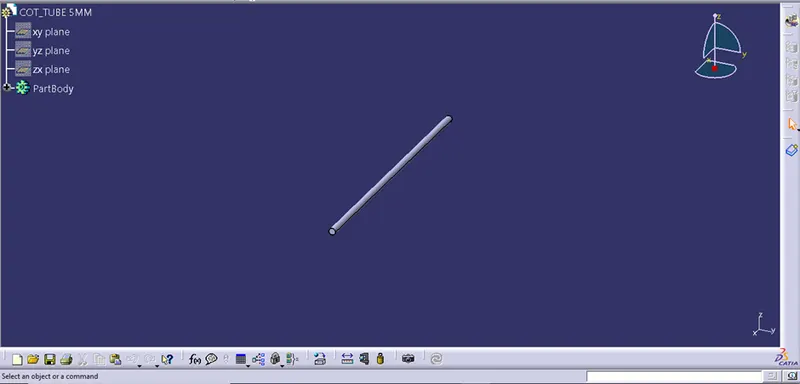
5mm tube
Hence all the tubes are designed according to the design parameters. Now just click on the highlighted command i.e is the store device and then save the part files into the saved catalogue document.
Hence the challenge is fully complete.