Week 8 - Challenge 2 - Base Bracket Design
BASE BRACKET DESIGN
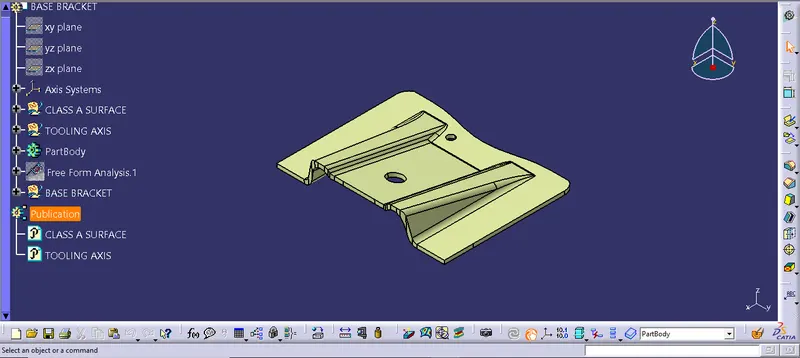
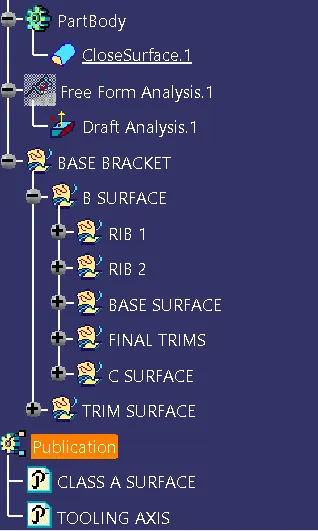
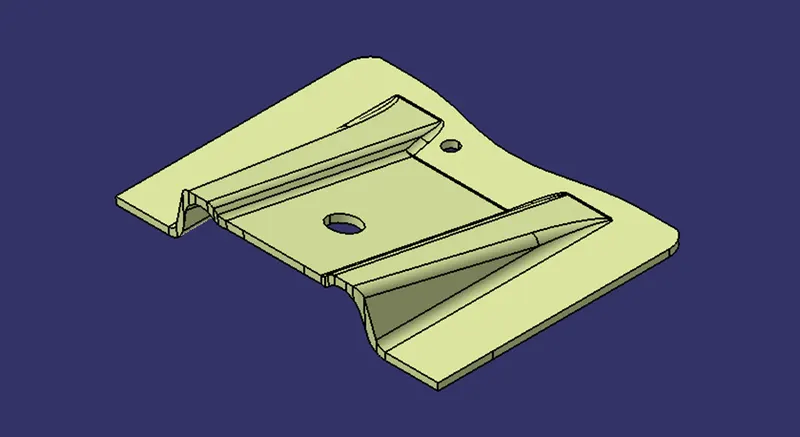
Here the base bracket design is given as an input, (Class A Surface). We have to create the Class A Surface design into the solid body using the surface design workbench.
Initially the Class A Surface is given as an input, which is then converted into the solid body.
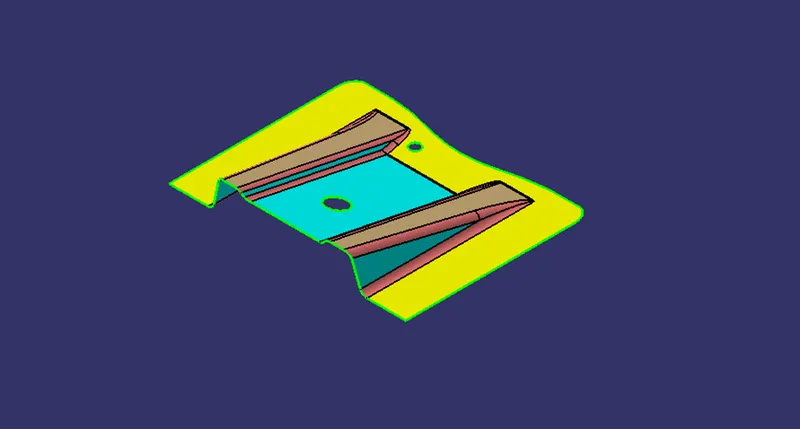
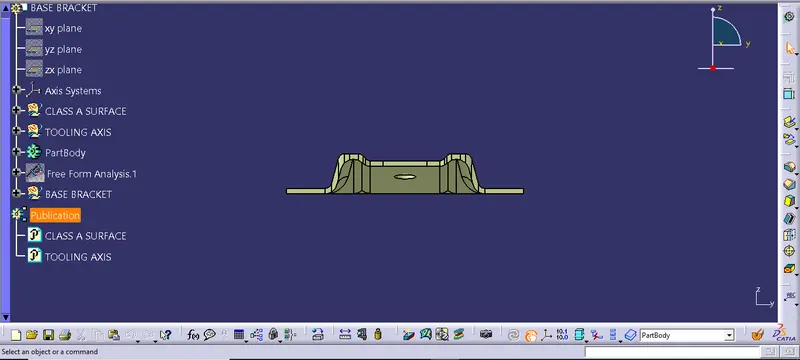
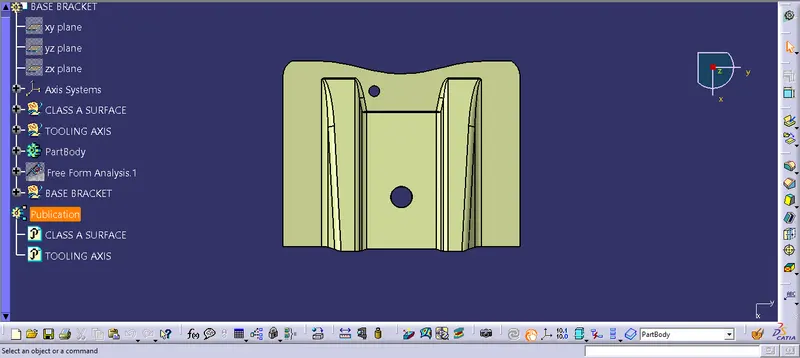
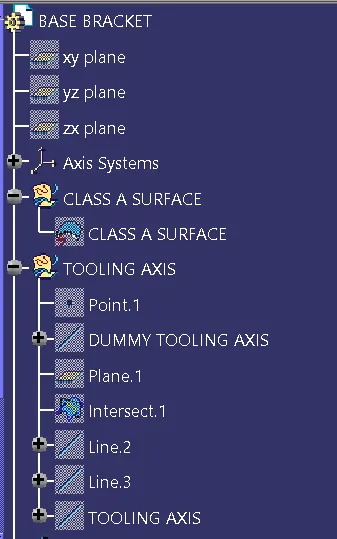
Now the tooling axis is find out by visualizing all three directions and the one best direction is find out for the tooling purpose. Here the Z- axis is considered as the direction for the tooling as it is not practically possible in X and Y direction.
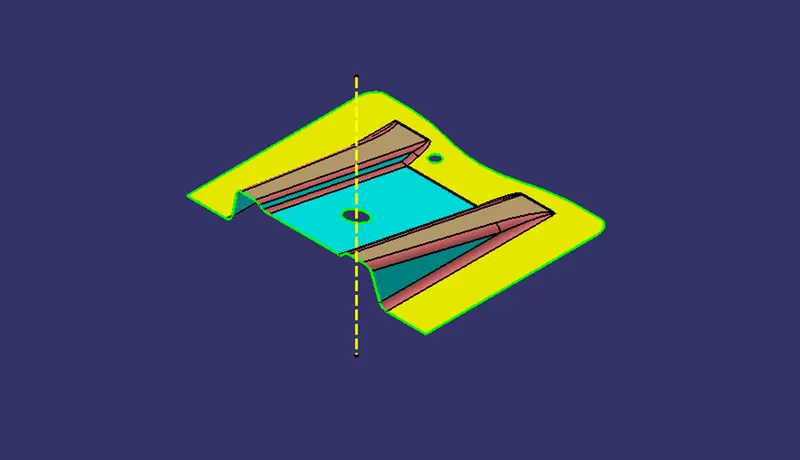
Now as the tooling direction is confirmed, it is to be ensured that the direction in which the tooling is done is correct or not, by doing the draft analysis. The nominal angle taken is 3 degree not more than that as shown in the figure below.
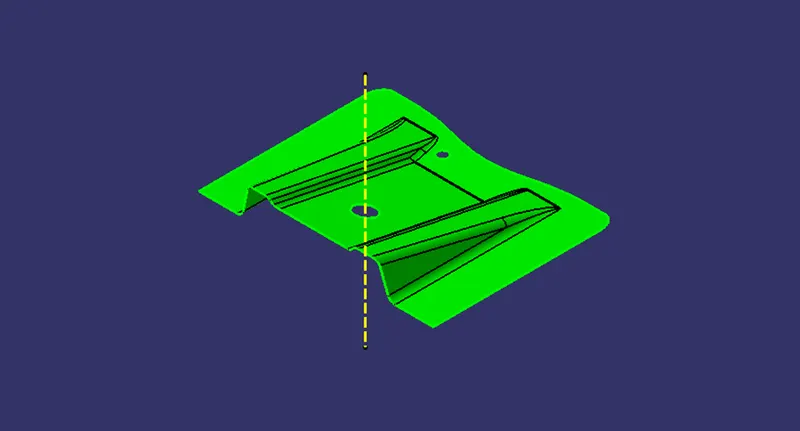
Now the next task is to create the B surface. The B surface is the nothing but the offset of the Class A Surface in the inside direction, on which all the engineering components are mounted in order to fix the component.
So to create the B surface the existing faces of the Class A Surface is extracted one by one and is un-trim as they get un-trim, the surfaces are extrapolated at least 10mm through the point continuity and then they are trim with the side surfaces to get the exact shape of the surface. And at last the trim surface is offset inward with the required thickness value.
Now as the B surface is created, the fillet value is to be given to the B surface so according to the design rules the inward surface is given the fillet as, thickness value of the component + the fillet value i.e 2.5+3. Now our B surface is designed fully.
Next step is to create the C surface. This is the surface that joins the two surfaces. So the B surface is hided and the A Class surface boundary is sweep with the draft direction in the downward direction along with the holes. And at last the sweep is trim with the final surface.
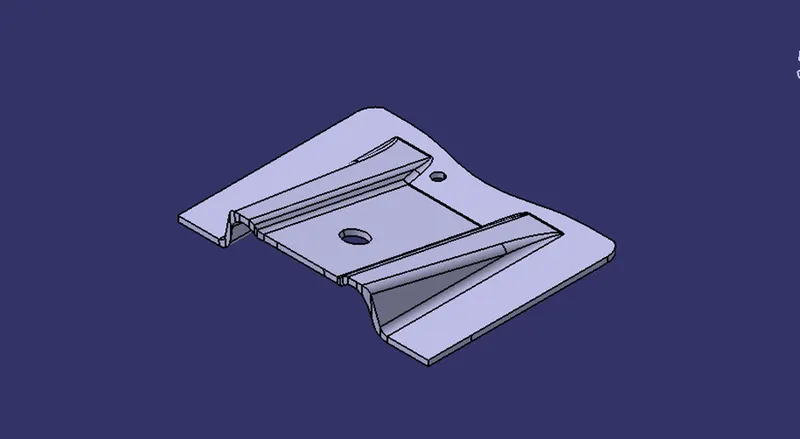
Finally the part body is defined in work and in the part workbench the final component is converted into the solid and closed body as shown in figure below.
Surface Body :-
Solid Closed Body :-
IMAGES :-