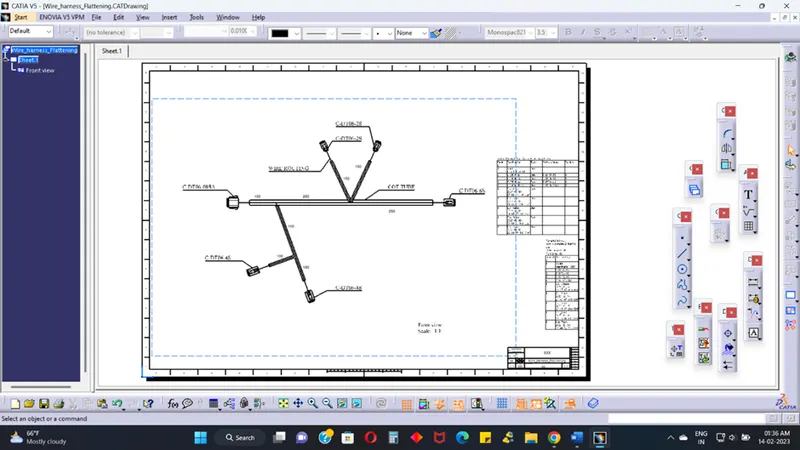
Wiring harness design in CATIA V5 - 3D modeling Week 7 Challenge
Aim:
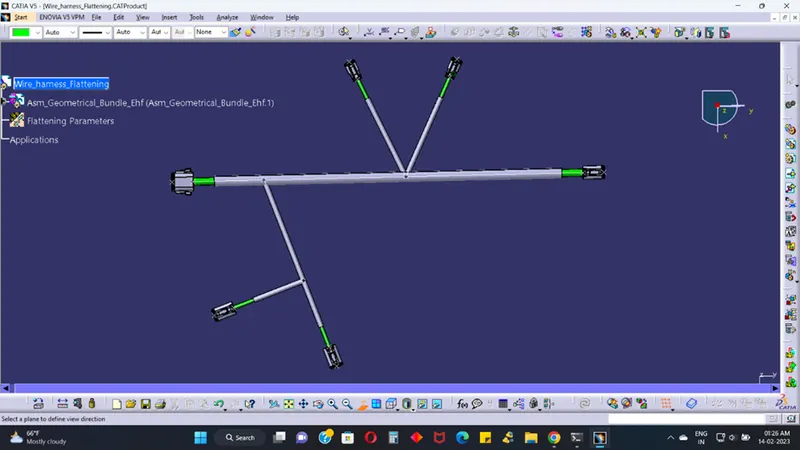
Q1. Flatten the harness assembly completed in “week 4 challenge”. Place the flattened view on drawing sheet. Ensure bundles with protective coverings has different visuals on drawing view.
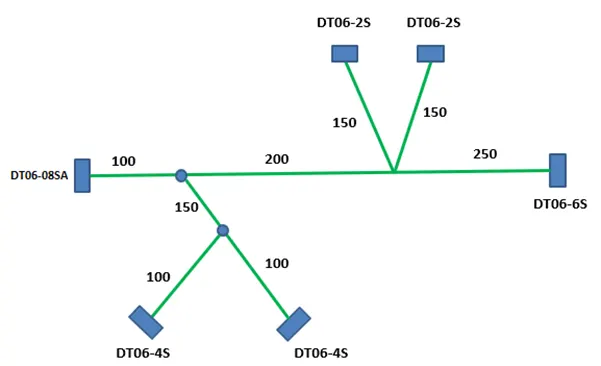
Process:
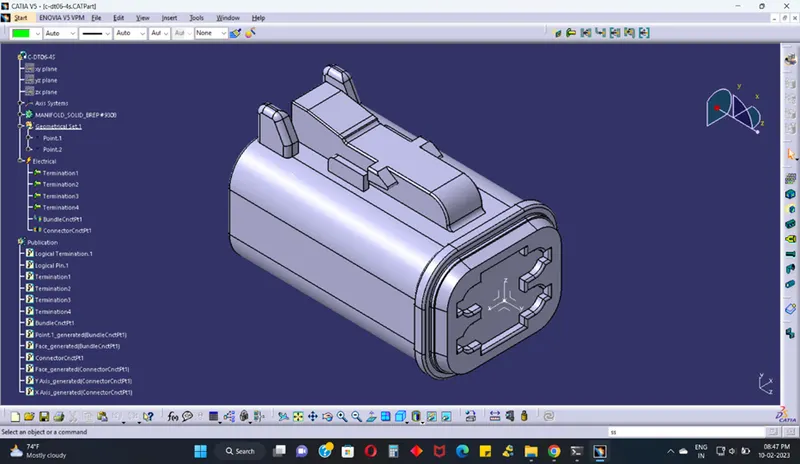
DT06-4S:
Bundle connection point:
To open the part design and create the midpoint on bundle connection wire.
Connector connection point:
To create the midpoint on connector connection face and Axis system to refer the connector connection point create and change axis direction connector connection face to same direction on Y-axis mounting direction, change direction on X-axis on locking mechanism and X-axis perpendicular to the Z-axis.
Switch to Electric Part Design:
To select the define part as connector tool, to choose on single insert connector and give no. of termination as 4 because we have 4 entry points for wire.
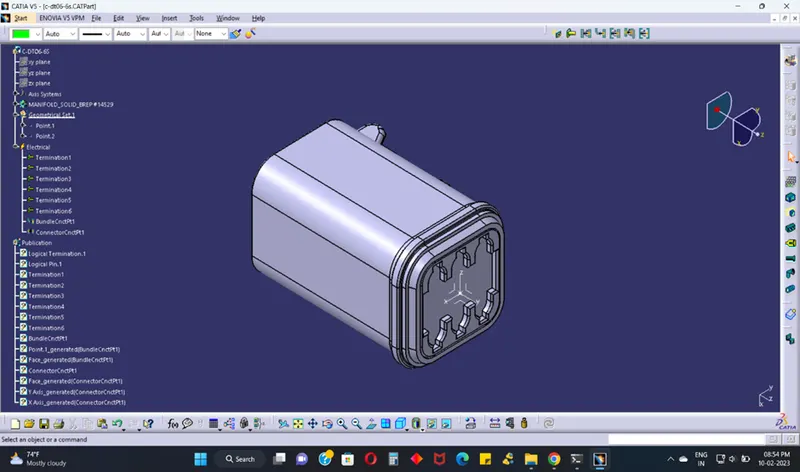
DT06-6S:
DT06-2S:
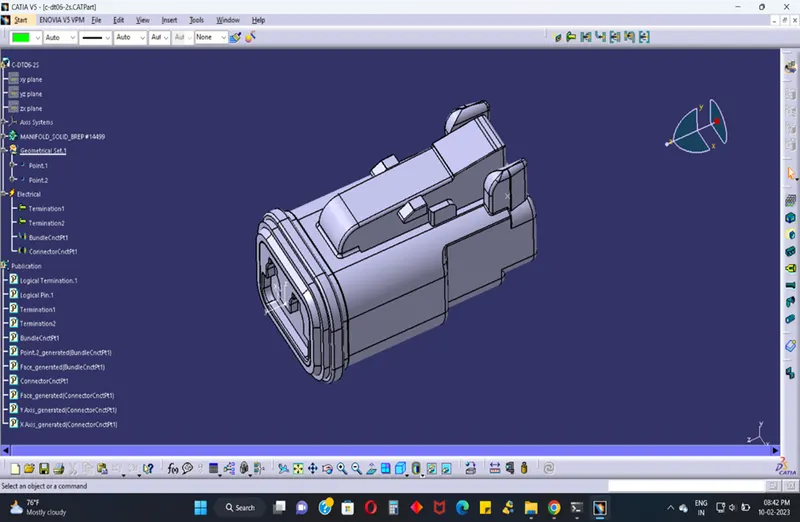
DT06-08SA:
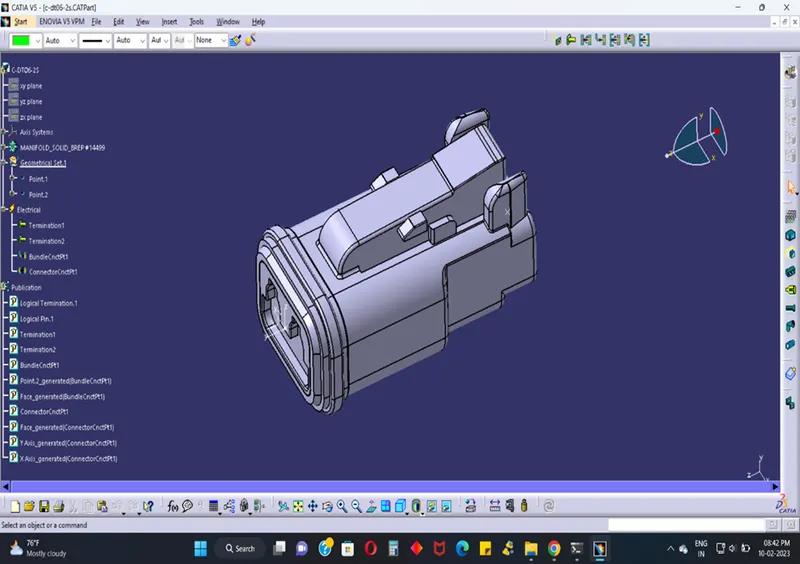
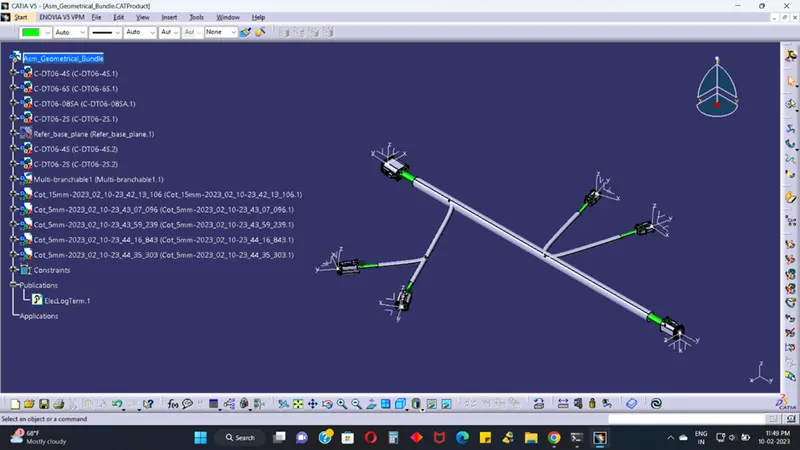
Assembly Geometrical bundle:
Arranging the Connectors by following the Layout:
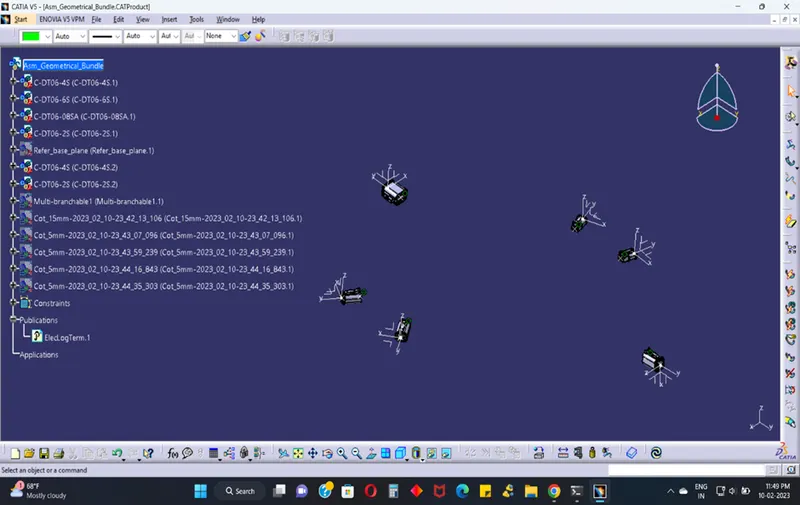
Creating Multi-Branching to the connectors:
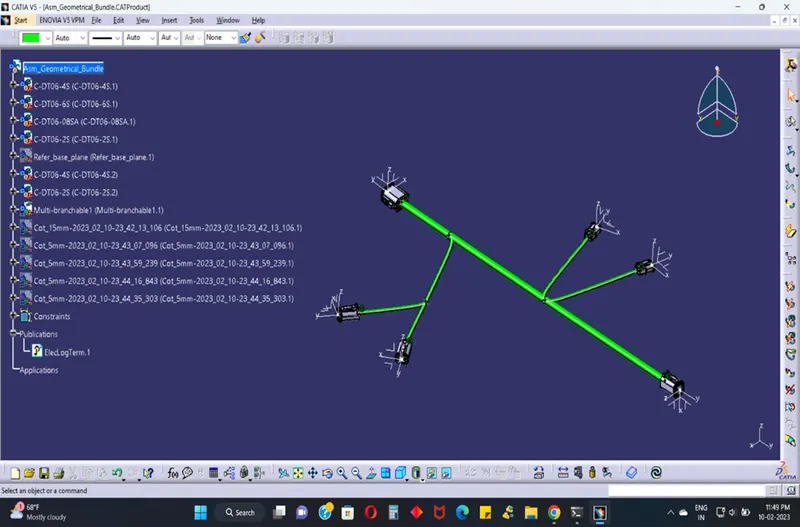
Create Cot Tube to Cover the Electrical Routing:
HARNESS FLATTENING:
We go to the harness flattening workbench and define the flattening parameters. We use the extract command to bring the harness assembly to the flattening workbench. Choosing a suitable plane, we flatten the harness assembly. Bundle segments are rotated at the required angles. the harness assembly is then drafted. Flattening parameters are defined in order to make the bundle and the corrugated tubes visible in the 3d drawings.
DRAFTING REPRESENTATION: