Week 9 - Project - A pillar Design with Master Section
Construction Geometrical set
- To split different surface part on various of geometrical set.
- Frist to create input geometrical set after to check it the class A surface boundary condition its not came any problem to move on forward.
- If problem will be come to short out after to create the input of class A surface.
Class A surface
- To change properties name Class A surface.
- If need mean to change color graphic properties for identification purpose.
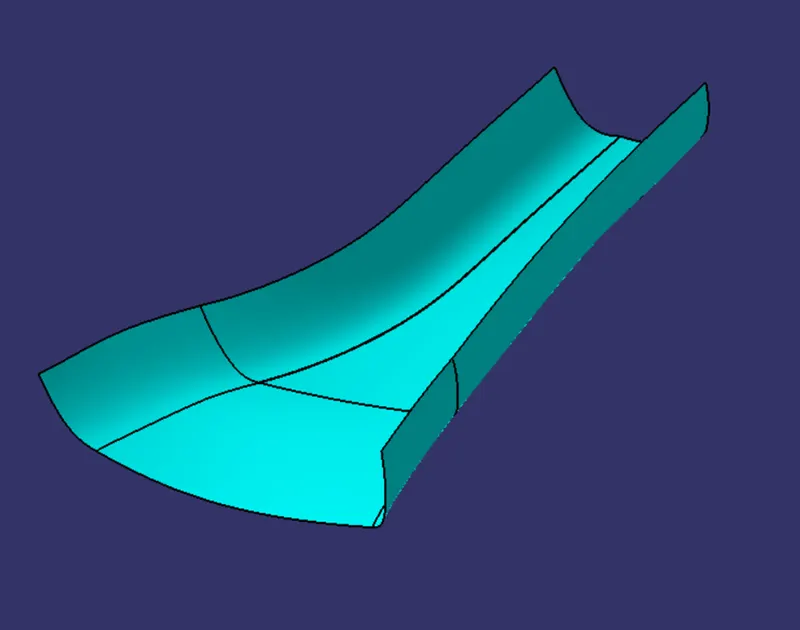
Fig.1 CLASS A SURFACE
Master section
- Horizontal and vertical direction on one sketch profile given to take on reference to make it same profile.
- Split to master section and mention the name on master section.
- Master section 1 and master section 2.
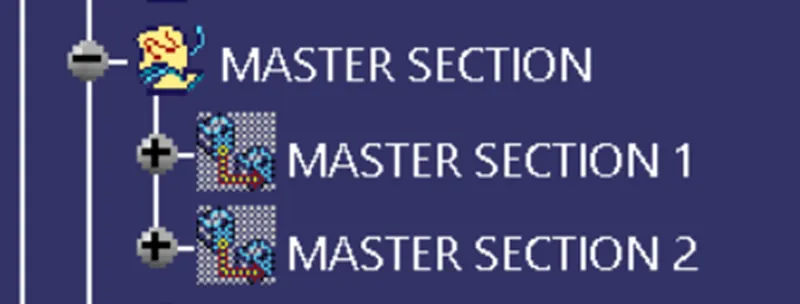
Fig.2 Master section
Tooling axis
- To create axis line with help on class A surface.
- Make it on center point of class A surface and help of direction to create the axis line.
- Graphic properties to use the change color, line weight and construction line to identification purpose.
- To completed the tooling axis to create the class B surface.
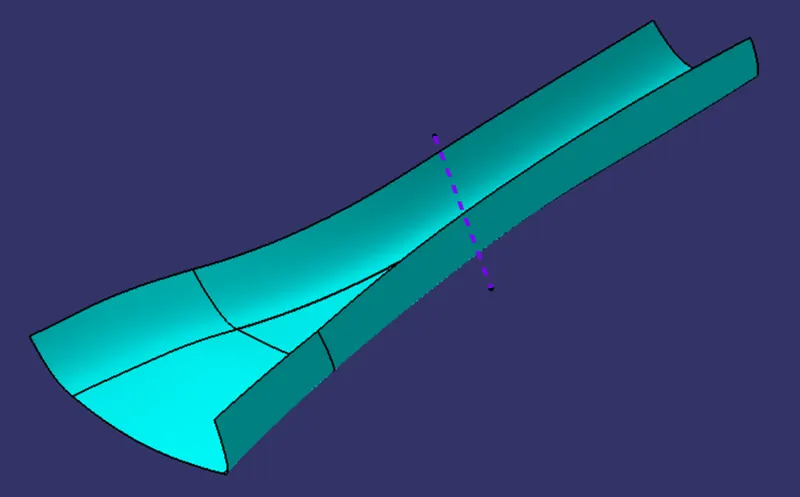
Fig.3 Tooling axis
Class B surface
- Input to change the class A surface after to take on offset
- Offset distance to take 2.5mm on both side of class A surface
- Both side dimensional it will be on same distance 2.5mm
- After to completed offset to Class C surface.
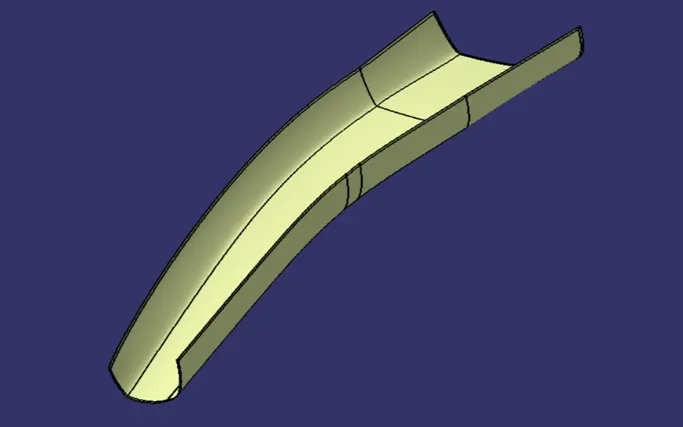
Fig.4 class B surface
- Extrapolate to create outer boundary line to increase the length wise.
Class C surface
- Refer class A surface to take boundary line with reference surface to select the sweep tool create class C surface.
- Create the c surface and n number edge points will be came to select the curve smooth it avoid the edge point.
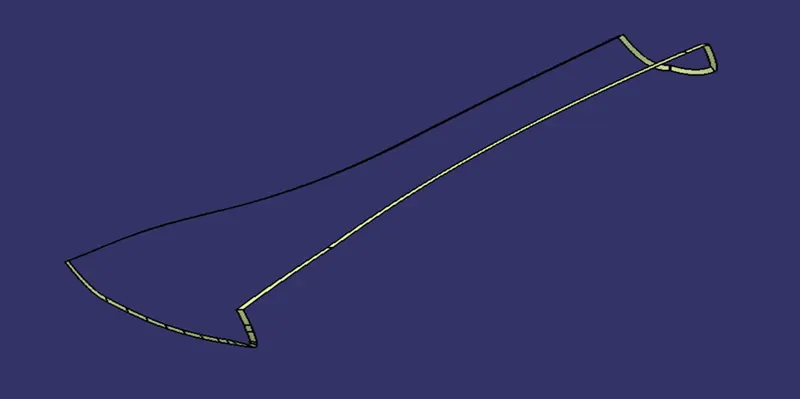
Fig.5.0 class C surface
- To completed class C surface to join the class A surface.
- And join A+C surface to merging distance is 0.001mm to 0.003mm
- If need mean to change color graphic properties for identification.
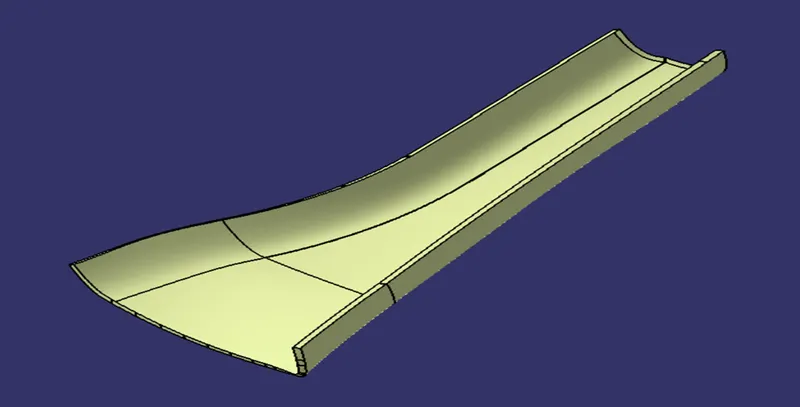
Fig.5.1 A+C surface
Solid profile
- Completed the class A+C surface and class B surface to trim the class A+C surface to B surface.
- Closed surface profile will be created to involved close surface tool used closed profile.
- To hide the closed surface profile.
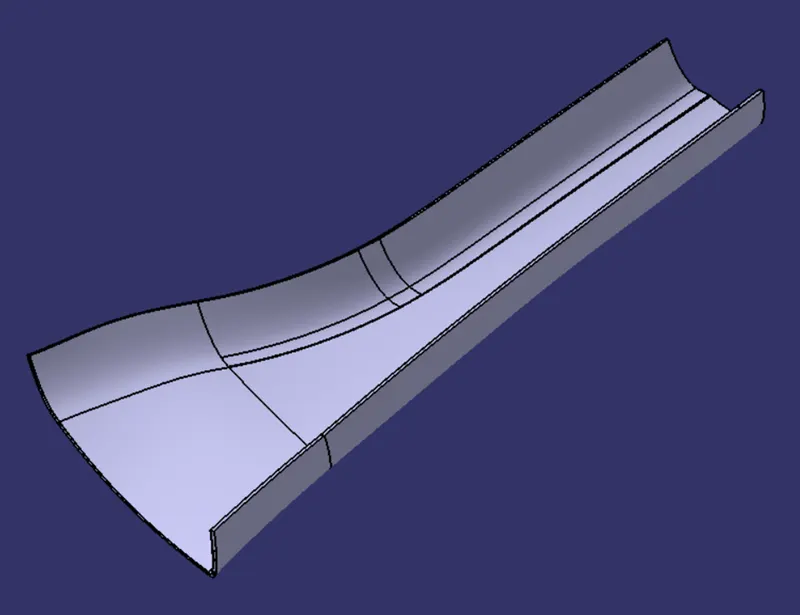
Fig.6 close surface (solid profile)
Dog house
- If any where came on sink holes to avoid the dog house.
- Refer to help of master section 1 & 2 to make the dog house and to create the dog house with surface.
- To change the part design, go to select the thickness tool to apply the thickness of surface.
- And to create the dog house shelf to make sperate profile to make it surface after to apply the thickness on the surface.
- To make dog house shelf rib and to added the rib on shelf to union.
- Dog house shelf added to dog house and extra projection will be come to convert union trim to used extra profile to cutter
- Top surface to create the one pocket cutout and completed to added the fillet value is 0.3mm
- Bottom side one small cutout to use on B surface.
- Added fillet on both surfaces Completed fillet.
- To join solid profile to combine overall solid model.
- Dog house to combine on pillar solid model bottom also applied on fillet values is 0.3mm
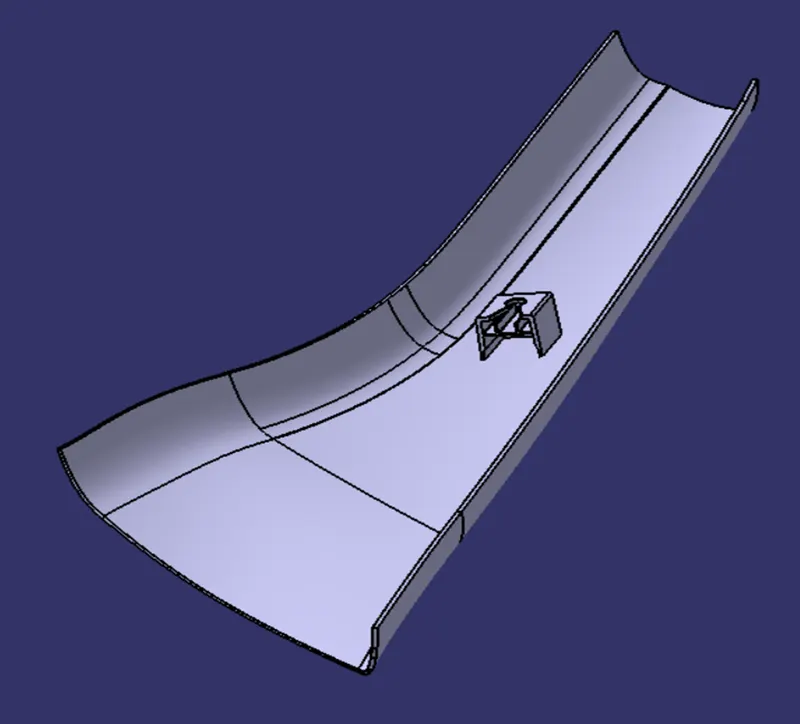
Fig.7 Dog house
Side wall Rib
- To use on position sketch, draw on one single line to convert the surface Extrude and added the thickness on both sides to applied.
- Thickness added the and extra extrude to remove extra solid by using the class B surface.
- Split tool used on removed the extra solid.
- And applied the draft on 0.5deg rib side surface.
- To join the overall solid profile.
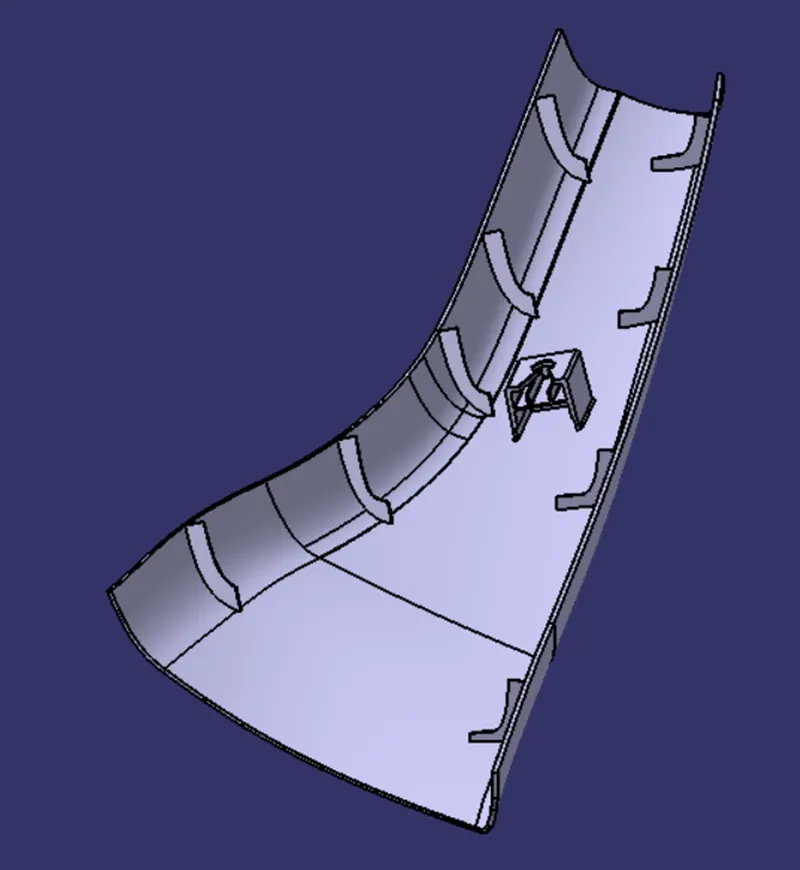
Fig.8 Side wall Rib
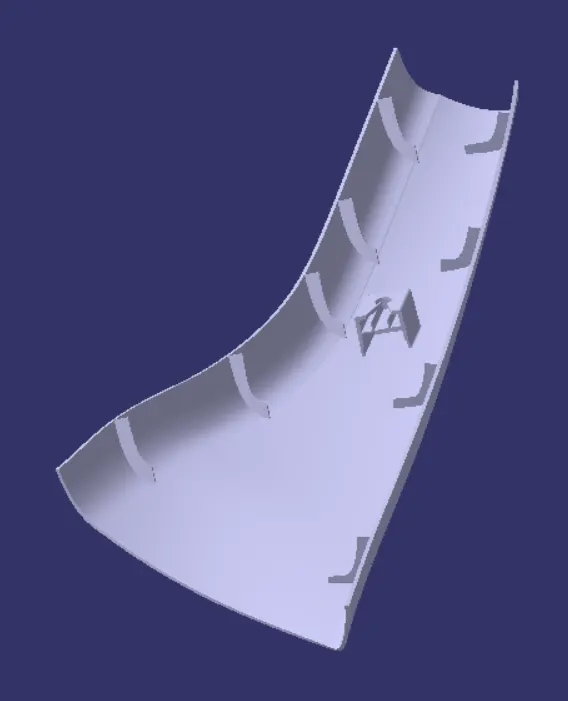
Fig.8.1 Side wall Rib