Wiring harness design in CATIA V5 - 3D modeling Week 7 Challenge
Harness Flattening Procedure
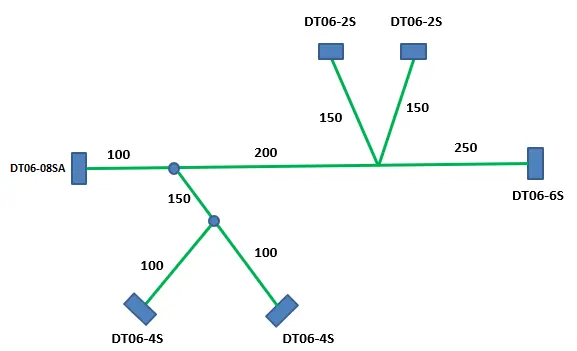
STEP-1
- Harness flattening can be created from the Electrical Harness Flattening Workbench in CATIA V5.
- Create a new product file in the Electrical Harness Flattening workbench and rename it as of our requirement.
- Select the product file and define Flattening parameters to it. And we can rename it as of our requirement.
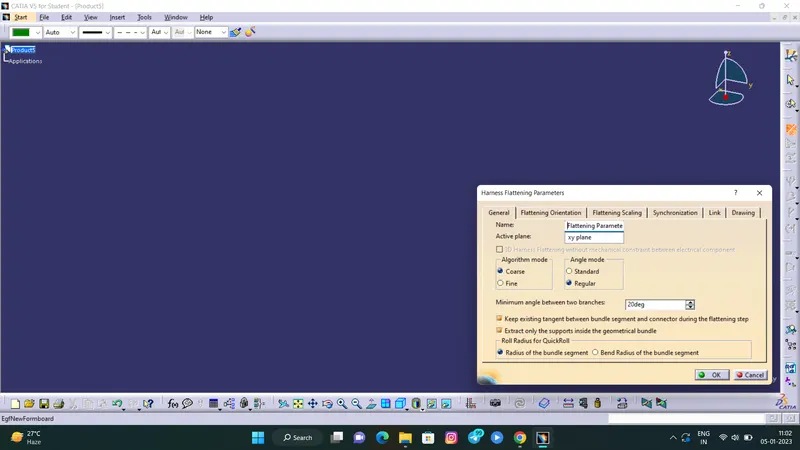
- Save the flattening product file in the save folder which is having all the other required documents.
- Create vertical windows with Harness assembly product and flattening product files.
- Using the Extract option, extract the harness assembly into the flattening product.
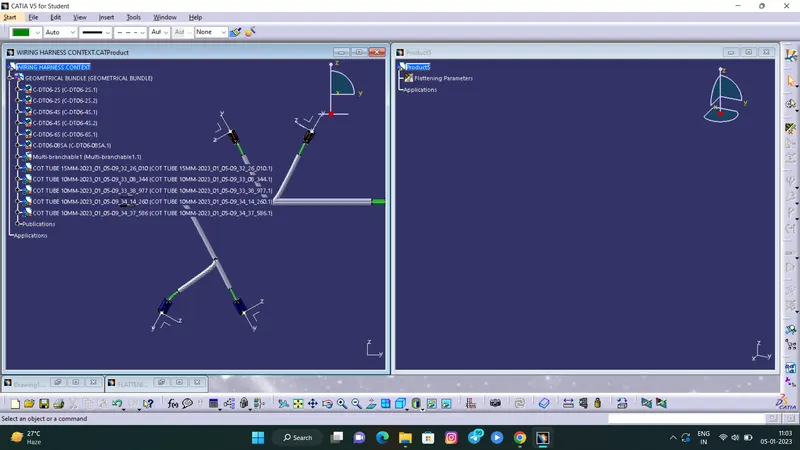
- Convert the extracted harness assembly into the flattened harness assembly by using the Flatten commend.
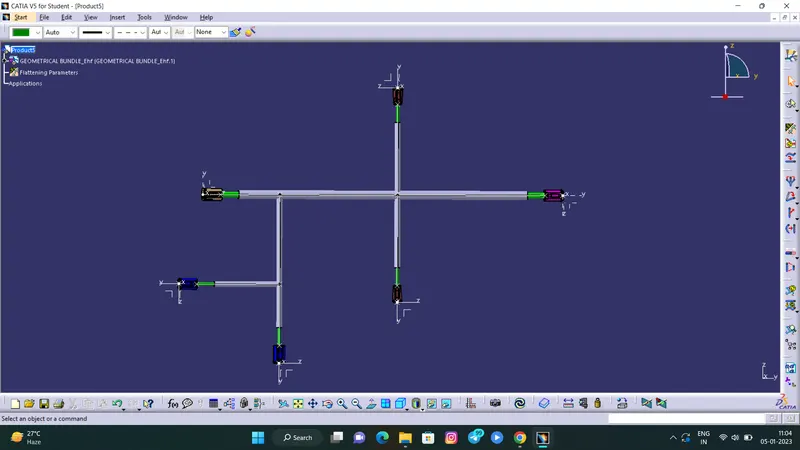
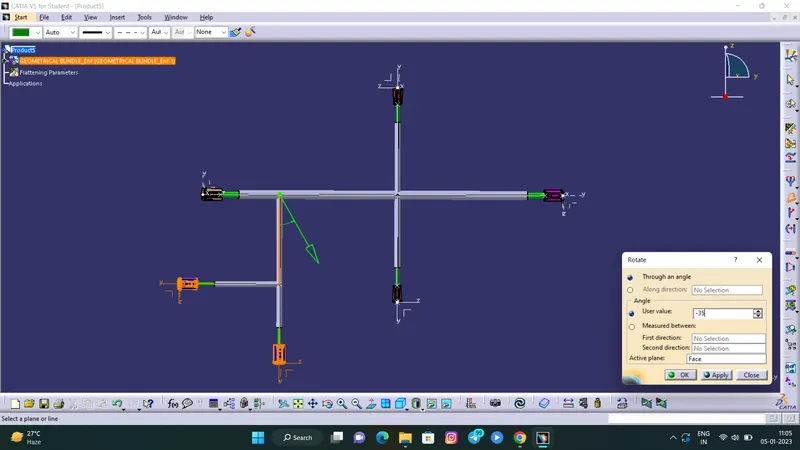
- Rotate the flattened bundle segments to the desired directions using the Rotate command and manually update the product to update the changes occurred during the rotate command.
STEP-2
Create a Drawing File for the flattened harness product.
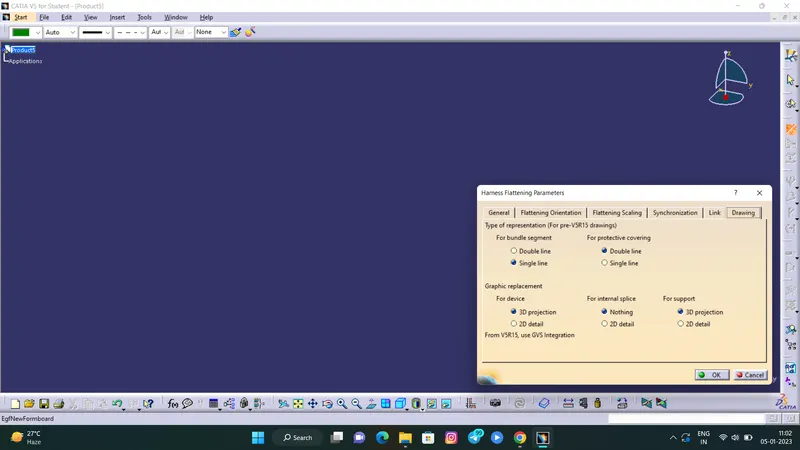
- First, we need to make sure that in the flatten parameter settings bundles and protective coverings have different graphical representation which are,
Bundle Segments – Single line representation
Protective coverings – Double line representation.
- Create a new drawing file in the drafting workbench
- Modify the drawing sheet with required parameters.
- Insert the flattened harness product into the drawing sheet using view option and selecting the front view command.
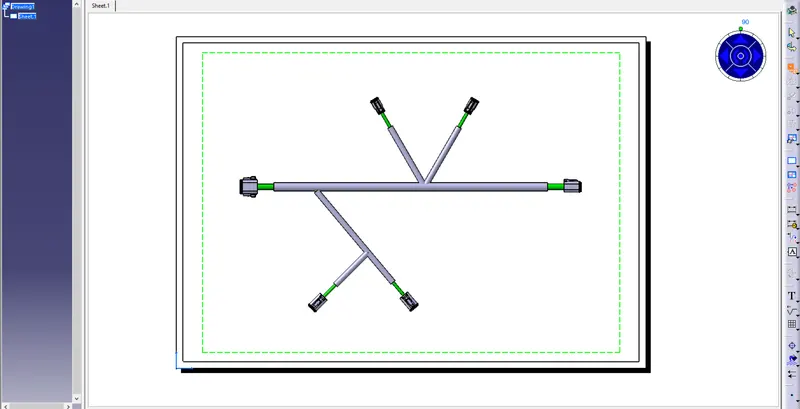
- We can see the drawing representation for the wiring harness bundle is not visible in the drawing sheet. Here, we need to change some settings in sheet properties.
- In sheet>front view properties, go to the views and dress-up area, activate the 3D wireframe and change it into always visible and click OK.
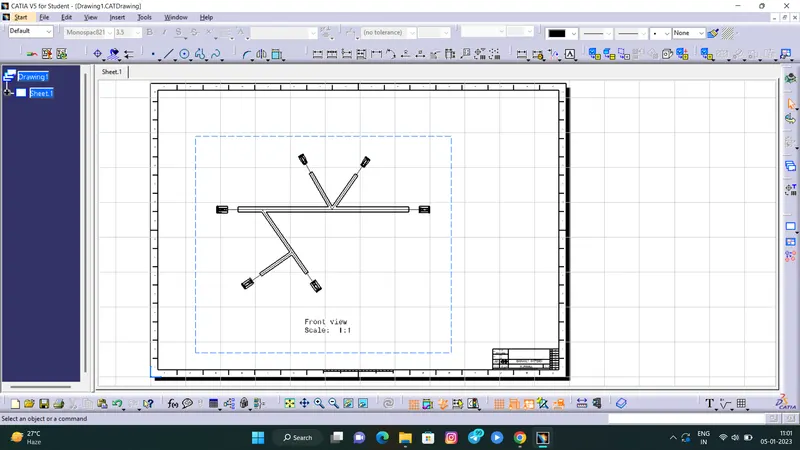
FINAL DRAWING
Conclusion
Final flattened drawing has been created in the drafting workbench with bundles and protective coverings having different visuals on drawing view.