Wiring harness design in CATIA V5 - 3D modeling Week 7 Challenge
Aim: To create a flattened view of the previously prepared Electrical harness assembly in Catia V5.
Objective:
- Flatten the harness assembly prepared in the week 4 challenge.
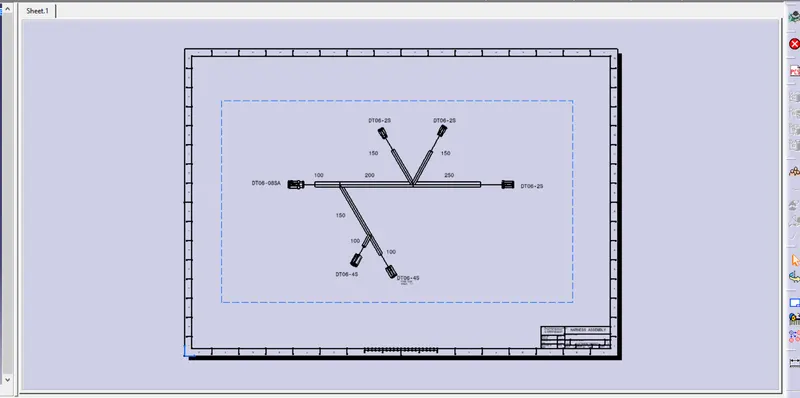
- Place the flattened view on the drawing sheet.
- To add the protective covering and ensure that it is of different colour in the drawing
Procedure:
- Open the assembly model already created in Catia V5.
- Now open the new product file and select Electrical harness flattening workbench
- Give flattening parameters first.
- Bring the harness to assemble in the flattening product file using the extract option.
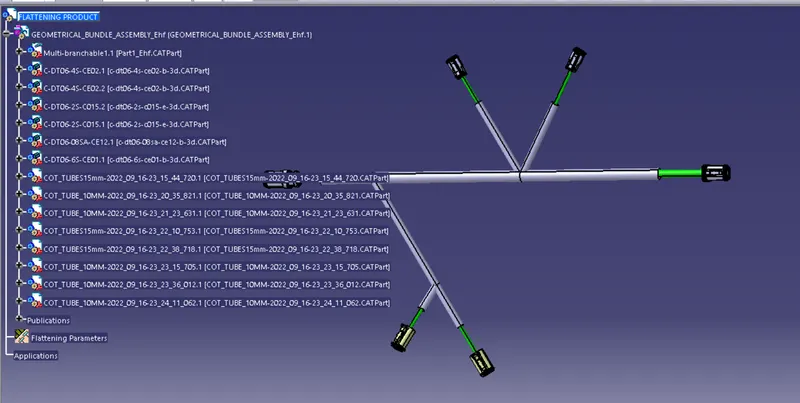
- After the assembly is extracted the file type is changed to.EHF (which stands for electrical harness assembly flattening) is shown in the below image.
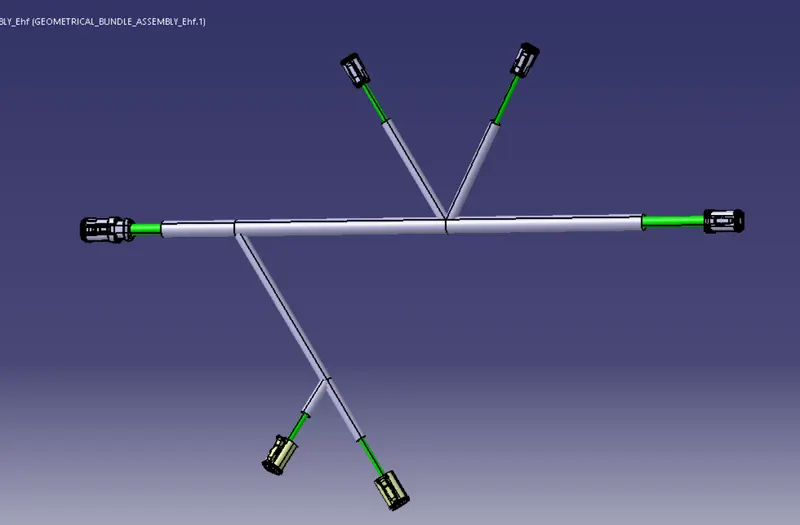
- (Now we have to flatten the assembly) Select flatten option.
- Then select all the electrical bundles which have to be flattened as shown below.
- One can also select one main bundle branch and then click Select all branches in the flatten window.
- Open a new drawing file and set the following parameters as shown in the figure.
- First, save the drawing file as Assembly_Flattening.
- Adjust both the windows side by side for better understanding.
- Click the front view option in the drawing file and then select any one to flatten surface of the assembly.
- Enable the 3D wireframe option.
Conclusion:
The Flattened view and the flattened drawing of the Electrical harness assembly are created. The bundle protections are shown in different visuals compared to the bundle branches.