Wiring harness design in CATIA V5 - 3D modeling Week 7 Challenge
REPORT WRITING :-
- According to the question , i have used the WK-4 Harness Assembly product , changed the uper sub Branch corrugated tubes to cotton tapes .
- Then Create New Product file ,Then switch to Electric Harness Flatenning workbench , select "Harness Flatenning Parameters in the Toolbar , a dialogue box will appear set the parameters accordingly .
- Then Select the "Extract" Toolbar then select the WK-4 harness assembly product . Now , My WK-4 product is ready to flatten .
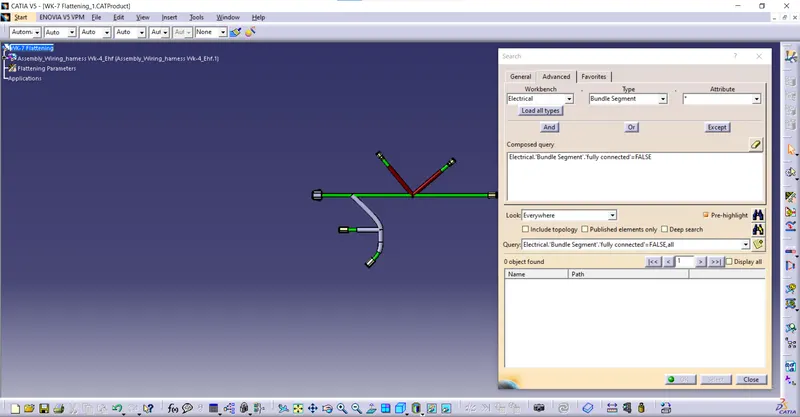
- Then Select the "Flatten" Toolbar ,in the Active Plane Select Any Front view Face of the connector show that the orientation will be proper , then select all the branches , then press OK . Now, You can see my Harness assembly is flattened .
- Now You can adjust all the Branches , sub branches aacording to the requirement Using several tools like " Roll, Quick Roll , Arrange Junction in Umbrella or Equal , Rotate Or Bend , Straighten, etc., We can also adjust the length of the Bundle using Length Tolerance . So according to My Flattend Product i have used Rotate Command, Bend Command, Quick Roll Command .
- Then , we need to Synchronize the flatten Product because sometimes while Extracting the protecting covering dont get extract or sometimes we want to add some protecting covering for our bundle segment , so before Synchronize we have to add protecting covering then we Synchronize . Now our Product is completly flattened .
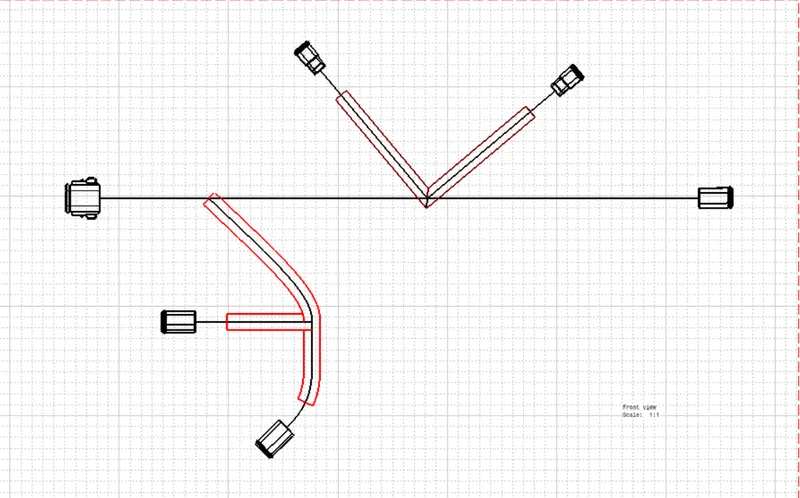
- Then Create a New Drawing sheet then select "project view" command in the toolbar , then select a face of the connector like we selected while doing flattening . Then adjust your view in the Drawing then click in the drawing , Then we can see our Flattened product skectch is created with given Parameters .
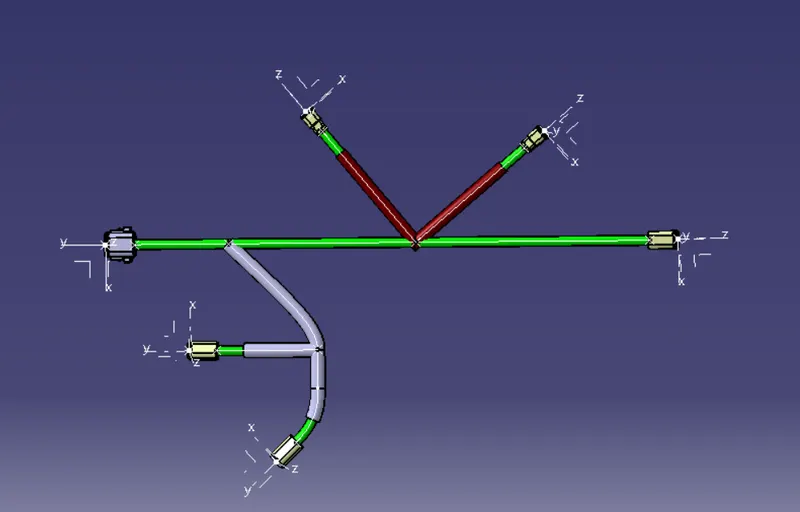
- Now To Understand my COT tubes and Cotton tubes , i have changed the color . So for COT tubes i have given RED color and for Cotton tubes i have given Brown color .
- Save Both the Harness Flattening assembly and Drawing .