Wiring harness design in CATIA V5 - 3D modeling Week 4 Challenge
Q1.
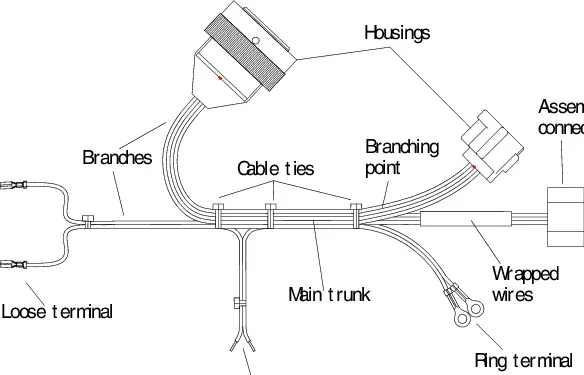
Aim: Route the following harness layout in Electrical workbench. Make assumption for harness bundle diameters. Use Following connectors as shown in layout diagram.
Add protective covering on all branches connected to DT06-2S & DT06-4S connectors. Keep end extremity at 30mm (from connectors end)
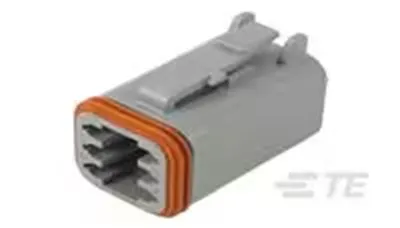
Download connector 3D data from www.te.com
- DT06-4S
- DT06-6S
- DT06-2S
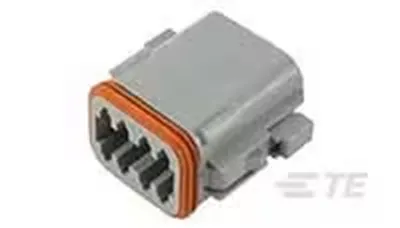
- DT06-08SA
Wiring Harness
The wiring harness is the combination of electrical cables, or assembly of wires, that connects all electrical and electronic (E/E) components in the automotive vehicle, like sensors, electronic control units, batteries, and actuators. The wiring harness handles the energy and information flow within the E/E system to fulfil primary car functions, such as steering and braking as well as secondary car functions, such as ventilation and entertainment.
Connector
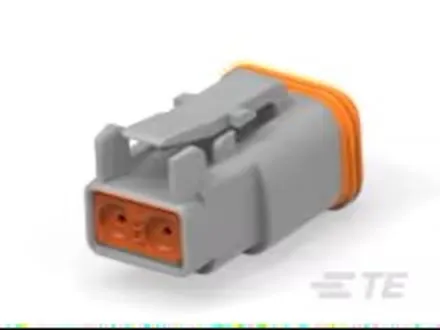
Components of an electrical circuit are electrically connected if an electrical current can run between them through an electrical conductor. An electrical connector is an electromechanical device used to create an electrical connection between parts of an electrical circuit, or between different electrical circuits, thereby joining them into a larger circuit.
Protective Covering
Thermal management tubes and sleeves are designed to operate under high temperatures and provide superior fire resistance under extreme conditions. These tubes and sleeves are difficult to ignite, and they self-extinguish promptly. The most common types of cable and wire protection are braided sleeving, corrugated loom, heat shrink, vinyl tubing and conduit. A typical wiring harness drawing has cable lengths, component view, grommet, connector specifications and inline connectors.

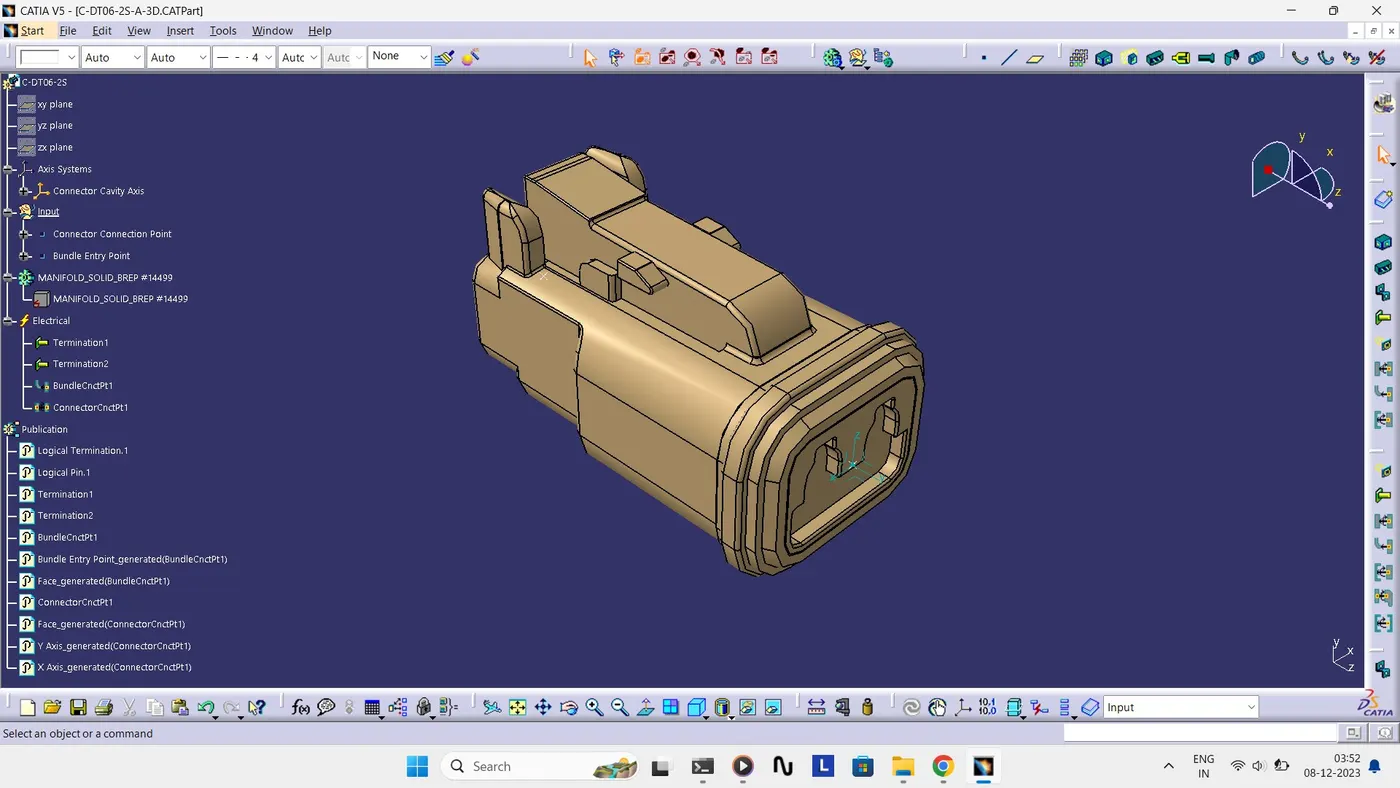
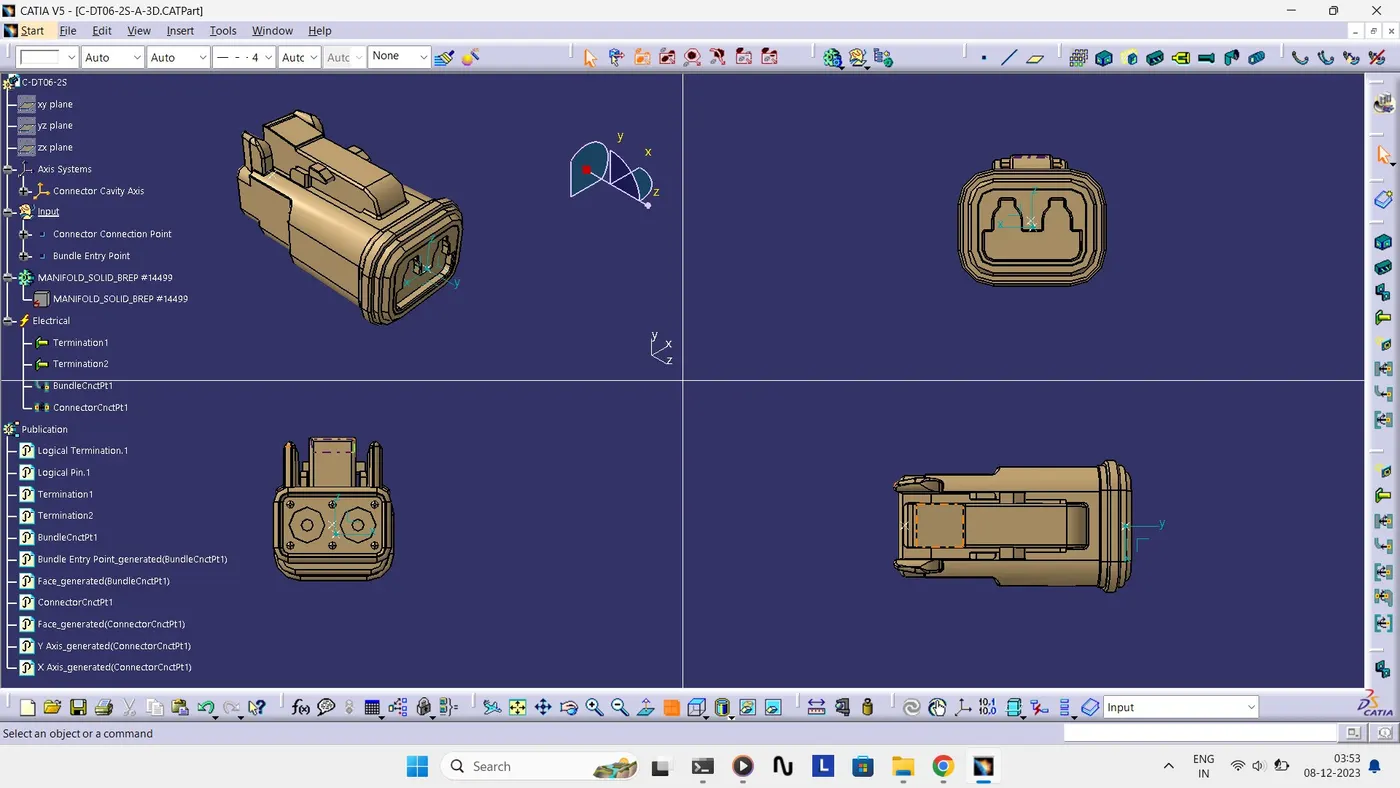
DT06 - 2S
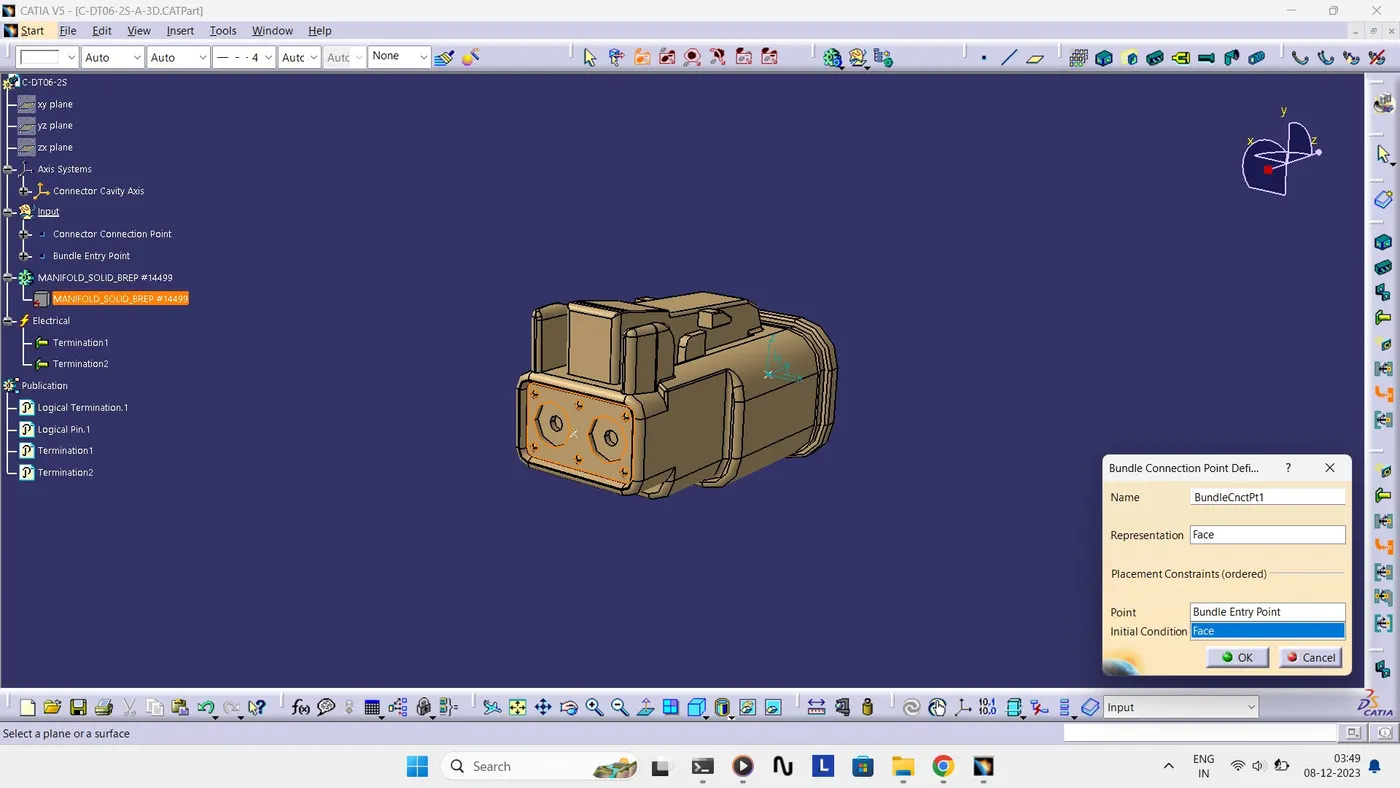
Bundle Connection Point
- Define the part as connector in Catia, give number of terminations as 2 because we have 2 entry points for wire.
- Define Bundle Connection Point.
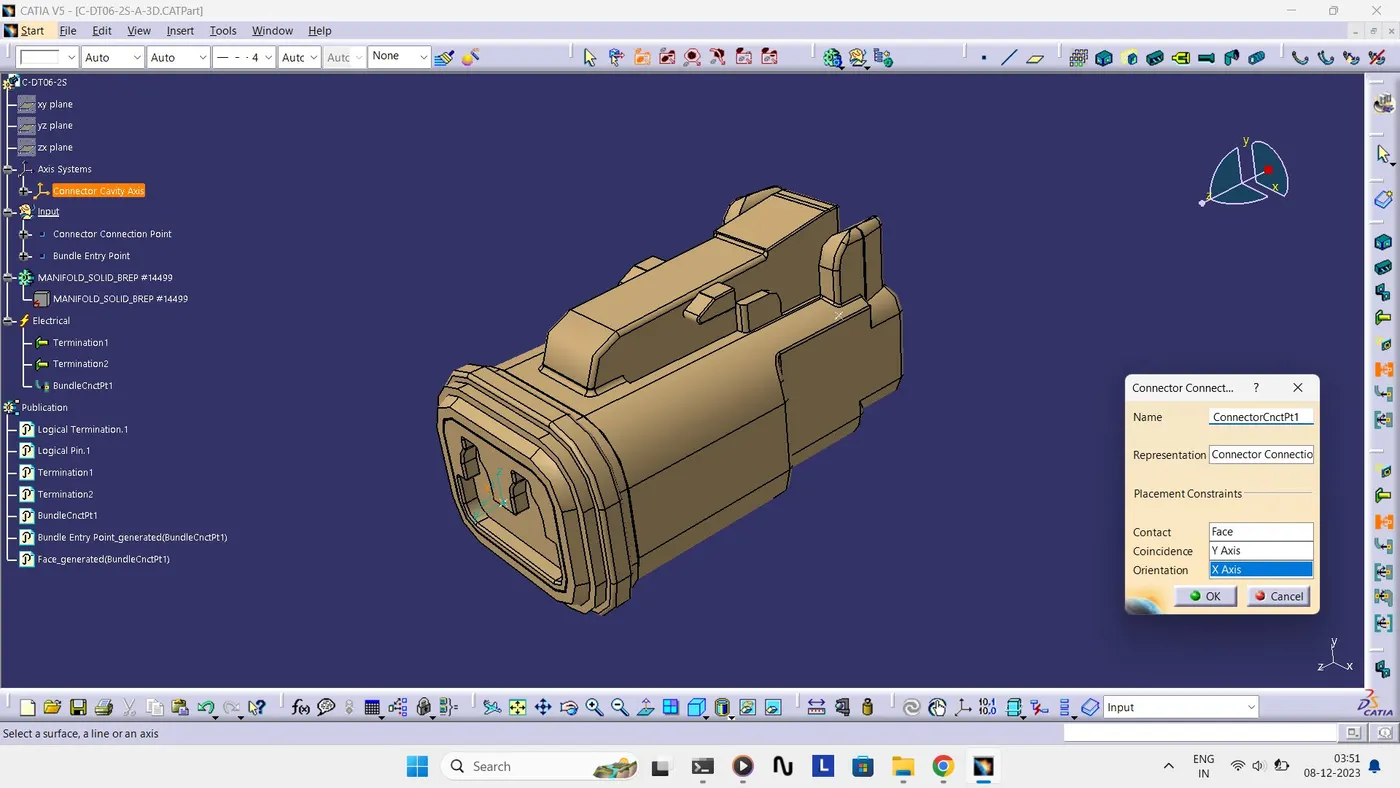
Connector Connection Point
- Create midpoint on the contact face which will be normal to wire bundle insertion.
- Create Axis System with respect to the point which we have created and defining the axis direction.
- Define Connector Connection Point.
Isometric View
Multi View
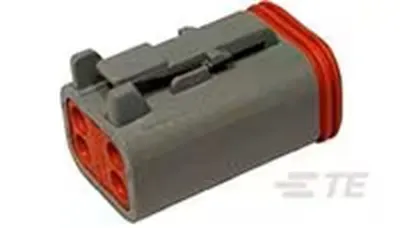
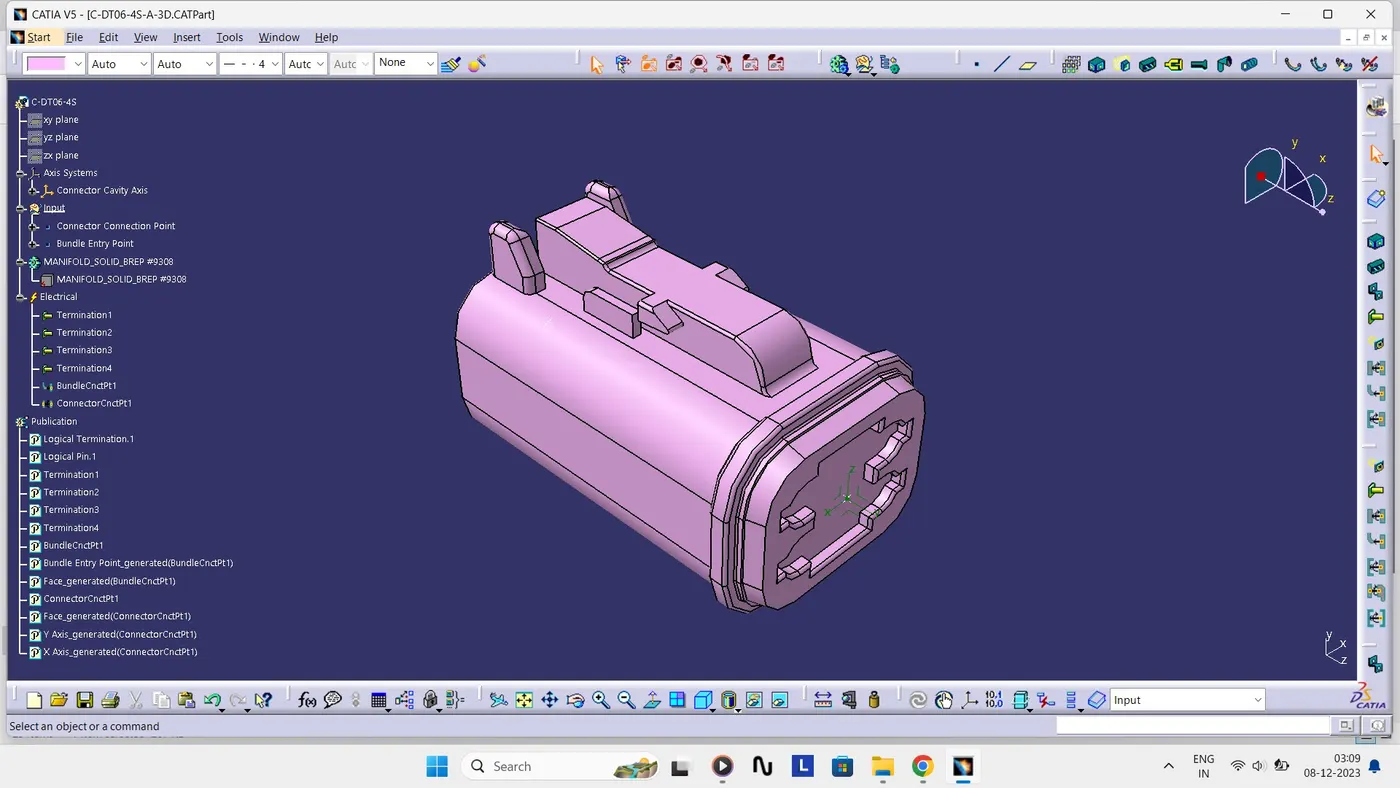
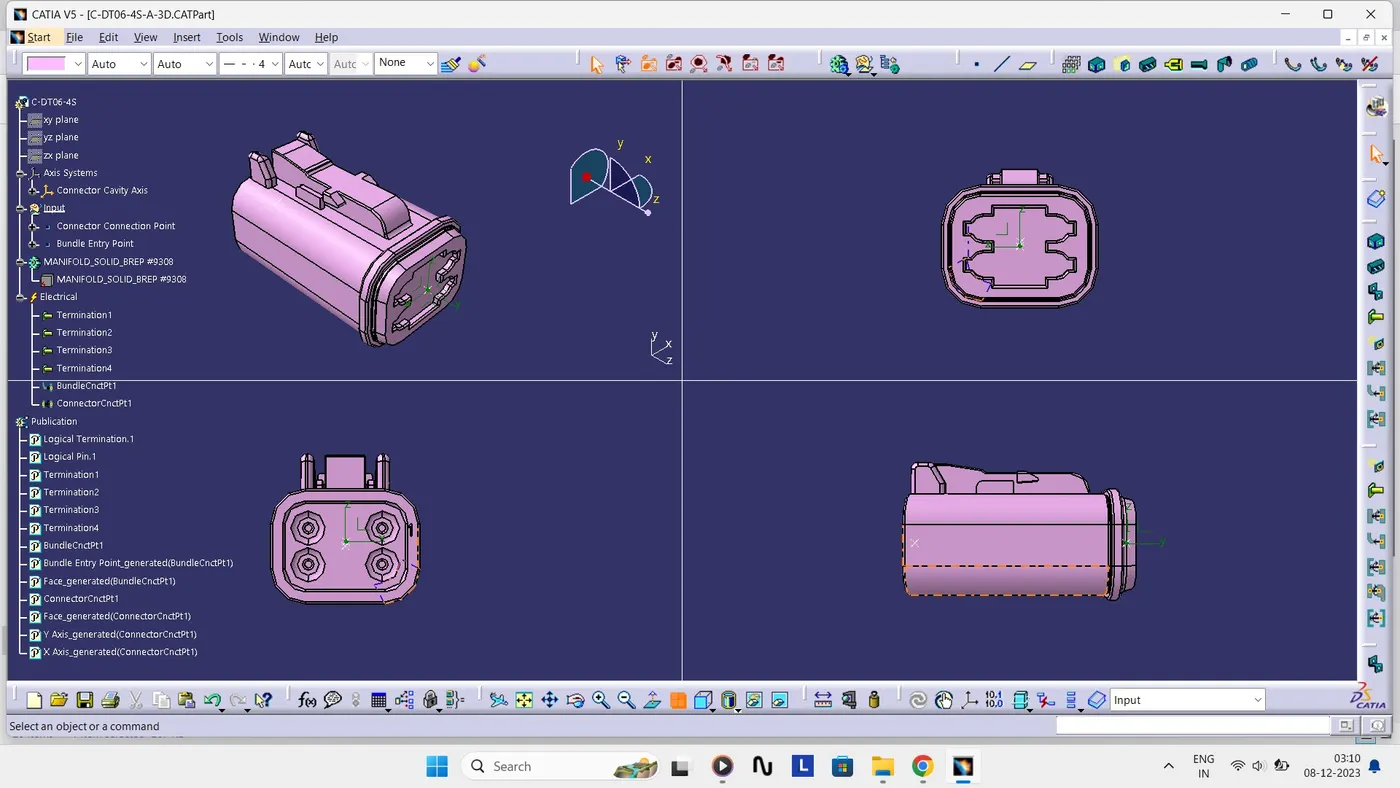
DT06 – 4S
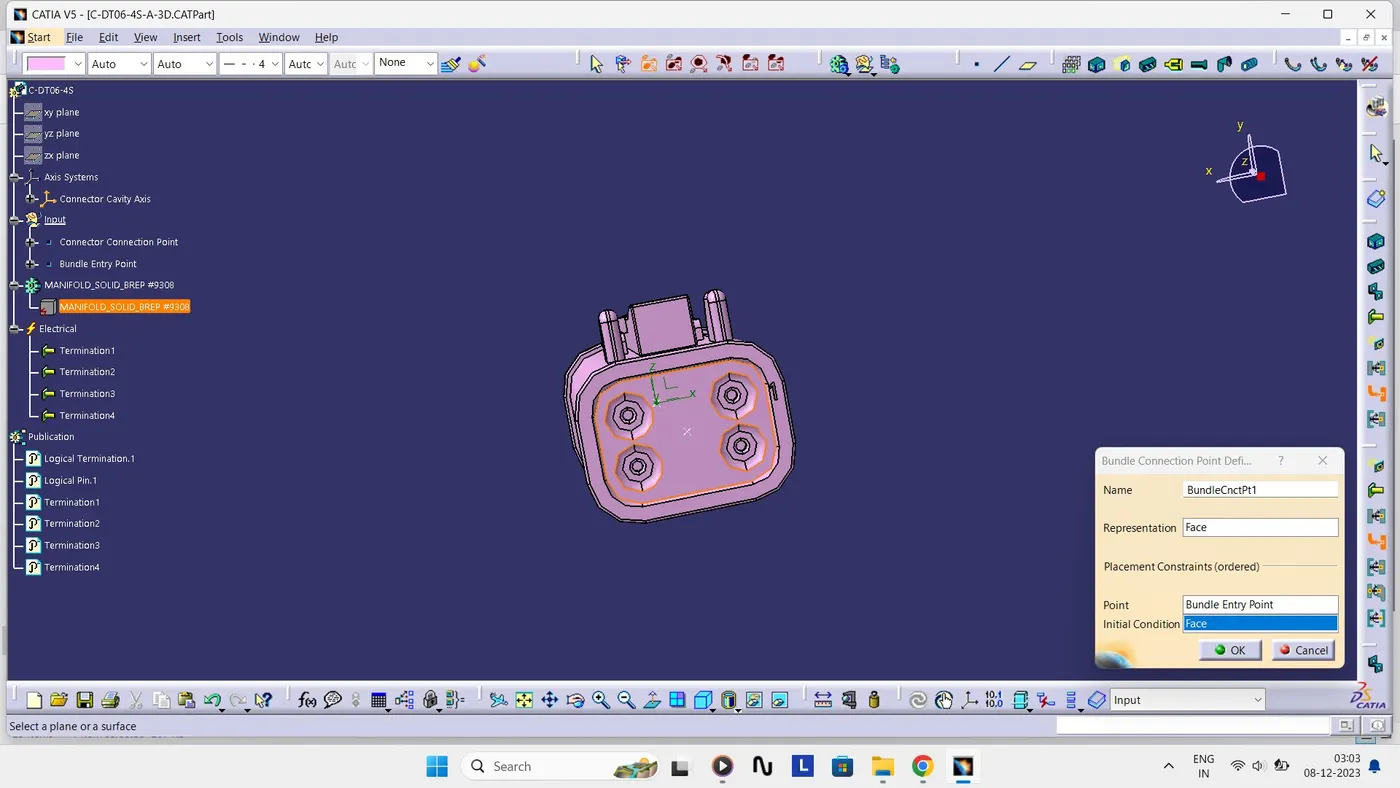
Bundle Connection Point
- Define the part as connector in Catia, give number of terminations as 4 because we have 4 entry points for wire.
- Define Bundle Connection Point.
Connector Connection Point
- Create midpoint on the contact face which will be normal to wire bundle insertion.
- Create Axis System with respect to the point which we have created and defining the axis direction.
- Define Connector Connection Point.
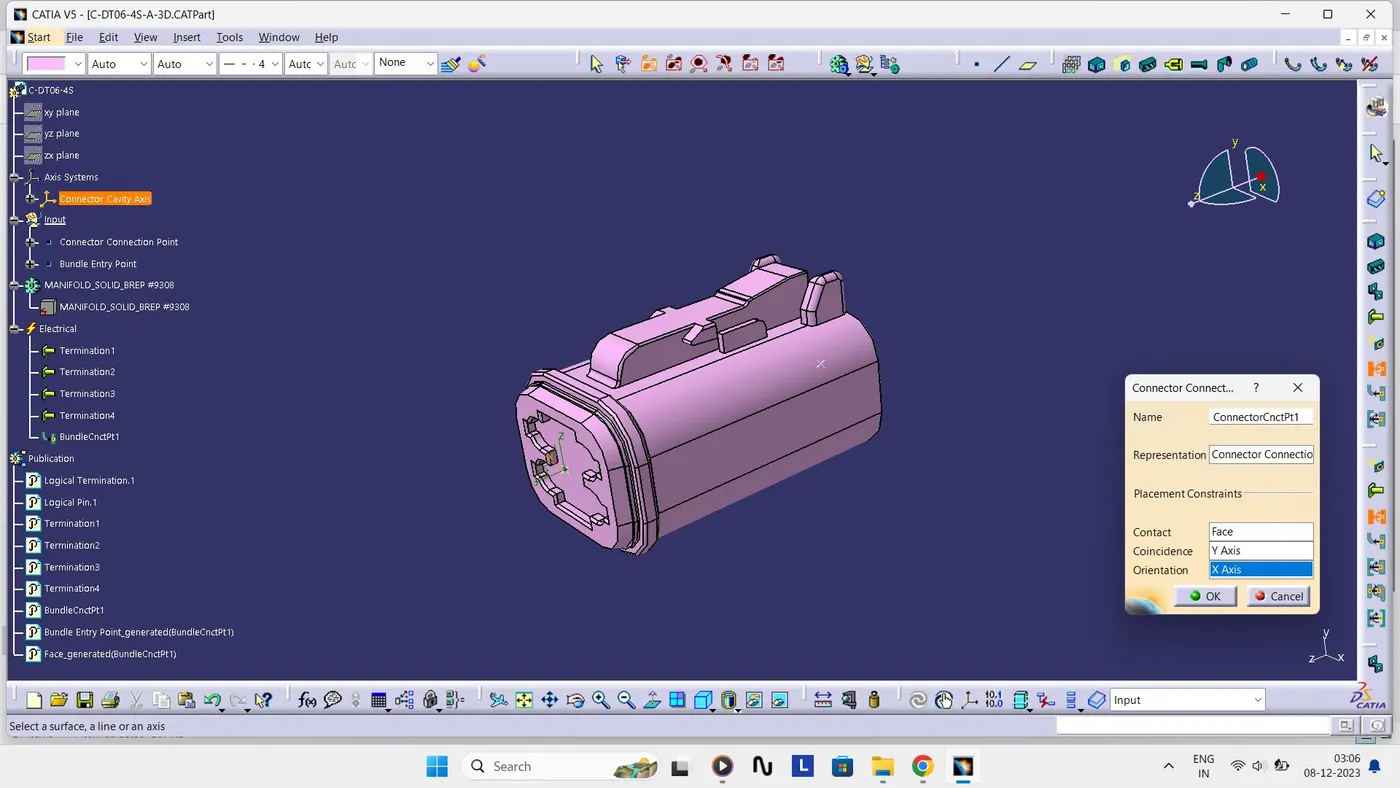
Isometric View
Multi View
DT06 – 6S
Bundle Connection Point
- Define the part as connector in Catia, give number of terminations as 6 because we have 6 entry points for wire.
- Define Bundle Connection Point.
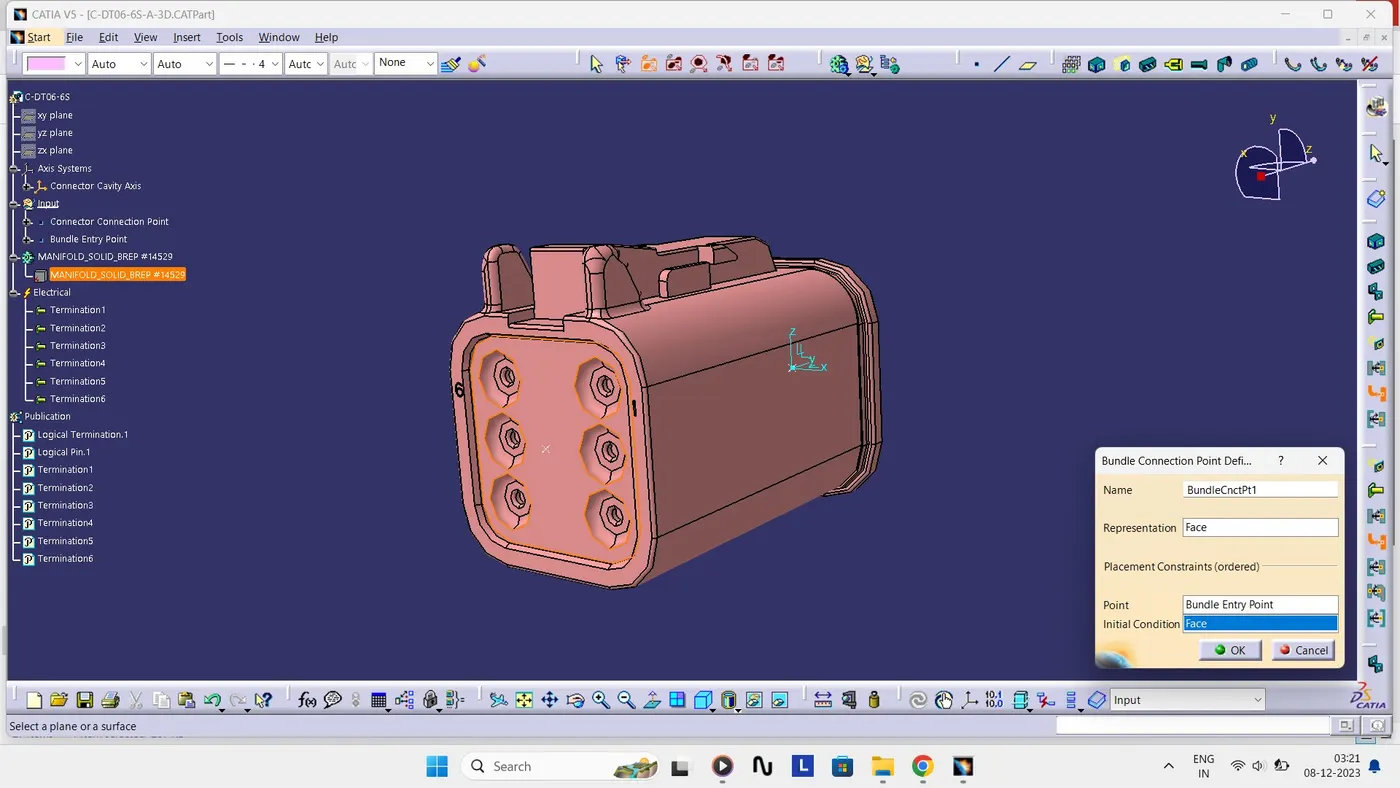
Connector Connection Point
- Create midpoint on the contact face which will be normal to wire bundle insertion.
- Create Axis System with respect to the point which we have created and defining the axis direction.
- Define Connector Connection Point.
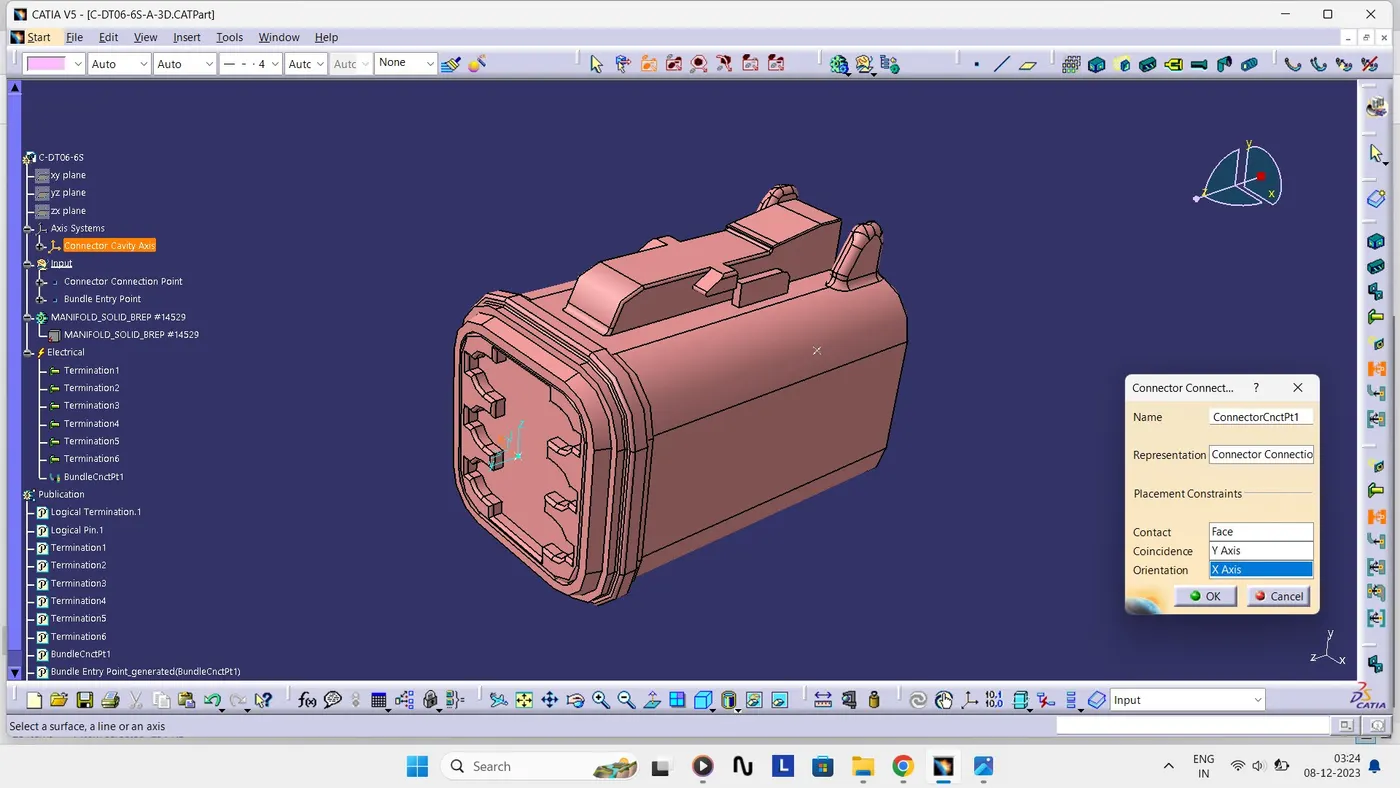
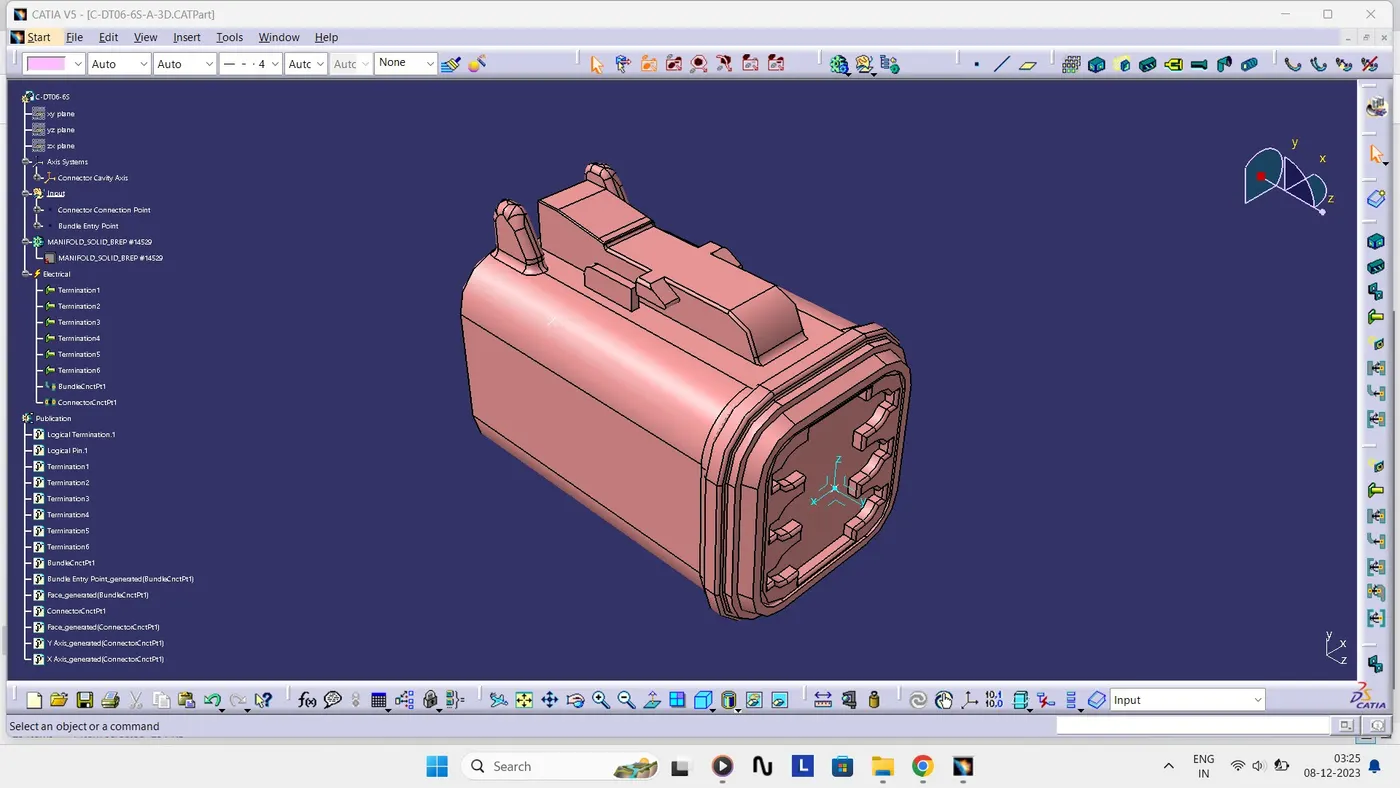
Isometric View
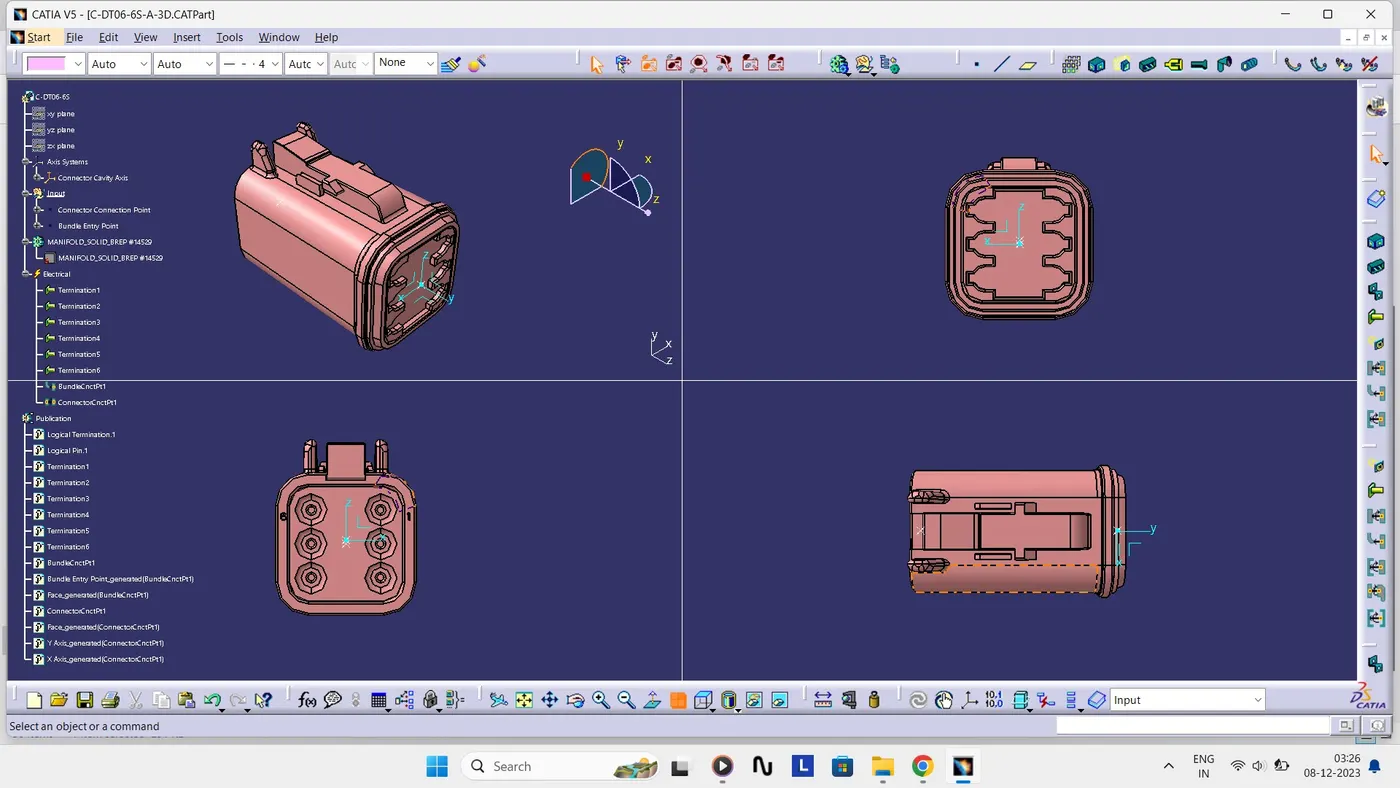
Multi View
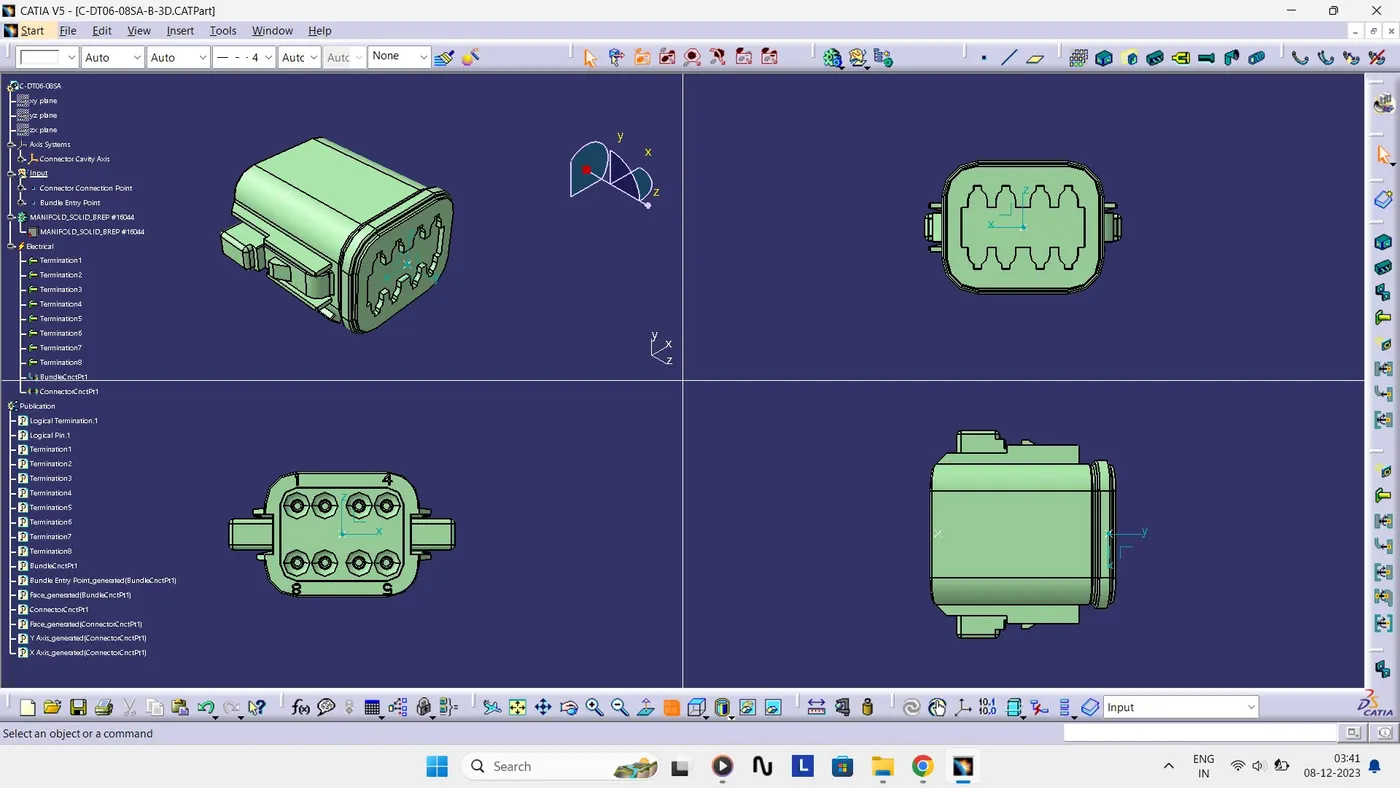
DT06 – 08SA
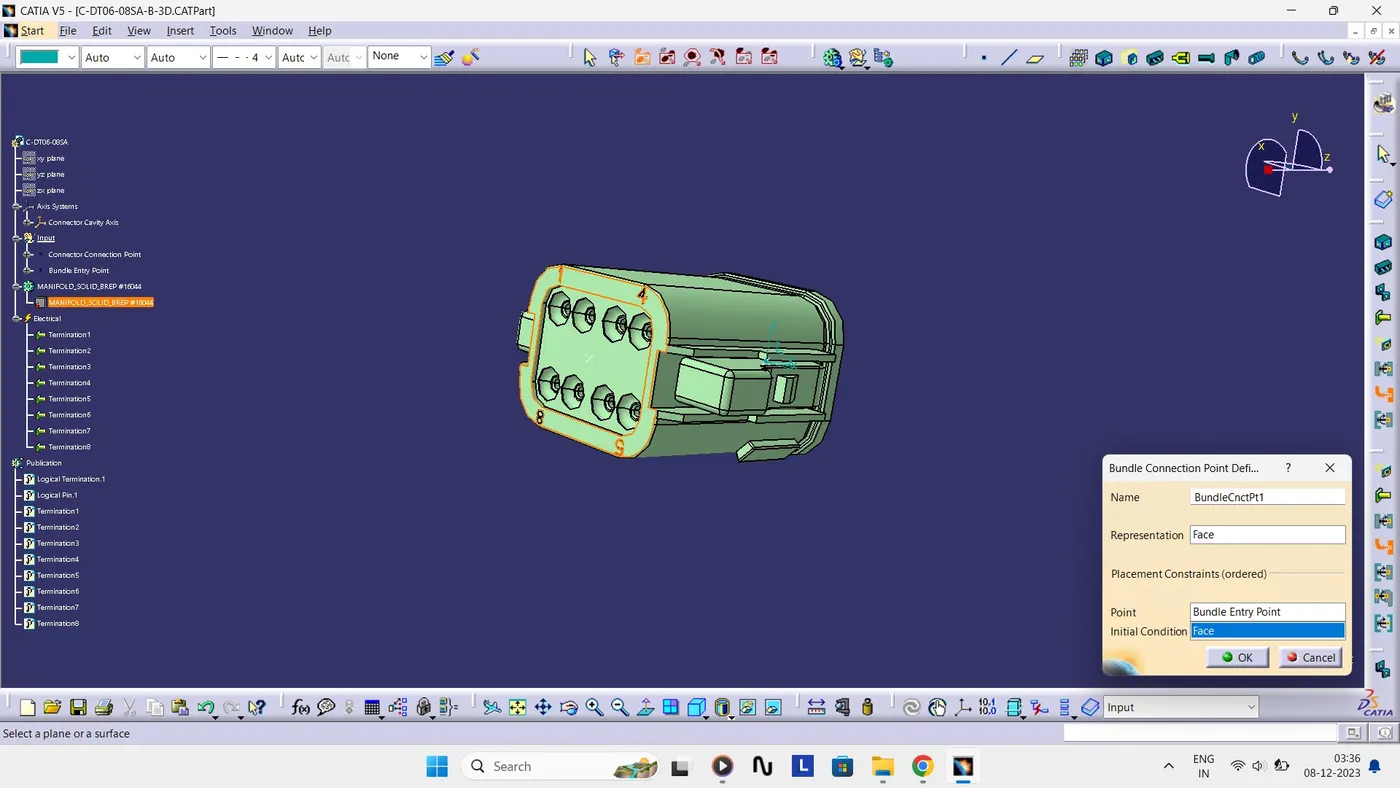
Bundle Connection Point
- Define the part as connector in Catia, give number of terminations as 8 because we have 8 entry points for wire.
- Define Bundle Connection Point.
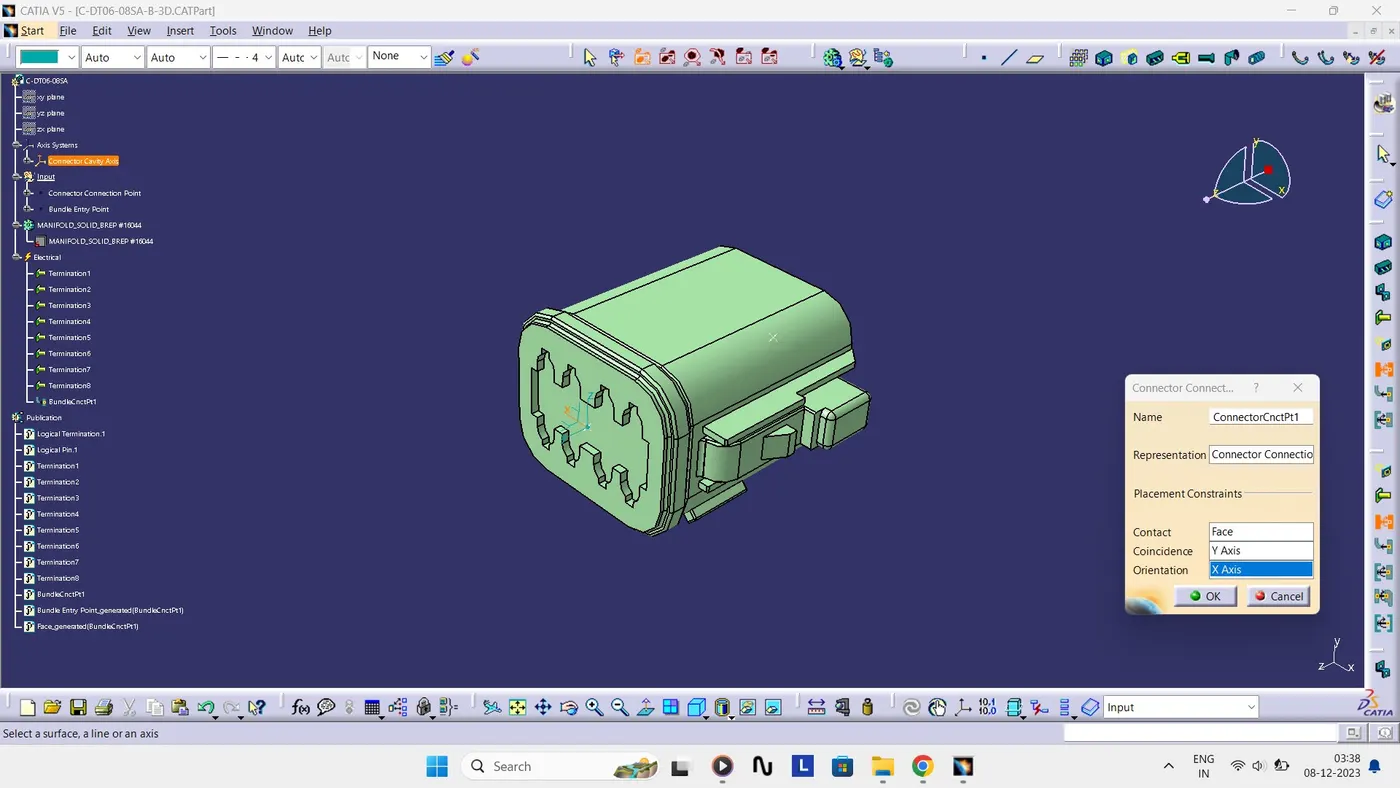
Connector Connection Point
- Create midpoint on the contact face which will be normal to wire bundle insertion.
- Create Axis System with respect to the point which we have created and defining the axis direction.
- Define Connector Connection Point.
Isometric View
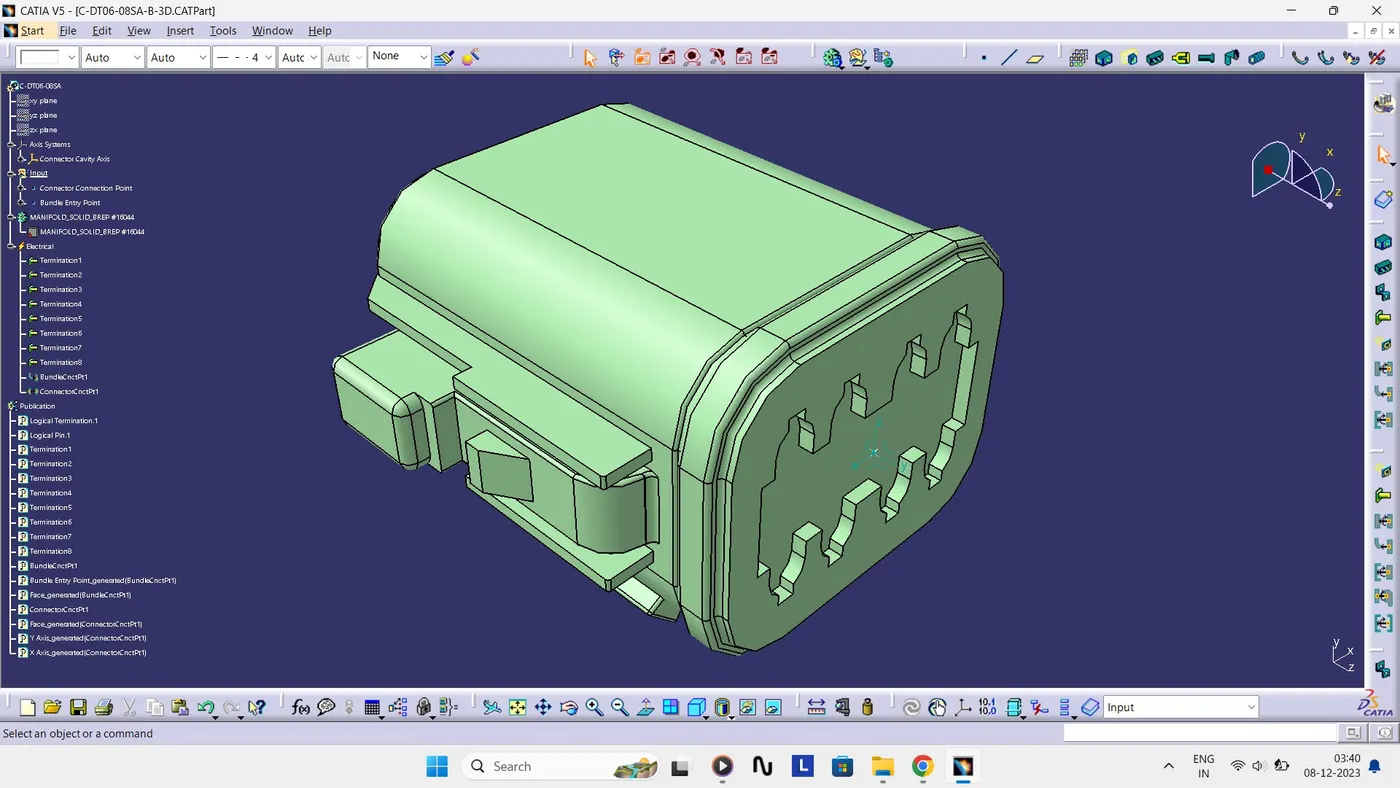
Multi View
For Catalog Creation
- Select new part - catalogue document - add family - give name - type - select Electrical - save.
- Open part to add catalogue - store device command - select catalogue - family –Connector– ok.
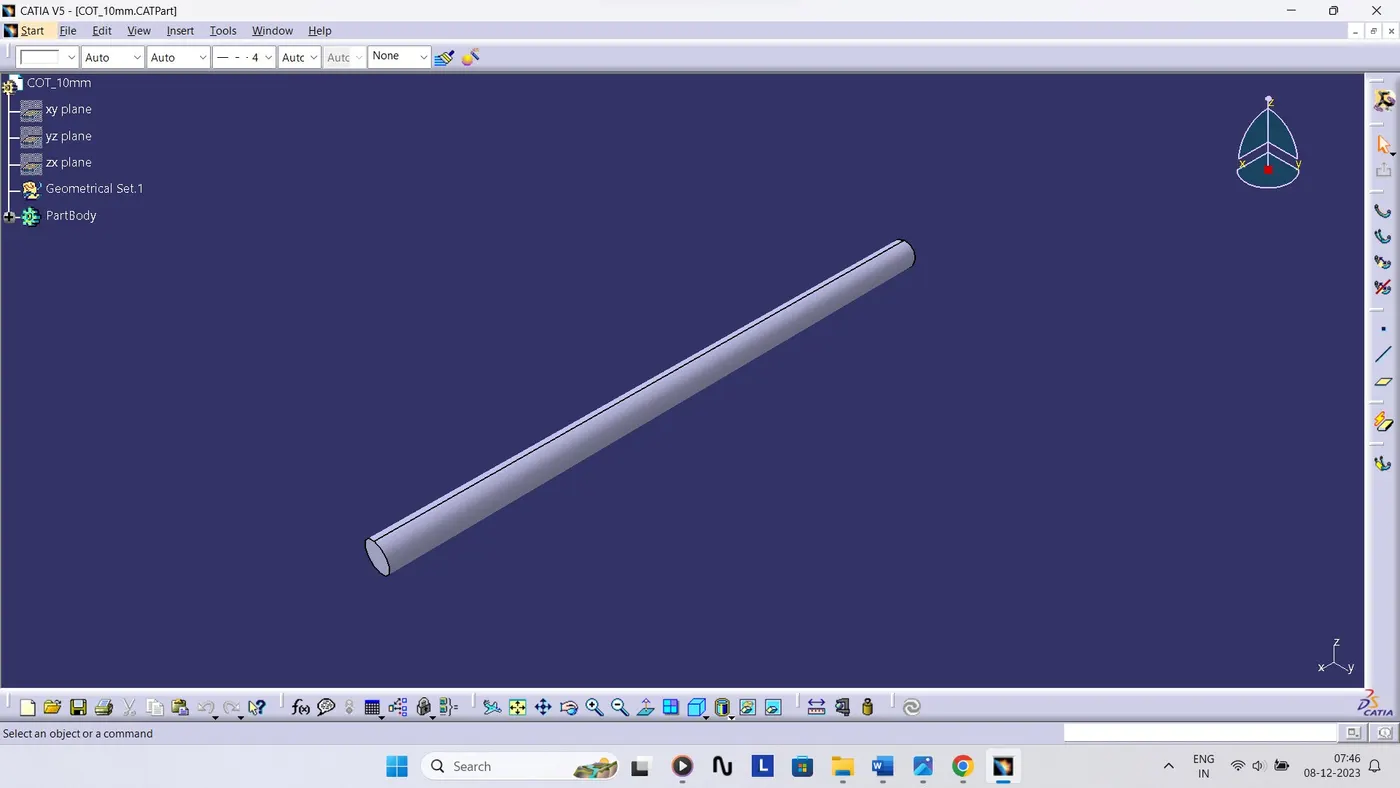
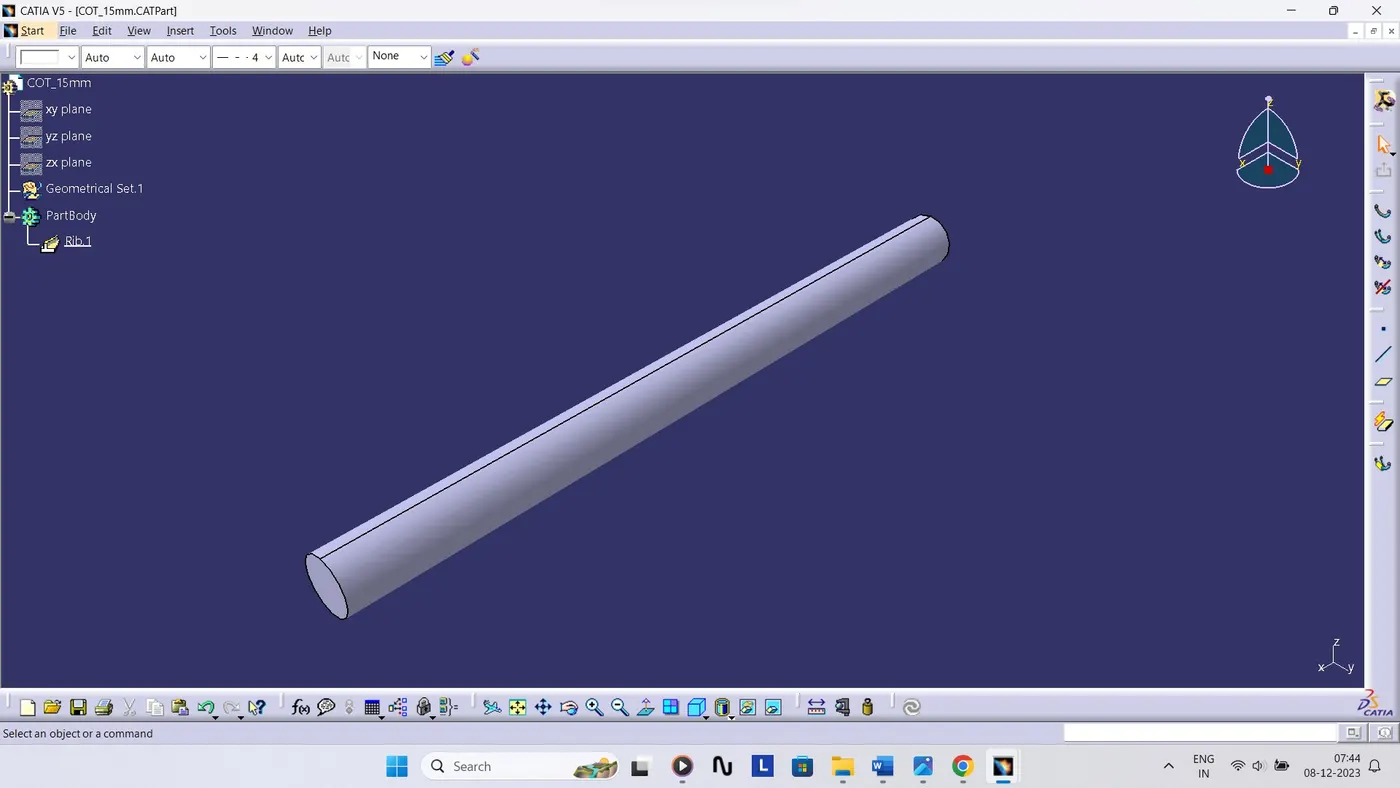
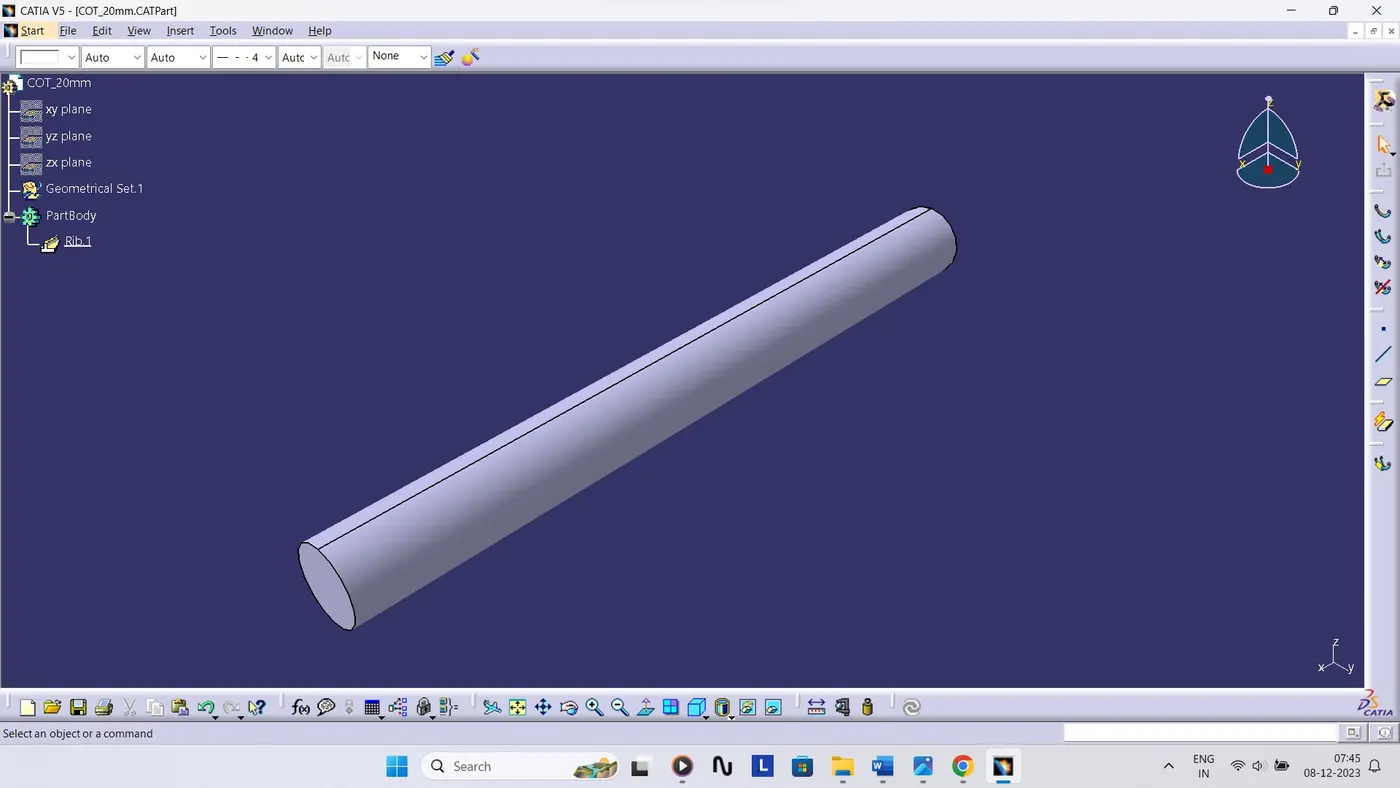
For Corrugated Tubes
- Create new part and name it.
- Switch to Electrical Part Design.
- Select Define protection part.
- Click on part or file name in specification tree.
- Provide required parameters as inner diameter, thickness and bend radius as 1.5 * Outer Diameter.
- Repeat the above steps to create multiple COT of different parameters as required.
COT 10mm
COT 15mm
COT 20mm
For Catalog Creation
- Select new part - catalogue document - add family - give name - type - select Conduit - save.
- Open part to add catalogue - store device command - select catalogue - family - Slit COT_Tubes - ok.
Base File
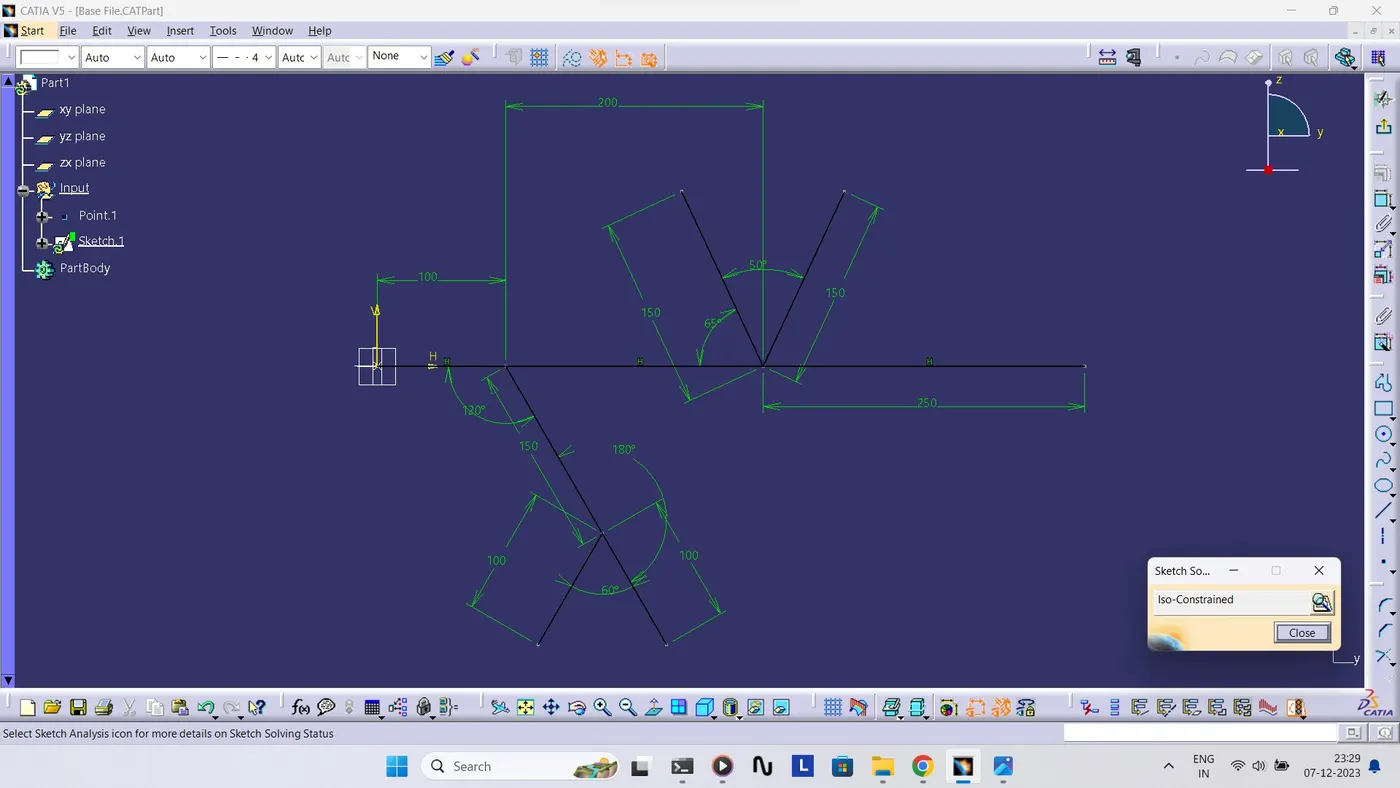
- Create a part file as the input image provided in the question.
- Make sure the drawing is Iso-constraint as per sketch parameter.
Base Diagram 2D
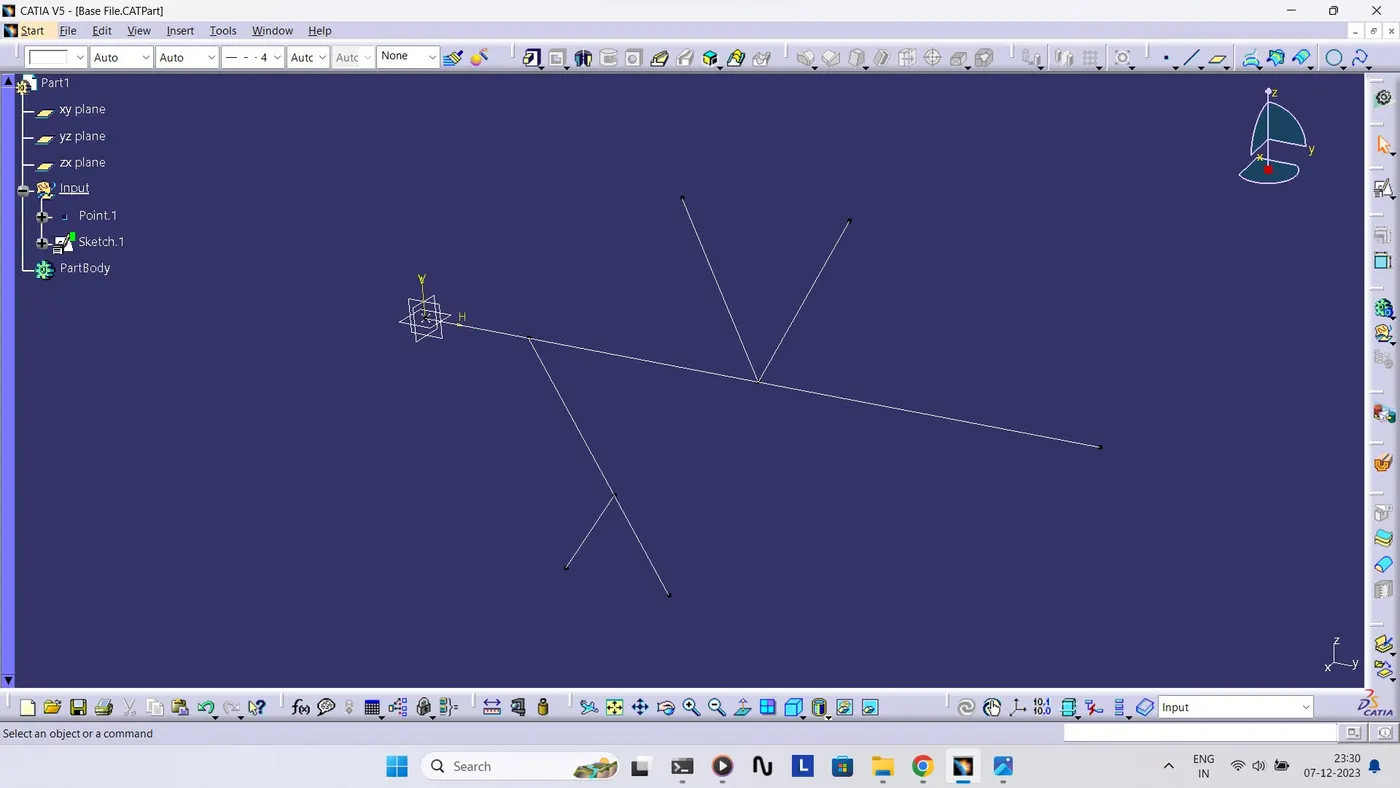
Isometric View
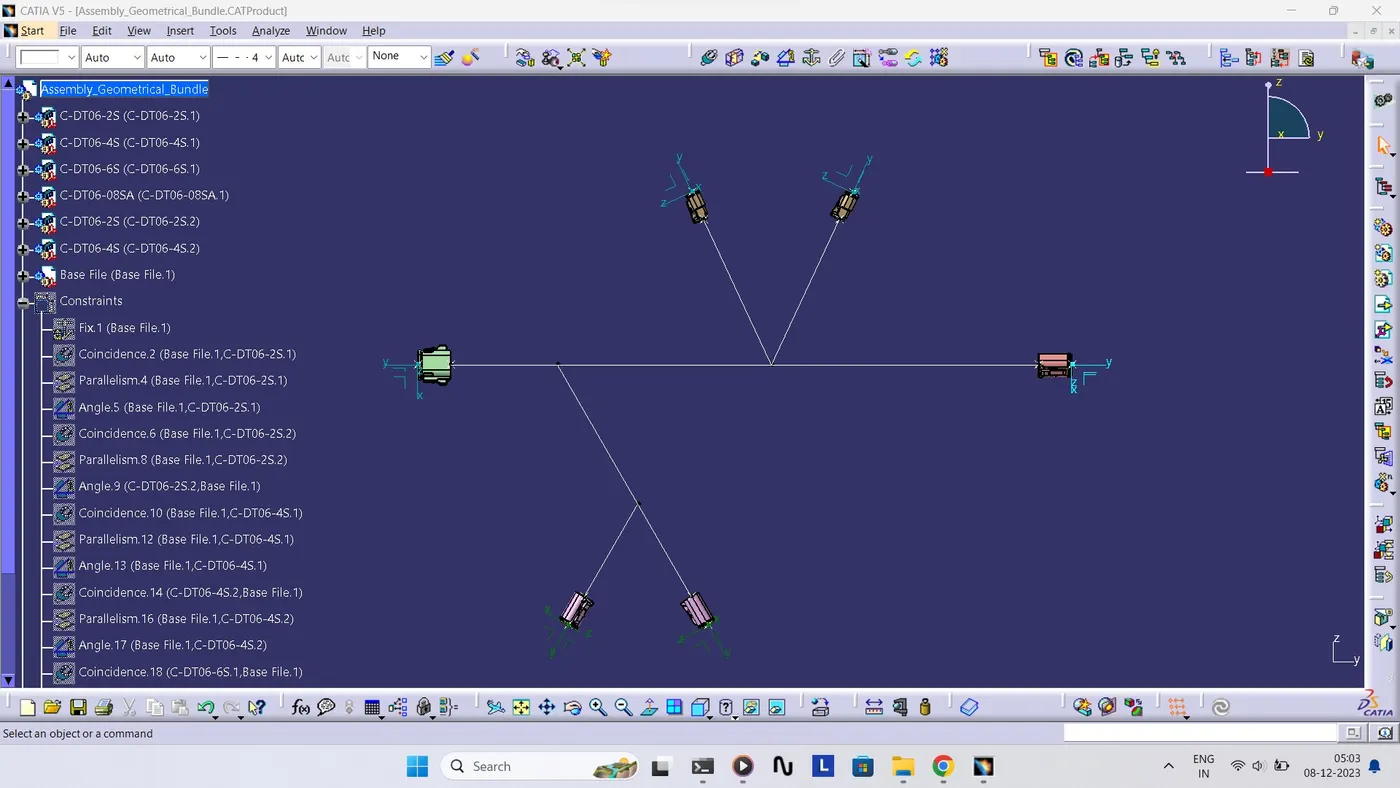
Assembly
- Create an assembly with the name of Assembly_Wiring_Harness_Context.
- Add the components using the Existing Component Command.
- Switch to mechanical assembly and define constraints to place the connectors on the required points.
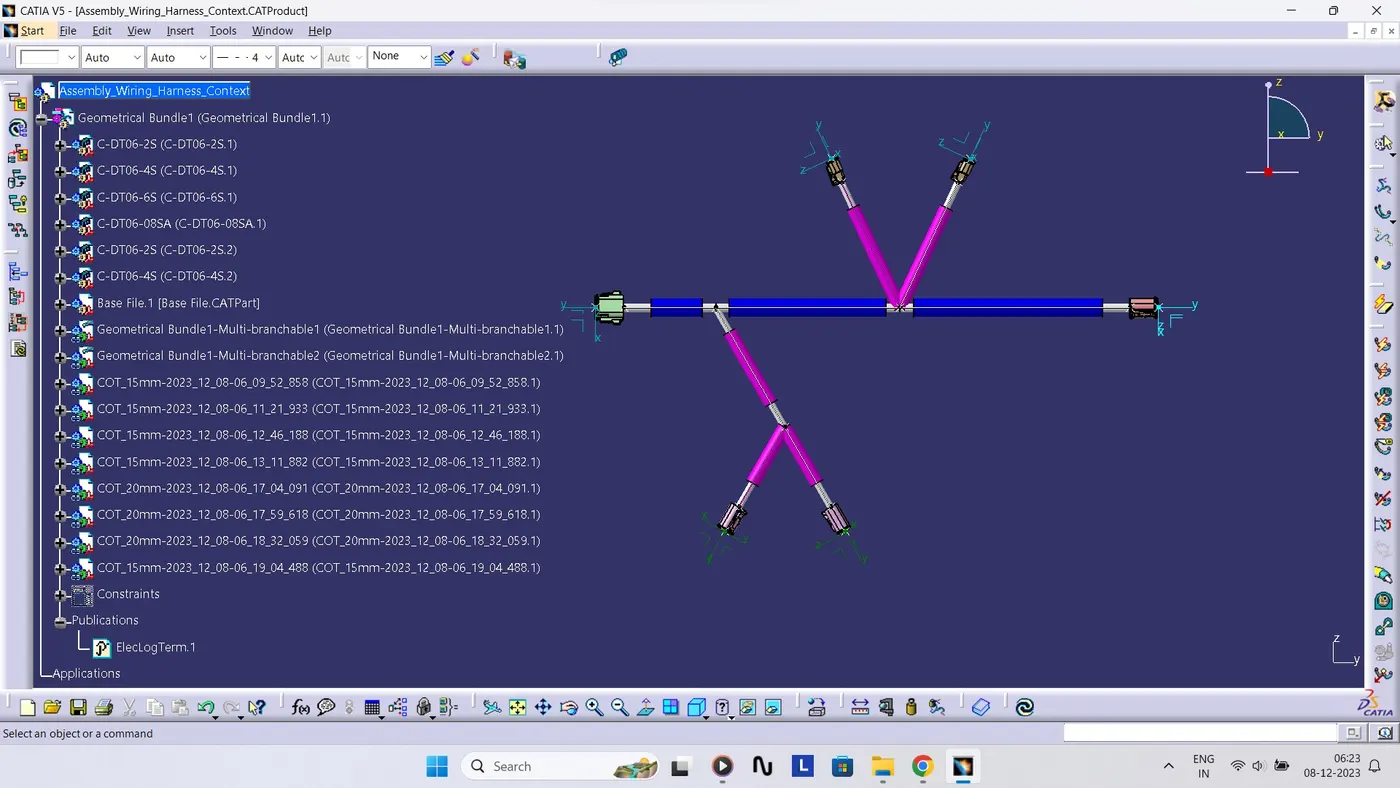
- Switch to Electrical Wiring Harness Assembly Define Assembly as Geometrical Bundle.
- Use Branch Command to add the bundle between connectors.
- To add branch between the bundle use, Add Branch Point command define the parameters from which point or ratio is needed to add the new branch.
- Add corrugated tubes by using Protective Covering command.
- Select Branch - Open Catalogue – Select COT Tubes - Select Tube (as required diameter) - define start extremity, end extremity – ok.
- Repeat the above step for applying tubes on multiple branches.
Assembly with Mechanical Constraints
Final Assembly
References
https://www.synopsys.com/glossary/what-is-wiring-harness.html
https://en.wikipedia.org/wiki/Electrical_connector
https://www.te.com/usa-en/product-DT06-4S.html
https://www.te.com/usa-en/product-DT06-6S.html