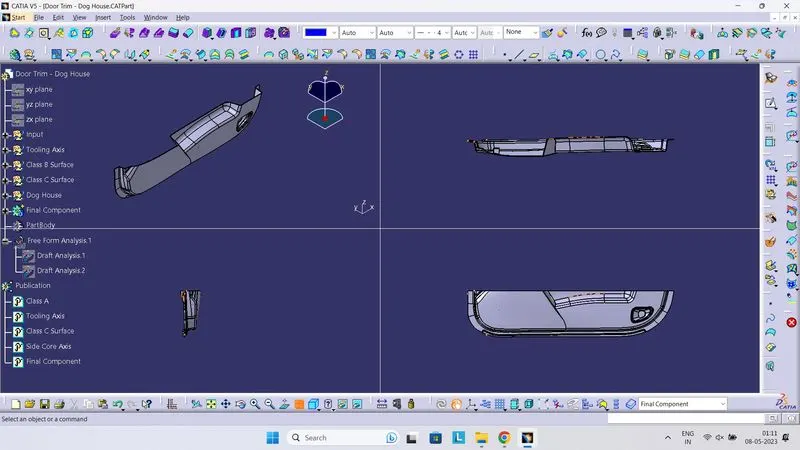
Week 10 - Challenge 2- Attachment Feature Creation (Dog House)
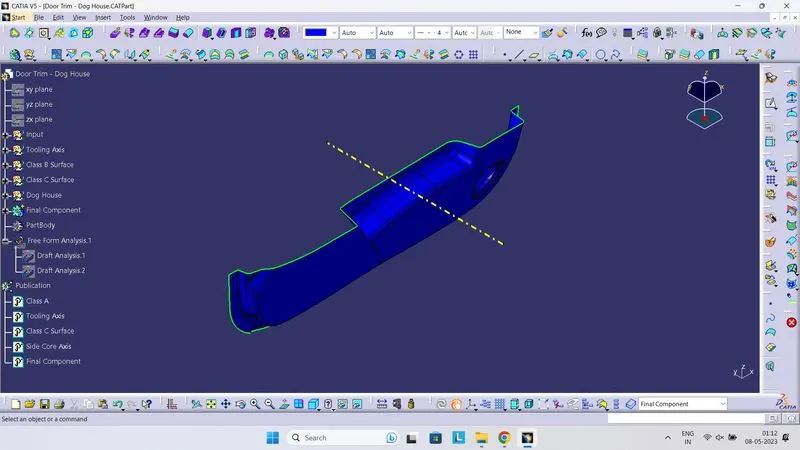
Step 1: Tooling axis
The Tooling Direction is basically the direction that the mold pulls a part. The mold is built in two separate pieces, basically. You have a Cavity side and you have the Core side. The Core pulls apart from the Cavity and that's the Dye line or the Tooling Direction.
- Check the best possible tooling direction by manually adjusting the compass.
- By analysing it is found that the t y axis as tooling direction would clear most of the faces without any difficulties.
- Now extract any surface and create a mid-point on it.
- Then create a dummy axis creating a line on the point and direction along the y-axis.
- Perform draft analysis to Now extract any surface and create a mid-point on it find whether the given axis clears the draft analysis. If not create a new tooling axis.
Tooling Axis
Step 2: Draft Analysis
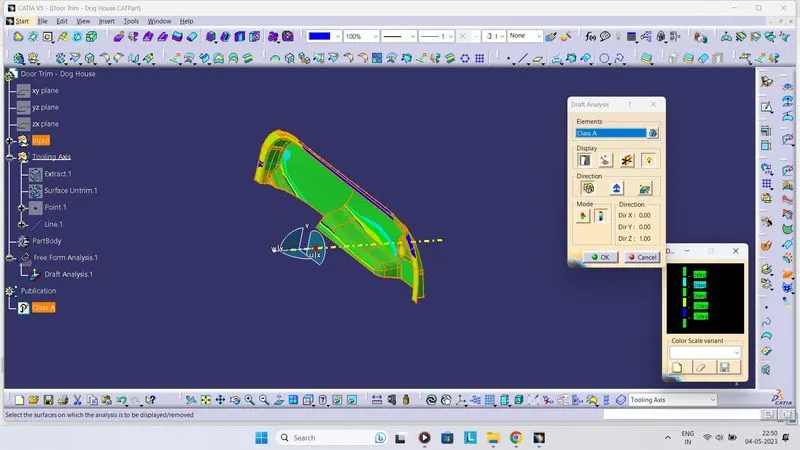
The Draft Analysis command enables you to detect if the part you drafted will be easily removed. This type of analysis is performed based on colour ranges identifying zones on the analyzed element where the deviation from the draft direction at any point, corresponds to specified values
- Before going to draft analysis go to customized view parameter >under mesh >check material and then click ok.
- Now for draft analyses go to insert » analysis » feature draft analysis.
- Use the compass to define the draft direction.
- In the colour scale change the draft angle to 3 degrees.
- If the component changes to green it indicates of passing draft angle.
- Use running point to check the angle on the component.
- The Draft Analysis is complete now.
Class A Surface Draft Analysis
Step 3: Creation of Class B Surface
- Offset the Class A Surface for 2.5 mm.
- Complete the Class B Surface using sweep and trim command.
- Apply fillets to the model after creating the entire surface.
Class B Surface
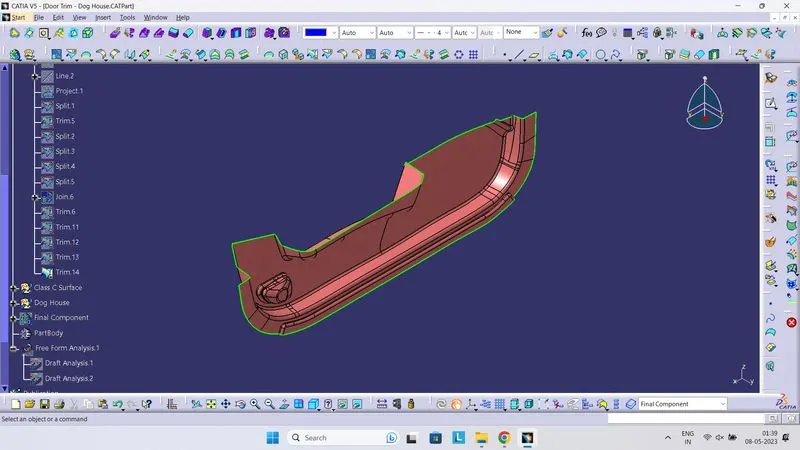
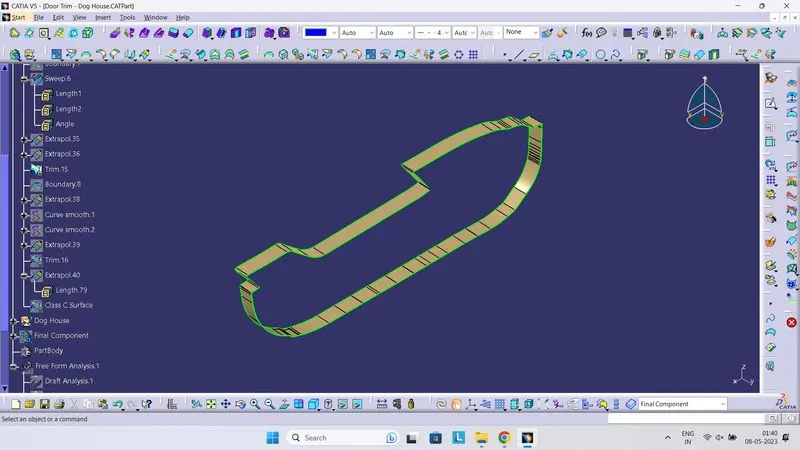
Step 4: Creation of Class C Surface
- Extract the boundary from the Class A Surface using boundary command
- By using Sweep command create C Surface.
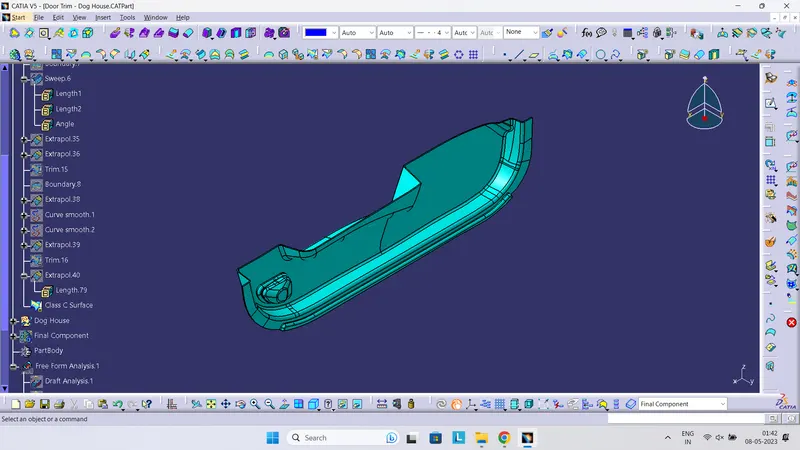
- After getting sweep then trim the output with class B surface to get final output.
- Now open part design workbench and using close body surface create a solid of the component.
Sweep for Class C Surface
Class C Surface
Step 5: Creation of Side Core Axis
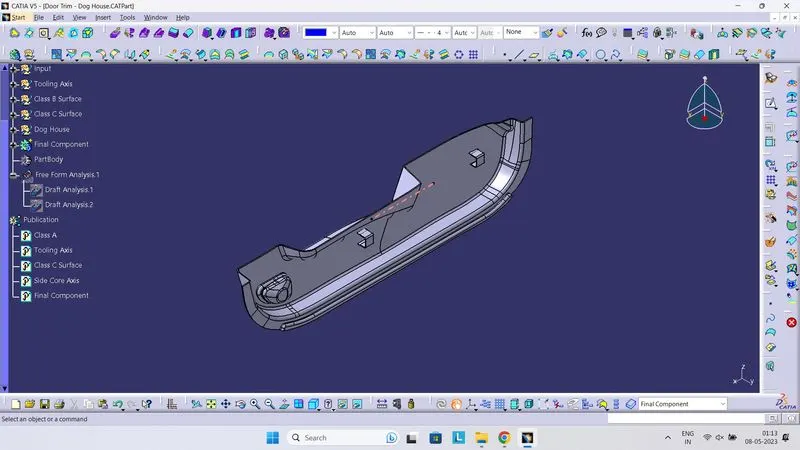
- Create a line along x axis using the same point as initial.
- This is side core tooling axis which will be used for giving draft for the dog house.
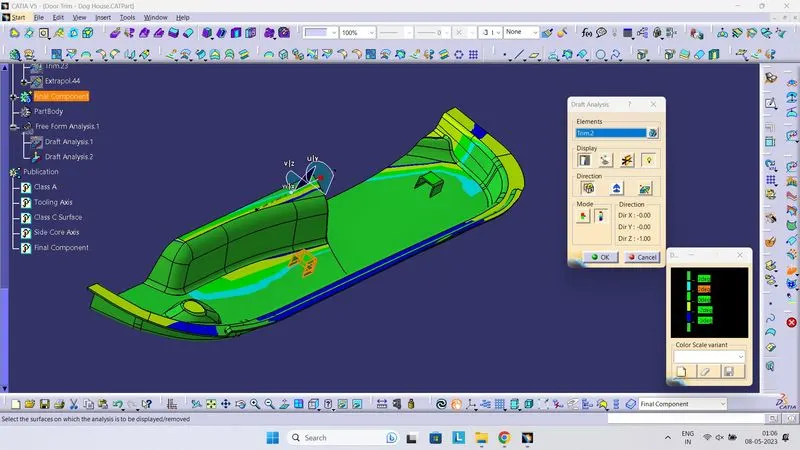
- Perform the Draft Analysis for Side Core Axis.
Side Core Axis
Step 6: Creation of Dog House
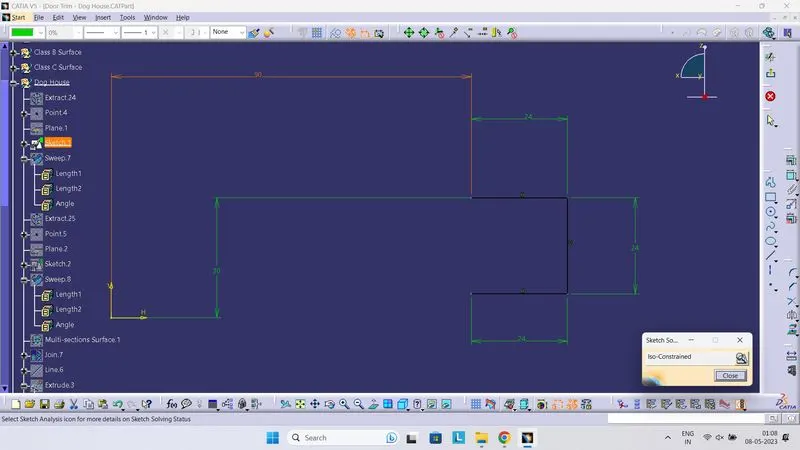
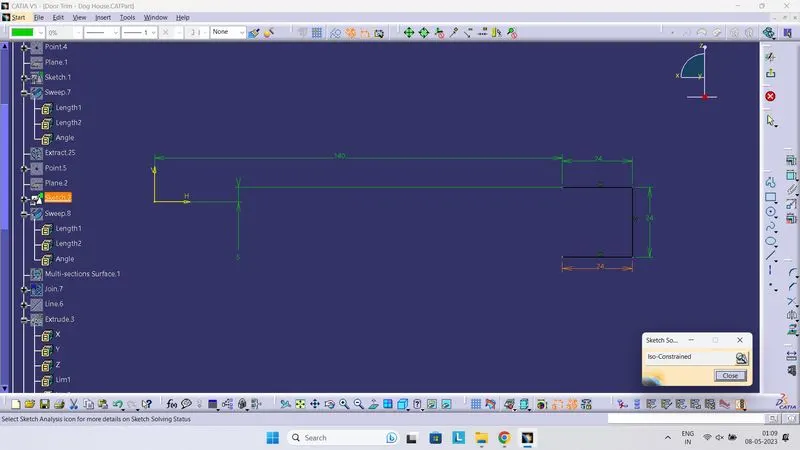
- Create the drawing for dog house and give proper constraints to make it Iso-constraint.
- Sweep the dog house for draft angle of 1.50 and use thick surface to make dog house.
- Perform split give final Draft value using pulling direction as side core axis and fillet on the dog house.
- Union Trim the Dog House with the main body to get final output.
Dog House Drawing
Draft Analysis for Side Core Axis
Final Component
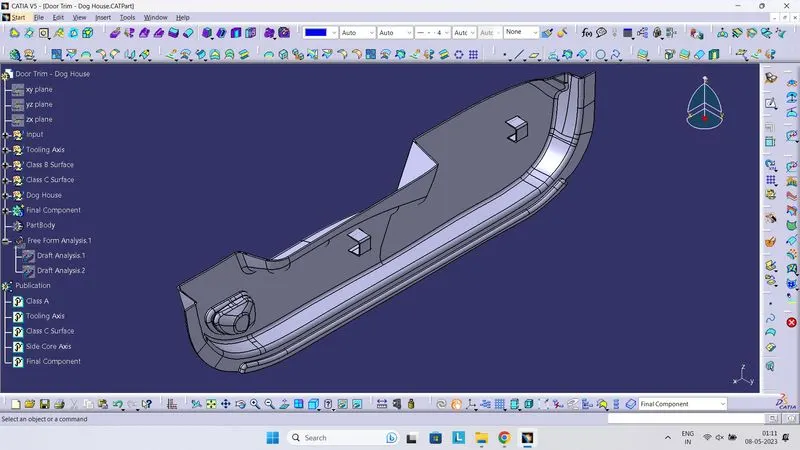
Multi View