Wiring harness design in CATIA V5 - 3D modeling Week 4 Challenge
AIM : Using the following connectors route the harness layout in electrical workbench in CATIA V5.
OBJECTIVE : Objective of this project is to first download the given file from the given link and define all of them as an electrical and give all the required electrical properties to harness assembly product file and then using the electrical assembly design, route the harness layout in CATIA V5. And also add protective covering on all the branches (extrimity 30mm).
GIVEN DATA :
Connector 3D data from TE.com
- DT06-4S
- DT06-6S
- DT06-2S
- DT06-08SA
These are the following steps required to do this project.
- Import all the 3D file in catia v5 workbench
- Define all of them as a geometrical parameter individually
- And then define all as an electrical
- Create an harness assembly for routing
- Select the electrical harness assembly workbench
- Define as geometrical bundle if required for routing
- Set all the connector as desired location for routing with given dimension
- Add multibanchable document library
- Define branch for routing
- And then route (DT06-08SA and DT06-06S) connector harness assembly
- Add branch point on wring harness roouting with dimensional data
- Route the branch connector
- Save the all data
- Now add protection covering on each branch
STEP 1 :
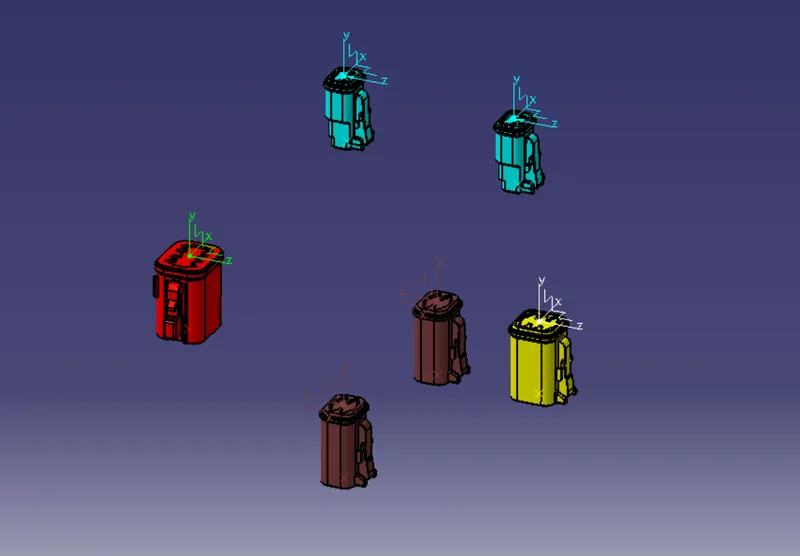
Figure 1: Import all the connectors in Catia v5 workbench
STEP 2 :
Figure 2: Connector-DT06-6S, Define geometric parameter and electrical properties
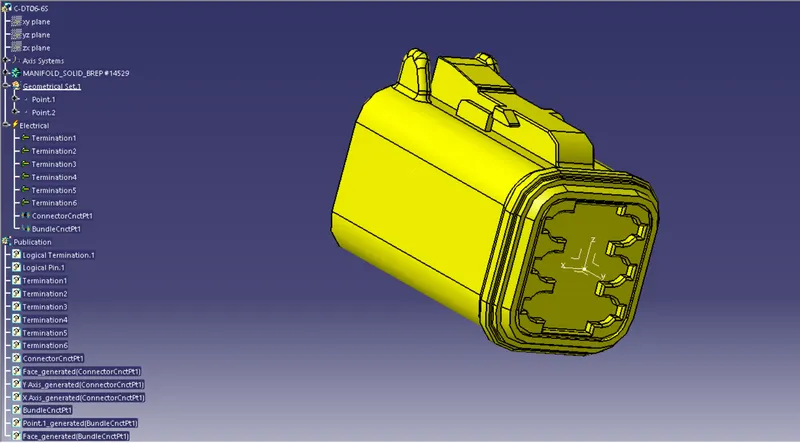
Figure 3: Connector-DT06-4S, Define geometric parameter and electrical properties
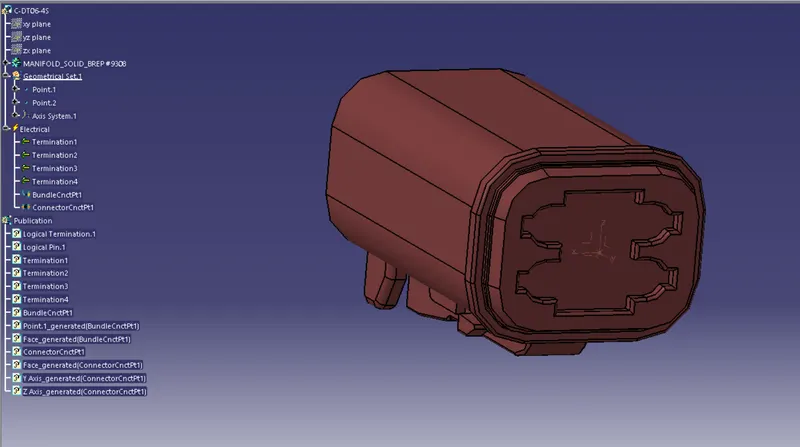
Figure 4: Connector-DT06-2S, Define geometric parameter and electrical properties
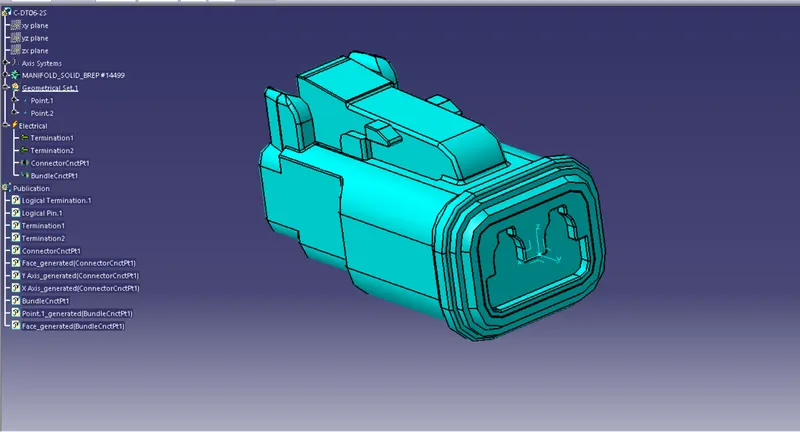
Figure 5: Connector-DT06-08SA, Define geometric parameter and electrical properties
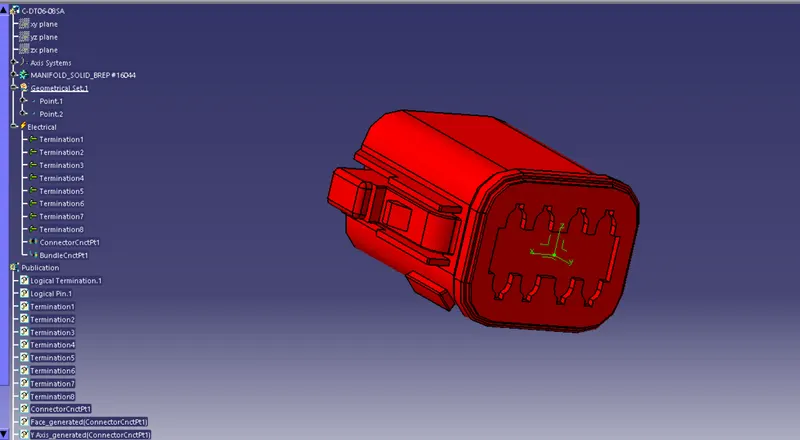
STEP 3 :
Figure 6: Creating harness assembly
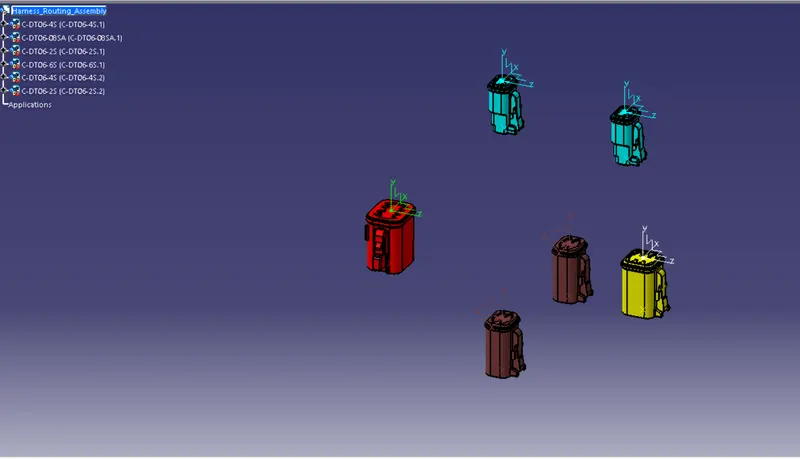
STEP 4 :
Select the electrical harness assembly workbench
STEP 5 :
Here we already define geometrical bundle of each so we do not need to define geometric bundle in harness assembly
STEP 6 :
Figure 7: Set all the desired location for routing with specific dimension as per question
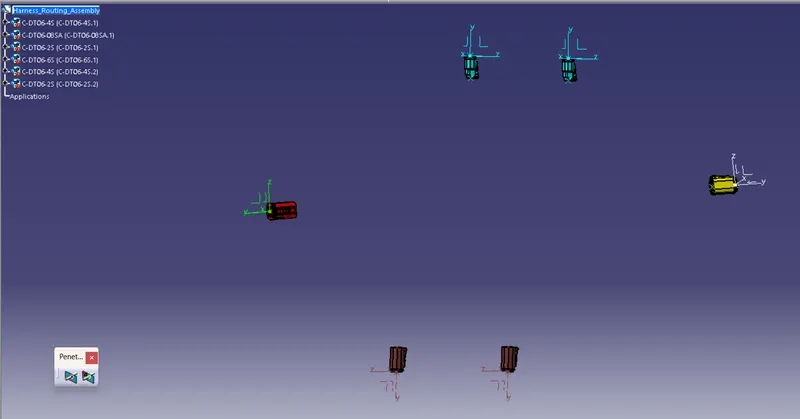
STEP 7 :
Figure 8: Add multibranchable document (harness installation) from catia workbench and route DT06-08SA & DT06-6S
15mm corrugated tube takes for routing
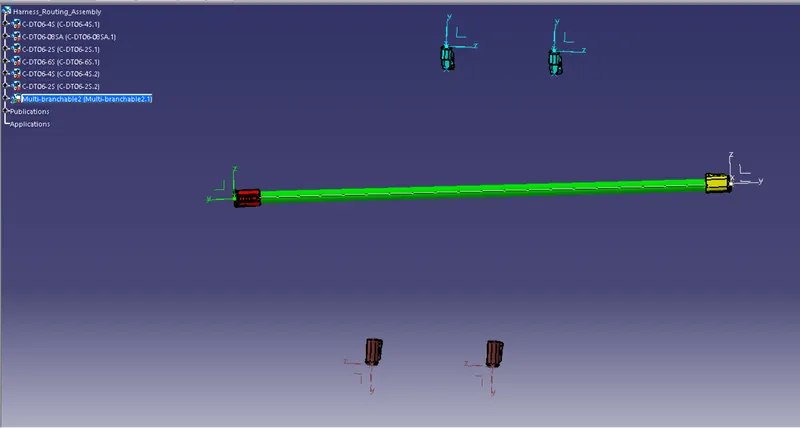
STEP 8 :
Figure 9: Add branch point from harness intallation on 15mm corrugated tube
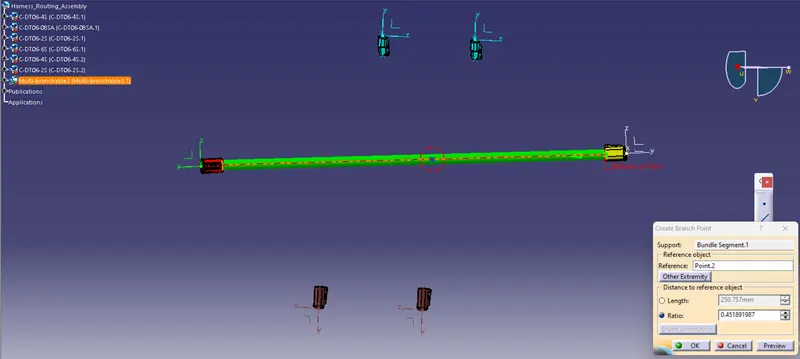
STEP 9 :
Figure 10: Route corrugated tube at 250mm from right and both connector DT06-2S
For this we take 10mm corrugated tube
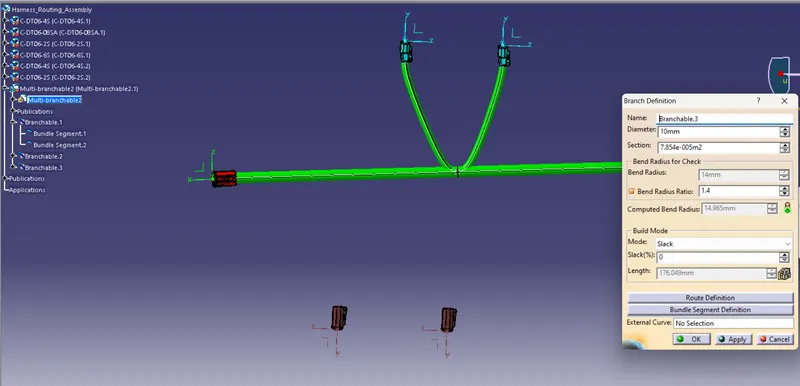
Figure 11: Route corrugated tube at 100mm from left and connector DT06-4S
For this we take 10mm corrugated tube
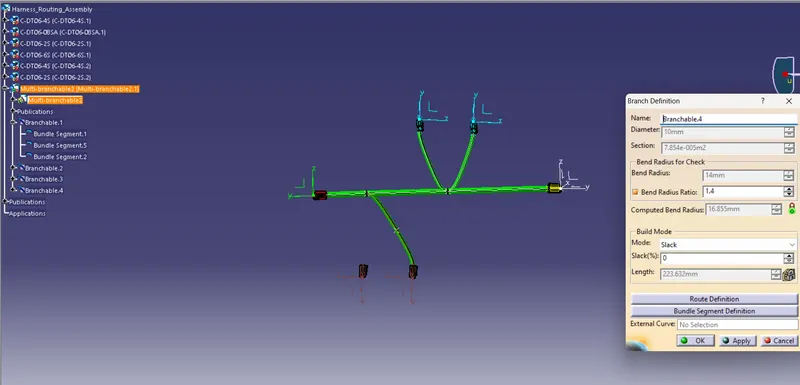
Figure 12: Add branch point 100mm from buttom reference and route connector DT06-4S
For this we take 5mm corrugated tube
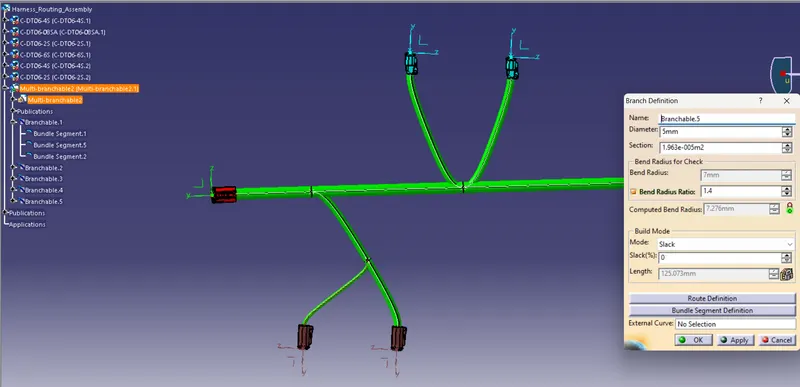
STEP 10 :
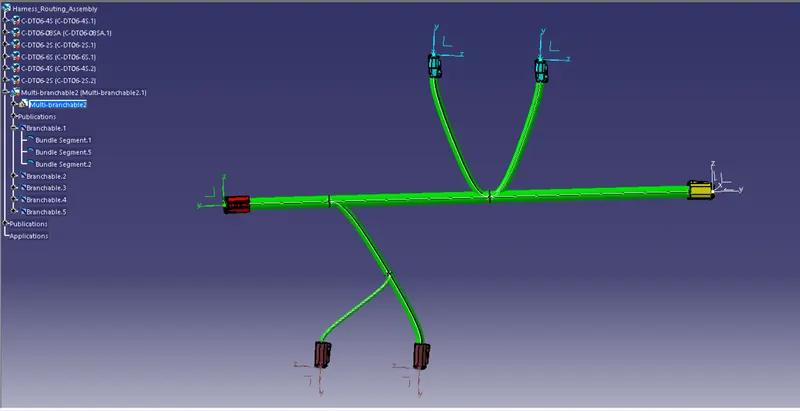
Figure 13: Saved file
STEP 11 :
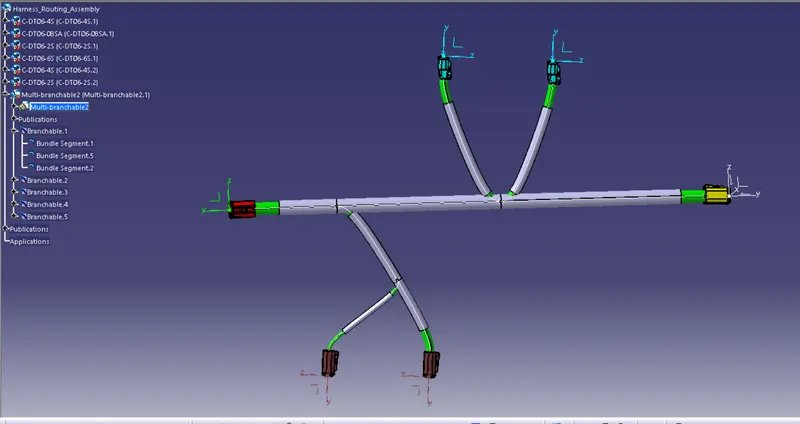
Figure 14: Add protection covering on each branch and keep 30mm end extremity
Like for 15mm corrugated tube for 15mm routing harness and 10mm tube for 10mm routing harness and so on.
CONCLUSION :
Here we route following harness layout in electrical workbench and add proction covering according to their dimension with corrugated tube keeping 30mm end extremity.