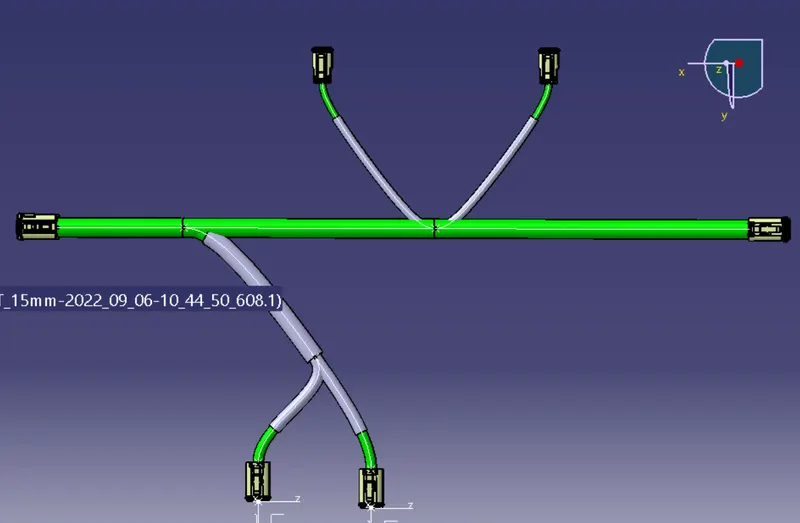
Wiring harness design in CATIA V5 - 3D modeling Week 4 Challenge
Part 1 : - Electrically Defining the Connectors-
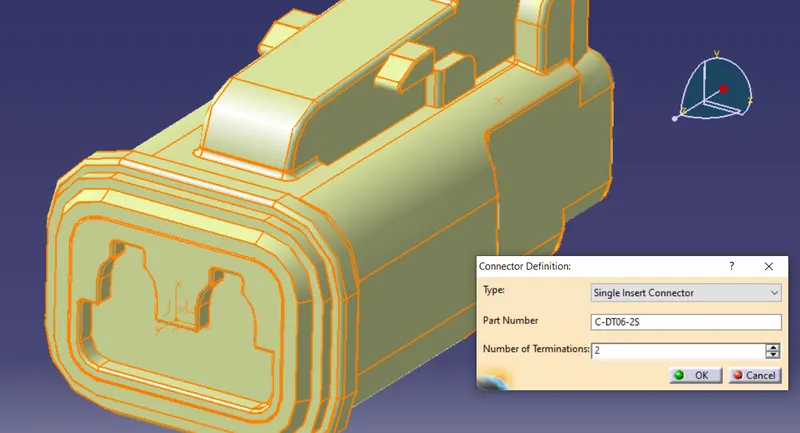
DT06-2S / DT06-4S /DT06-6S/ DT06-08SA (Example for one is shown , done for all connectors in same way)
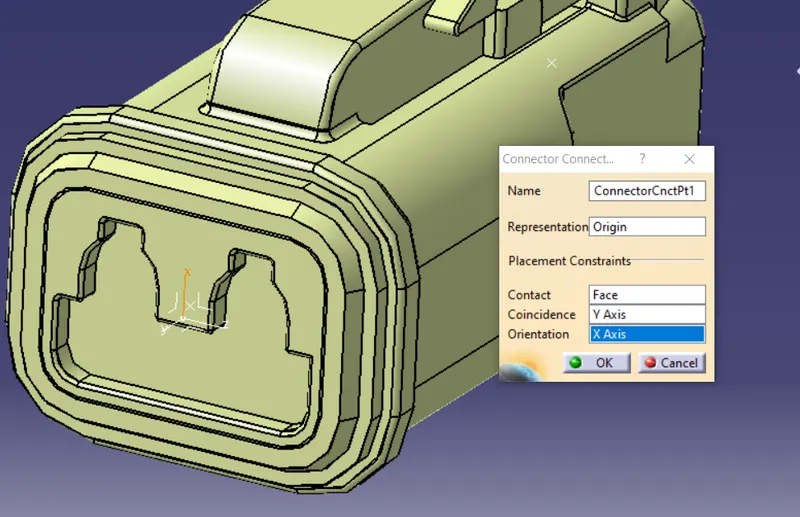
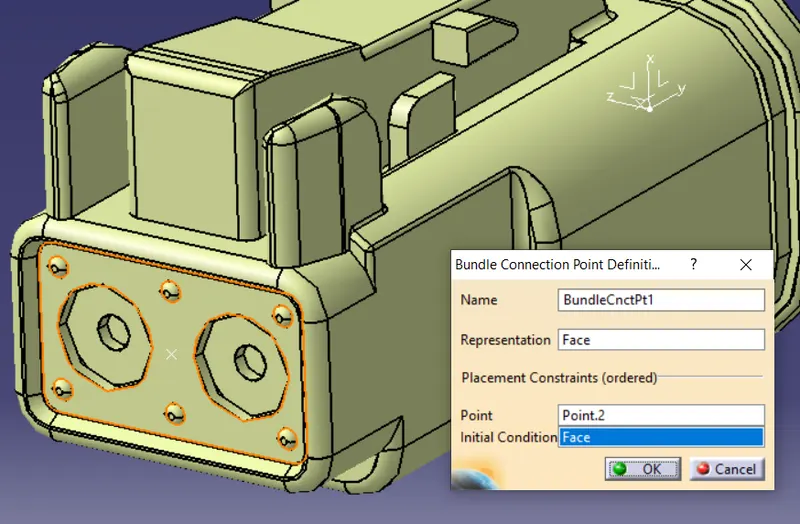
1. Defining connector connection point, bundle connection point and axis system in mechancial part design
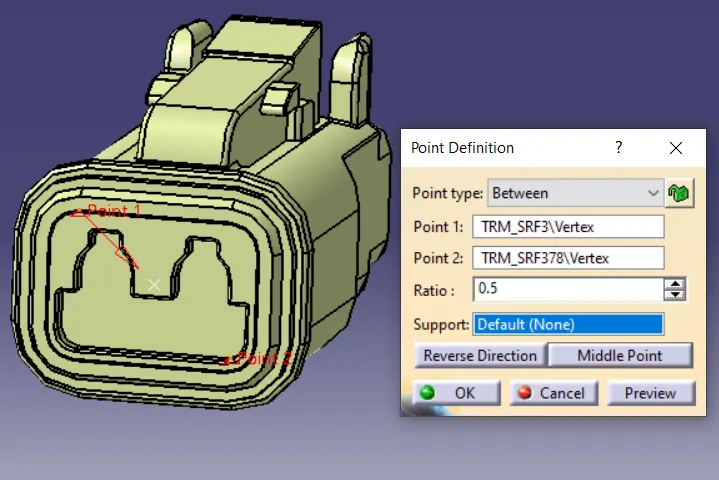
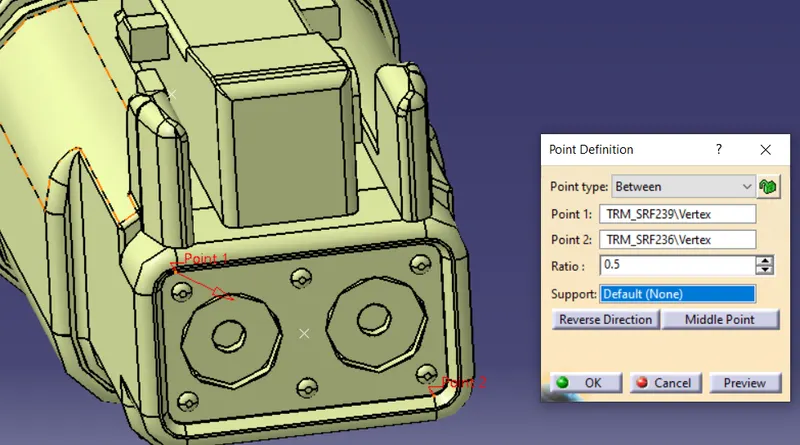
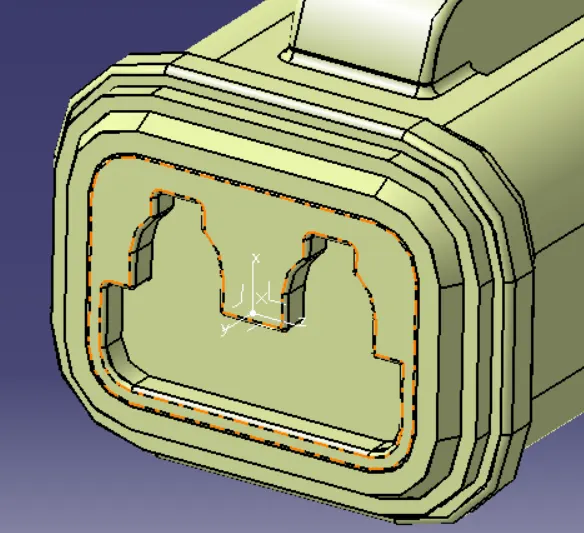
2. Defining the part as connector, connector connection point, bundle connection point electrically
Part 2: - Defining the protective coverings: -
In order to define the protective coverings, the following assumptions are to be taken for bundle diameters: -
1. Main bundle from DT06-08SA to DT06-6S = 15mm
2. Common branch from the main bundle to next branching point for both DT06-4S = 12mm
3. Both branches for DT06-4S = 8mm
4. Both branches for DT06-2S = 5mm
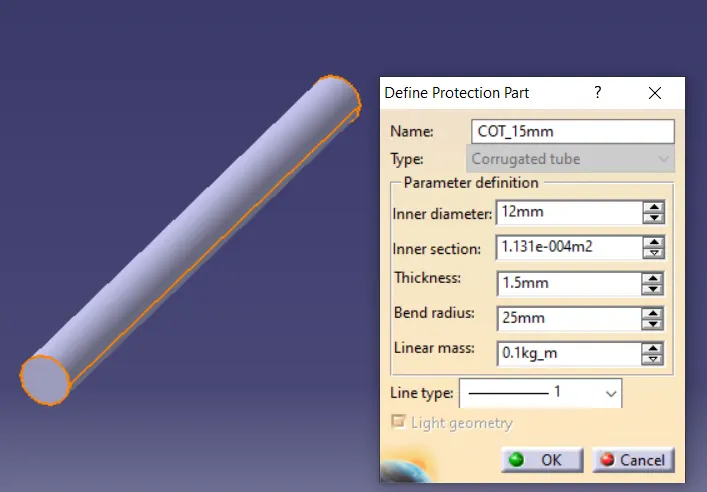
Hence, in accordance to the bundle diameters assumed,three COT tubes are required: - 7mm, 10mm, 15mm because only branches of DT06-2S and DT06-4S need to be covered.
1. 15 mm COT: -
2. 10 mm COT
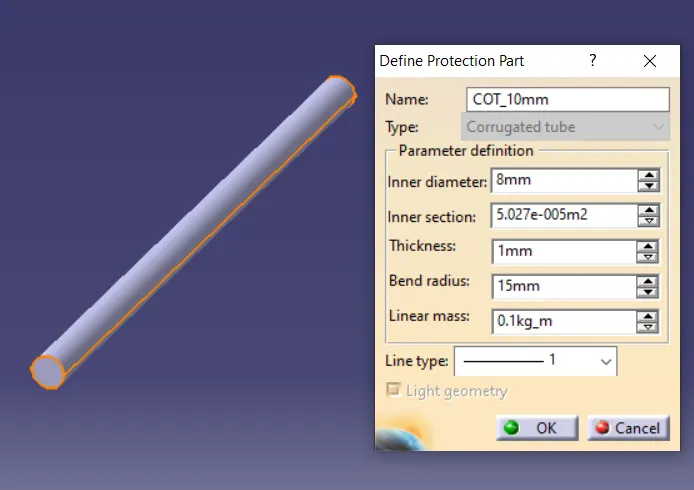
3. 7 mm COT
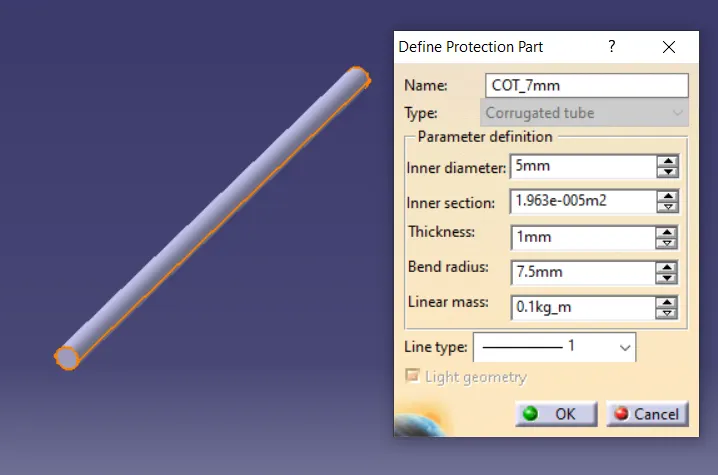
Part 3: - Catalogue Creation
1. For Connectors: -
1. Creating a new catalogue file
2. Adding a new family as a standard catalogue with name Connectors
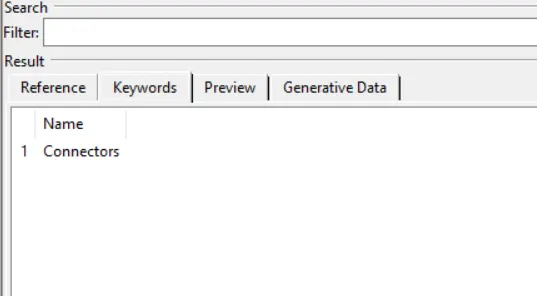
3. Storing every part in catalogue: -
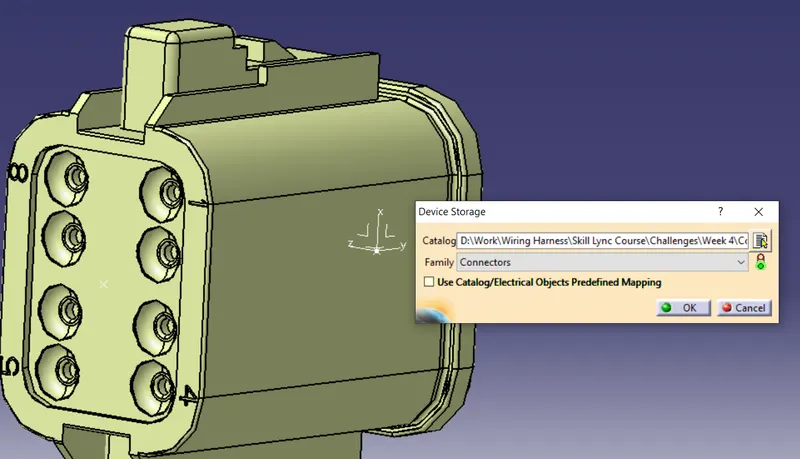
2. For COT Tubes: -
1. Creating a new catalogue file
2. Adding a new family as a Conduit with name COT_Tubes
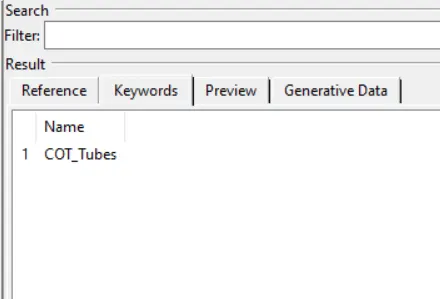
3. Storing every part in catalogue: -
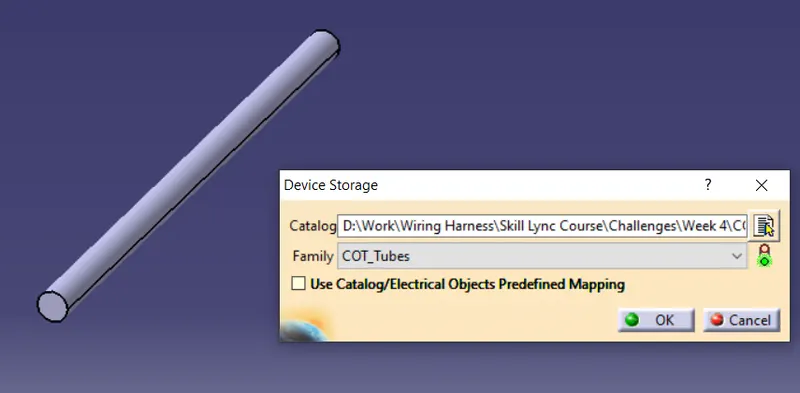
Part 4: - Creation of Harness Assembly Context and Geometric Bundle
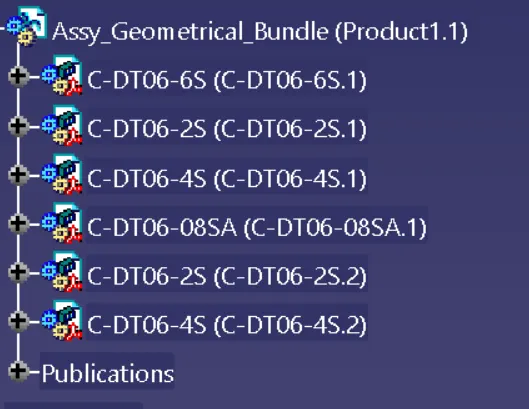
1. Creating new product file and adding new product for geometrical bundle in it

2. Adding connectors in the geometrical bundle
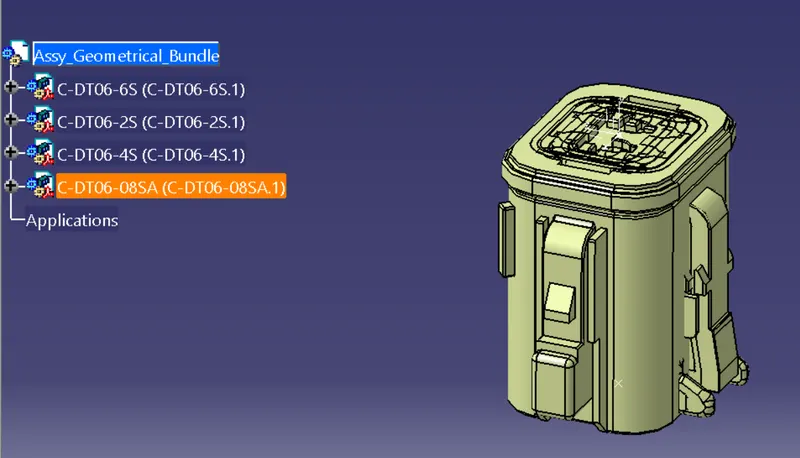
3. Assembling the connectors approximately as per the layout in the question using commands such as manipulation, translation and rotation, compass etc.
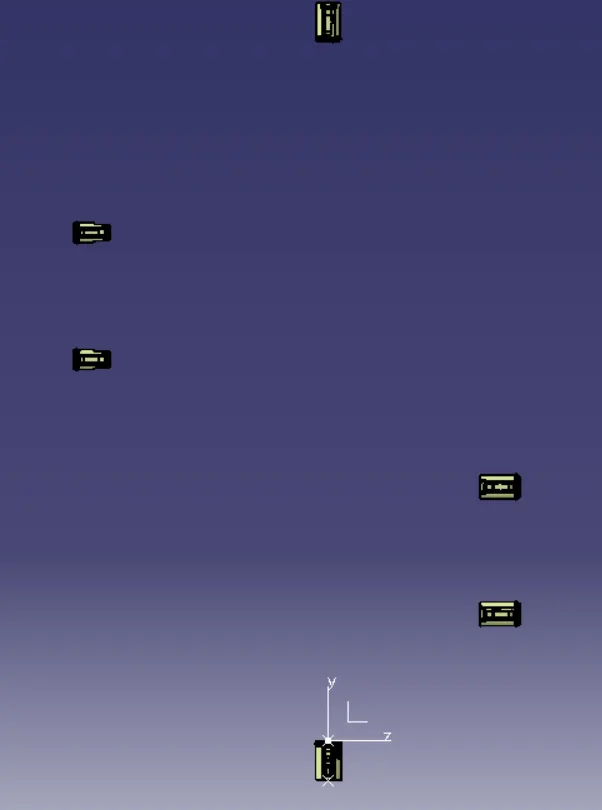
4. Defining the geometrical bundle electrically.
5. Creating the main bundle of diameter 15mm with a length of 550mm using multi branchable command
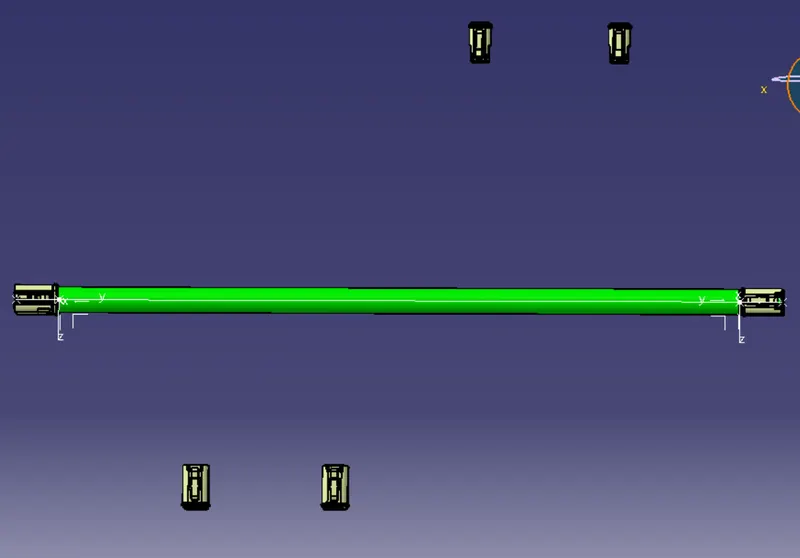
6. Creating a branchable point at a distance of 250mm from DT06-6S.
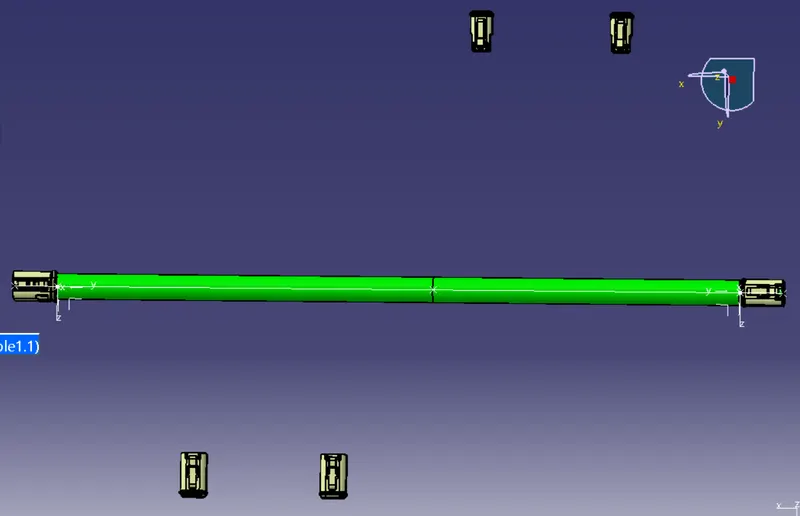
7. Create branches such that the length of branch is set to 150mm with diameter 5mm and bend radius ratio 1.4
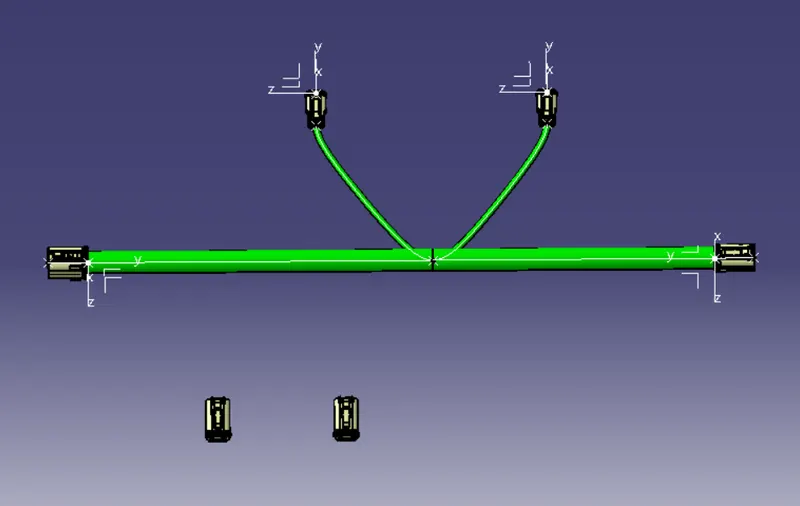
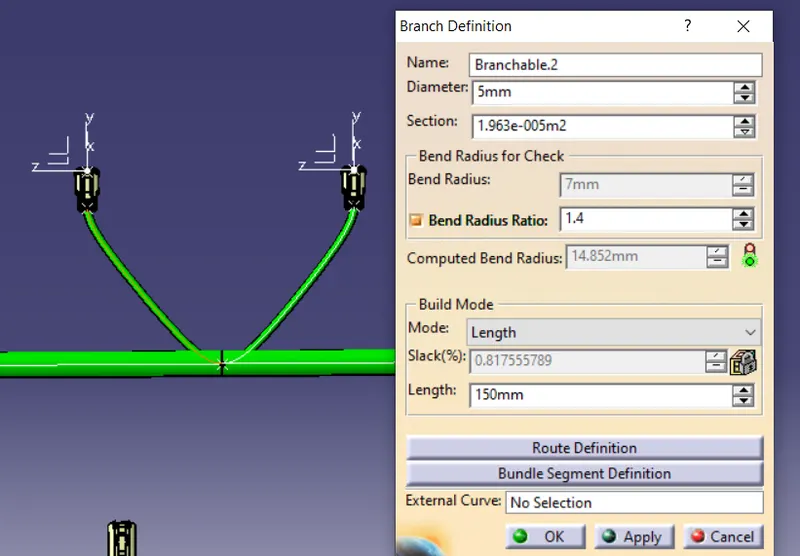
8. Create a branchable point in the main trunk of the bundle at a distance of 100mm from the ledt connector
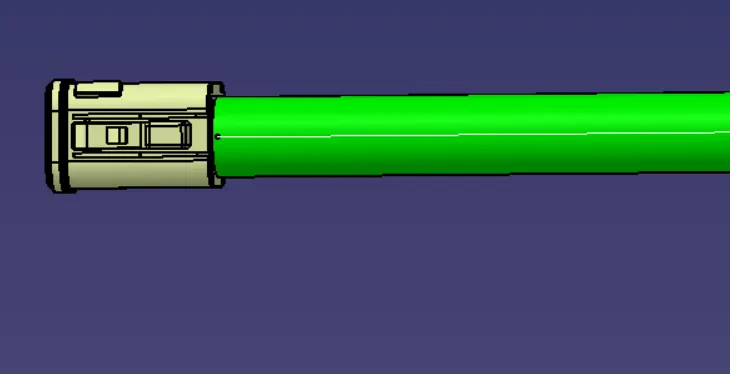
9. Create a branch from this point to the connector on the right with a bundle diameter of 12mm
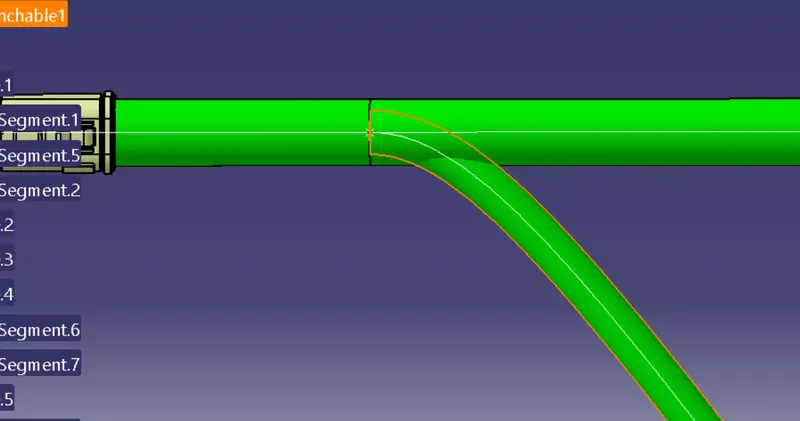
10. Create a branch point for the other connector. Also, reduce the bundle diameter from the branch point to the connector to 8mm
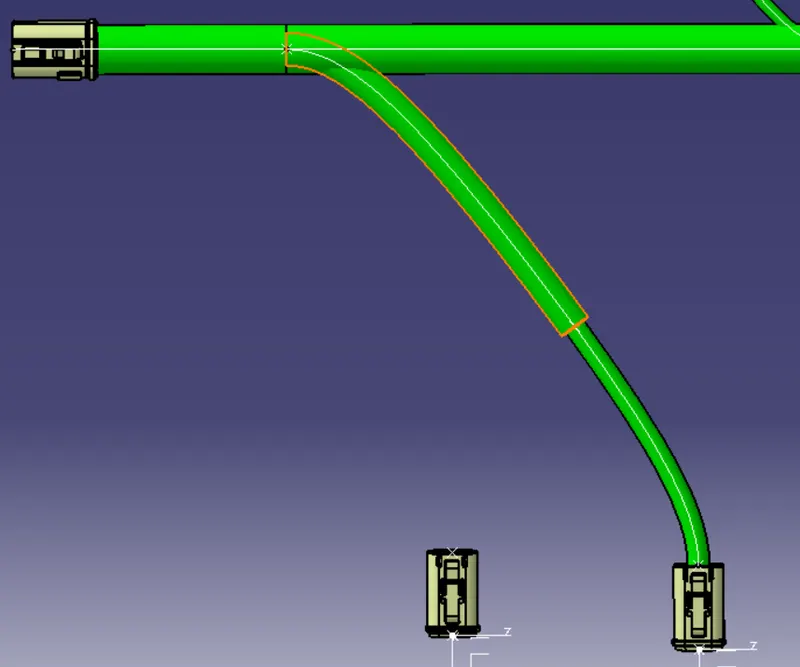
11. Create the other branch with length 100mm
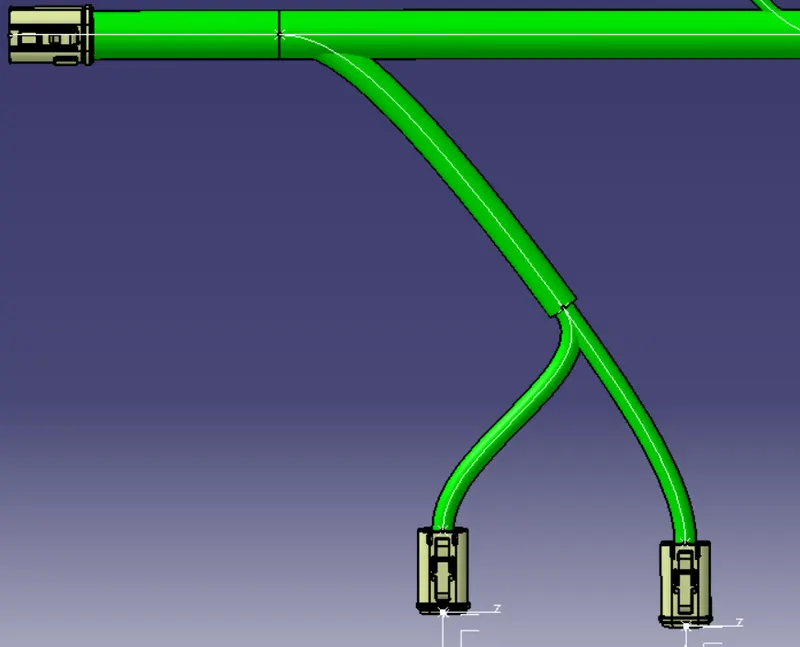
12. Apply COT on all applicable branches as per defined earlier