Wiring harness design in CATIA V5 - 3D modeling Week 2 Challenge
Wiring harness design in CATIA V5 - 3D Modeling.
- Deutsch DT06 – 08SA ( https://www.te.com/usa-en/product-DT06-08SA.html)
- Tyco 174357-2 (https://www.te.com/usa-en/product-2-174357-2.html?source=header-match)
- Tyco 85229-1 – (https://www.te.com/usa-en/product-85229-1.html?q=85229&source=header)
Objective:
Download the following connectors & connector clip cad data from the given link & define it as Electrical Connector using the Electrical Part Design Workbench. Define all the necessary properties of Connectors & Clip.
Step 1:
Creating a catalogue for connectors:
Go to File>New>CatalogDocument
Name it Connectors
Type: Electrical
Save it to the desired location.
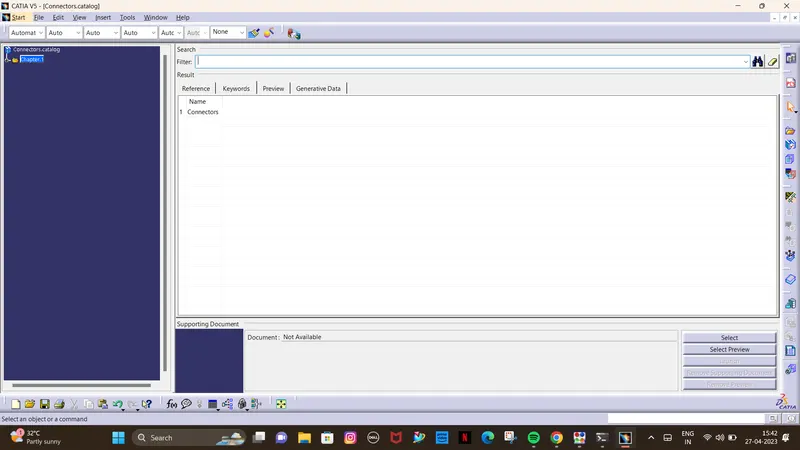
Now, we can save the imported or downloaded connector in the connectors catalogue to use it in the future.
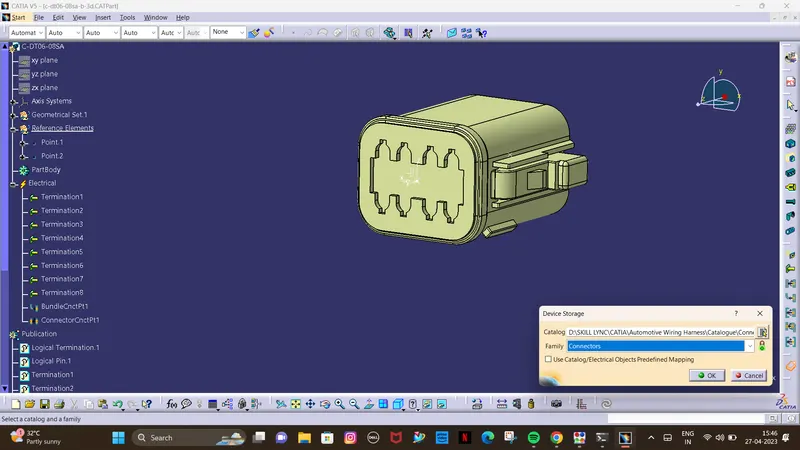
1)First Connector:
Create a point on the mating surface.
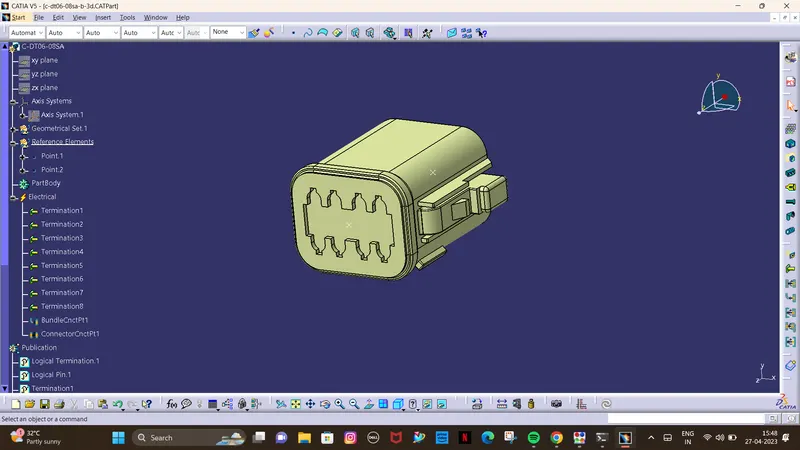
Create an axis on the point.
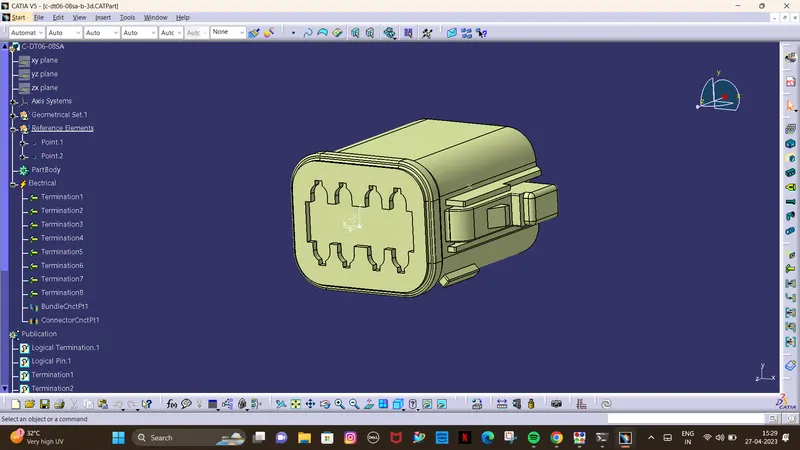
Create a point at the back as the bundle entry point.
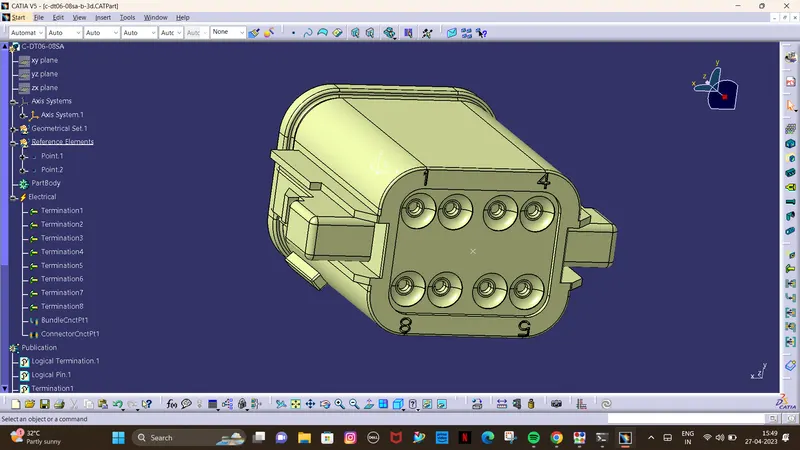
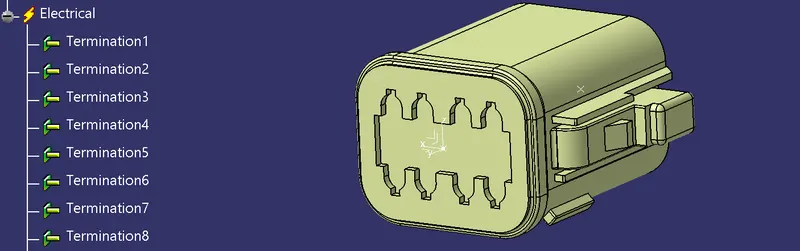
Now define the part as a connector with 8 terminations.
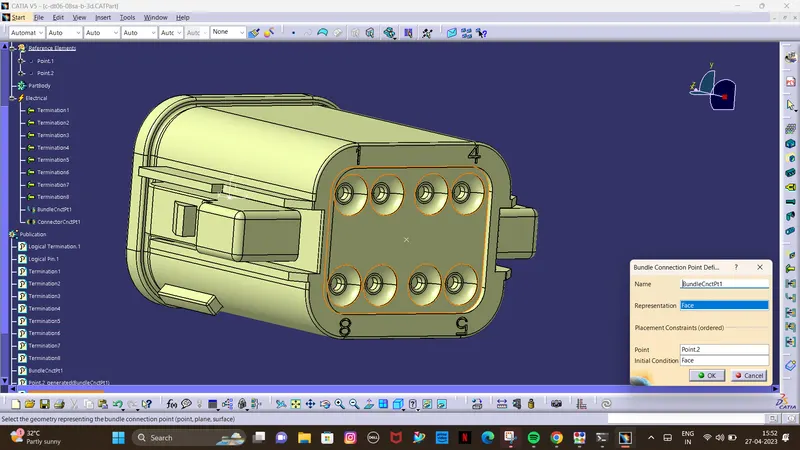
Define Bundle Connection Point.
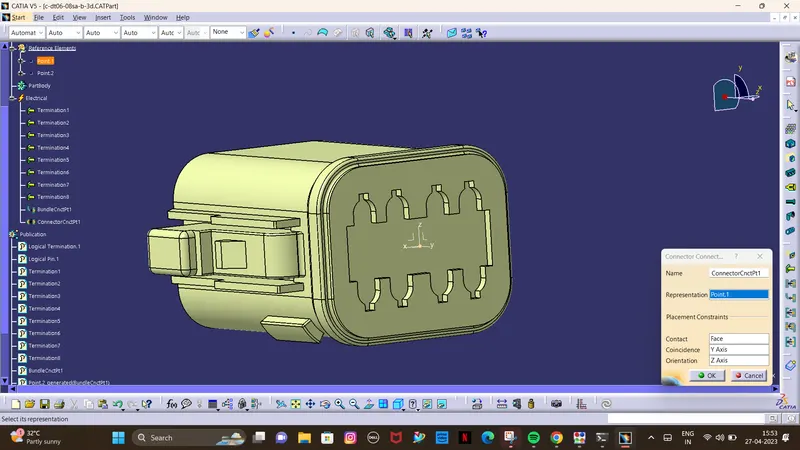
Define Connector Connection Point.
2)Second Connector:
Create a point on the mating surface.
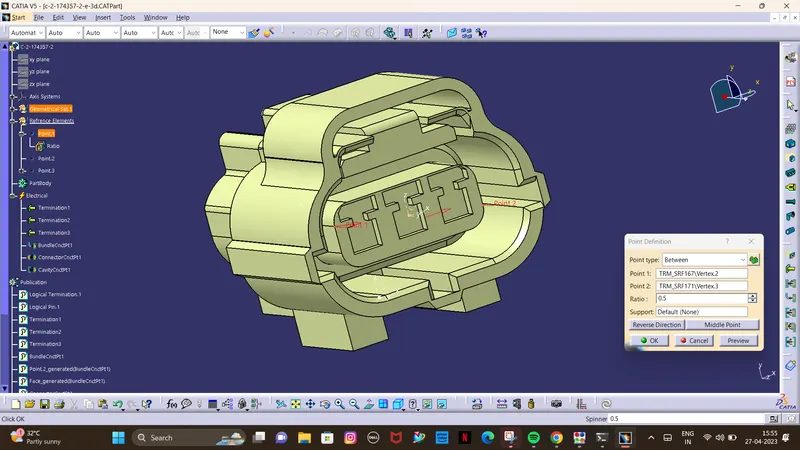
Create a point at the back as the bundle entry point.
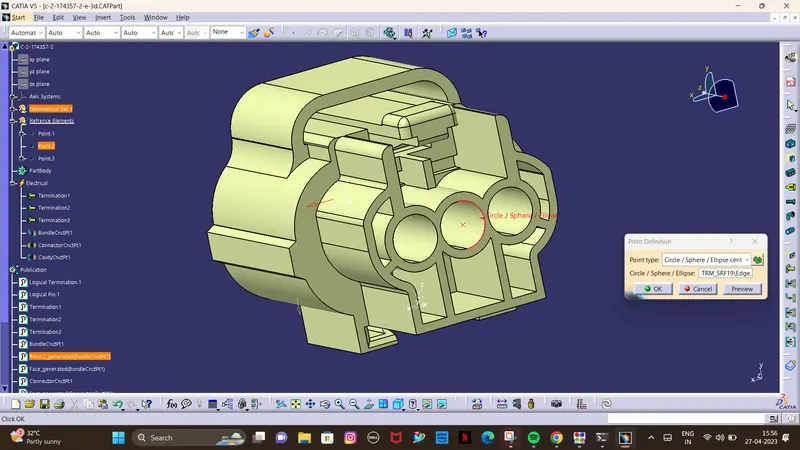
Create a point at the bottom as the cavity connection point.
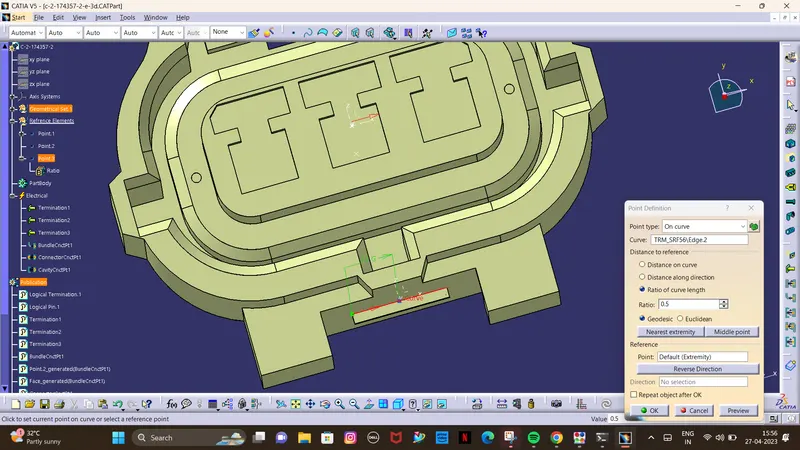
Create an axis on the points
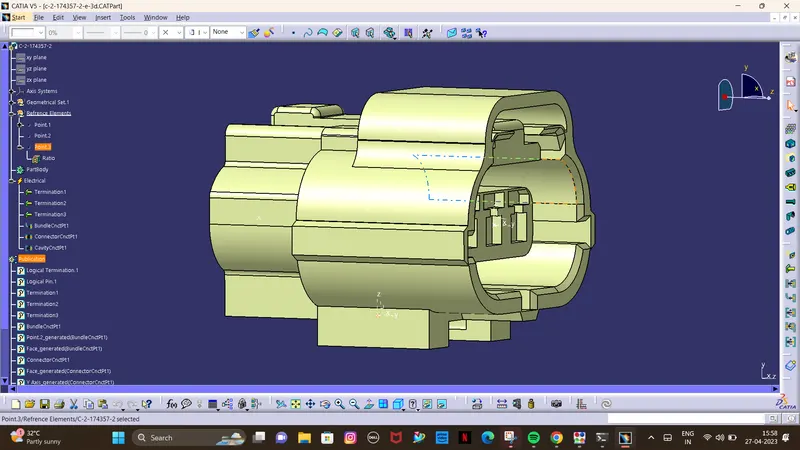
Now define the part as a connector with 3 terminations.
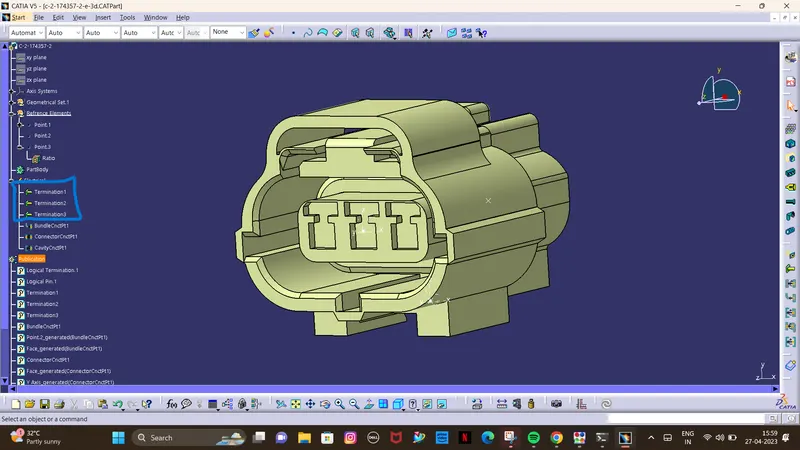
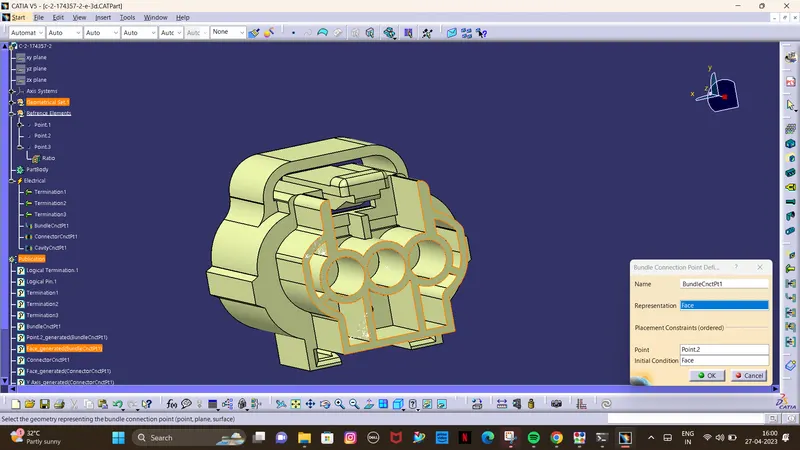
Define Bundle Connection Point.
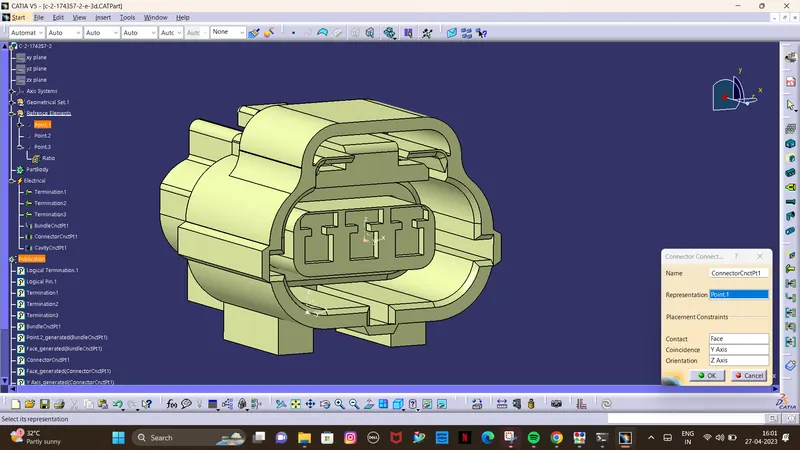
Define Connector Connection Point.
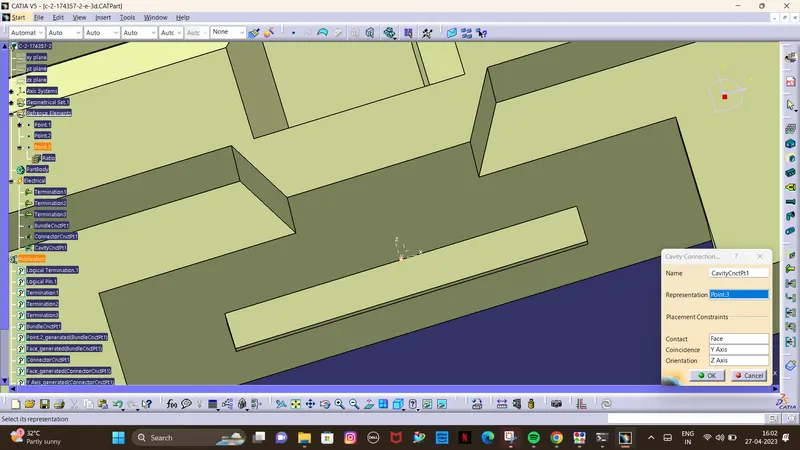
Define Cavity Connection Point.
3)Clip:
Create a point.
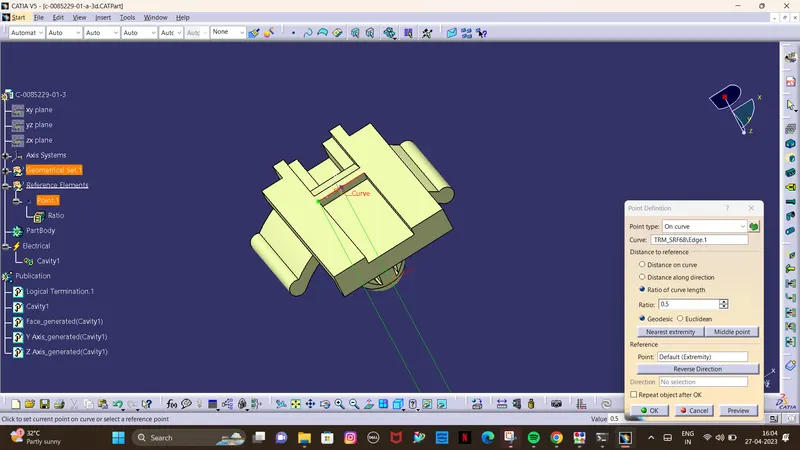
Create an axis on the point.
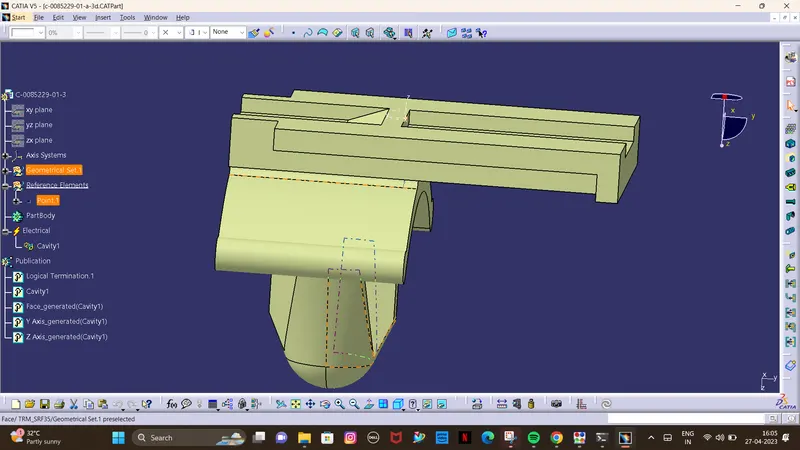
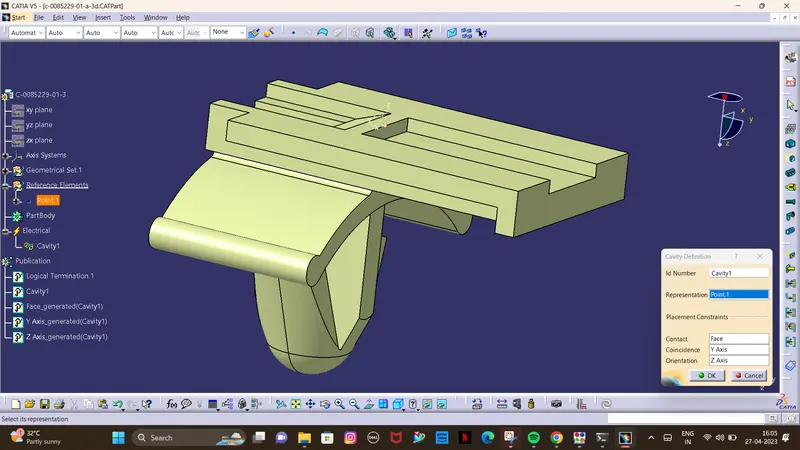
Define Cavity.
Assembly:
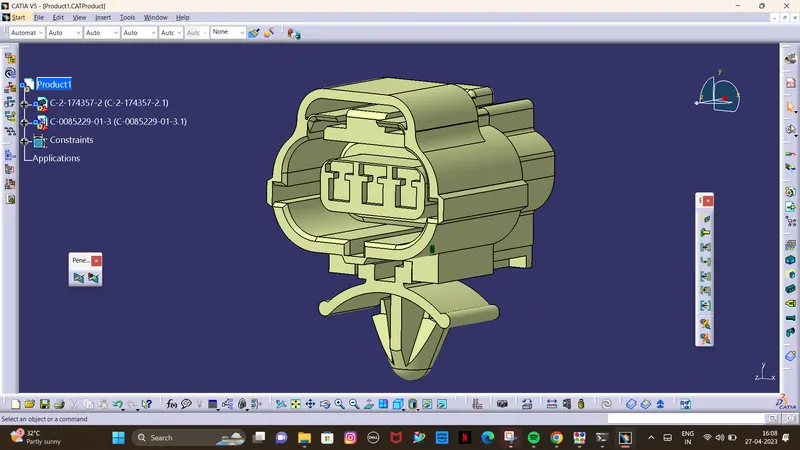
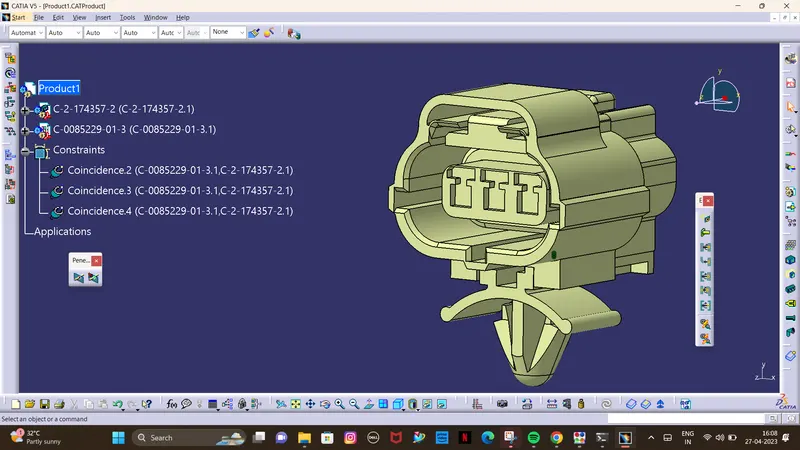
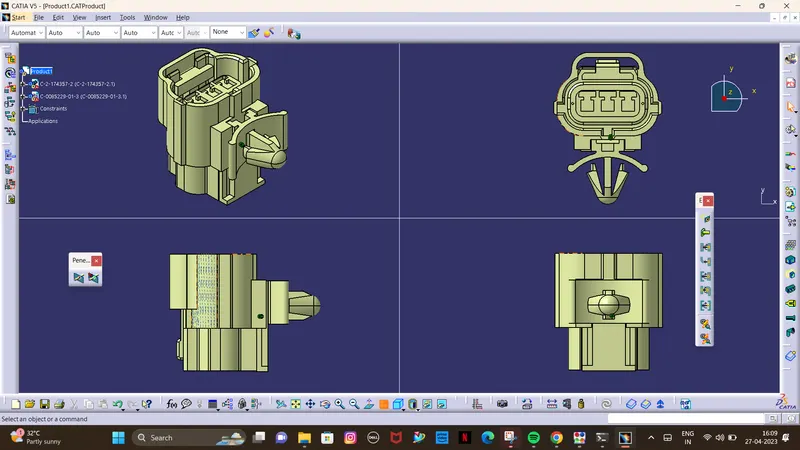
1.Open the connector and clip in 'Electrical Assembly Design workbench.
2.Align them properly.
3.Use to 'Connect Electrical Devices' option to connect them.
Conclusion
All the necessary properties of Connectors & Clip are Defined.