Wiring harness design in CATIA V5 - 3D modeling Week 2 Challenge
WEEK 2 CHALLENGE 2
AIM:
To define a electrical connector in electrical part design workbench using CATIA V5 software.
INPUT CONNECTOR AND CONNECTOR CLIP:
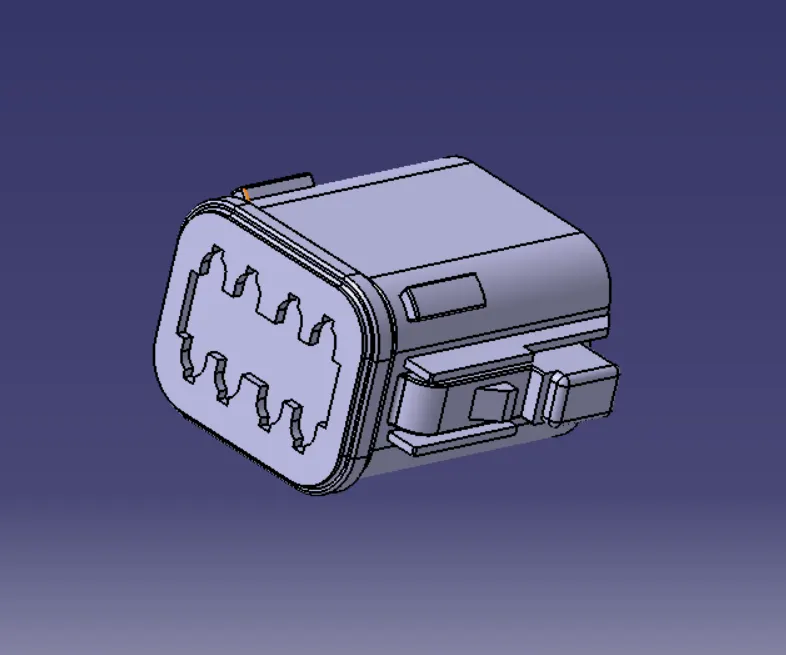
- DT06-08SA
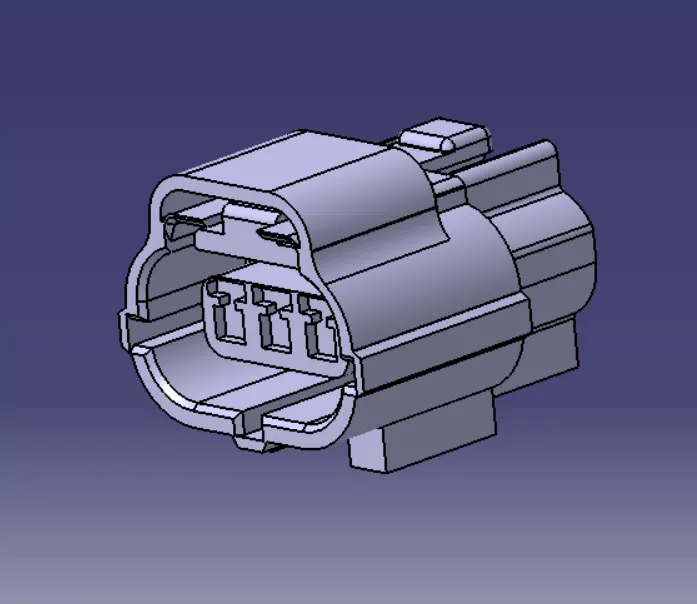
- 174357-2
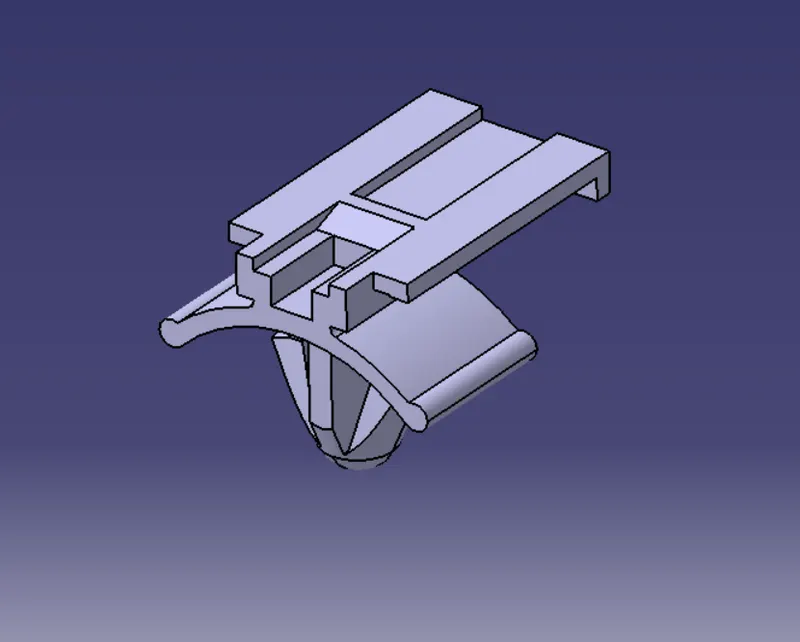
- 85229-1
DT06-08SA:
174357-2 CONNECTOR
85229-1 CONNECTOR CLIP
DESIGN METHODOLOGY:
- Create/download connector in 3D
- Create required geometrical parameter
- Define part as connector

- Define bundle connection point

- Define connector connection point

- Define cavity connection point

DESIGN PROCEDURE:
1. CREATE/ DOWNLOAD CONNECTOR IN 3D:
Its a first stage of design wiring harness assemble. To create or download the connector in TE connectivity webside.
2. CREATE REQUIRED GEOMETRICAL PARAMETER:
Its is second stage of design wiring harness assemble. In this stage create a point and axis were the connection point place.
3. DEFINE PART AS CONNECTOR
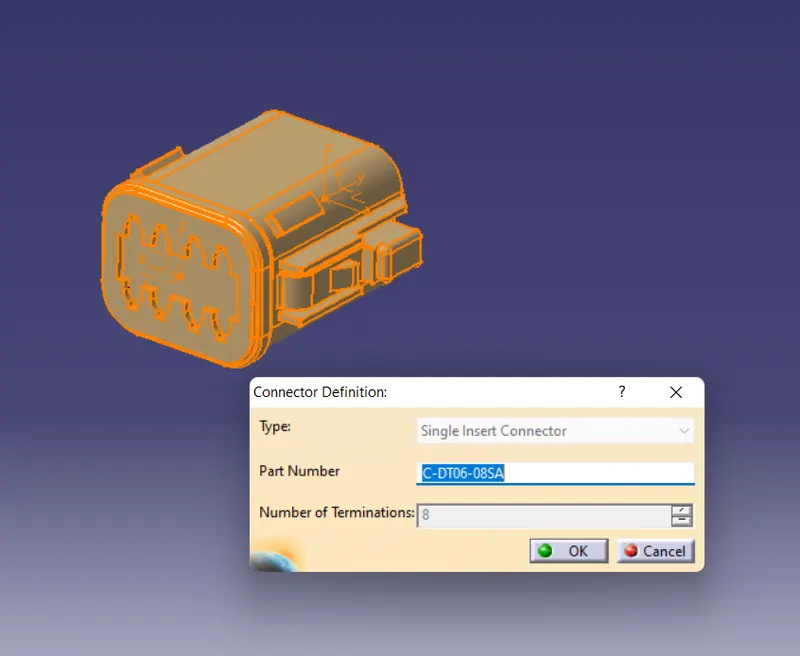
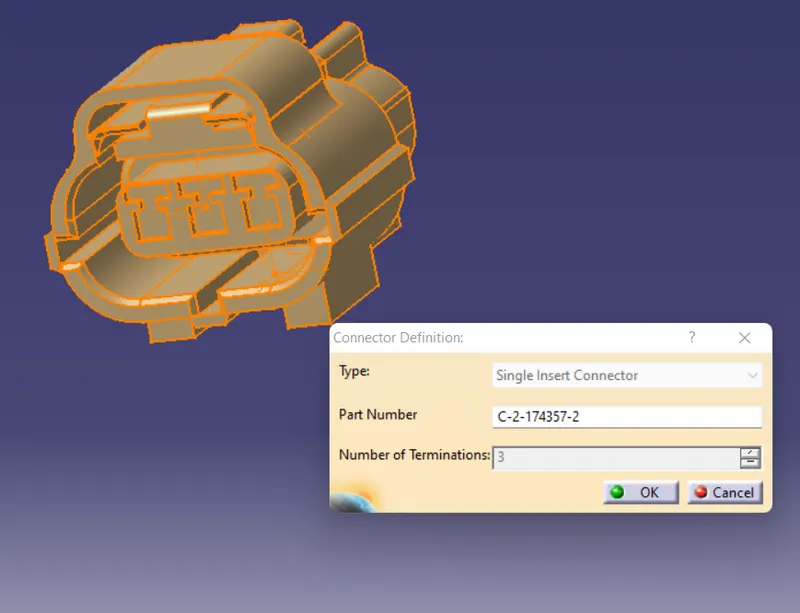
In this stage fix the connector into electrical part design. It is convert the mechanical part into electrical part. After create a geometrical parameter then open the electrical part design workbench. Then select the connector obtion it open dailogbox mention the how many terminal present in connector then give ok. Now it converted into electrical properties.
DEFINE BUNDLE CONNECTION POINT :
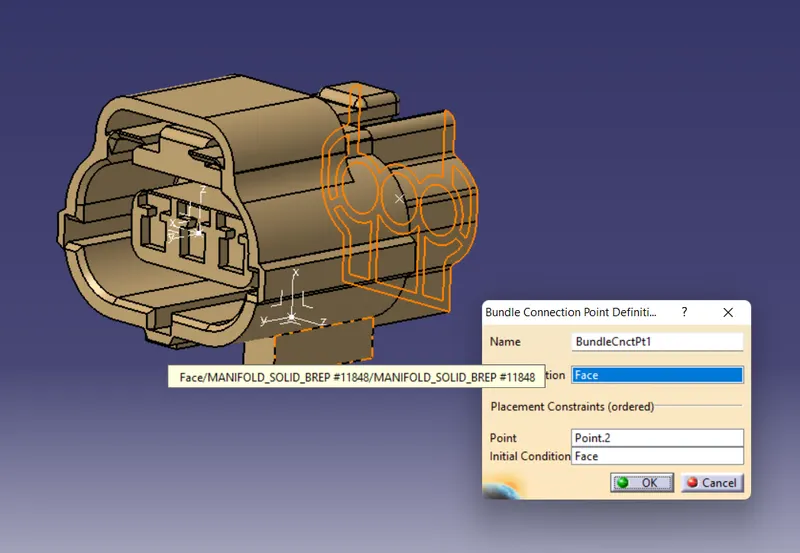
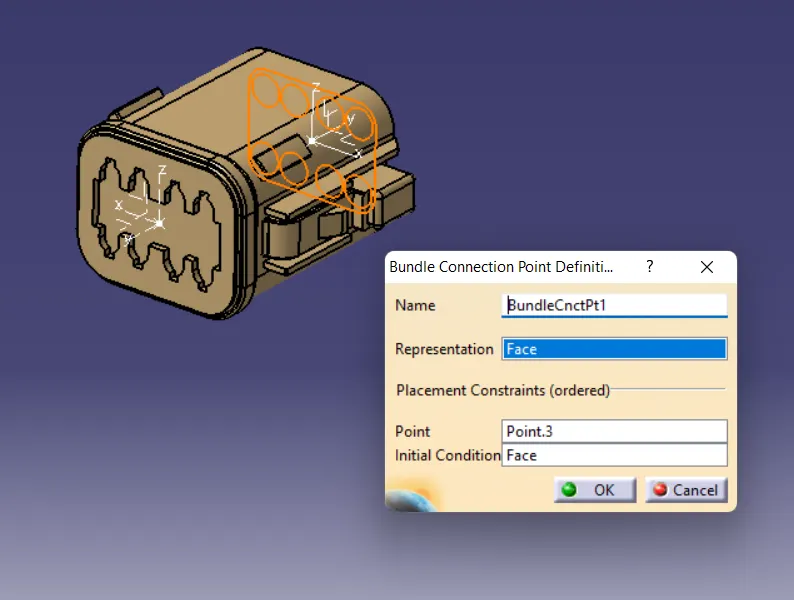
After convertion mechanical into electrical part give a connection to bundle place. Select the define bundle connection point obtion it open a dialogbox give a name to the feature and representation of the feature and select the point were the bundle to place.
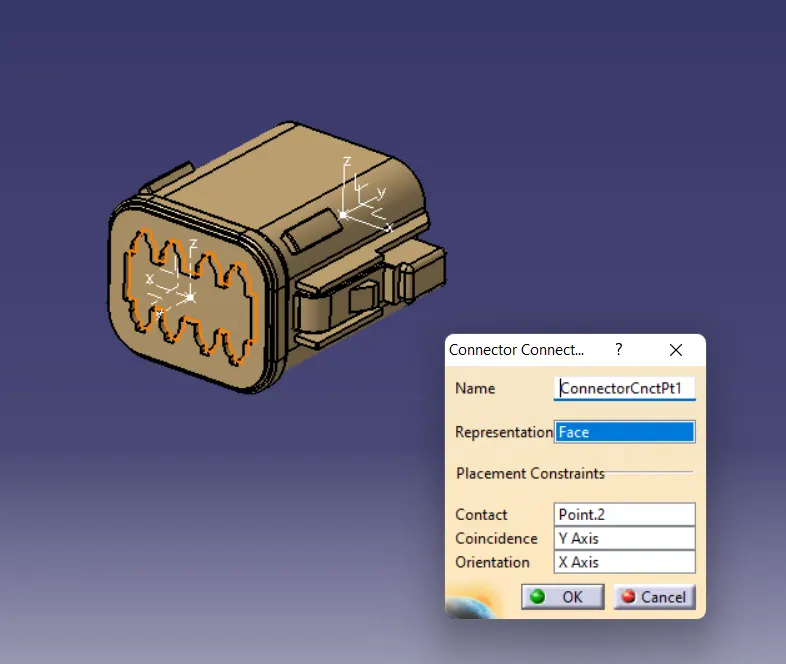
DEFINE CONNECTOR CONNECTION POINT :
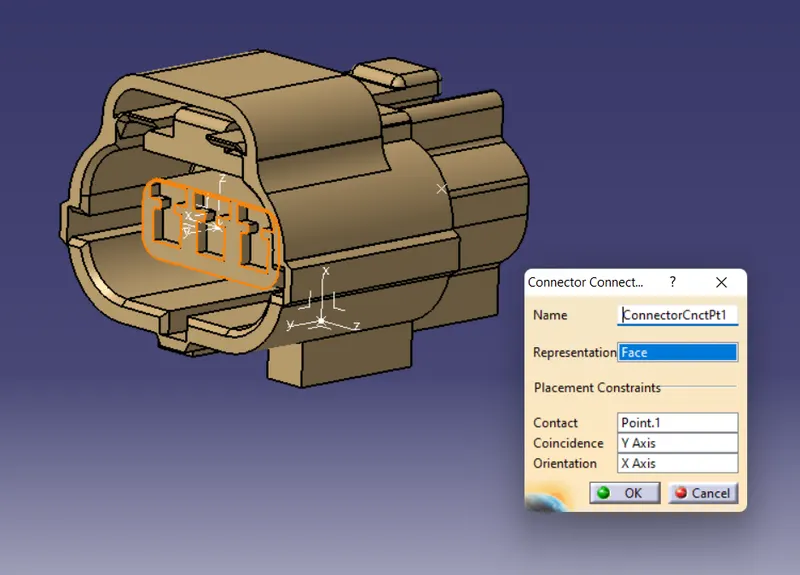
In this stage give a connection to connector using define connector connection point obtion. select the connector connection point obtion it will open a dialogbox. In that dialogbox give a name to connector select the point and axis were connection to place.
DEFINE CAVITY CONNECTION POINT :
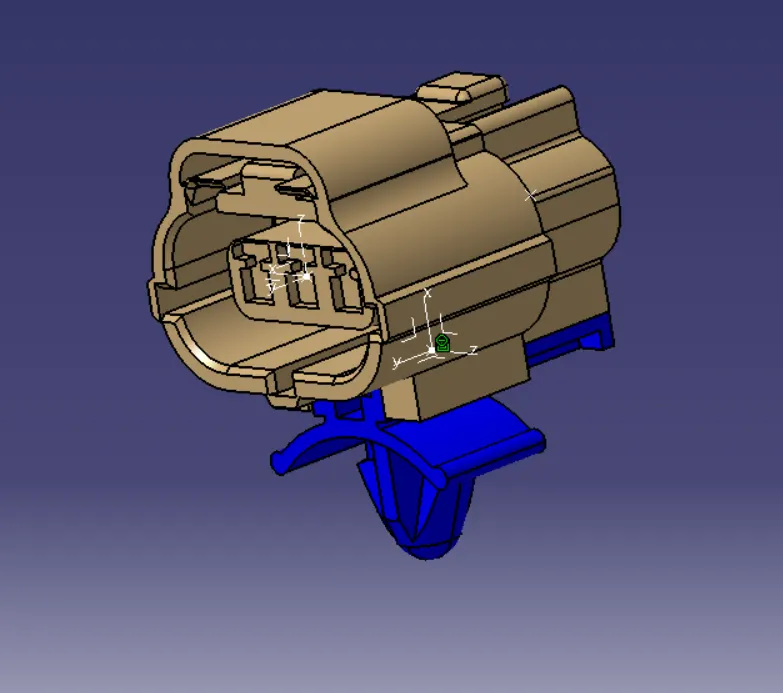
Its the final stage of wiring harness assemble this obtion use to mount the connector clip to connector. after create a geometrical parameter select the point and axis were to mount the clip and connector.
CONCLUSION:
To given connector has converted to mechanical part into electrical part given link to connector in electrical design part workbench.