Wiring harness design in CATIA V5 - 3D modeling Week 2 Challenge
OBJECTIVE:
Defining all the necessary properties to connectors and clip using all options.
REQUIREMENTS:
Knowledge of CATIA V5 software.
Deutsch DT06 – 08SA
PROCEDURE
- Download the parts with given website.
- Open them in CATIA V5 software.
- Save the opened file as CATPAT file.
- Now change the current file to part design under mechanical workbench.
- Create Midpoints on contact face which will be normal to wire bunddle insertion.
- Create Axis Point on the point.
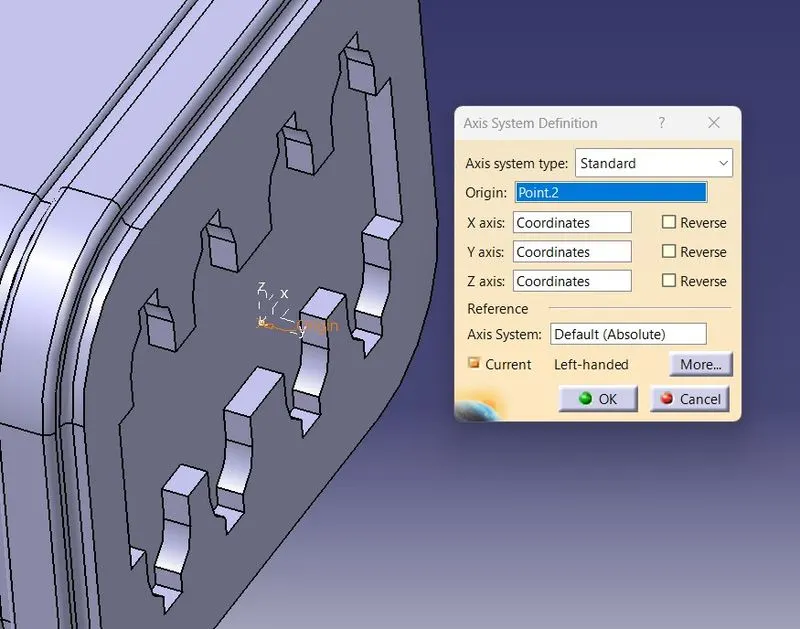
- Make sure the Y-Axis lies on connecting direction, X-Axis on either left or right and Z-Axis perpendicular to them.
- Do the same Mid point step to other face of the component.
- Now open the file in part design under electrical workbench.
- Define the part as connector in catia, give no. of termination as 8 because we have 8 entry points for wire.
- Define connector connection point.
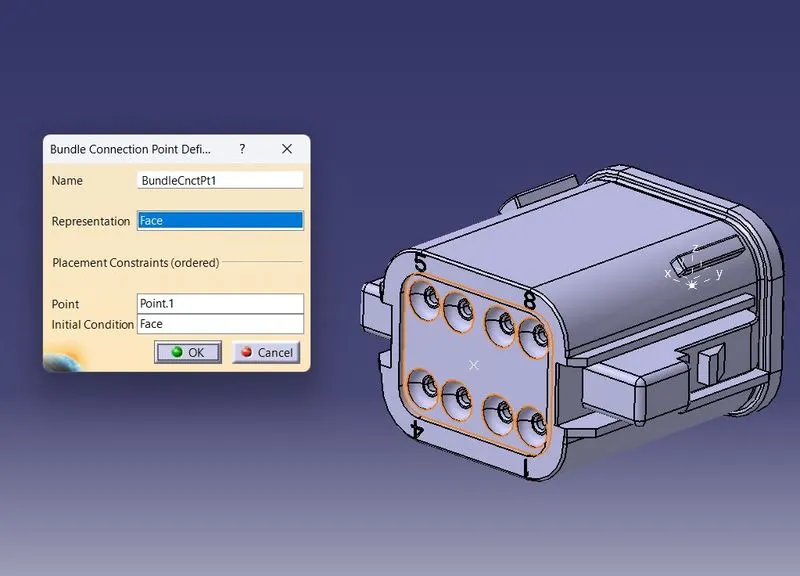
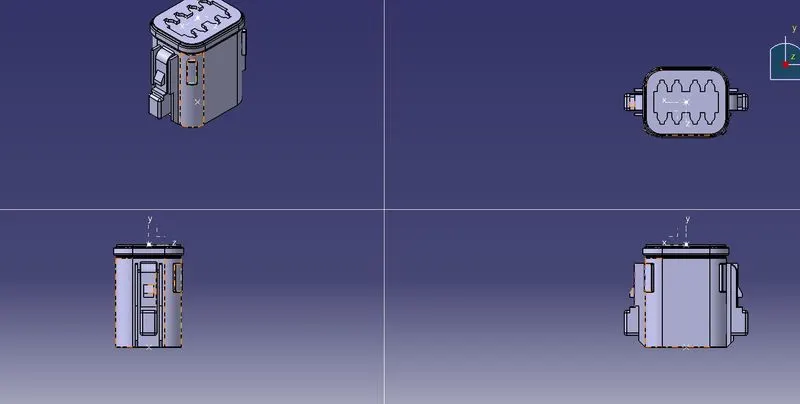
ORIENTATIONS OF Deutsch DT06 – 08SA
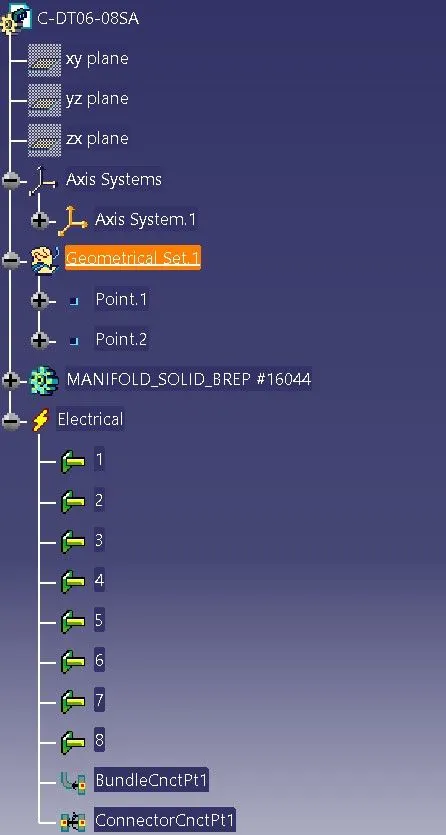
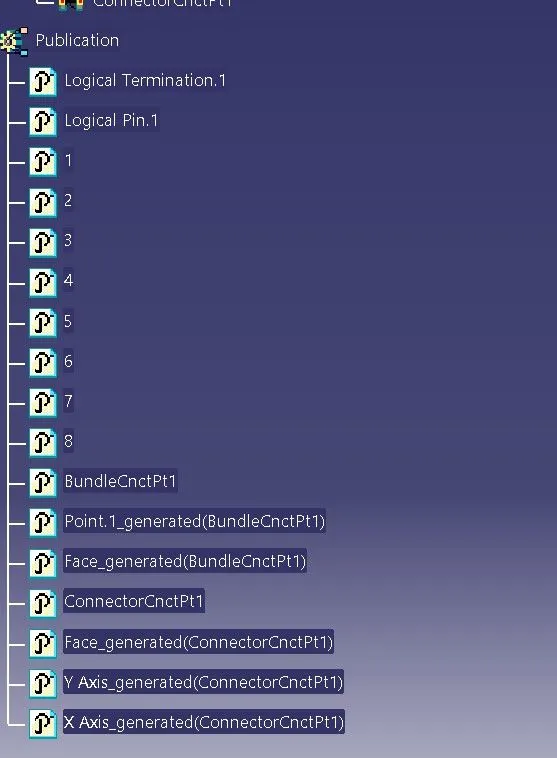
FEATURE TREE OF Deutsch DT06 – 08SA
Tyco 174357-2
PROCEDURE
- Create midpoint.
- Create Connector connection point.
- Create Connector connection axis system.
- Create cavity connection point.
- Create cavity connection axis system.
- Switch to Electric part design and define part as connector.
- Define Connector connection point and cavity connection point.
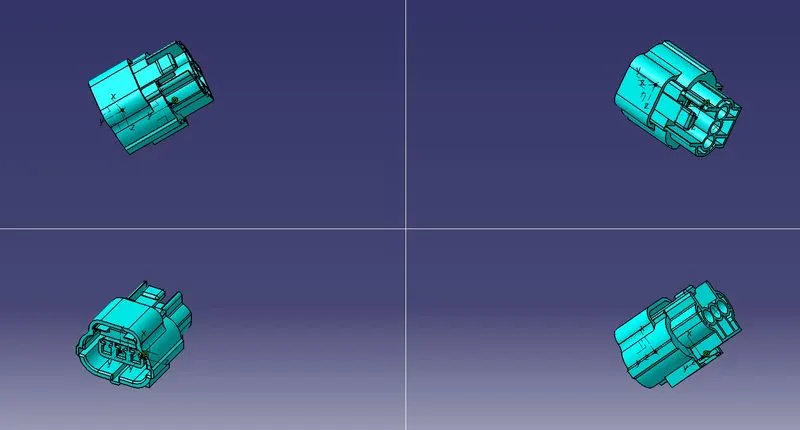
ORIENTATIONS OF Tyco 174357-2
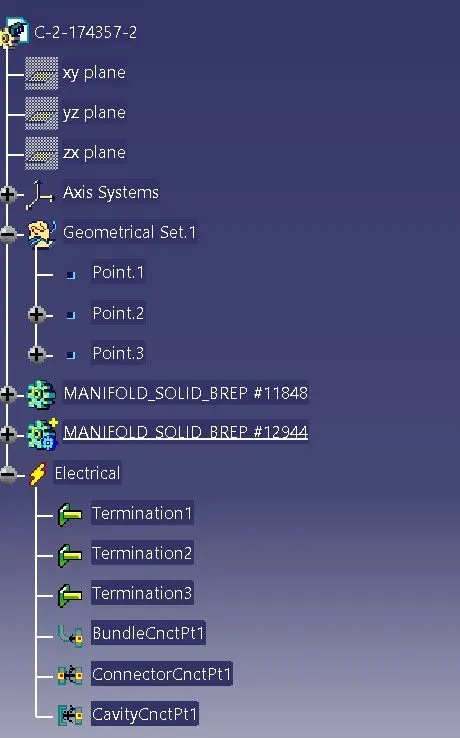
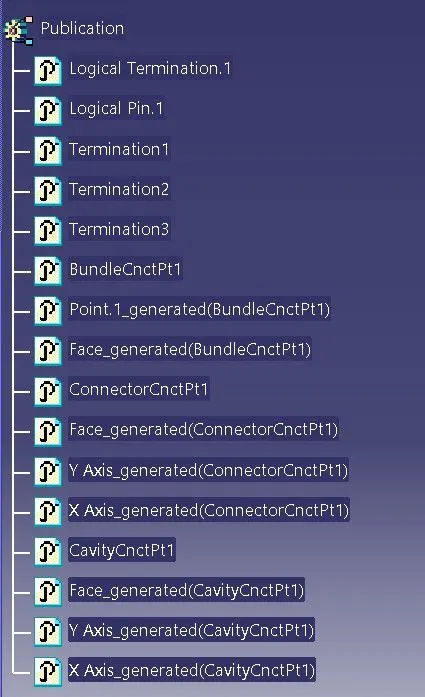
FEATURE TREE OF Tyco 174357-2
Tyco 85229-1
- Create midpoint.
- Create cavity connection point.
- Create cavity connection axis system and orientation should be same as in connector.
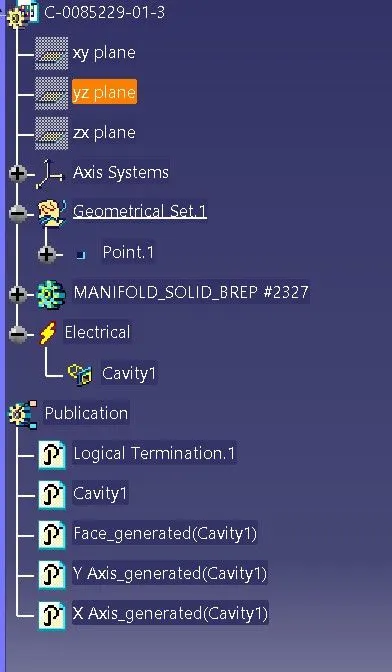
- Switch to Electric part design and define part as Mounting Equipment.
- Define cavity connection point.
ORIENTATIONS OF Tyco 85229-1
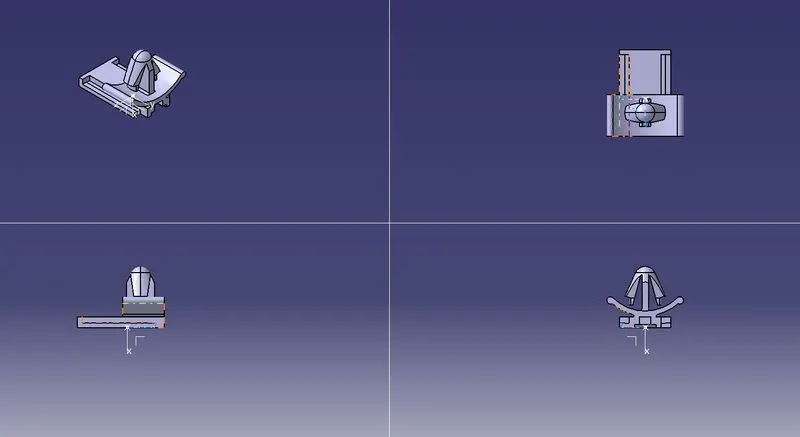
FEATURE TREE OF Tyco 85229-1
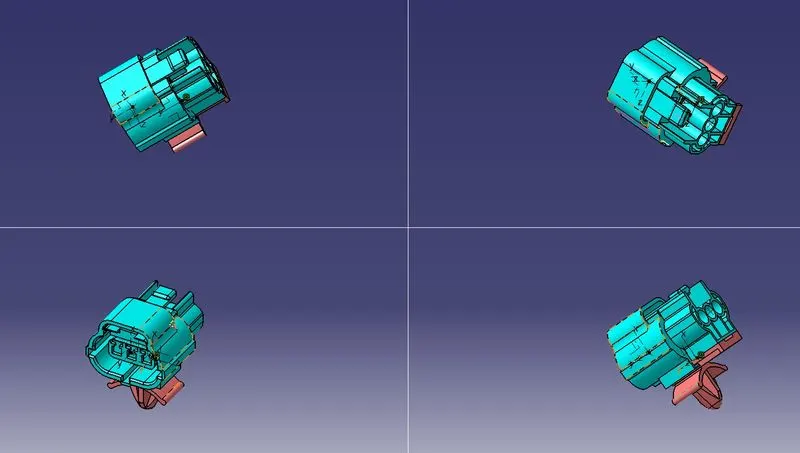
ASSEMBLY OF Tyco 85229-1 &Tyco 174357-2
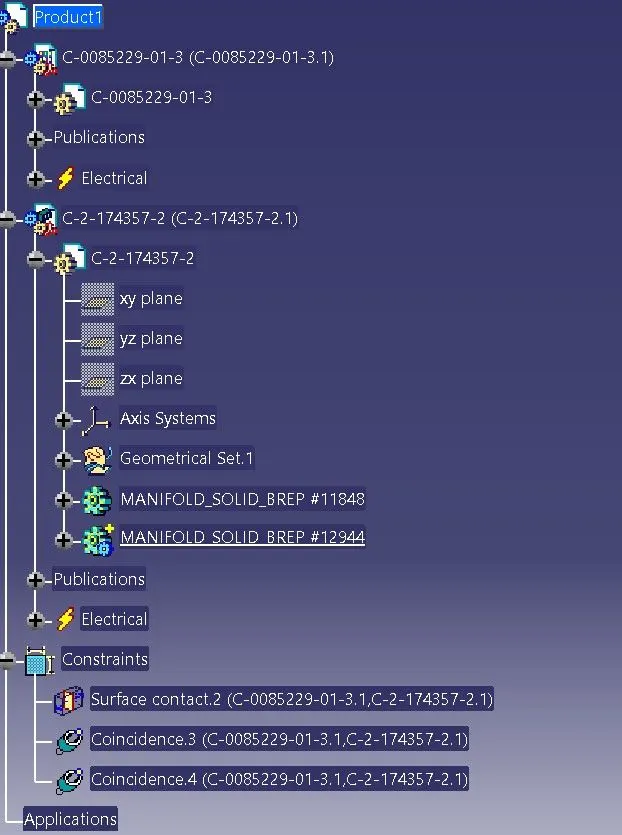
- Import Connector and cavity / mounting clip.
- Select Defing Eelectric connection.
- select cavity and then connector.
FEATURE TREE OF ASSEMBLY
CONCLUSION
The connectors and clip is assembled by given files using CATIA V5.