Wiring harness design in CATIA V5 - 3D modeling Week 2 Challenge
% Defining connectors and connector clip as an electric connector using electric part design workbench.
% Steps to open the CAD data in CATIA V5
- First we download cad data (stp or igs) of the connectors and connector clip from the given links.
- Then unzip the compressed cad data files. So that we can open the respective files in CATIA V5.
- We can open the cad files in CATIA by clicking on File>Open and then browsing on the pc to find and open the cad file.
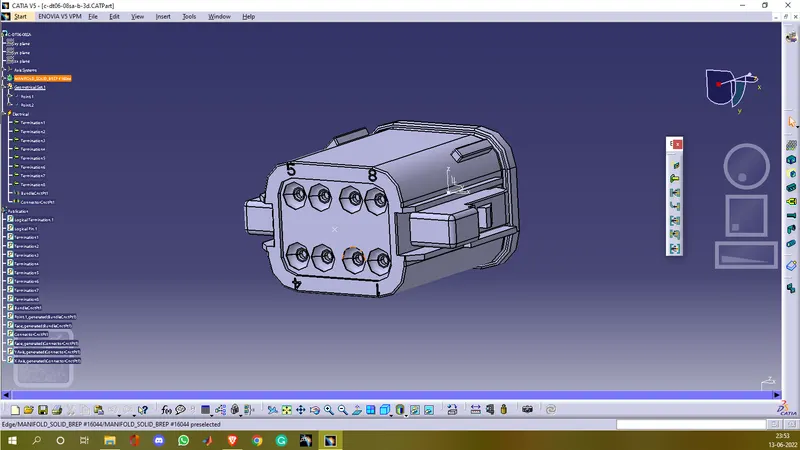
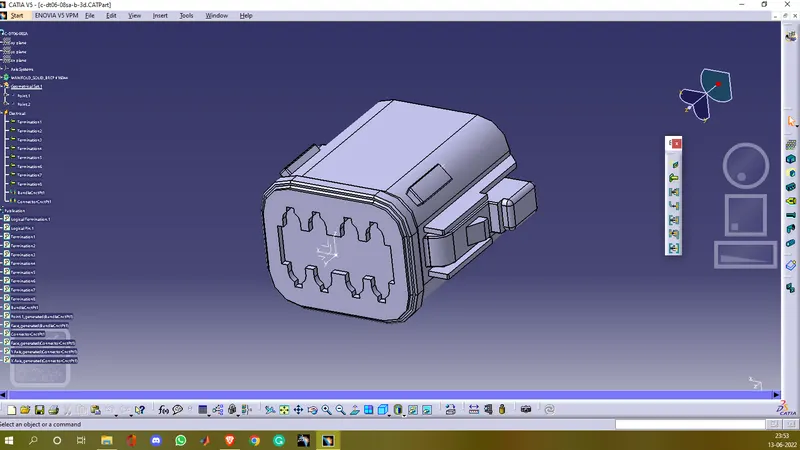
1] Deutsch DT06 - 08SA
- In part design first we make two points on the connector, one at the centre of the bundle entry point and the other at the centre of the connector connection point.
- Next we add an axis to the point at the connector connection point where the x-axis should point towards the locking mechanism of the connector, the y-axis should be normal to the surface and the z-axis should either be facing up or down.
- Now after defining the geometrical parameters we open the electrical part design in this first we define the connector which has 8 terminations so we type 8 as the number of terminations.
- Next we define bundle connection point in that at representation we select wire entry surface (face) and at the point, we select bundle entry point (point.1) and at initial condition, we select wire entry surface (face).
- Next we define the connector connection point in that at representation we select point.2 i.e the point with the axis and at contact we select face at the connector connection side and at coincident we select y-axis and at orientation we select x-axis.
- We define bundle connection point and connector connection point because when we add input wires it directly connects to the bundle connection point and the connector connects to another connector after definition.
- We can see all the terminals and all connection points on the tree structure.
- Now we have defined this connector as an electrical connector using an electric part design workbench.
% Screenshots
2] Tyco 174357 - 2
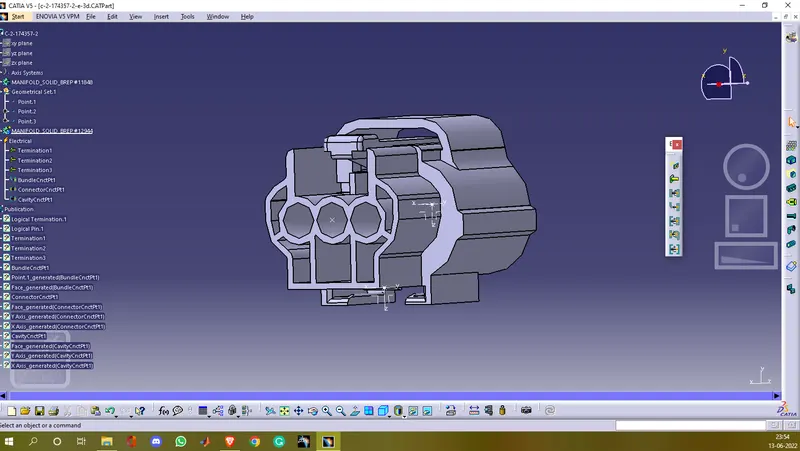
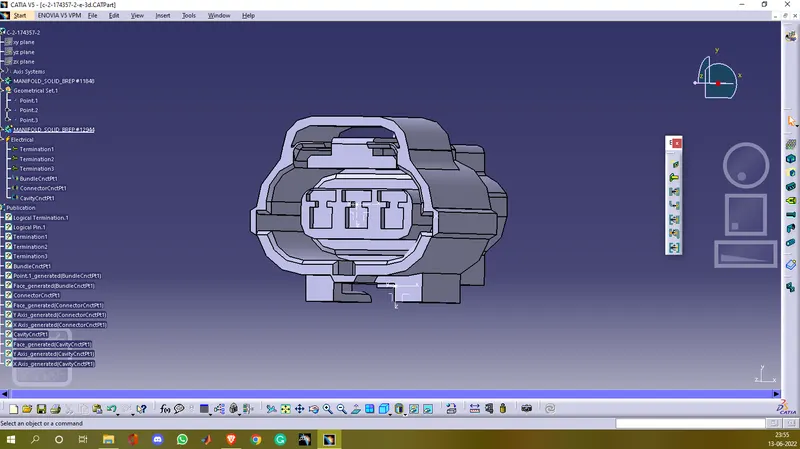
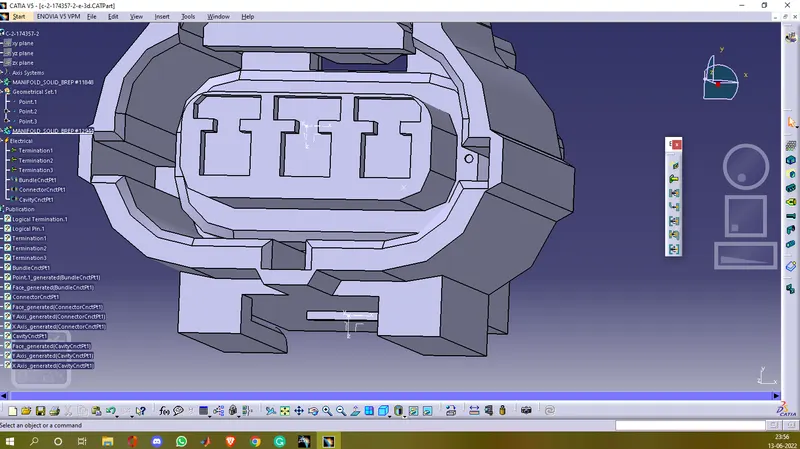
- This connector has an additional connection point i.e cavity connection point. Now the process of defining this connector as an electrical connector is the same as the first connector. We just add a cavity connection point.
- In part design we add a point at the centre of the face where the clip is supposed to fit. Then add the axis to the point where the x-axis should point towards the locking mechanism and y-axis should be normal to the surface(face) and the z-axis should either face up or down.
- Now we go to electrical part design and define all the connection points.
- While defining the cavity connection point at representation we select point.3 and at contact we select the face and at coincident we select y-axis and at orientation we select x-axis.
- We can define bundle connection point and connector connection point as we defined for the first connector.
- Now we have defined this connector as an electrical connector.
% Screenshots
3] Tyco 85229-1-
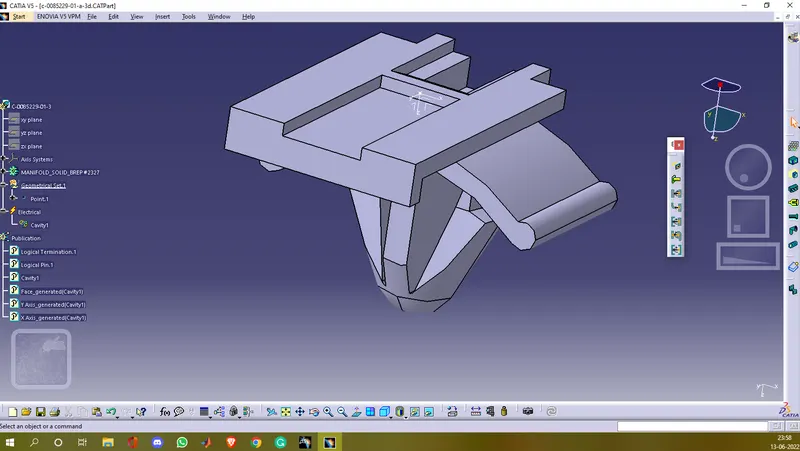
- This is a clip which is to be connected to the above connector.
- First we add a point at the face of the clip which is to be connected to the connector, and then we add an axis to the point. The axis orientation will be the same as the above two connectors.
- Next in electrical part design we first define the clip as equipment.
- Then we add the cavity connection point to the clip at point.3. The process to add the cavity connection point is the same as we did in the second connector.
- After defining the cavity connection point we successfully defined this component as an electric connector clip.
% Screenshot
% Screenshot of the connector 2 and the clip connected
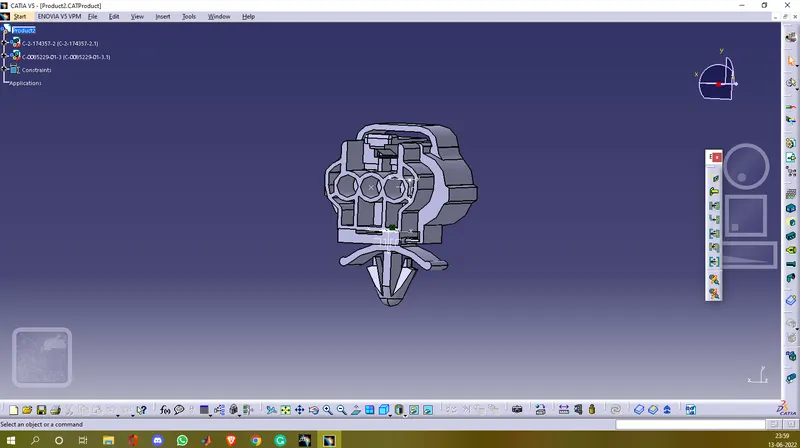
- The process to connect the connector and connector clip is easy. Open both the equipment in assembly design and manipulate the equipment such that they fit easily.
- Next in electrical assembly design select connect electrical devices and then they connect.