Week 9 - Project - Master Section Development
AIM: To create closed B pillar surface using given master sketch and A surface also creating b surface features like dog house and ribs
MASTER SECTION :
master sections are the guides that are required for shaping the component after technical styling of class a surface
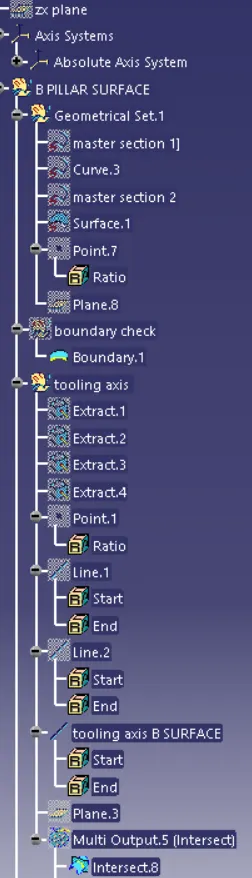
TOOLING AXIS :
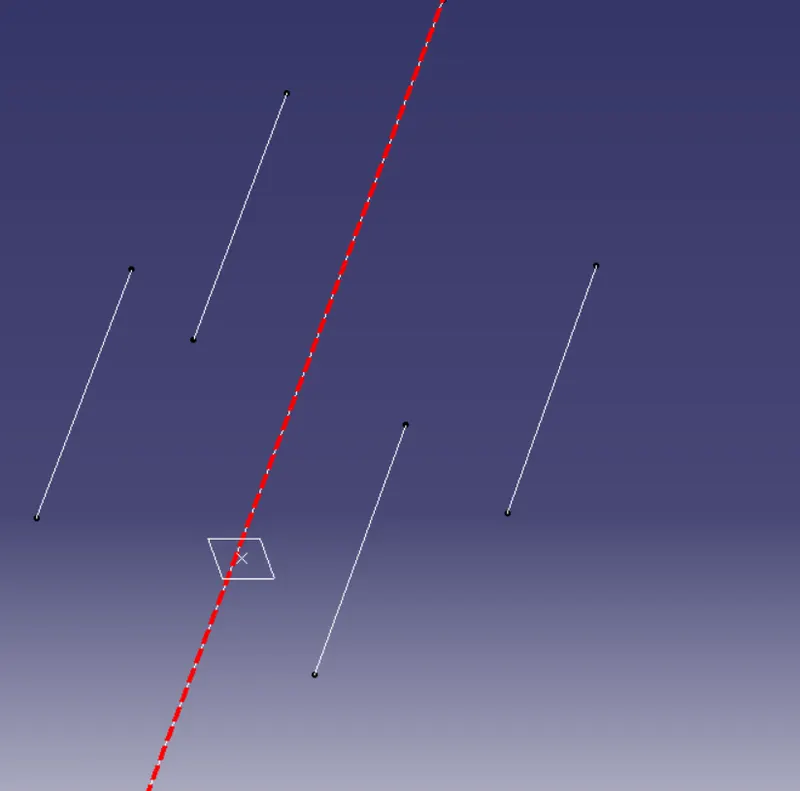
- Extract the sides of the given master sections
- create bisector line for these extracts
- then again use bisection for the 2 bisector line the obtained new line is the main tooling axis \
- rename it, change appearance and publish it
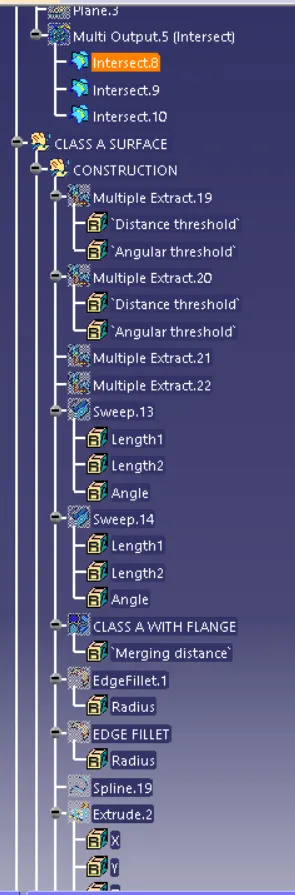
CLASS A SURFACE WITH FLANGE :
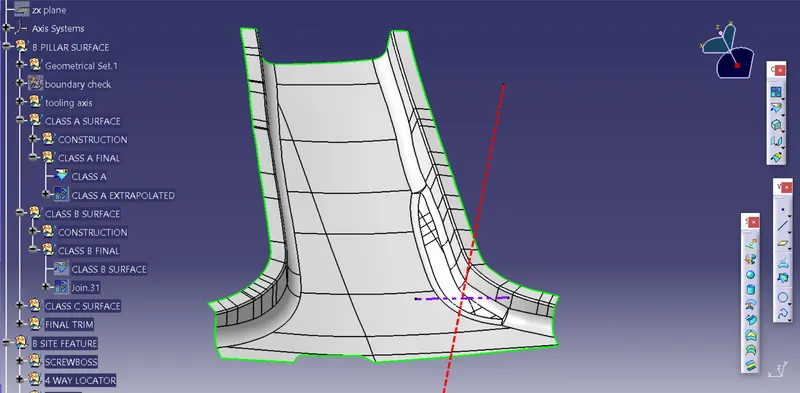
- check for any defects on the surface using boundary curve if there is any fix it
- then multi-extract the edges using tangency continuity (both sides of a surface )
- create a plane using the three-point method and select the points on the master section
- use the intersection curve and create an intersection of a surface on the plane
- sweep the multi-extracted curve and add this surface to the intersection tab
- try to align the sweep surface with the master section, do this step for both side
- now extrapolate both sweep surface and the class a surface and then trim them together
CLASS B SURFACE
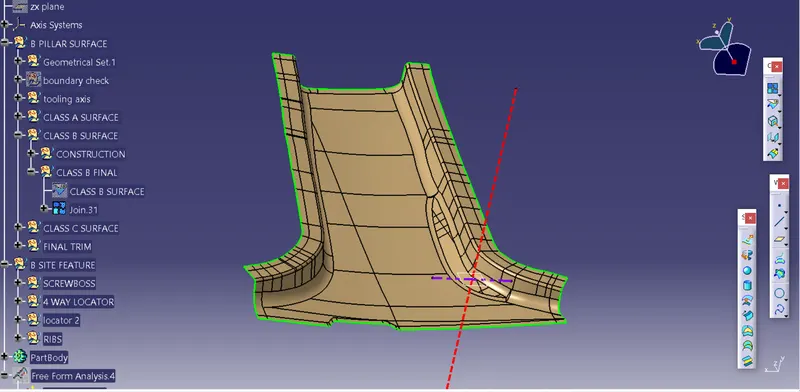
- offset the given class A surface to a distance of 2 mm
- fix the surface if there appear any defects
- offset the flange created during class a surface at a distance of 2mm
- extrapolate the edges of both flanges and offseted class a surface and trim them together
CLASS C SURFACE
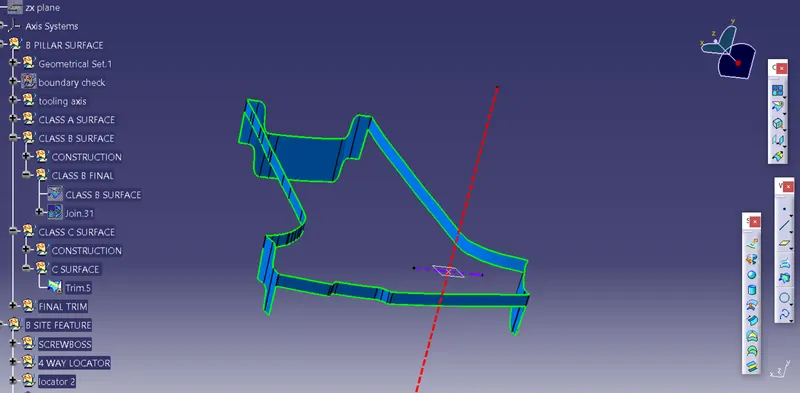
- Multi-extract the edges of the class a surface
- sweep them using draft direction as tooling axis
- keep the sweep angle at 3 degree
- trim them together
FINAL SURFACE
- Trim the class A surface with the class C surface and then trim it with the class B surface
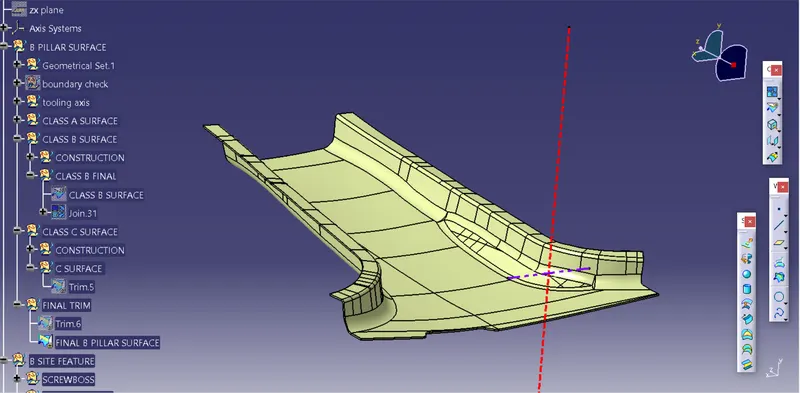
- go to the part design and use closing surface and create a solid body out of the final trim
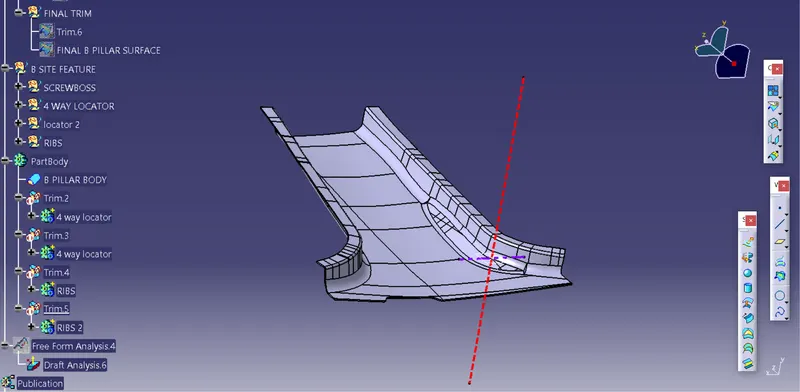
B SITE FEATURES :
DOG HOUSE :
- Extract the edge of the dog house master section
- place a point at the center of the extracted edge
- create a plane using the point and the zx plane
- create a positioned sketch and project the master section onto it
- delete the unnecessary parts and iso constraint it
- extrude the surface
- extract the limiting edge from other master sections and extrude it to
- trim it while keeping one side open
- create a new body and then add thickness to it
- offset the trimmed body with an offset of 1.2mm
- multi-extract the b surface under the dog house and offset it to 5mm
- trim both offset surface
- split the body with the trimmed surface
- add the required fillets
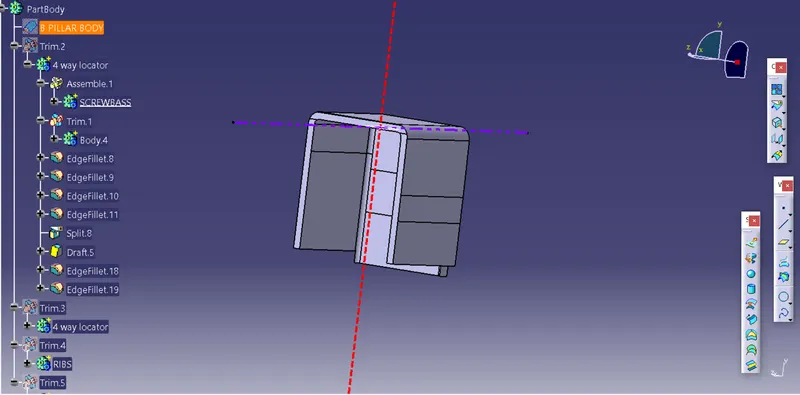
TOOLING AXIS FOR DOG HOUSE
- Create a line with direction on the point that we created earlier
- rename it to lifter axis and change the appearance
- publish the tooling axis
4 WAY LOCATOR
- Create a plane using the same point we created earlier and a reference plane
- make a positioned sketch on it
- project the required edges from the master section
- pad the sketch with 1.5 mm and neutral fiber
- union trim it with the dog house
- add chamfer to it
- add edge fillet to it
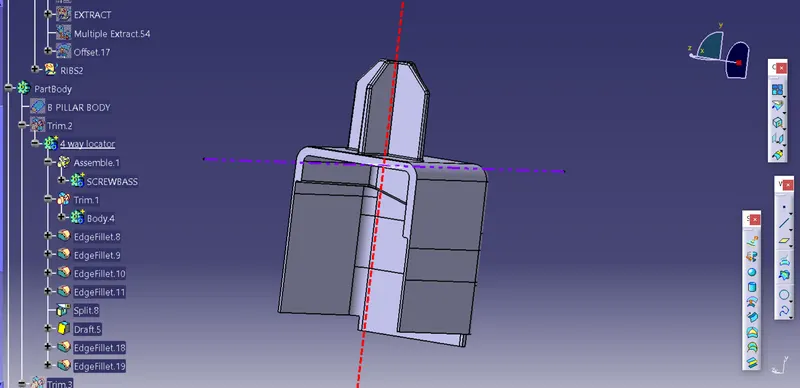
2ND 4WAY LOCATOR :
- copy the 4 way locator and paste it with links
- create a plane at the middle of the b surface
- use symmetry and create another 4 way locator
- union-trim it with the b surface body
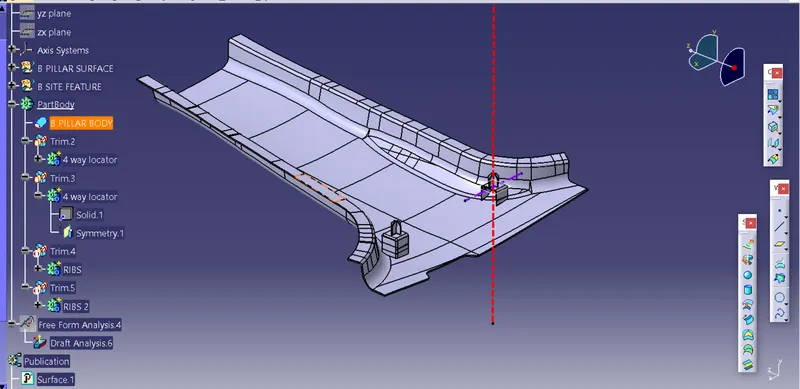
RIBS :
- create a positioned sketch using the previously created point and plane
- create the first line with a distance of 60 mm from the axis
- create another line that is at a distance of 50 mm from the first line and at least 20 mm from b body edge
- create the remaining edges until the end
- extract the edges and then extrude them
- add the thickness of 0.8mm to it
- multi-extract the b surface faces and offset them at 10mm
- split the ribs with the offset surface
- draft the ribs with b surface
- do these steps for other side also
- add both using union trim
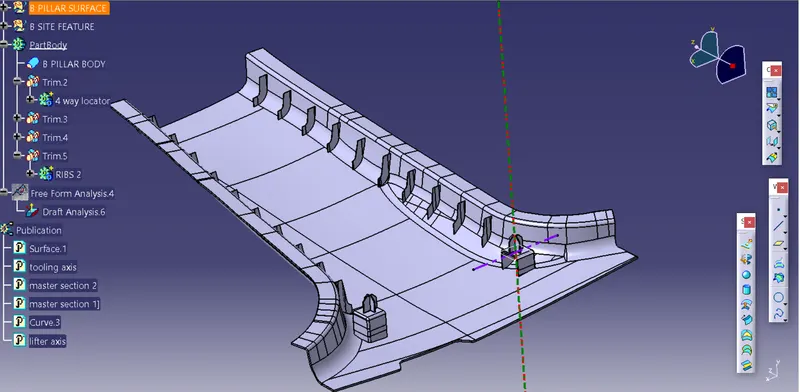
DRAFT ANALYSIS
MAIN TOOLING AXIS :
- USING ANALYSIS SELECT THE COMPASS AND PLACE IT ON THE TOOLING AXIS FIRST
- LOCK THE COMPASS AND THEN CLICK ON THE SURFACE
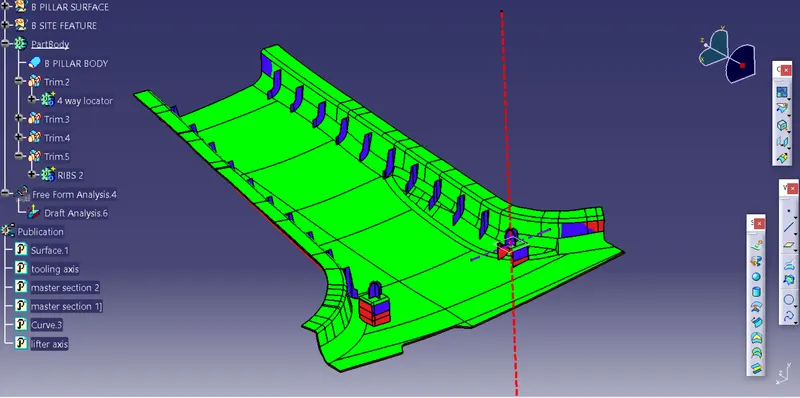
LIFTER AXIS :
- USING ANALYSIS SELECT THE COMPASS AND PLACE IT ON THE LIFTER AXIS FIRST
- LOCK THE COMPASS AND THEN CLICK ON THE SURFACE
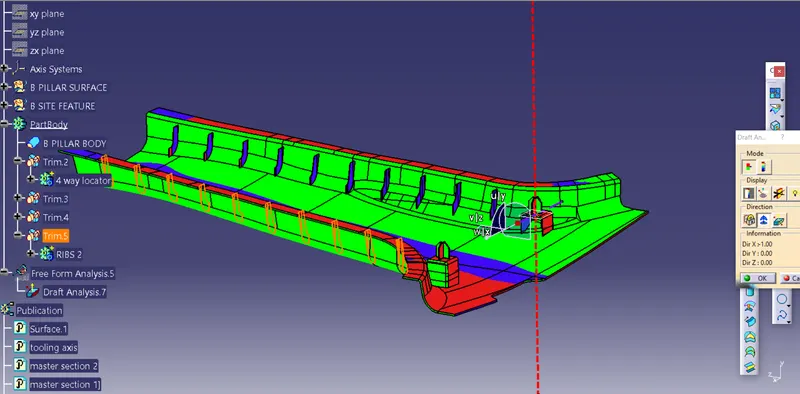
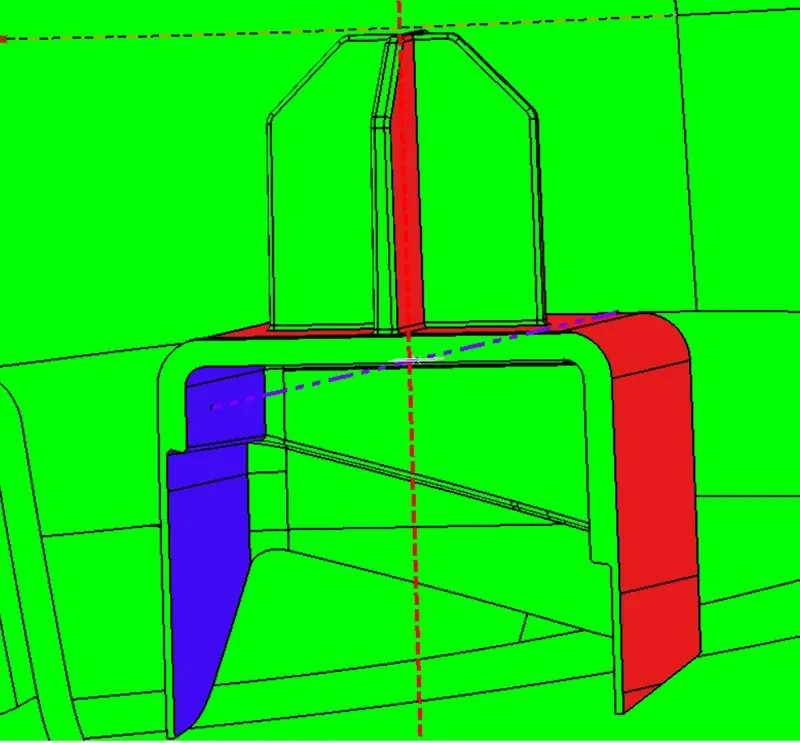
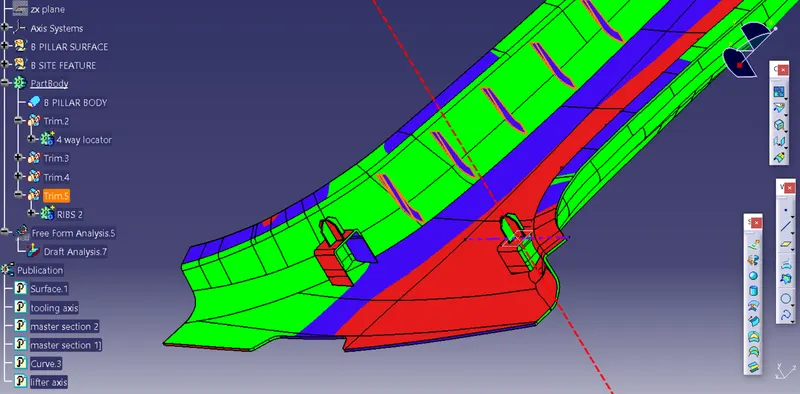
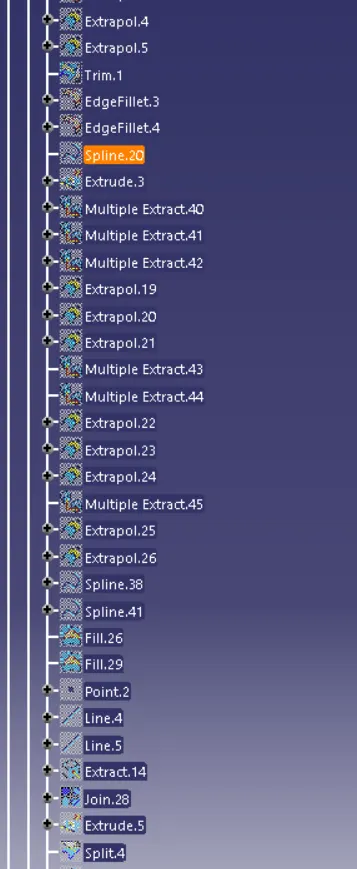
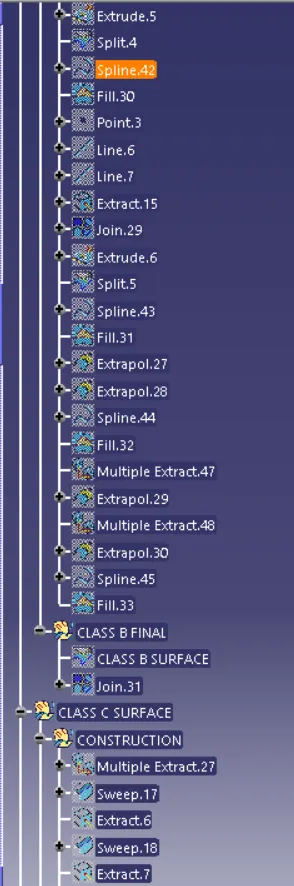
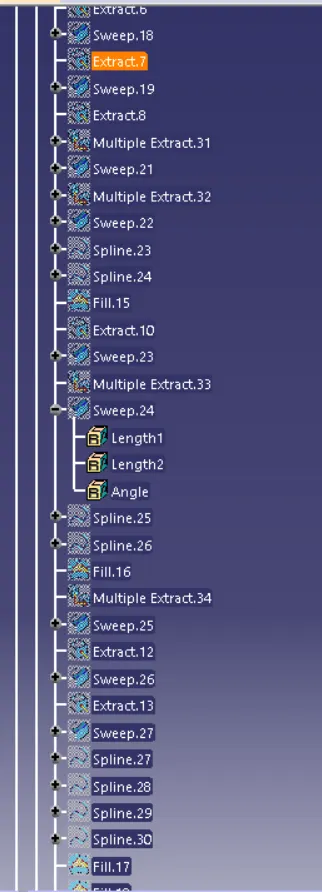
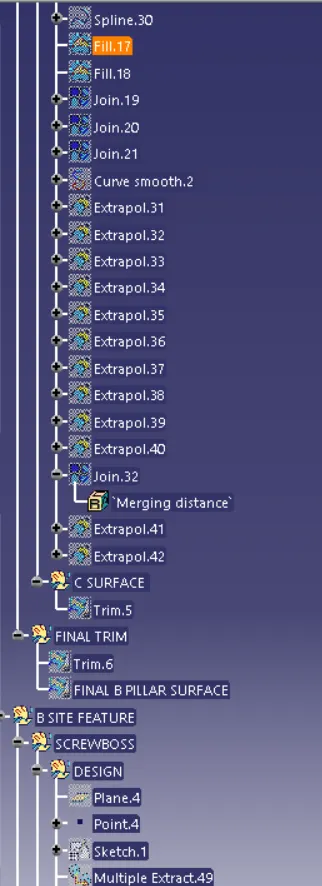
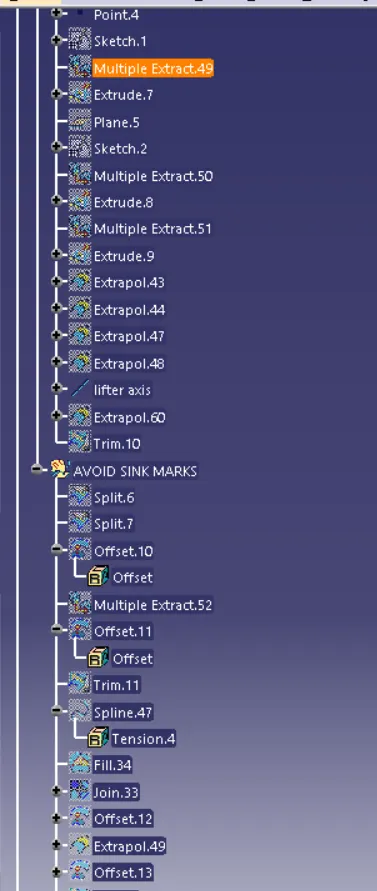
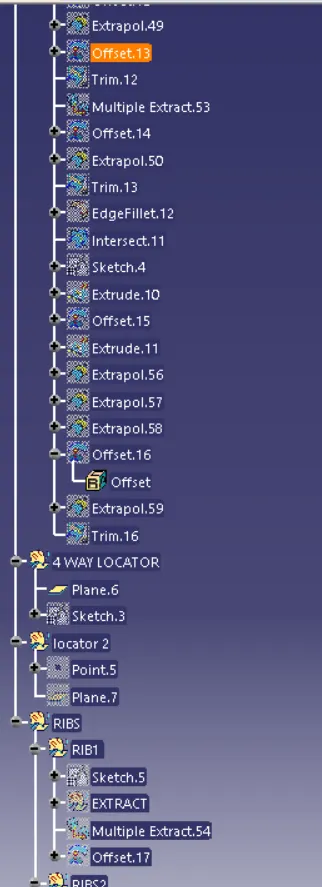
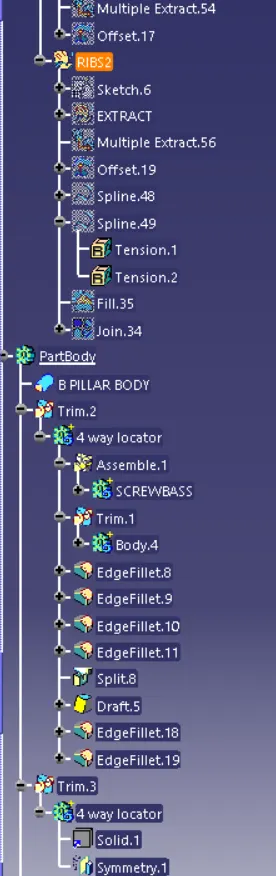
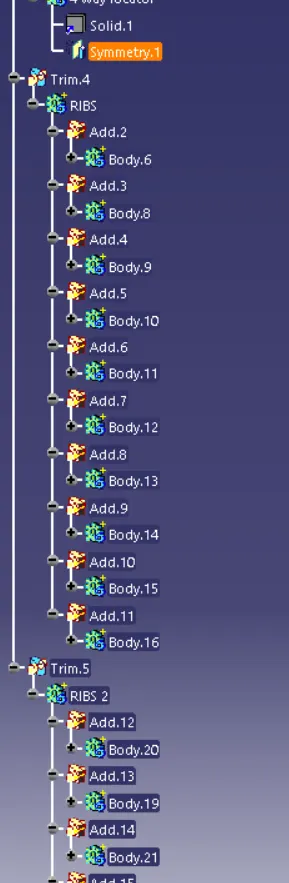
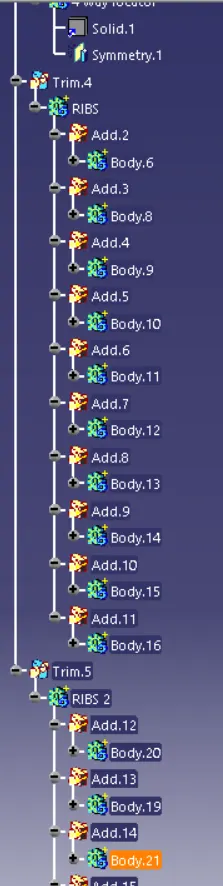
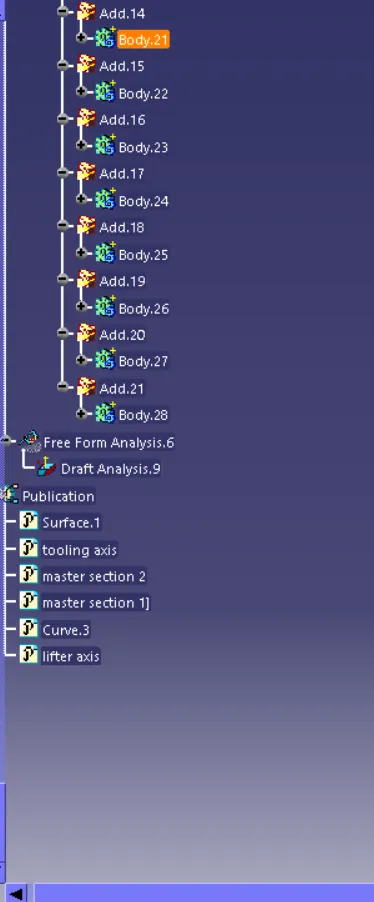
FEATURE TREE