Week 9 - Project - Master Section Development
AIM:
To design a B pillar with the given mastersection to follow the design critera and thickness and thereby devolp a closed volume part.
OBJECTIVE:
- To ensure proper tree structure is followed.
- Creating a Tooling Axis and follow the design rules.
- Creating Class B and C surface using class A Surface as an input.
- Following the master section to create the flange.
- Following the Master section for thickness.
- Following the master section to create attachment features.
PROCEDURE:
Tooling Axis:
First ensure the given Class A Surface that whether it is open or Not. If it is open patch it locally with the permission of authority.
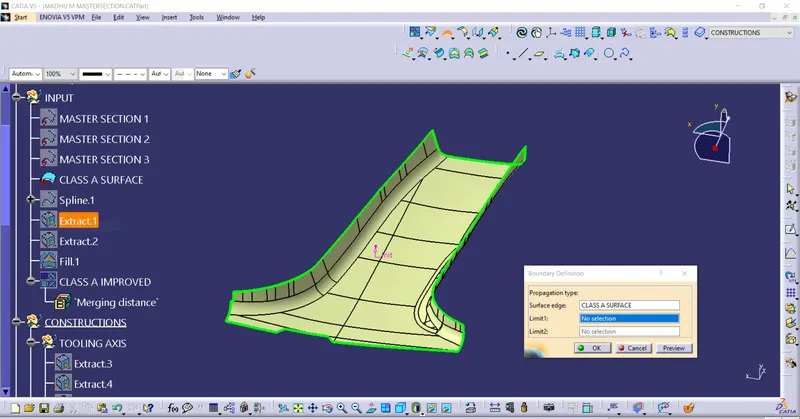
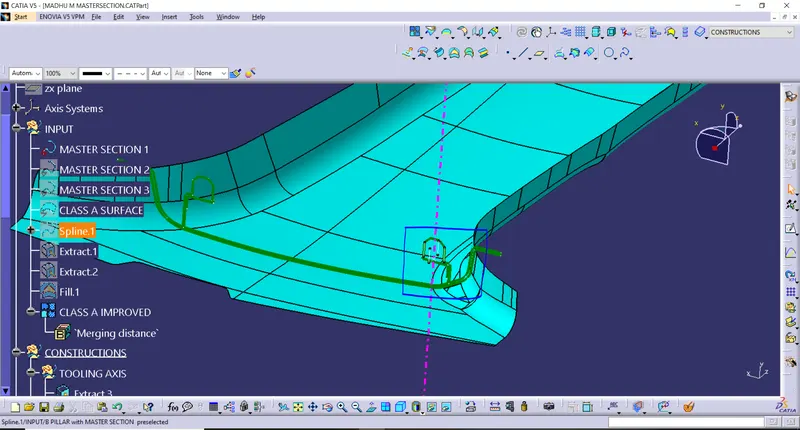
Extract the master section reference lines. Create the Tooling Axis using the Bisecting Method.
Creation of Class B:
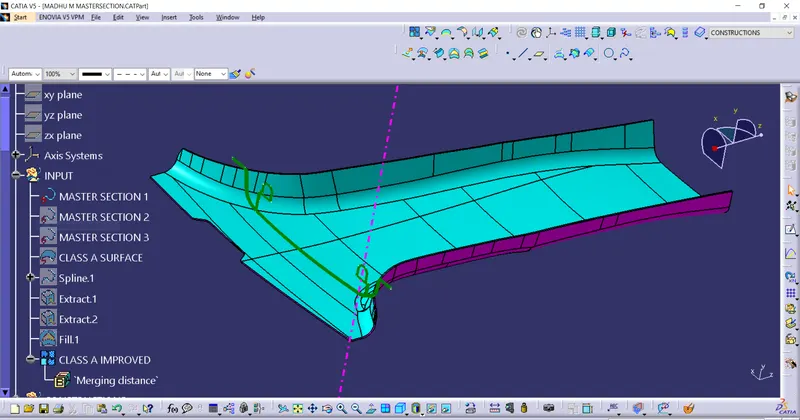
Offset the Class A Surface with 2mm.
Edit OR Improved the Class B Surface if its open or damage During the Offset.
Creation of the Flange
Now Create the plane using the 3 points of Master Sections.
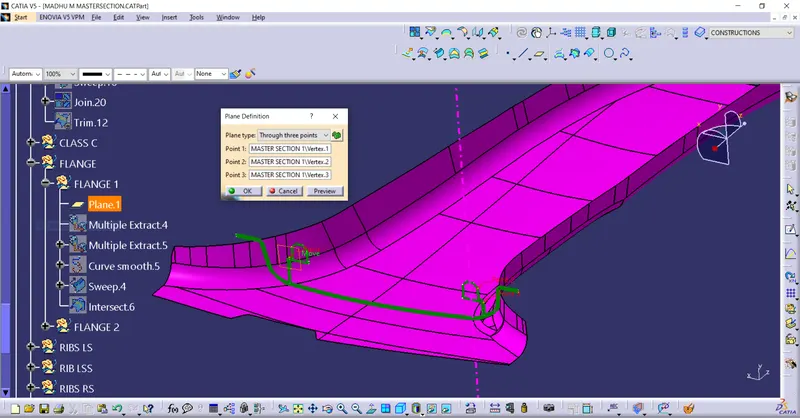
Extract the Surafce of the Class A for the Support of the flange.
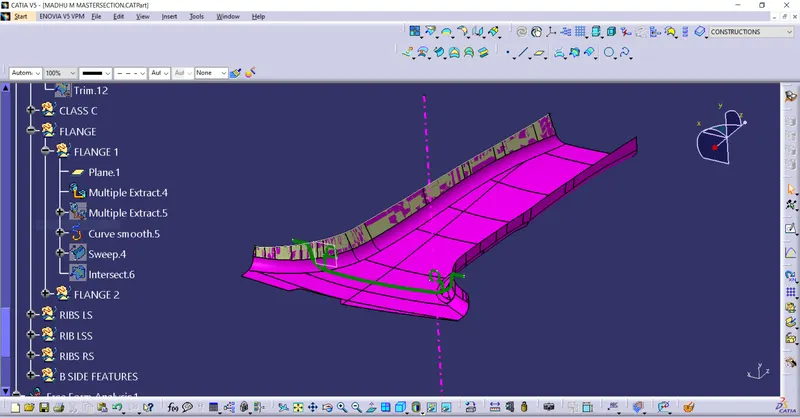
Extract the edge of the Extracted Surface then Sweep it Along the Edge of the Class A Surface on Both Sides By taking the Extracted Master section as Sketch.
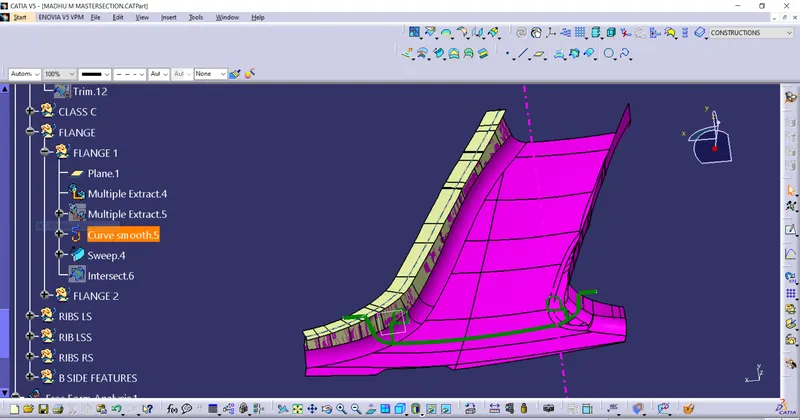
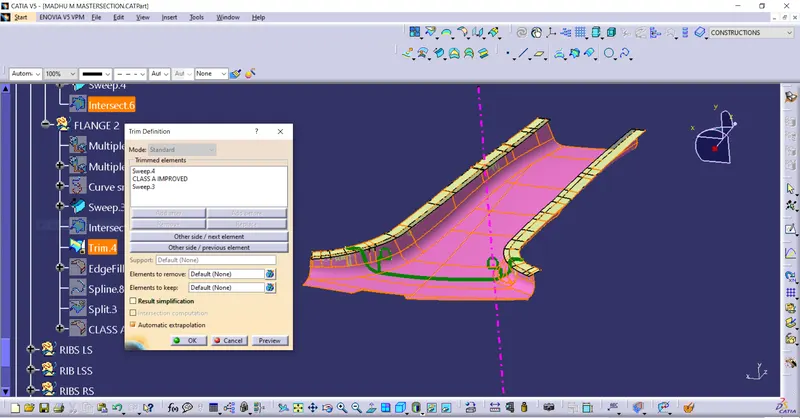
Trim the extra portion of the Flange.
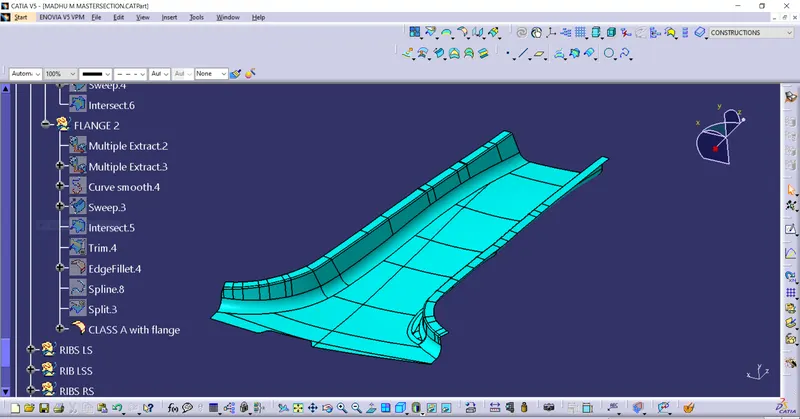
Class A Surface With 2 Flange.
Creation of flange for Class B.
Repeate the above procedure to create the Flange for the Class B.
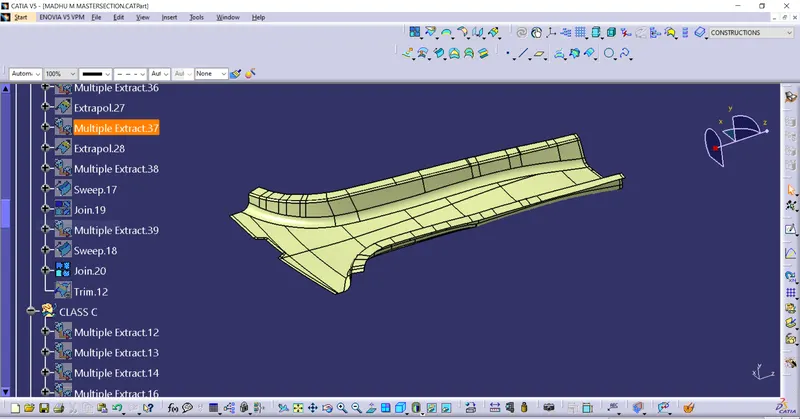
Class A and Class B Surface with Flanges.
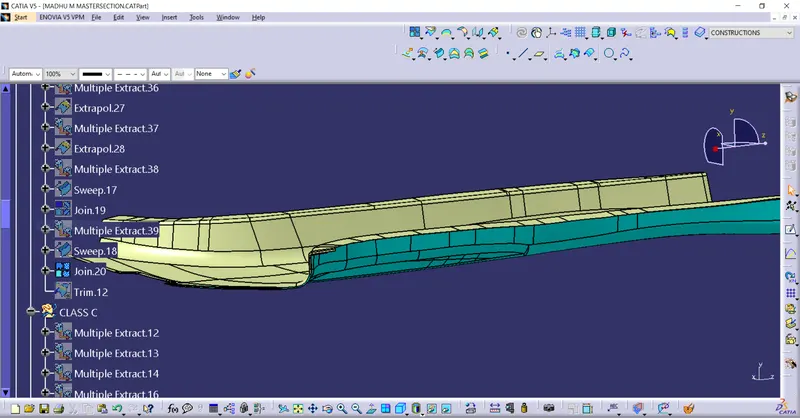
Creation of the Class C
Extract the edges of the Class A Surface Using Multiple Extract and Sweep them along the Direction of the Tooling Axis.
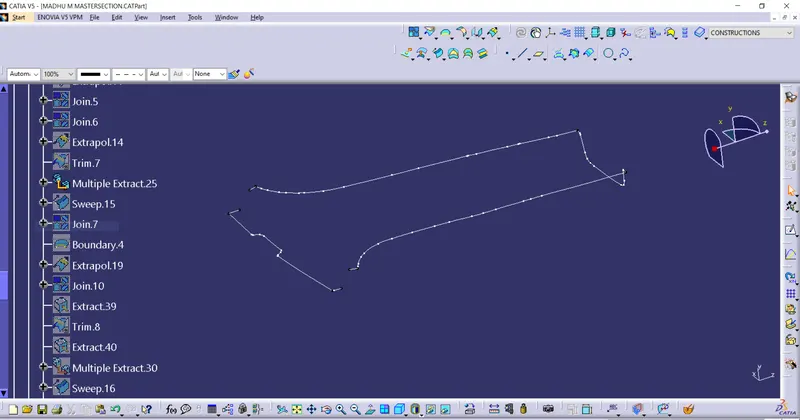
Sweep it.
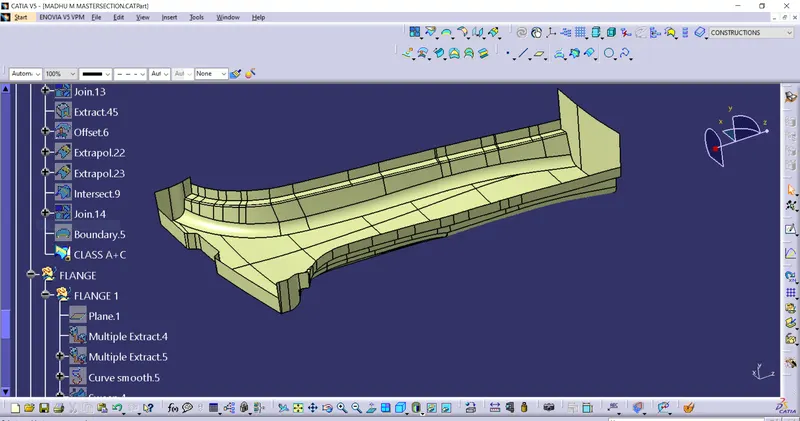
Now Trim the Join(class A+C) With Class B.
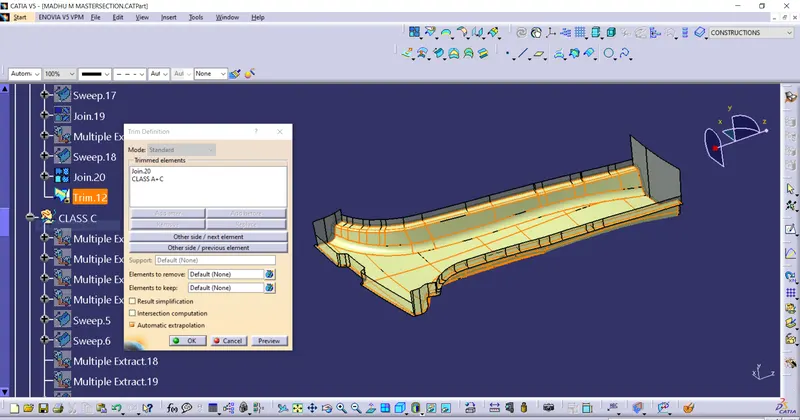
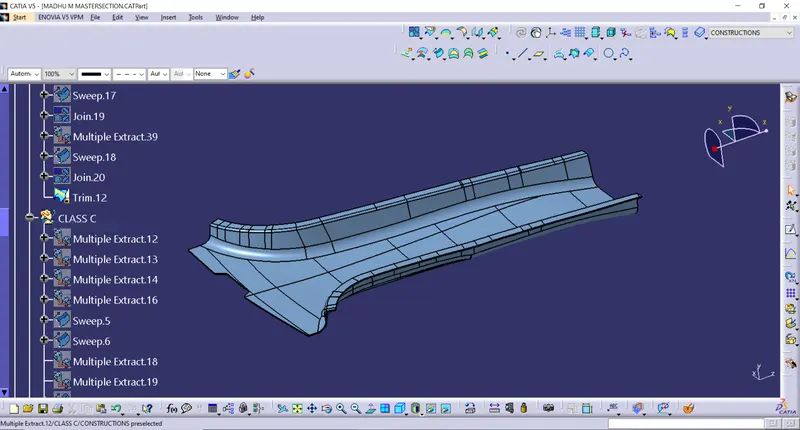
Final Plastic Component.
Creation of B Features
DOG HOUSE:
Doghouse is an engineering feature used in plastic trim design Dog house are used as supporting feature. Dog house are subjected to draft analysis to prevent breakage of the component during ejection from mould cavity. Dog house and other enginnering components are built on B surface.
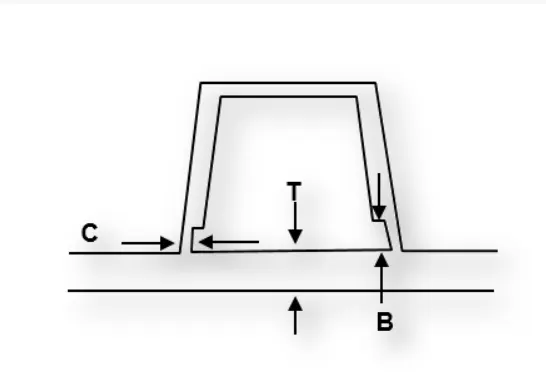
C is where the doghouse contacts the back side of the surface.
Doghouse wall Thickness at the intersection of the part wall (c) should be 40% or less than the main wall stock(T)
Height of (B) should be betwen 3-6 mm
Dog House Creation:
First create the plane on the Master Sections and also extract the Master sections in sketch.
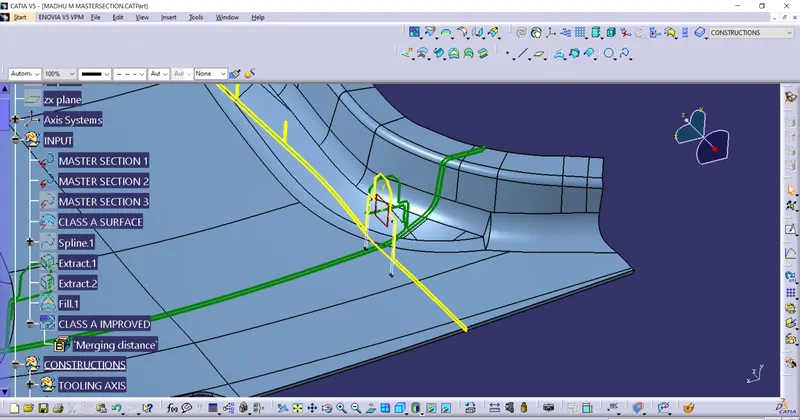
Then extrude it.
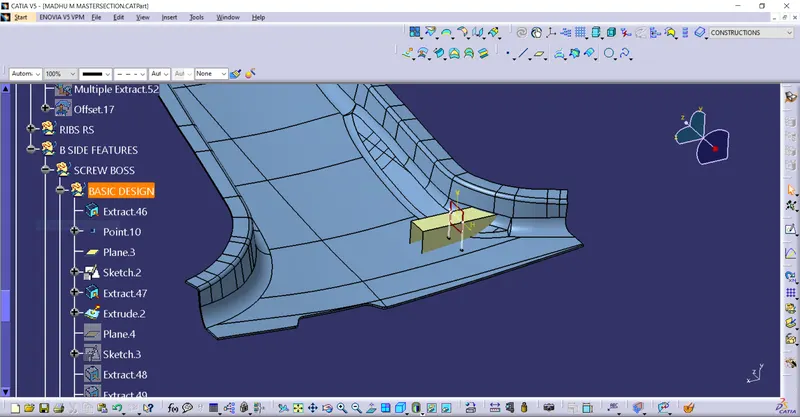
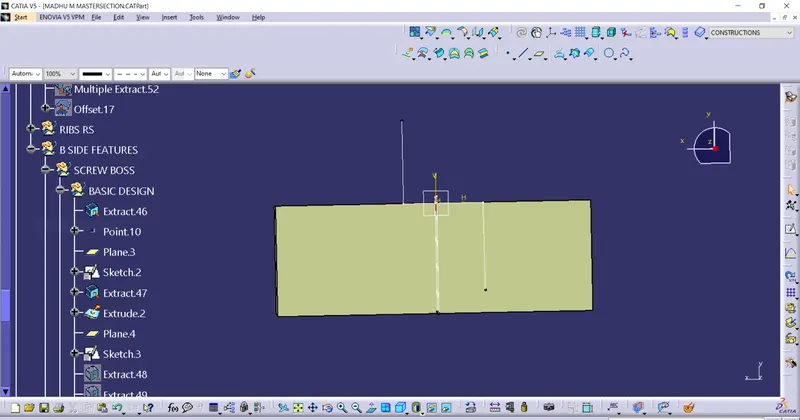
Repeate the same procedure to create the another two more extrude and extrapo it.
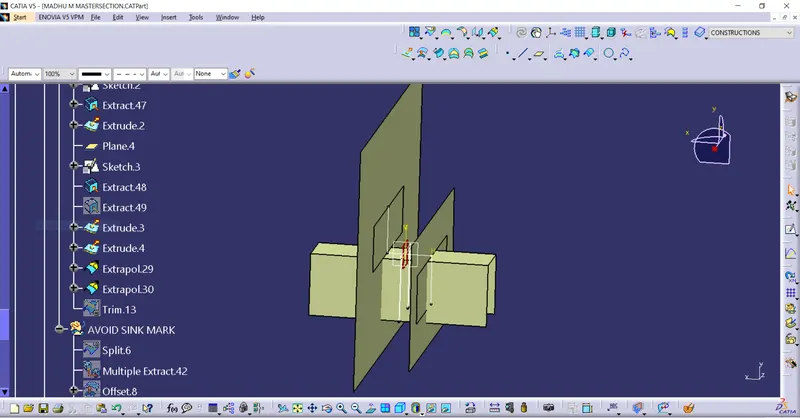
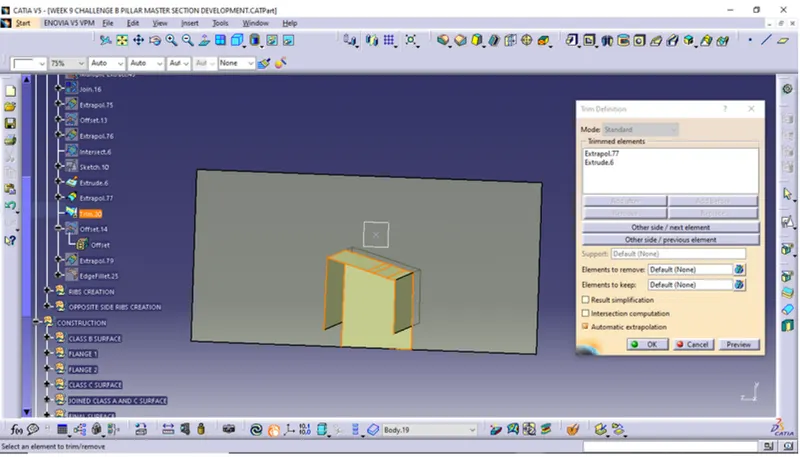
Then Trim it for removing extra portion to get desire Shape.
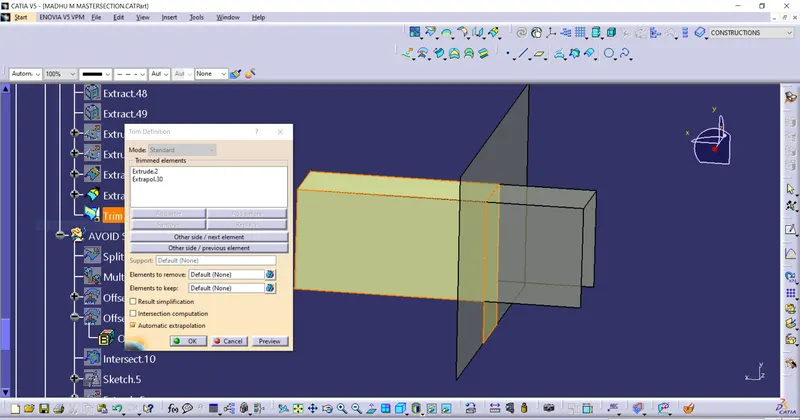
Now split it to remove the front extra portion.
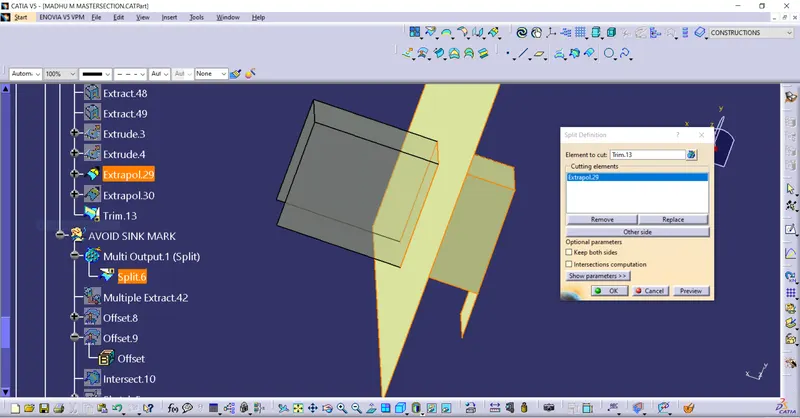
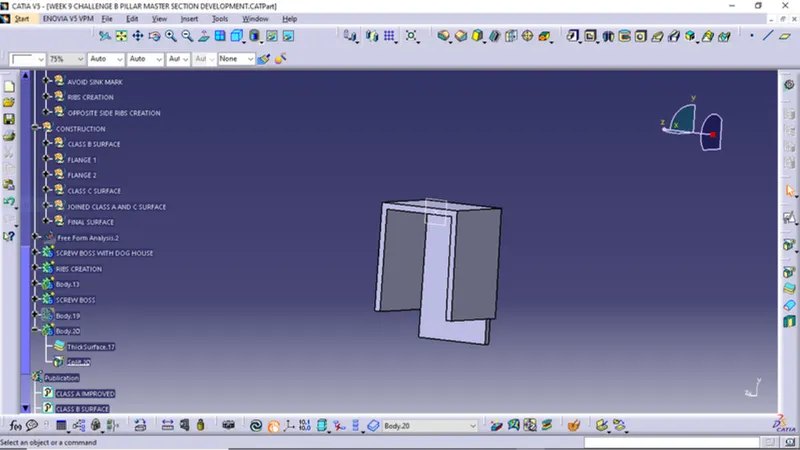
Now Add the Thickness to Dog house surface of 2mm in Part Design.
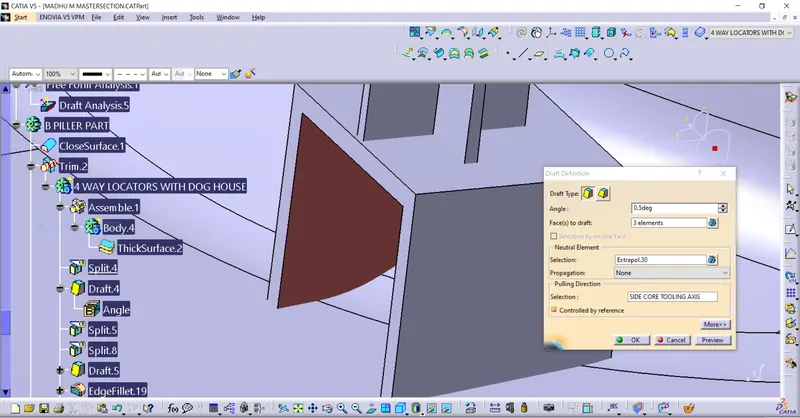
Then Apply the Draft it.
Avoid the Sink Marks.
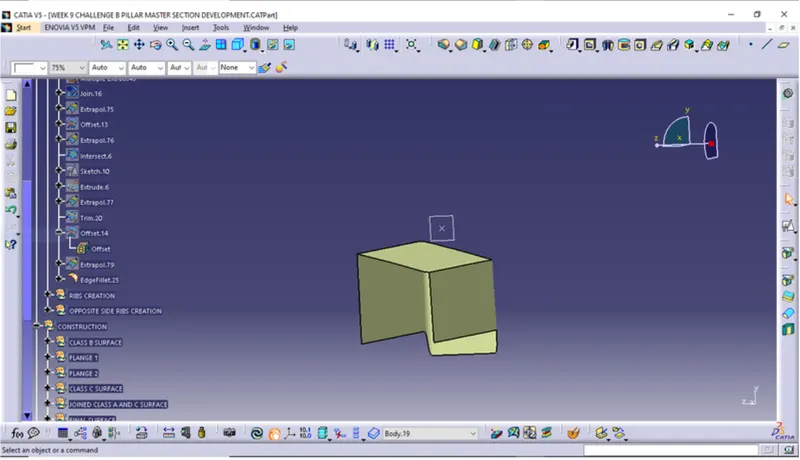
Fillet It.
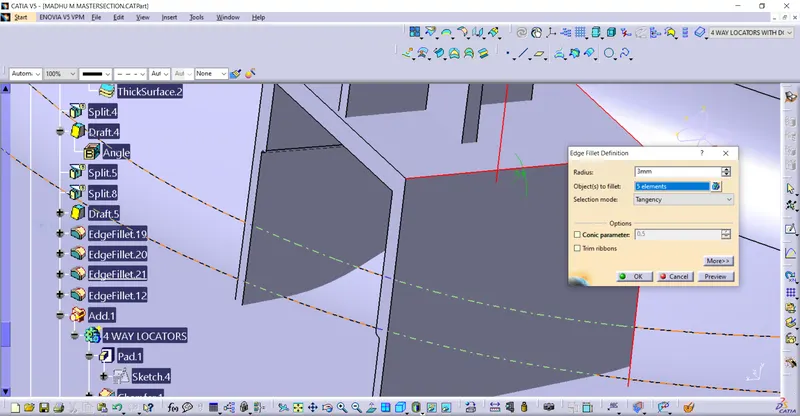
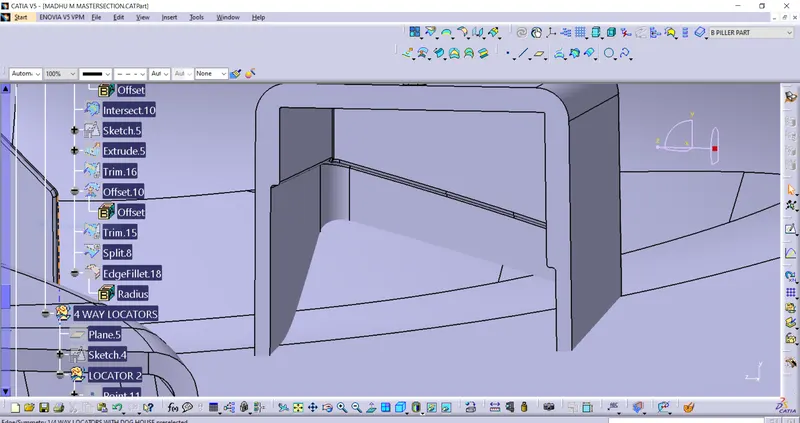
Define the main body and add Dog house.
4 WAY LOCATORS:
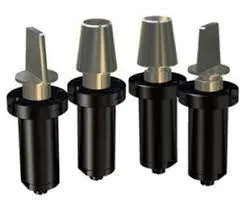
A round locating pin located concentrically in a hole is a common application of a 4-way pin, and helps to further secure the piece. 4-WAY LOCATORS: 4-way mean you prevent movement at 2 axes (+X, -X, +Y and -Y) on the plane. Generally, you have cylindrical pin on the fixture and circular hole at workpiece part.
Creation of the 4 way locators
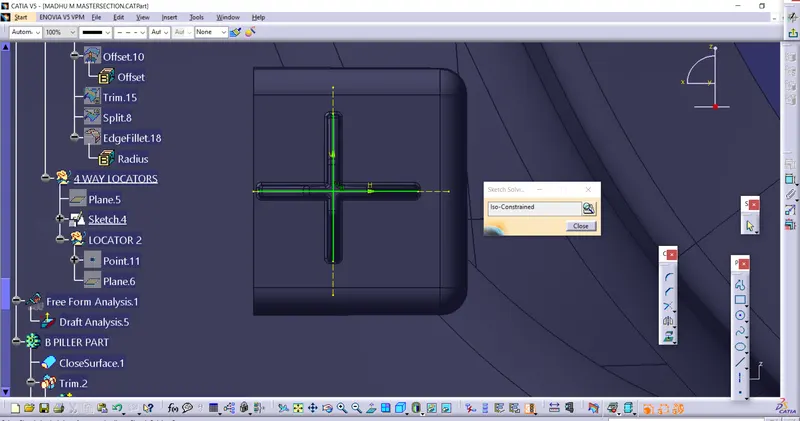
Create the Sketch for 4 way locators and Pad it.
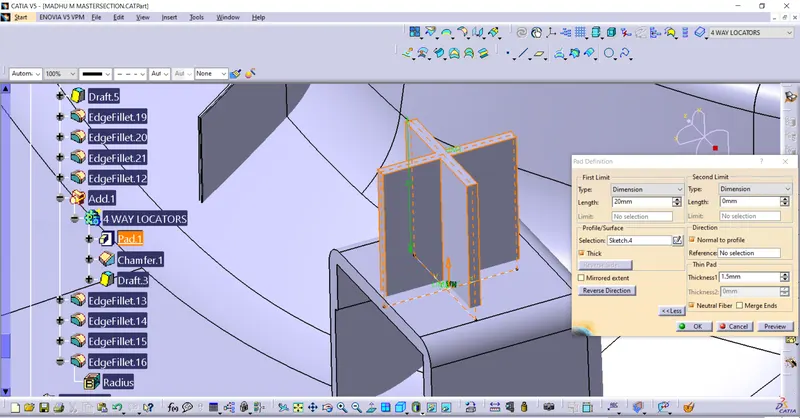
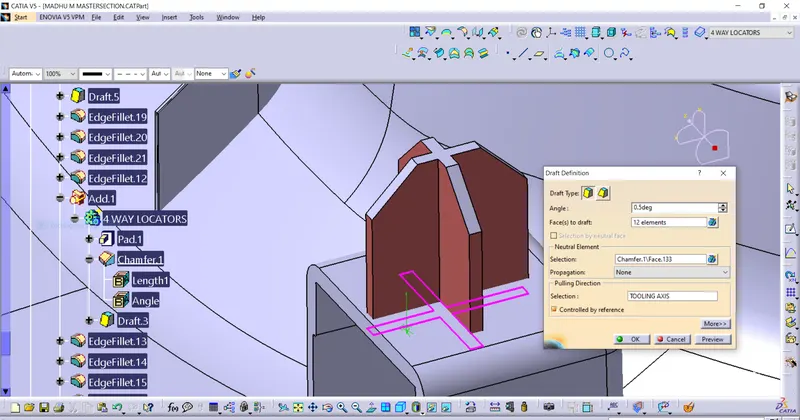
Draft it with 0.5 mm and Fillet it.
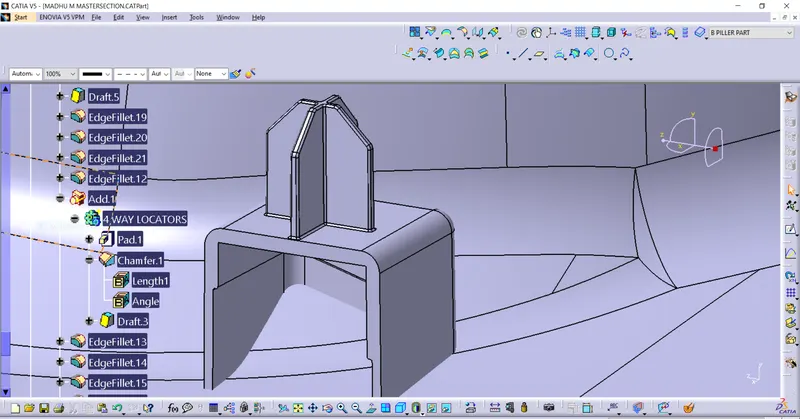
Now add 4 Way locators with Dog House.
RIB:
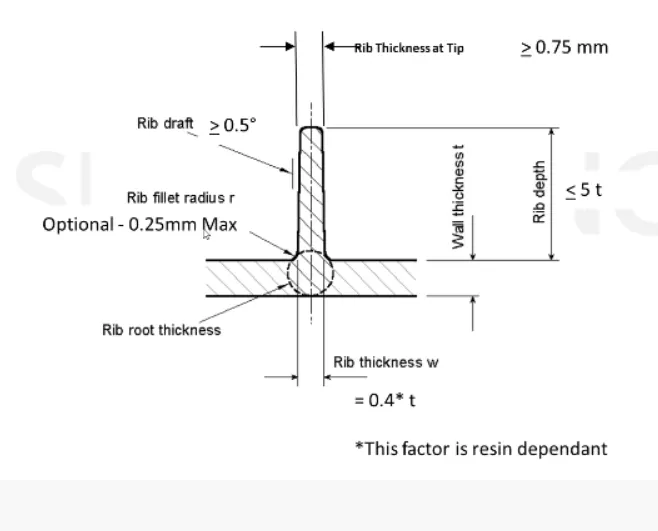
One of the ways to strengthen a part is by adding one or more rib to the design. Ribs are thin protrusions that extend perpendicular from a wall or plane to provide added stiffness and strength.
If a wall is too thick on a part it can cause warping and sinkage in parts, often causing the whole design to be rejected Ribs solve this problem by providing additional support for thinner walls.
Creation of the Rib
Create a Sketch away from the Dog House Up to the end point of the B pillar.
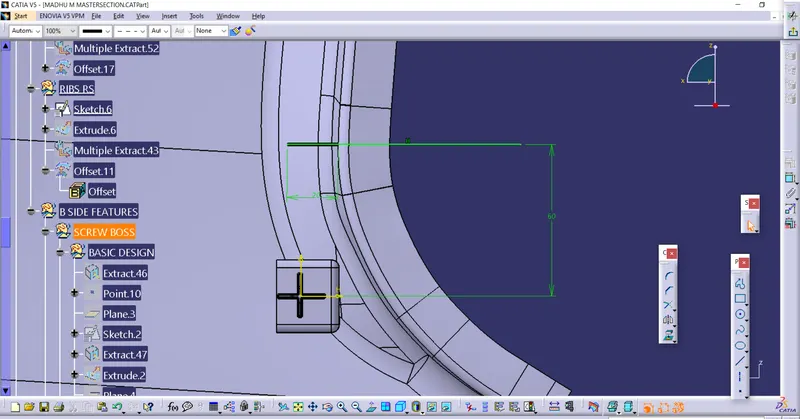
Then Thicken It.
Now offset the class B Surface above 10 mm for splitting.
Repeated the same process for all the rib design also on the opposite side also.
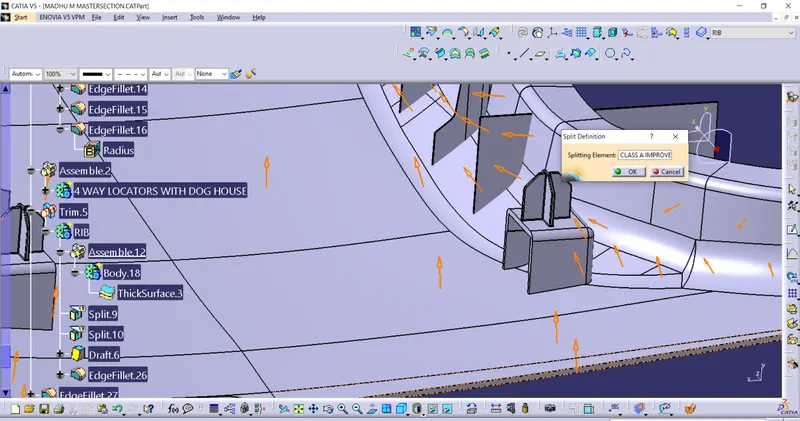
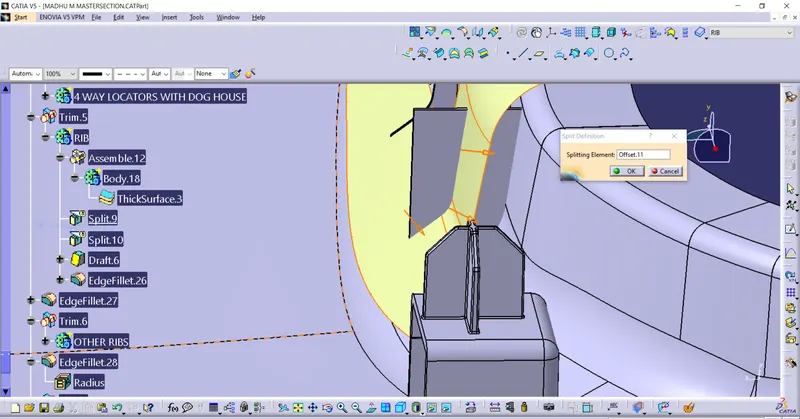
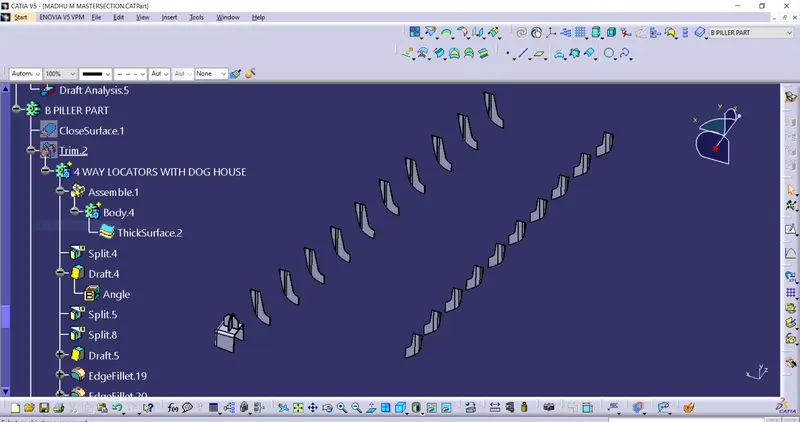
Finally define the main Body and Add the all B features to the main Body.
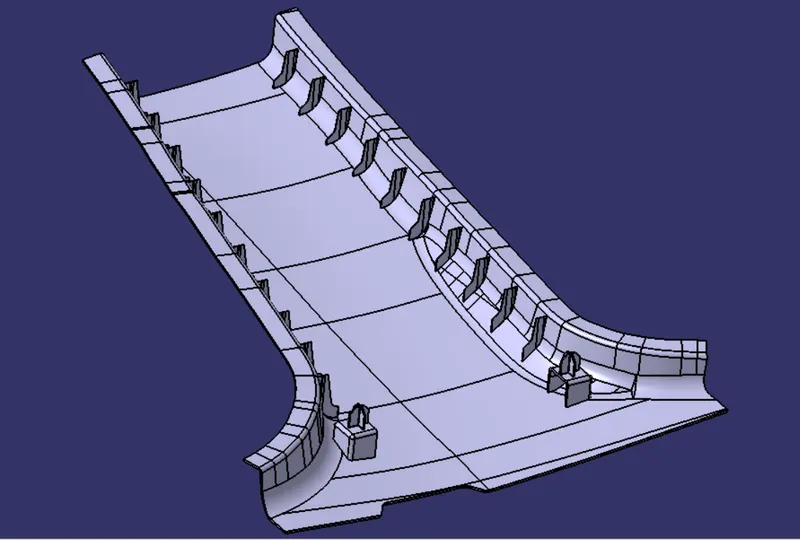
Final Component.
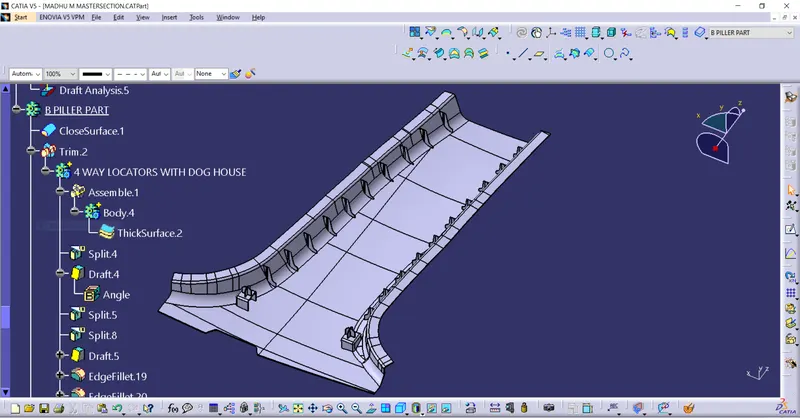
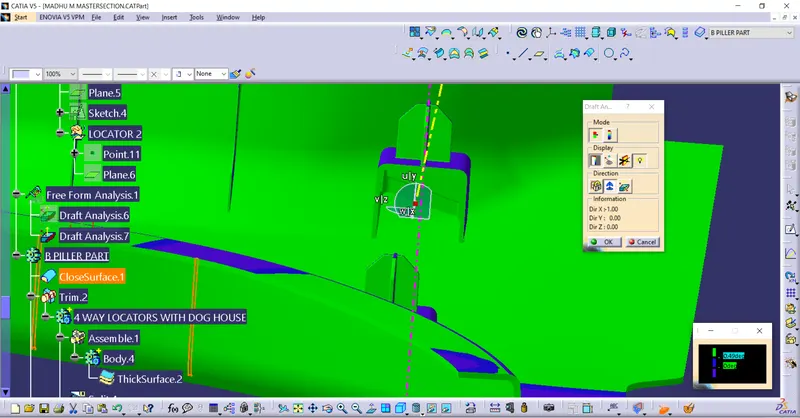
DRAFT ANALYSIS:
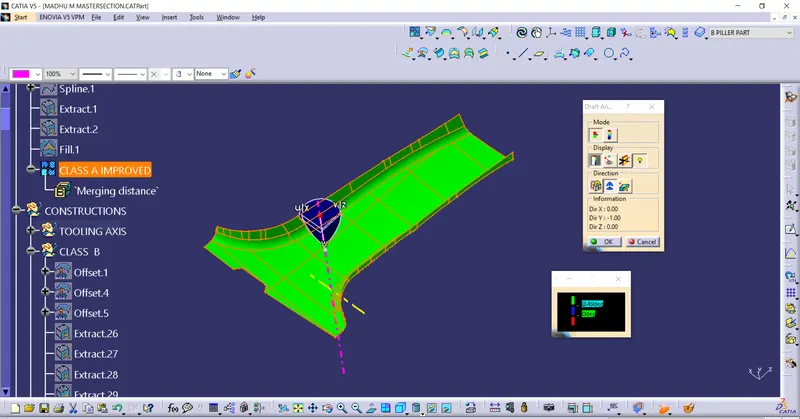
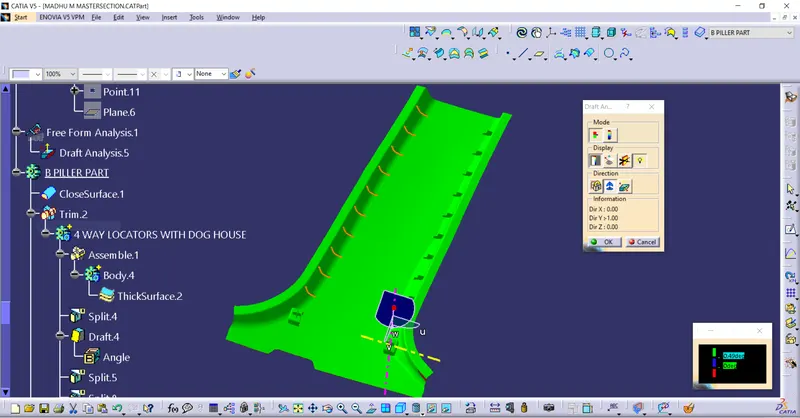
Draft analysis is a method of checking the draft angle on various faces of a part with a particular direction.
Here Green colour indicates the fine movemoment of the core and cavity during the manufacturing.
Other Blue and Red color indicates that it needs to be Correct to Clear the issue in the Surface.
For Class A Surface
For Final Component
For Dog House
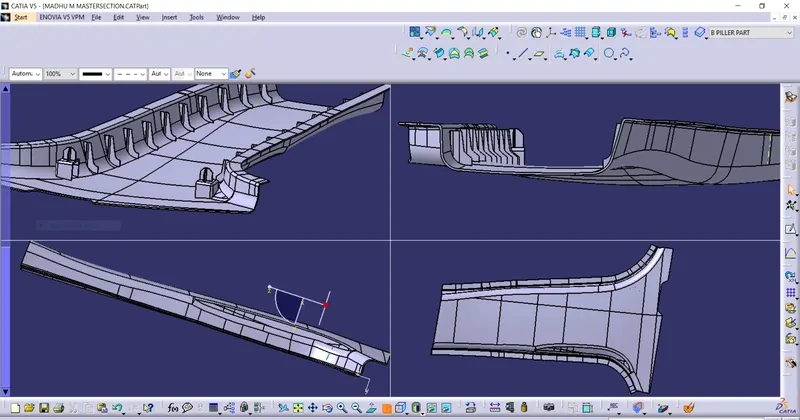
RESULT:
CONCLUSION:
The B pillar has been developed from the given mastersections given also B side features of dog house with locators and ribs has been created by following the design rules and criterias.