Week 9 - Project - Master Section Development
Objective: To create Class B & C surface for the given class A surface(B-Pillar) by following the master-section which is provided and to perform draft analysis for the class A surface and the final component which consists of class B & C surfaces along with the engineering features such as dog house and 4-way locators.
Procedure:
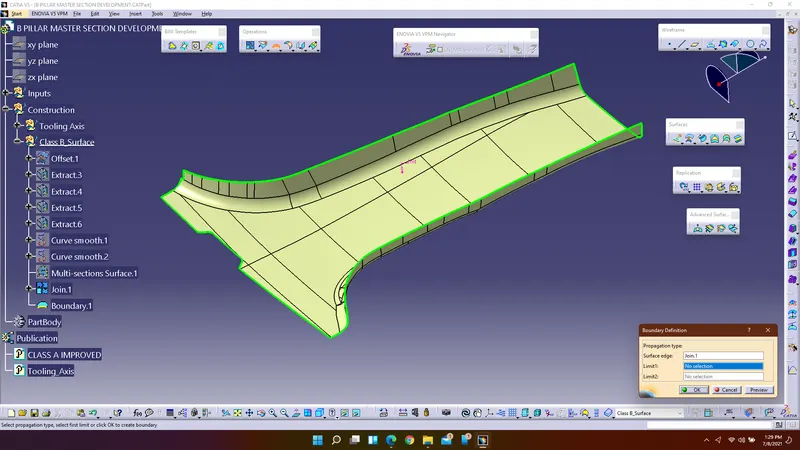
1. Perform the connectivity check using boundary command and work on the patches if any.
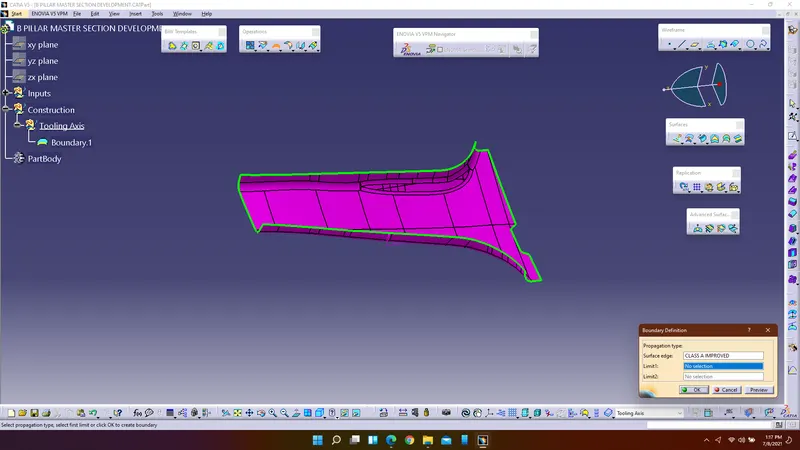
2. All the patches should be addressed properly and provide the final class A surface as a improved class A surface.
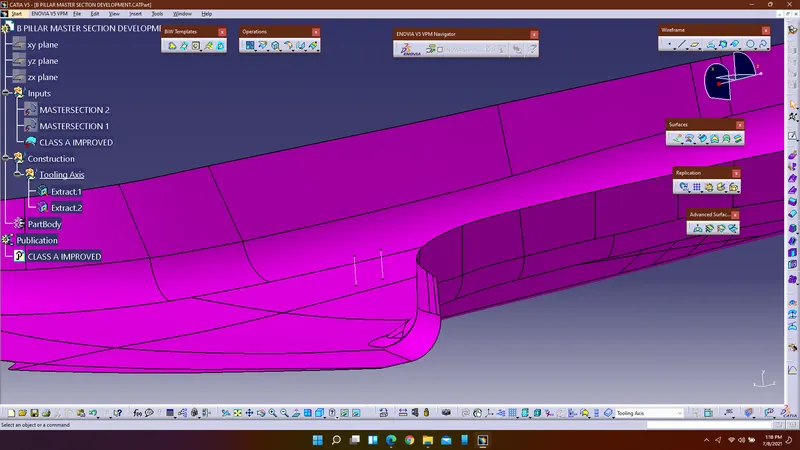
3. To create tooling axis use bisecting line method and create the tooling axis.
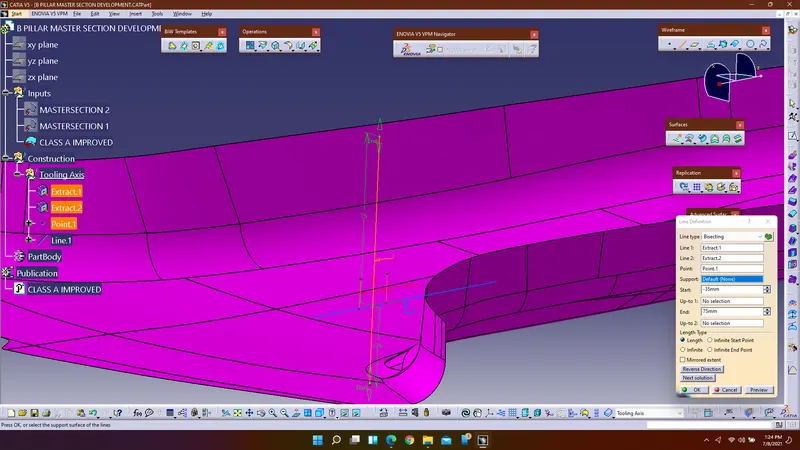
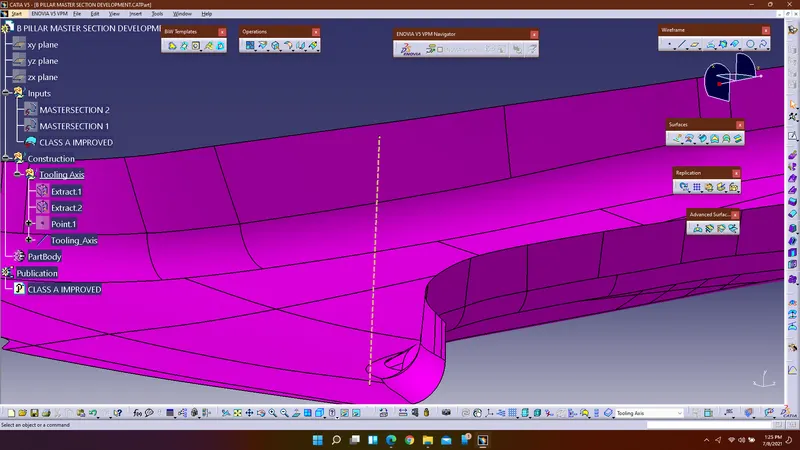
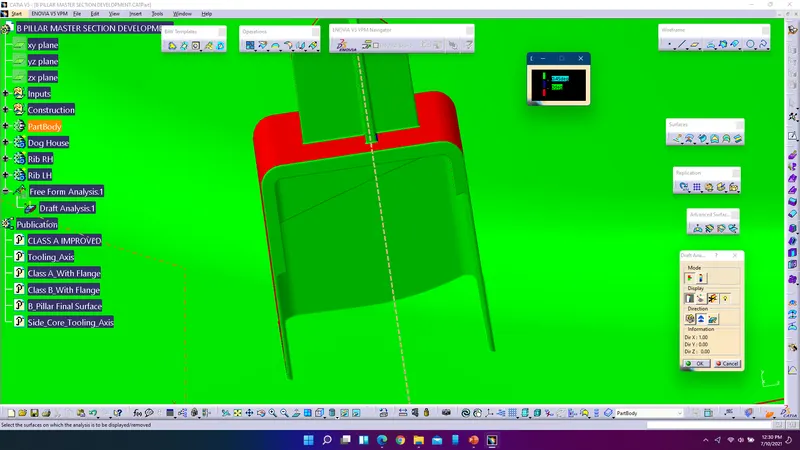
4. Perform draft analysis for the class A surface.
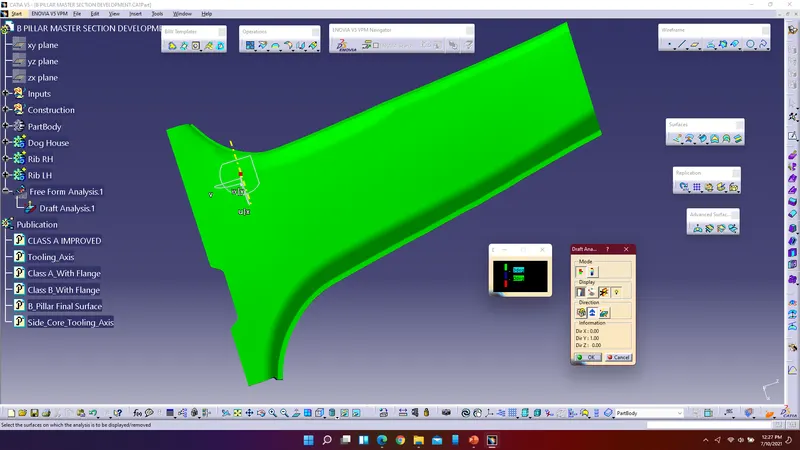
5. To create class B surface offset the whole class A surface to certain distance which should be followed using master-section.
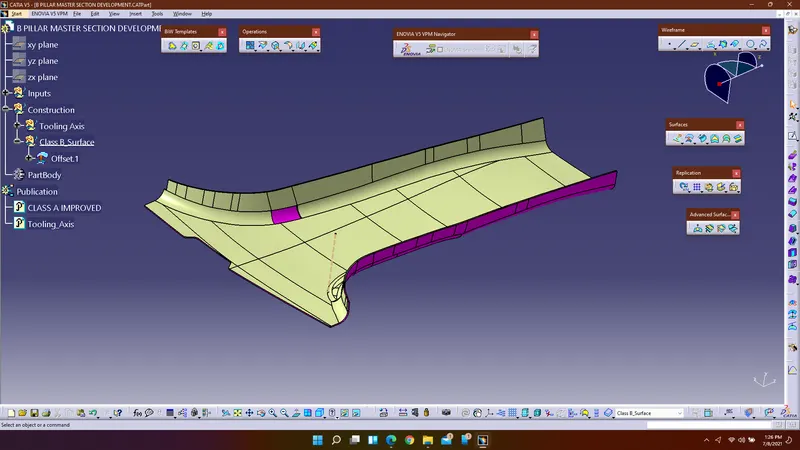
6. Address all the patches on the class B surface by extracting the edges and using the multi-section surfaces.
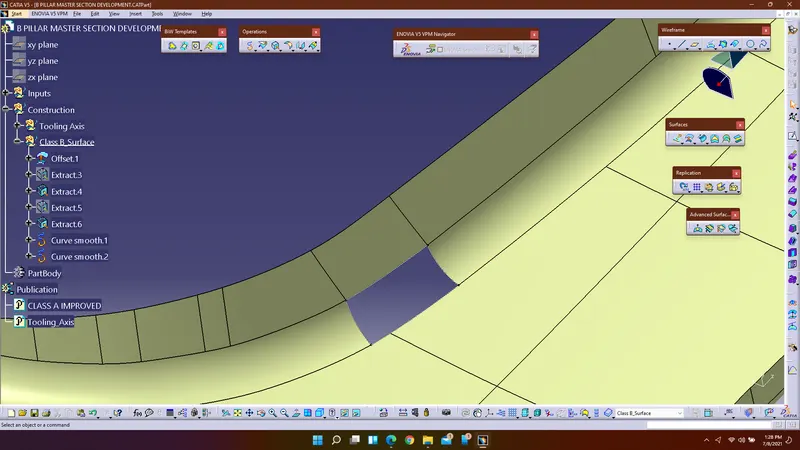
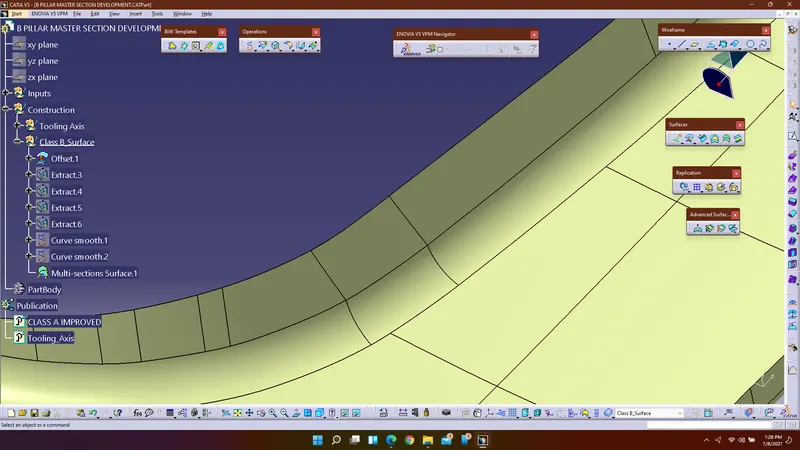
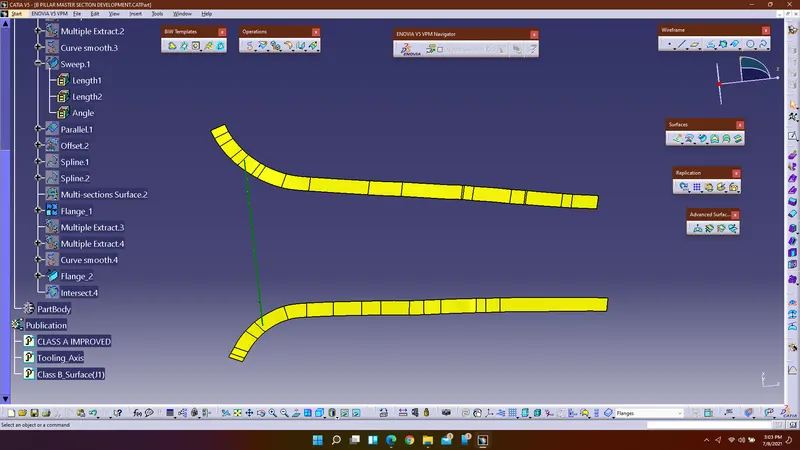
7. To Create class C surface, create the flanges required for the both A&B surfaces using the master section. Then create C surface with the help of multiple extract command, extract the edges of the class A surface and use sweep command to extrude the surface with draft direction as tooling axis and draft angle as 3deg.
8. Obtain class C surface and trim the excess surfaces and join the C surface with the A surface.
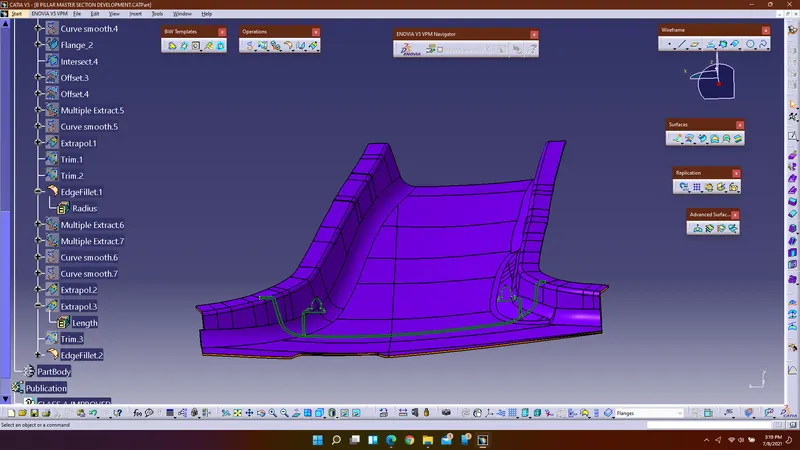
9. Trim the class B surface with the join obtained from above step.
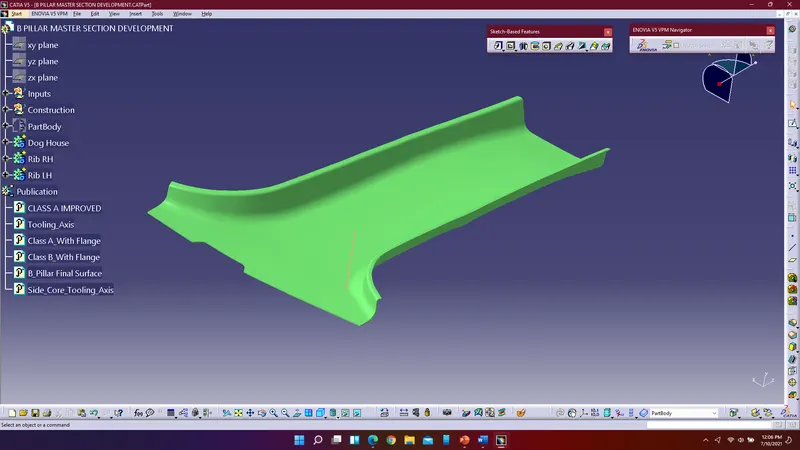
10. Perform a boundary check to know whether any edges were existing, enter into the part design workbench and use close surfaces to convert the surfaces into solids.
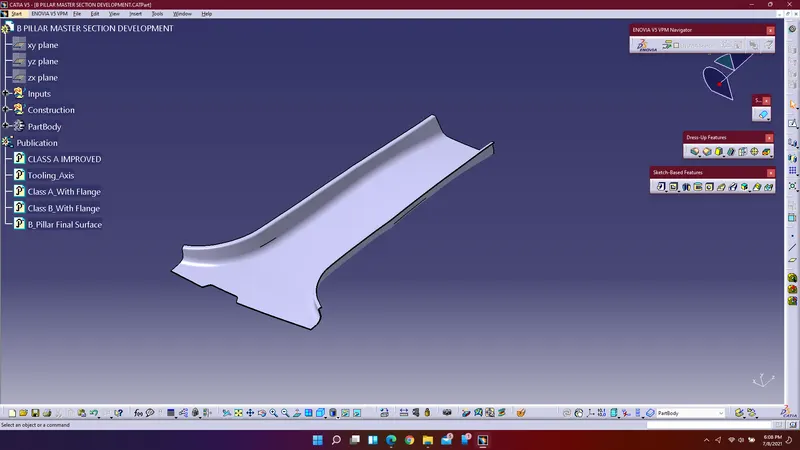
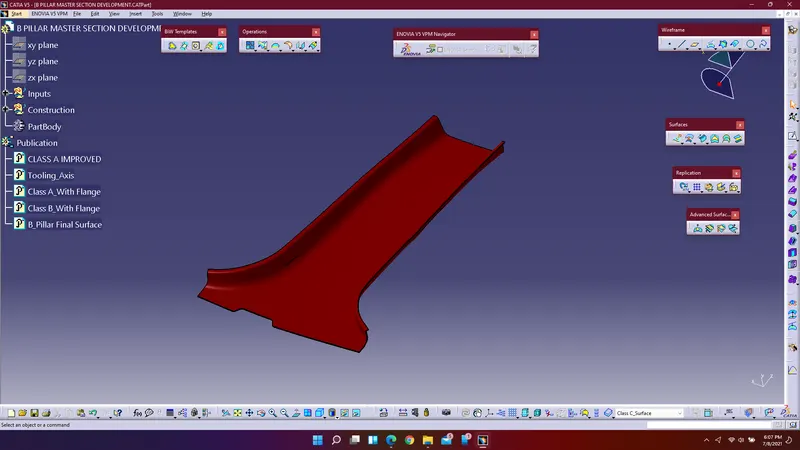
11. Follow the master section to create dog house and 4-way locator by creating a new point between the lines of the master-sketch and create a new plane at the point and make a sketch by extracting the master-sketch and obtain the required sketch.
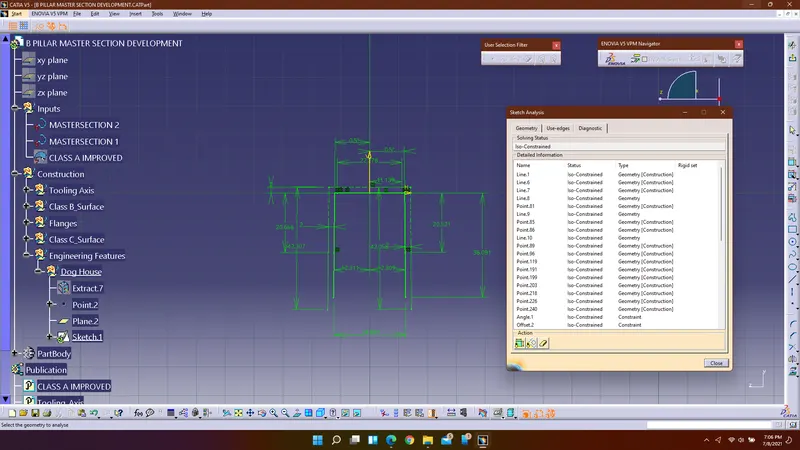
12. Enter into part design workbench to convert the surface which is extruded using the sketch from above step, using thick surfaces command thicken the surface into solid. Create the under cut section for the dog house using the inner faces of the dog house and the class B surface and offset them.
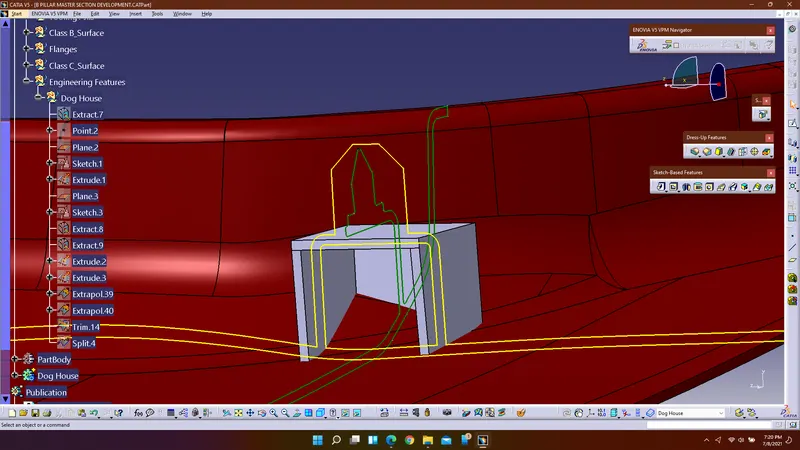
13. Use split command in the part design workbench to create the under cut section required for the dog house.
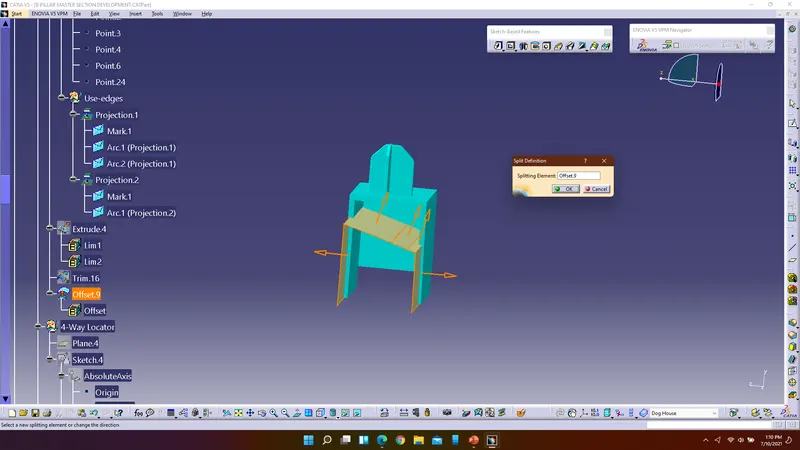
14. Create 4-way locator by extracting the master-sketch in the new sketch and exit the sketch by obtaining required shape for the 4-way locator.
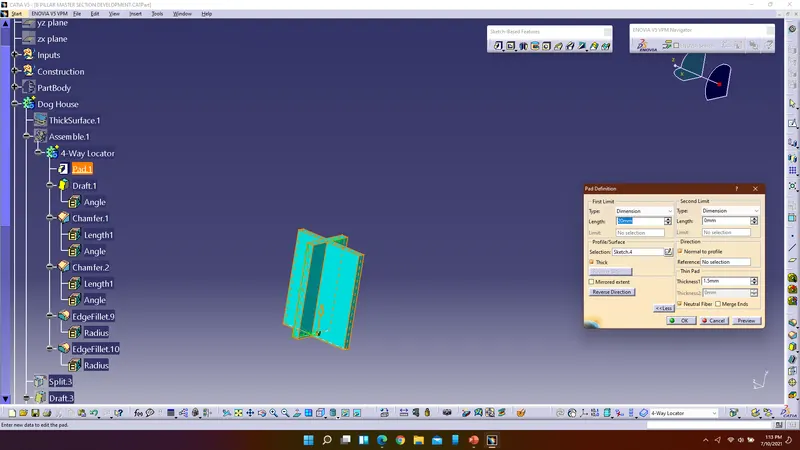
15. Use pad command and by selecting thick option create the 4-way locator, draft all the faces and provide fillets to the 4-way locator.
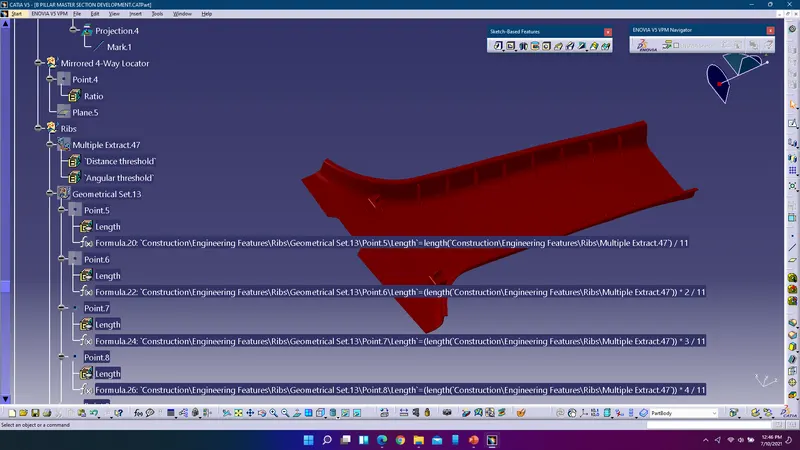
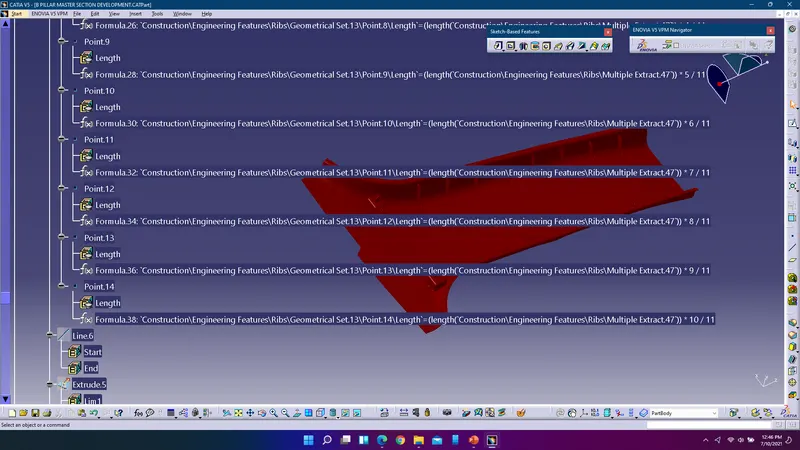
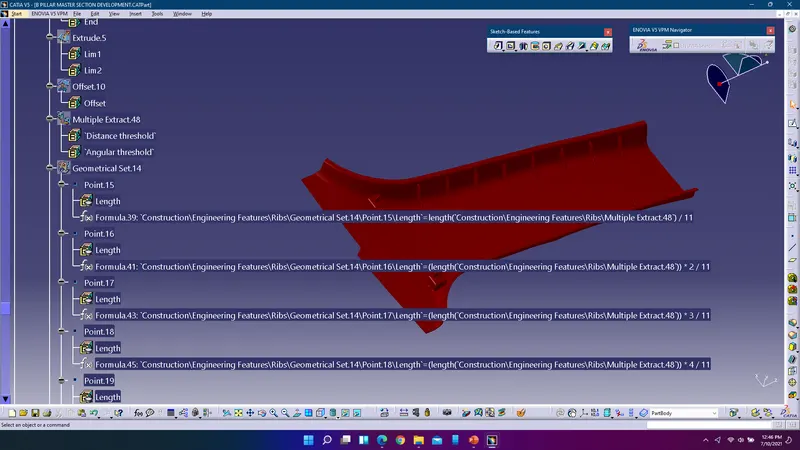
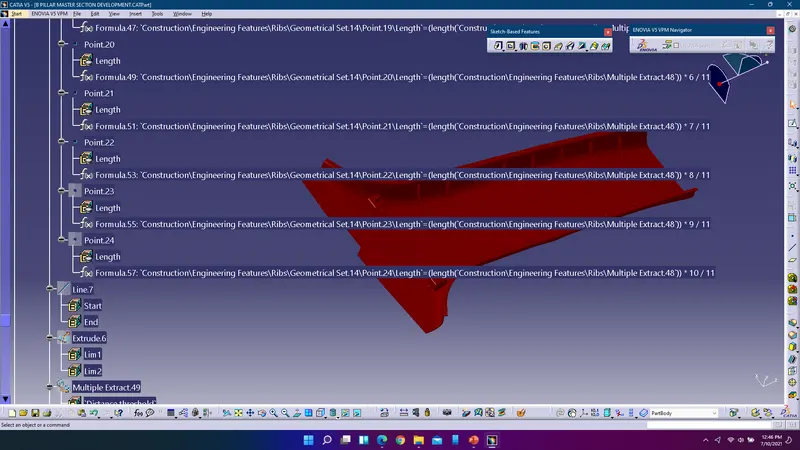
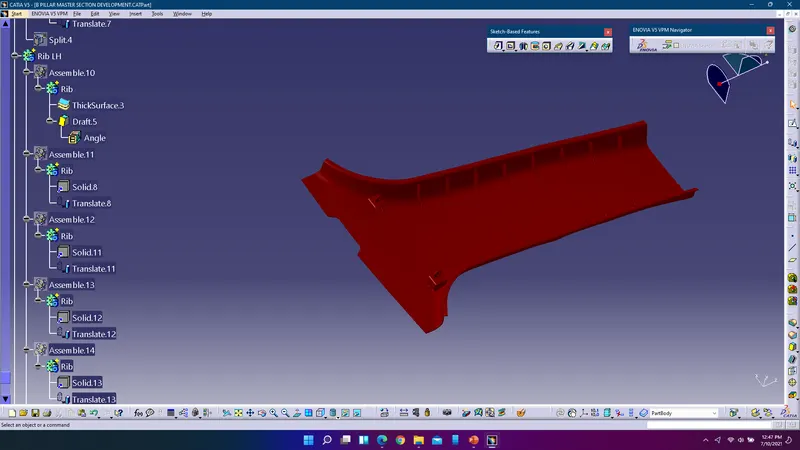
16. Create ribs by extracting the edges of the part body and create points on the curve obtained from multiple extract command.
17. Use point direction option to create a line and extrude the line to create surface and thicken the surface using the thick surface command in the part design workbench and draft all the faces to 0.5deg and copy them and paste special in the same part and translate them from point to point.
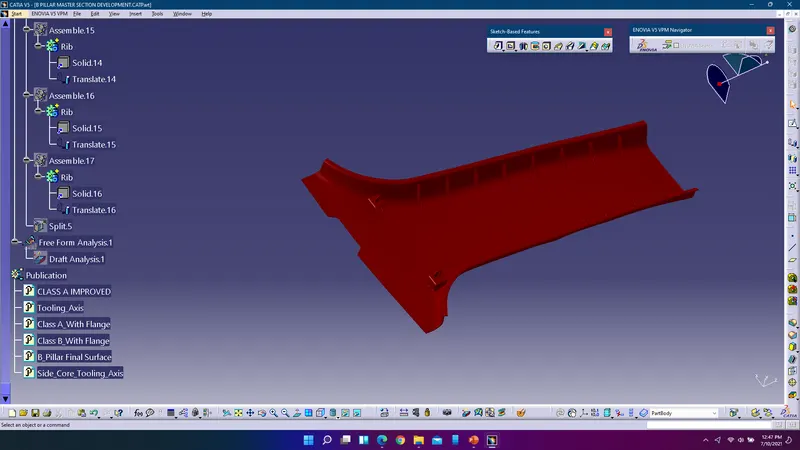
18. Use class B surface with flange to split the ribs and use union trim to assemble them with the main body.
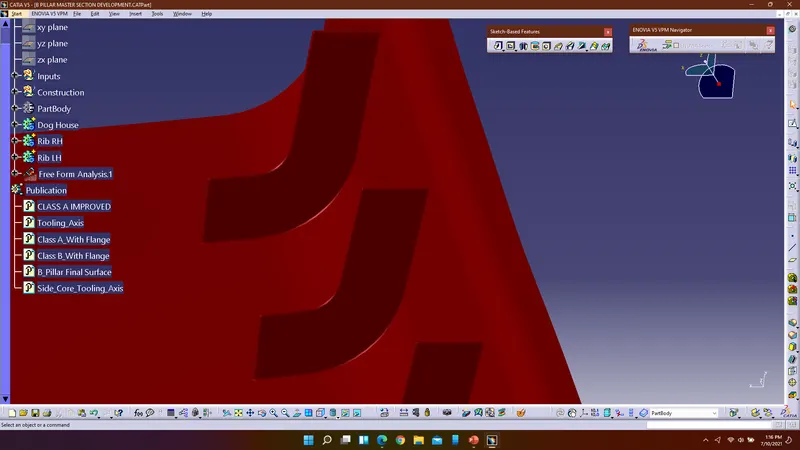
19. Similarly follow the above three steps to create the ribs on the other face of the part body.
20. Perform the draft analysis for the final component using both the tooling axis and side core axis.
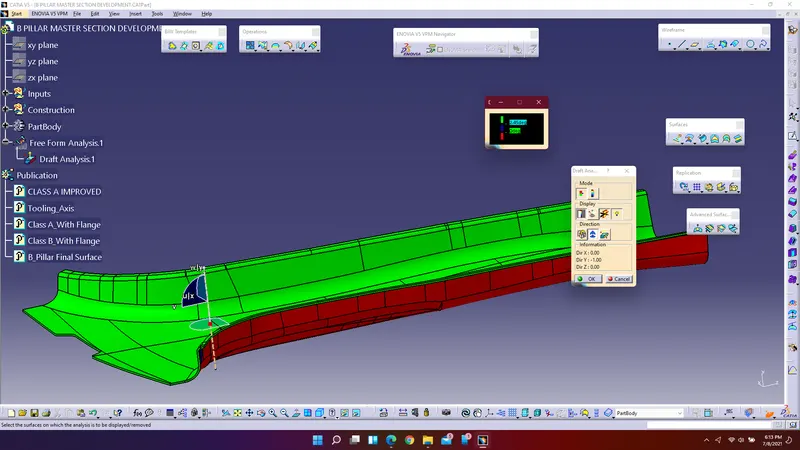
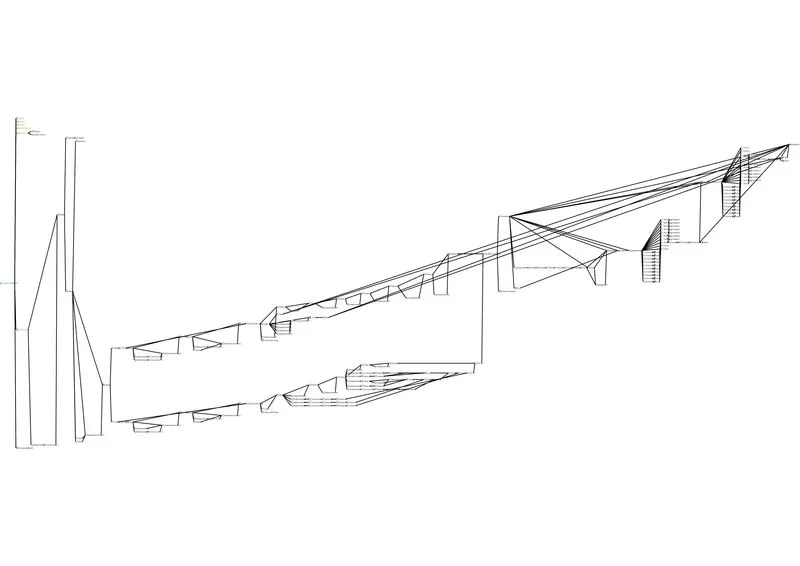
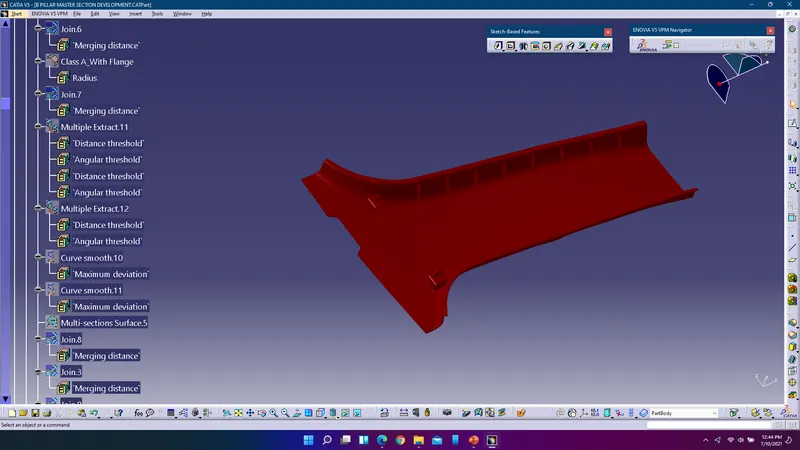
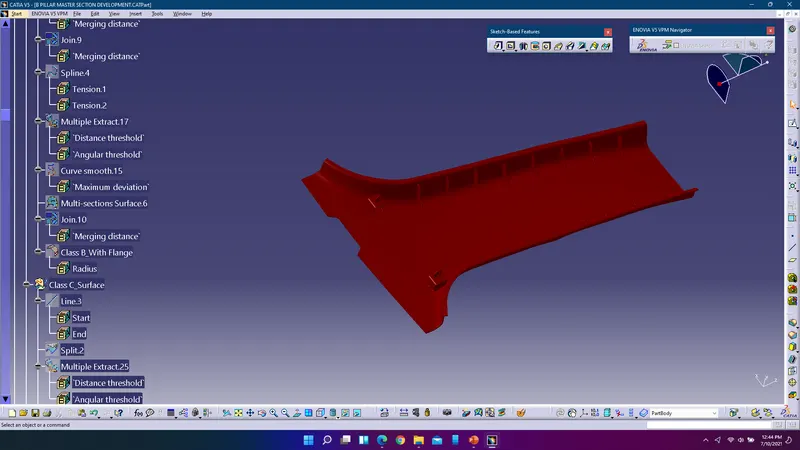
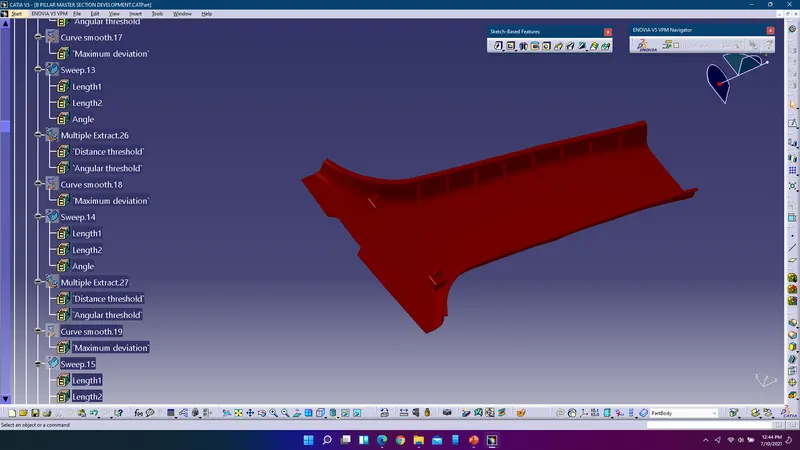
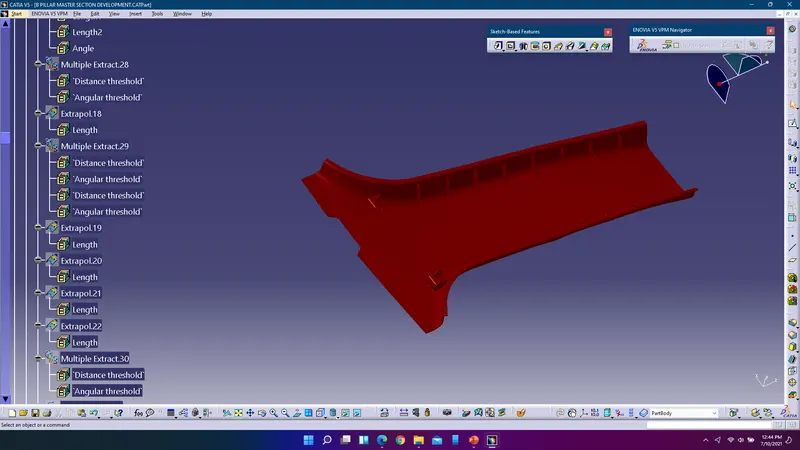
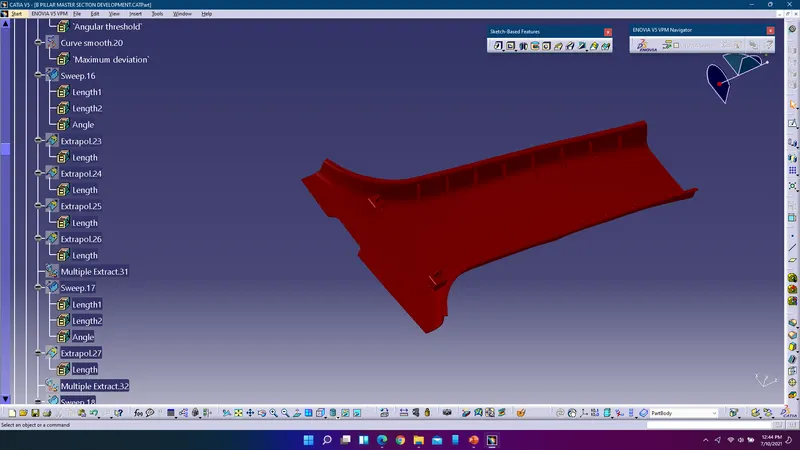
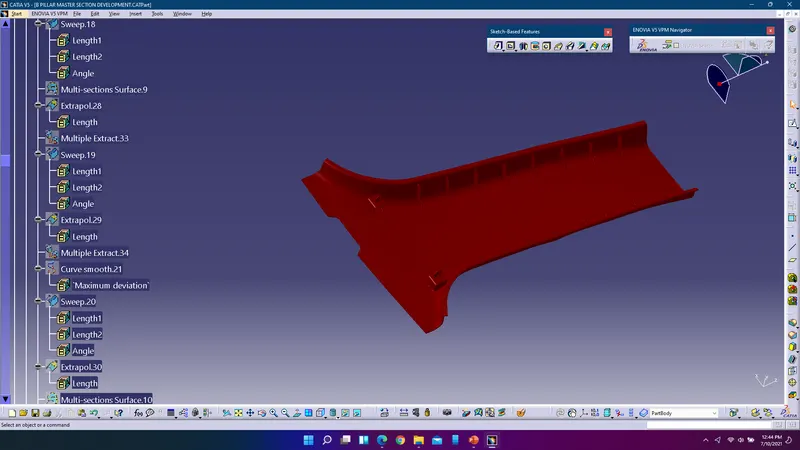
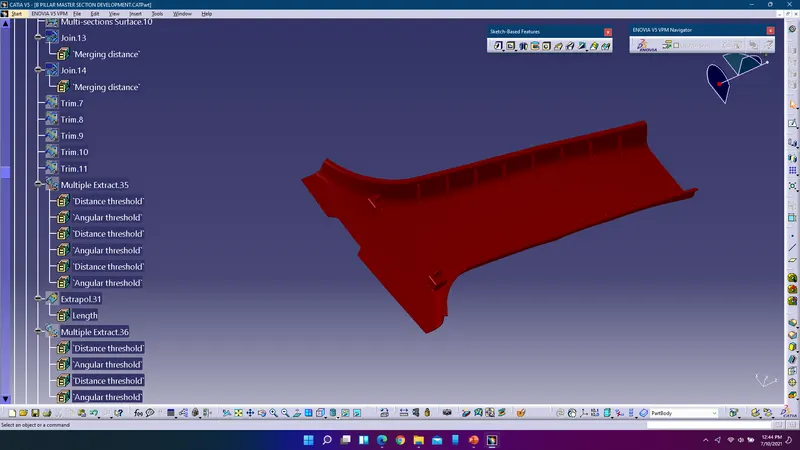
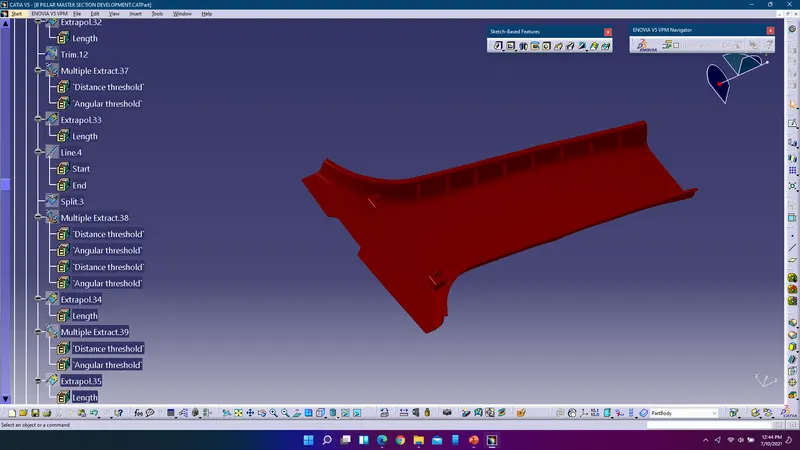
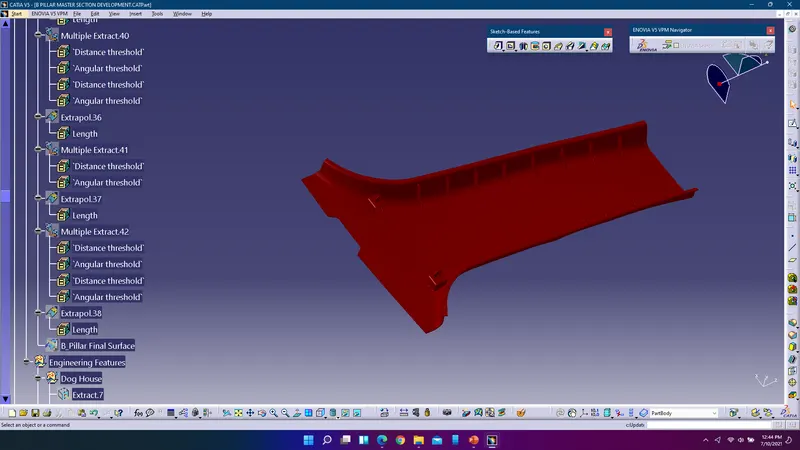
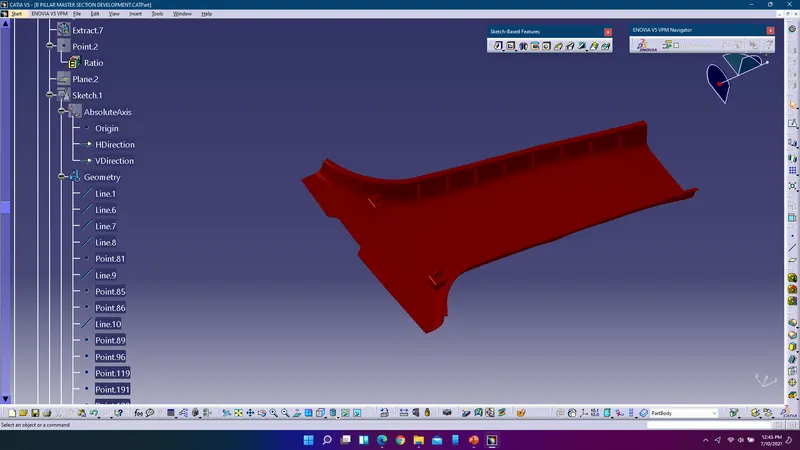
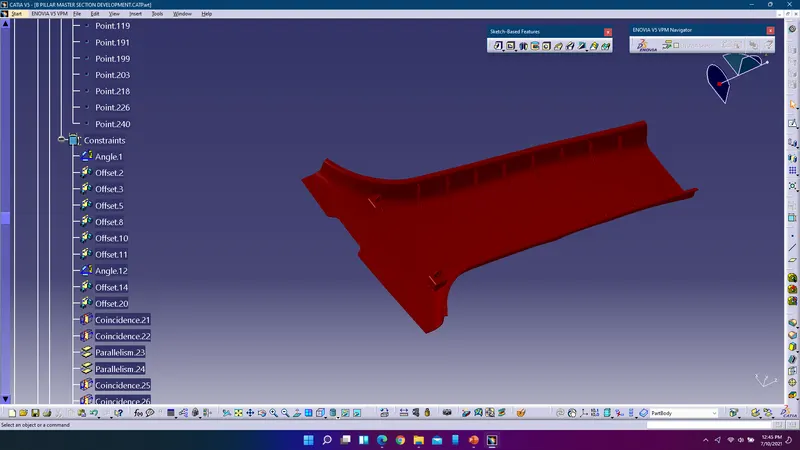
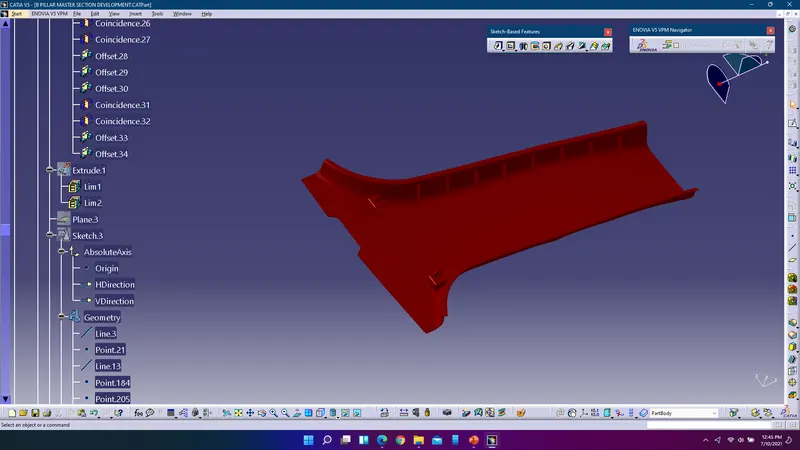
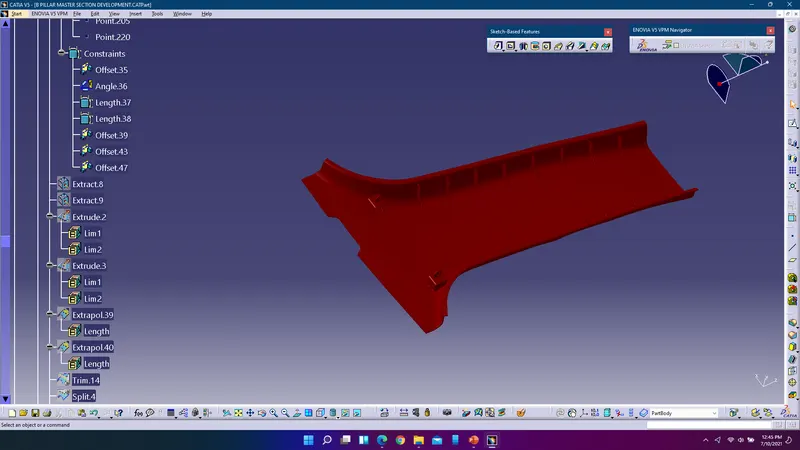
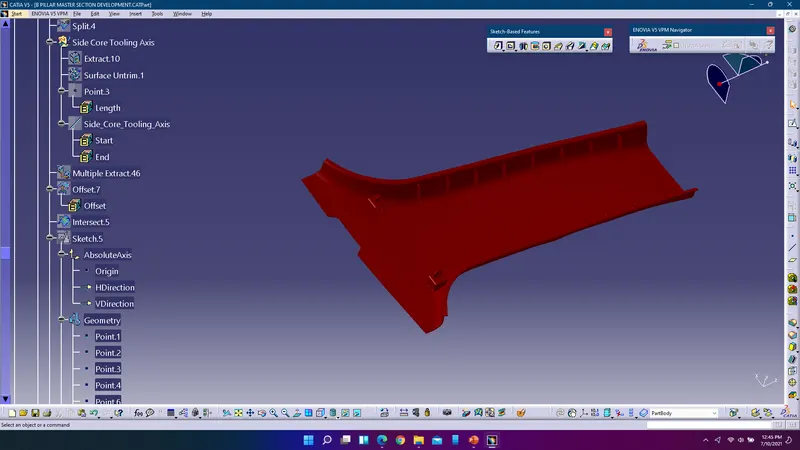
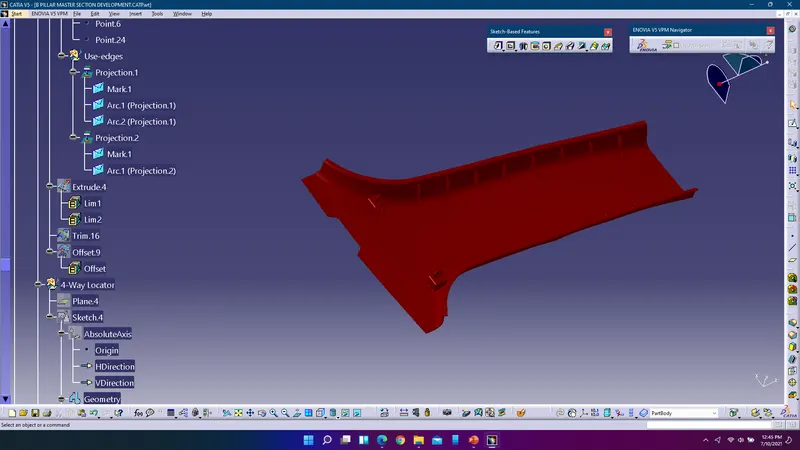
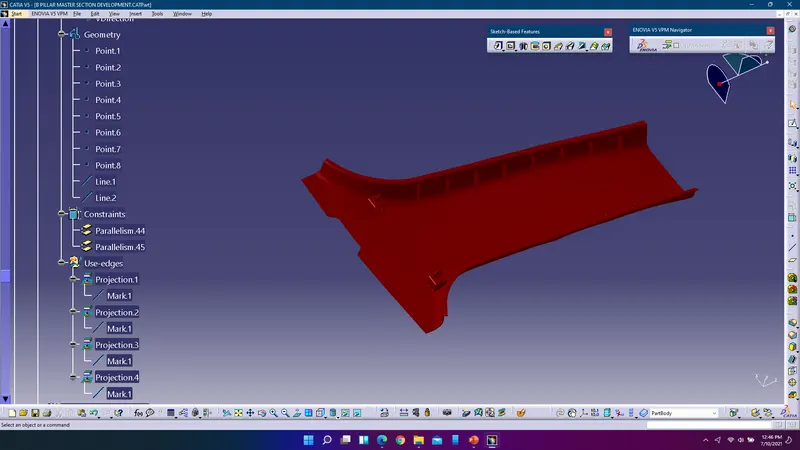
Feature Design Tree Diagram:
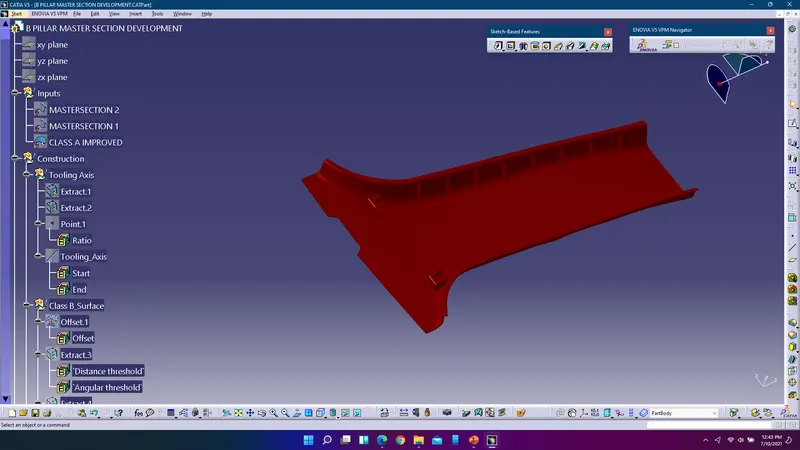
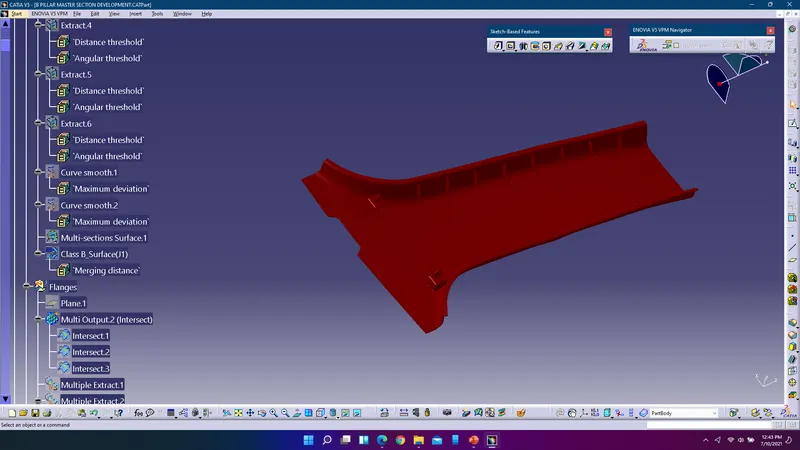
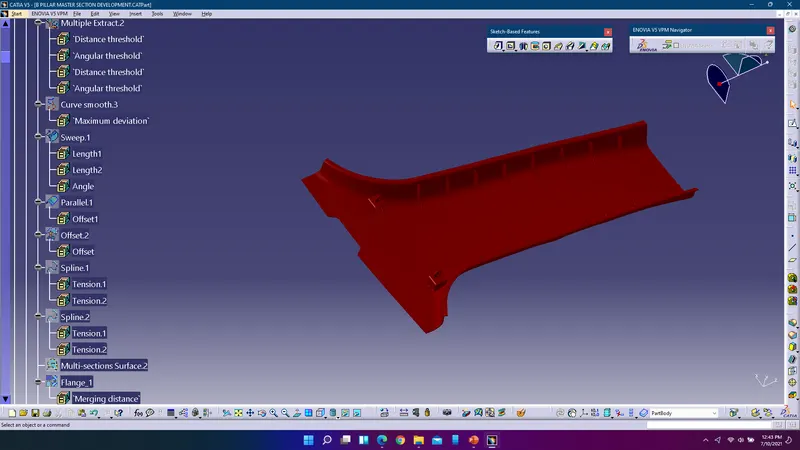
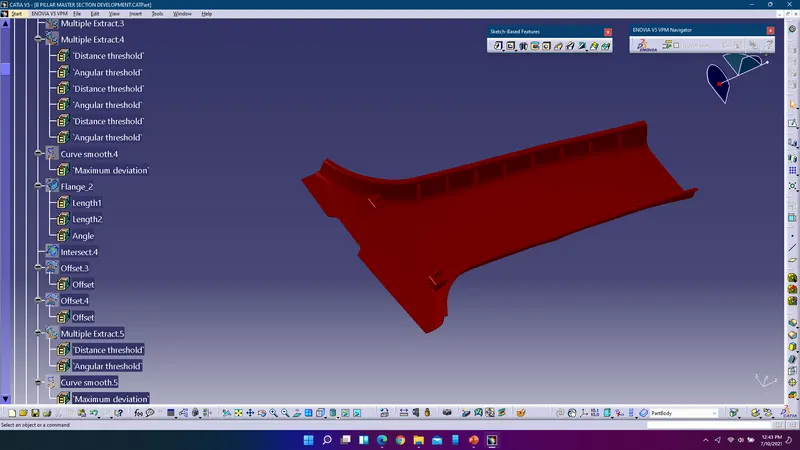
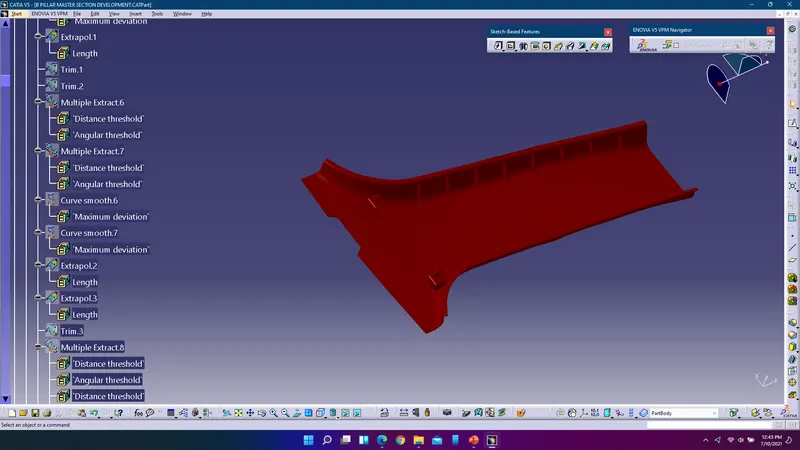
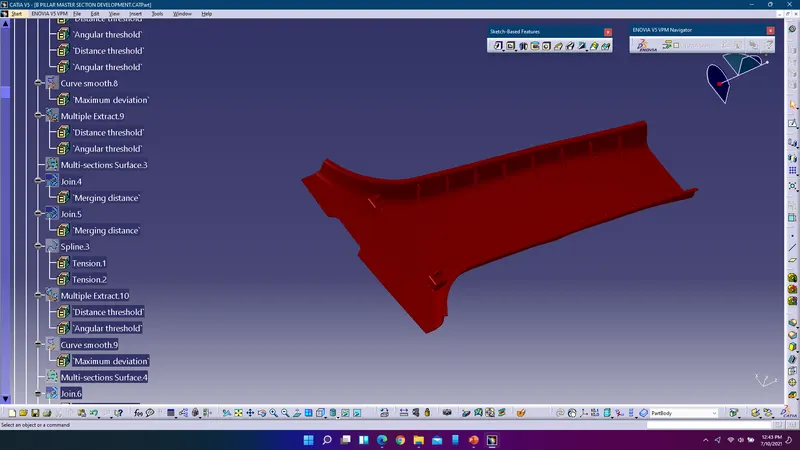
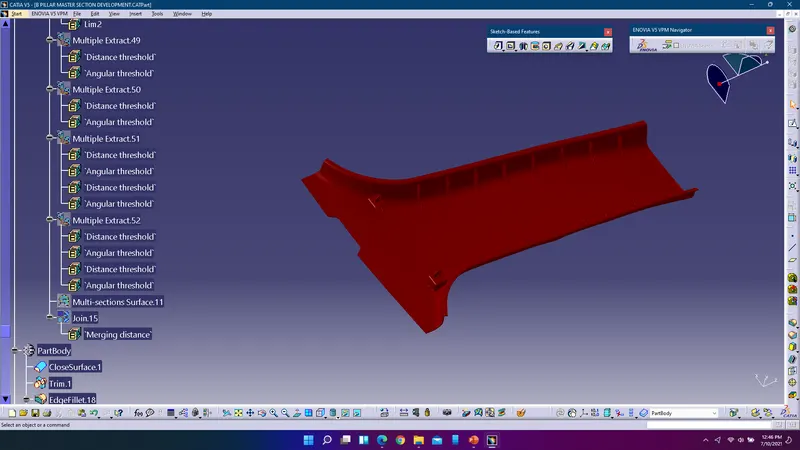
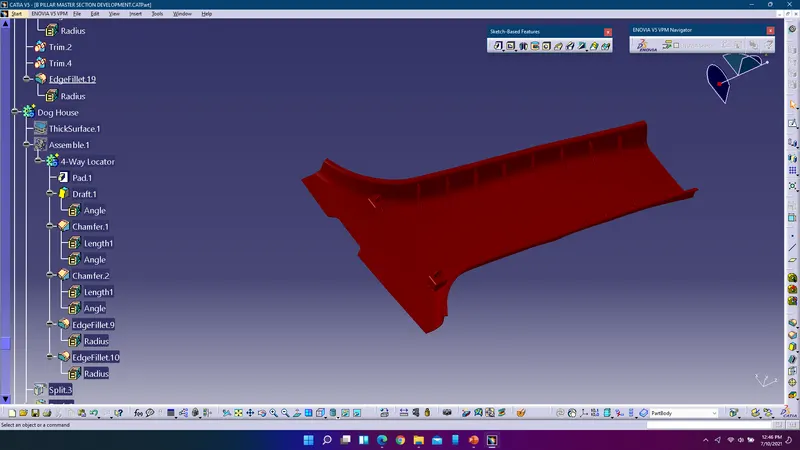
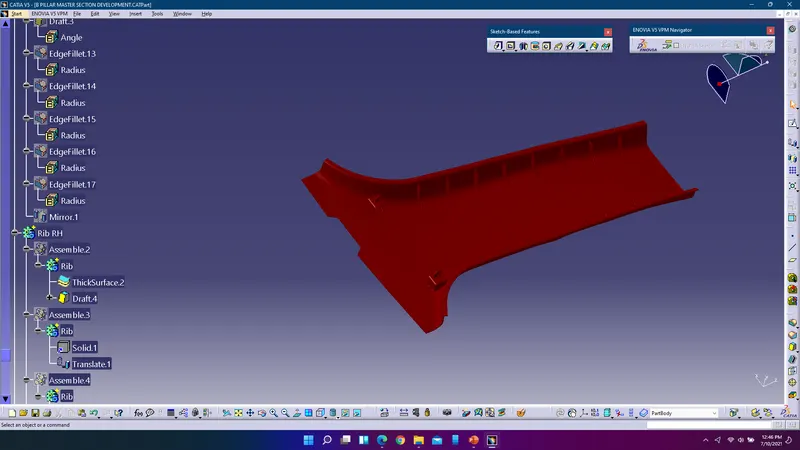
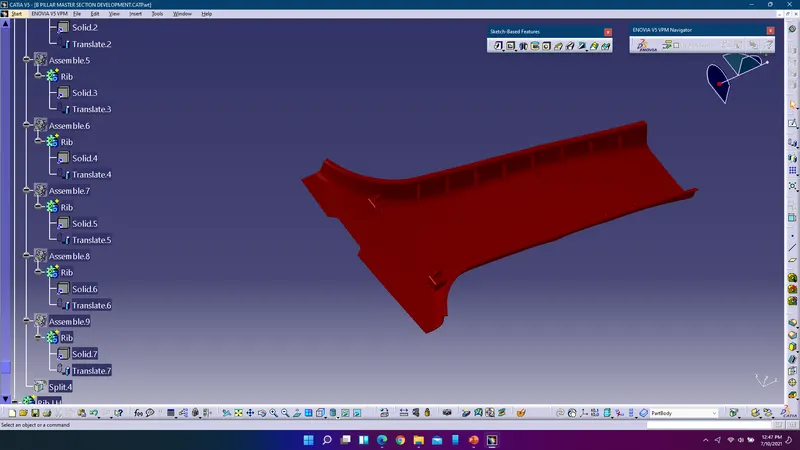
Conclusion:
Class B&C surfaces were created by following master-sketch and performed draft analysis for class A and the final component which consists of dog house, 4-way locators and ribs.