Week 9 - Project - Master Section Development
AIM-
To create a B pillar of a car using the master section and Class A surface as an input and performing Draft analysis on the final model.
Objective-
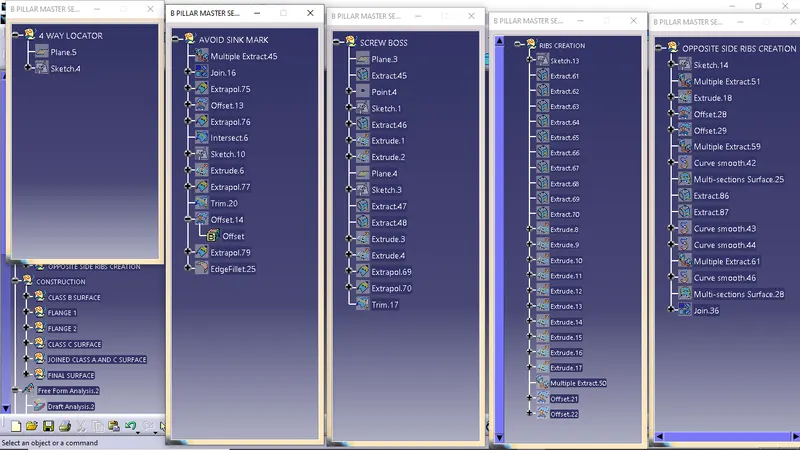
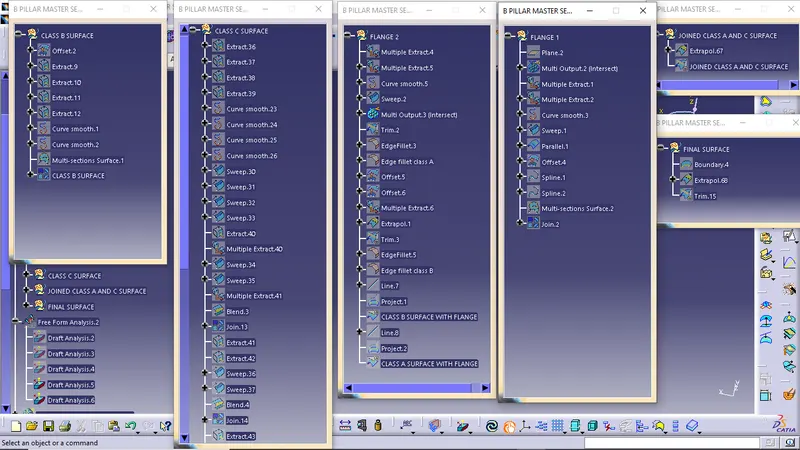
- To ensure proper tree structure is followed.
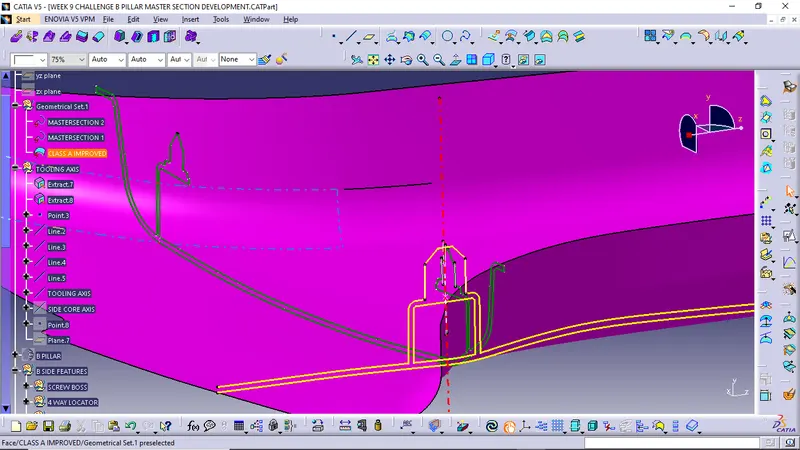
- Creating a tooling axis and following design rules.
- Creating Class B and C surface using Class A surface as an input.
- Following the master section to create flange.
- Following the master section for thickness and to create the closed volume.
- Following the master section to create attachment features.
Procedure-
Tooling Axis-
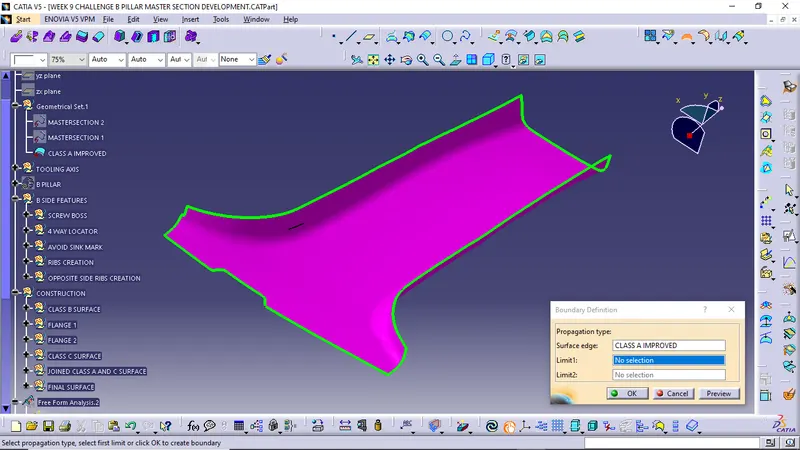
First import the given Class A surface model of the B pillar in Catia V5.
Then extract the master section lines.Create the bisecting lines between it.
Creation of Class B surface.
Offset the Class A surface of 2 mm.
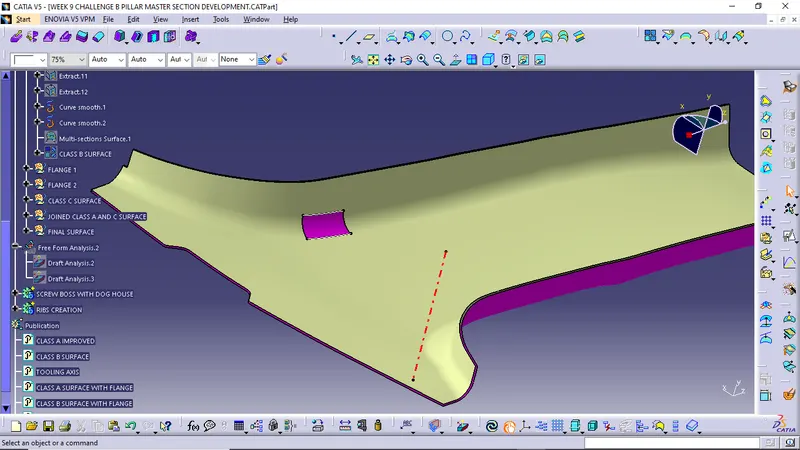
Improved class B surface
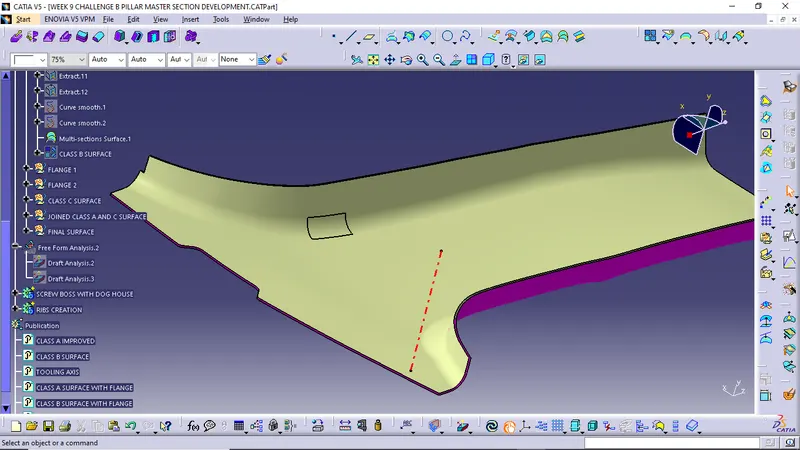
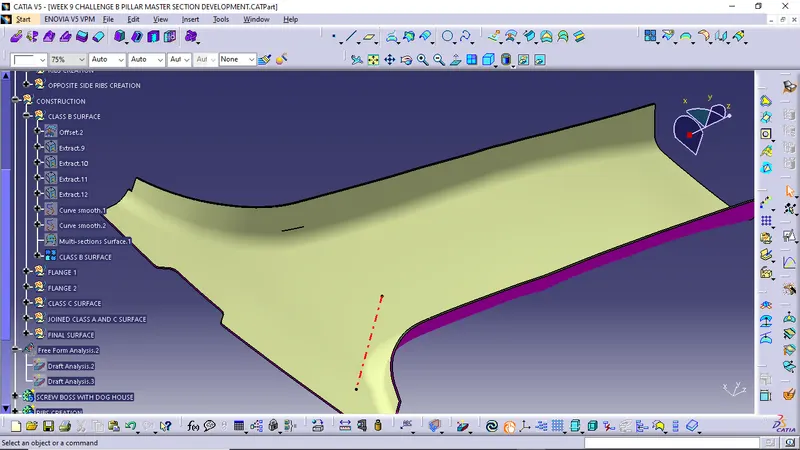
Creation of Flange with Class A and Class B surface.
Create a plane by considering 3 points of master section 1.
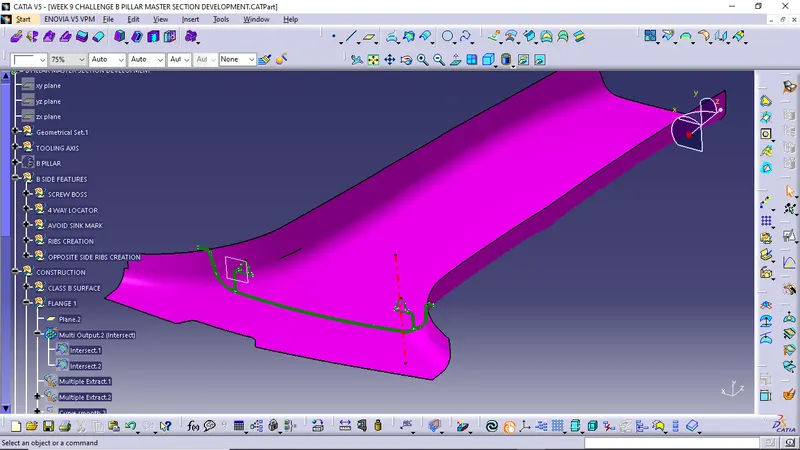
By the use of this above created plane we create the intersection curve of class B surface.
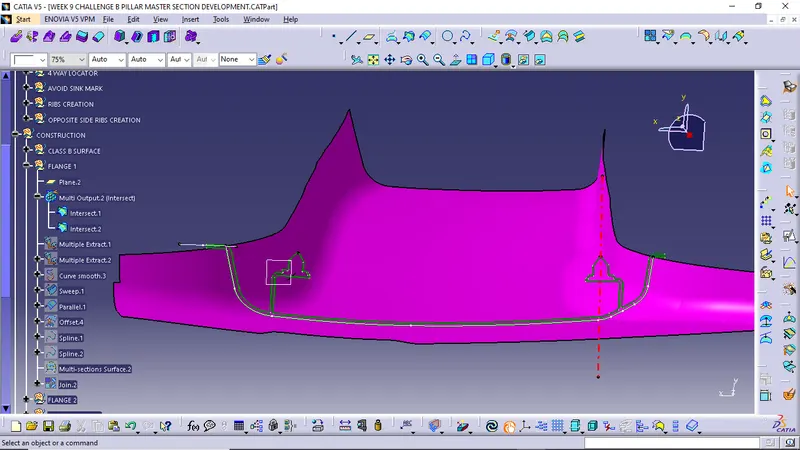
Then extracted the edges of class B surface.
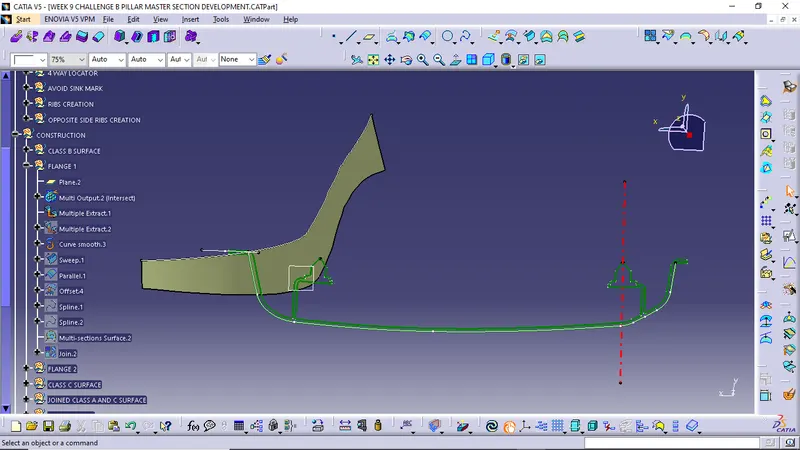
Creating the flange by the use of sweep features perpendicular to the extracted surface as a reference surface.
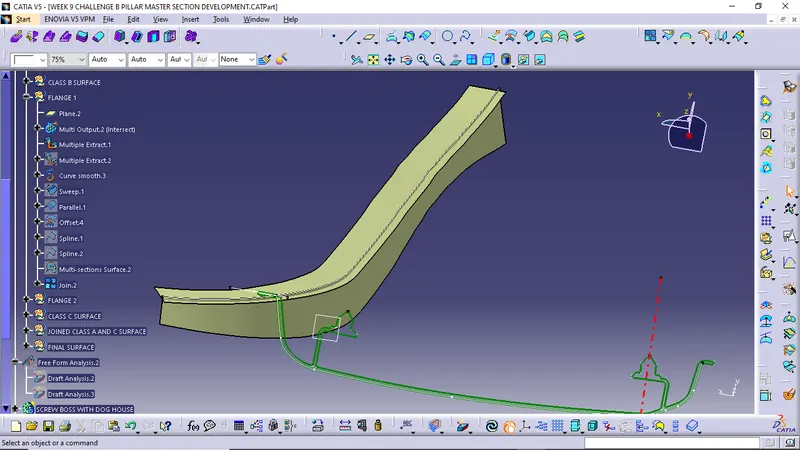
Repeated this same process on other side of Class B surface edges and create the flange.
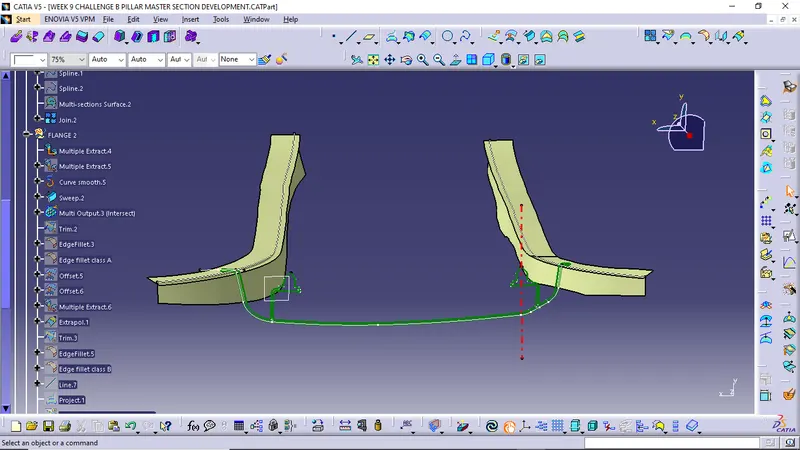
Then offset this flange of 2 mm for creating the flanges of class A surfaces.
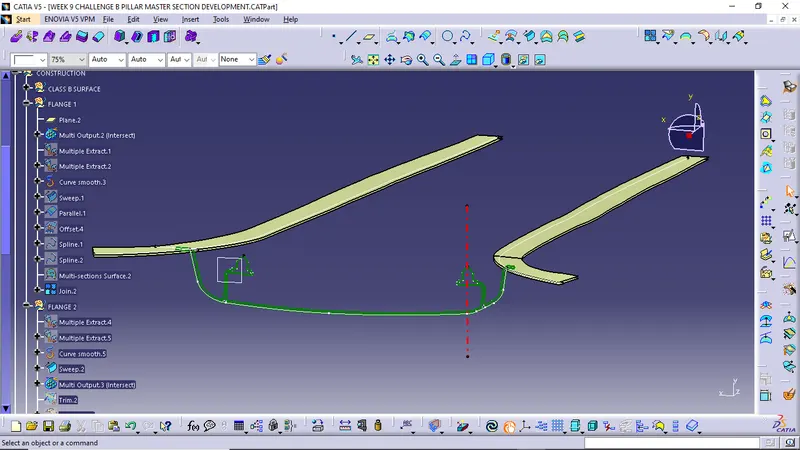
Then trim the class A surface with its created flanges.
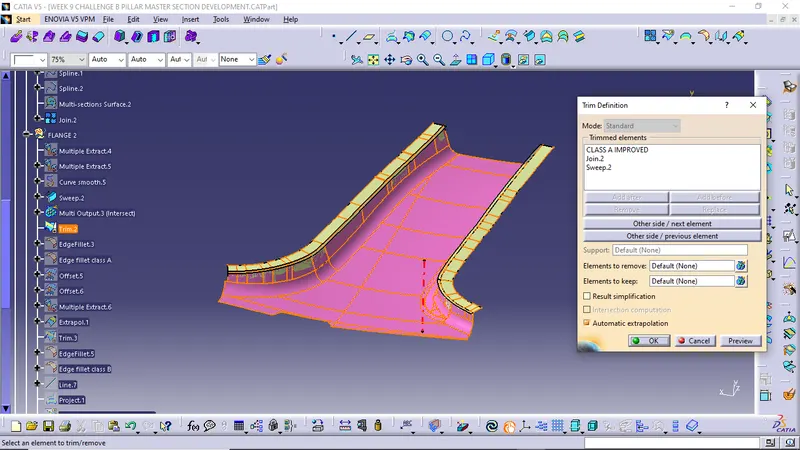
Then trim the class B surfaces with its created flanges.
Then applying the fillets on Class, A surface with flanges and Class B surface with flanges.
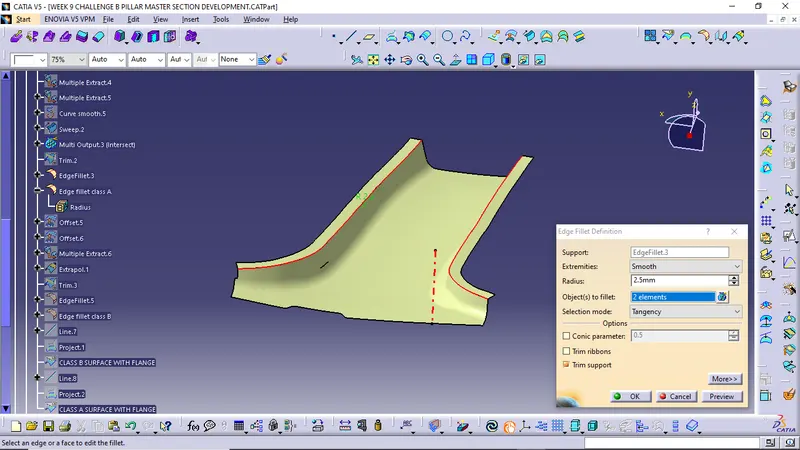
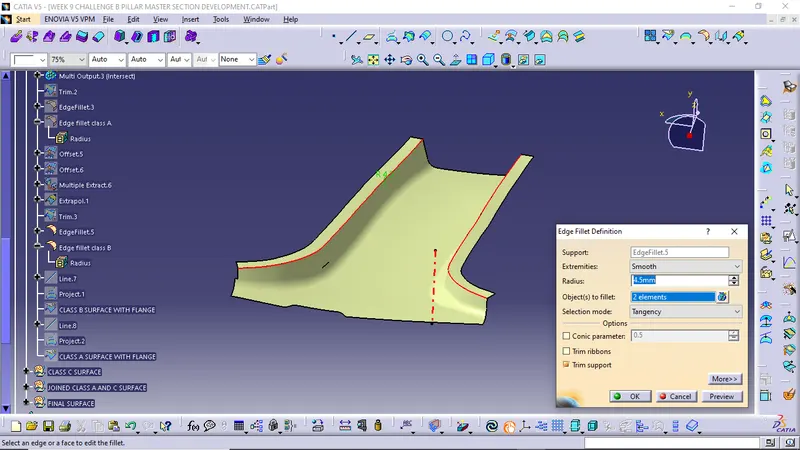
This is the class A surface with flange and class B surface with flange.
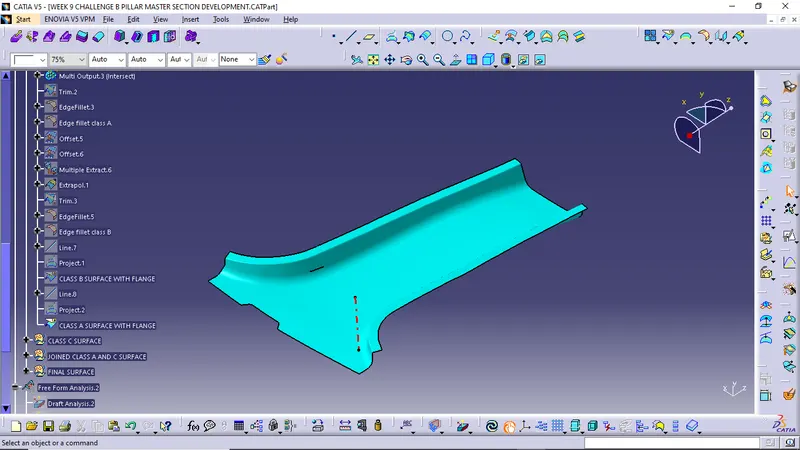
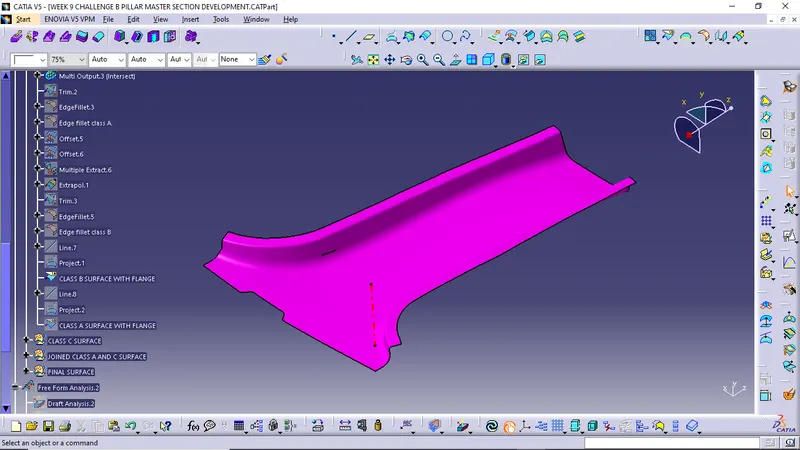
Creation of Class C surface.
Create multiple extract and sweep them.
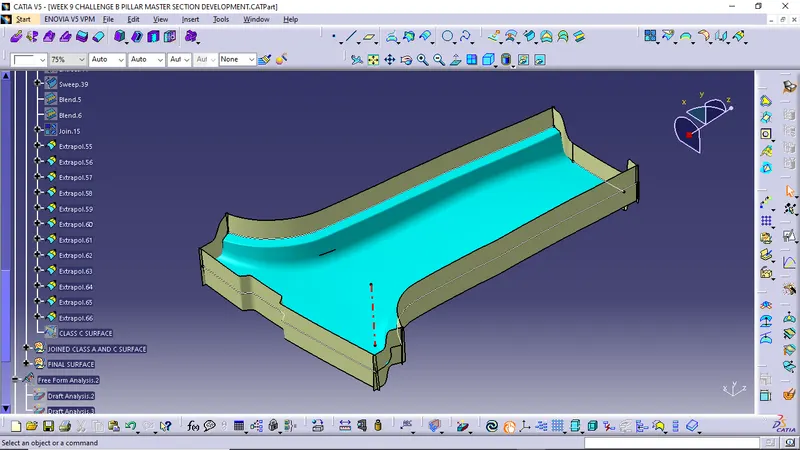
Extrapolate the sweep surface.
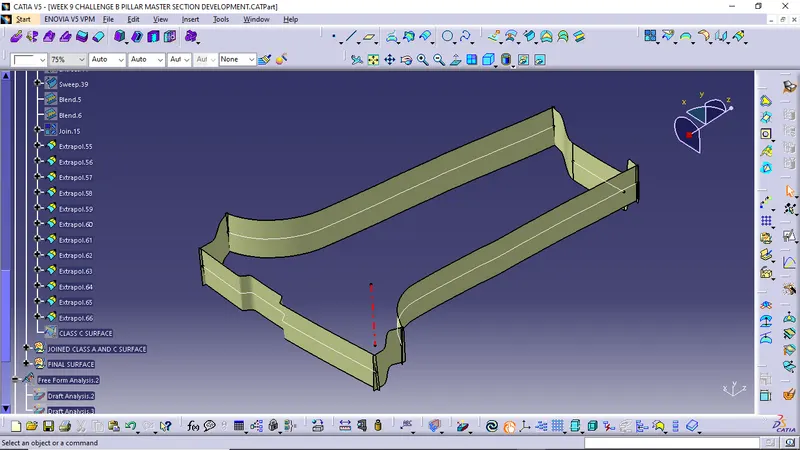
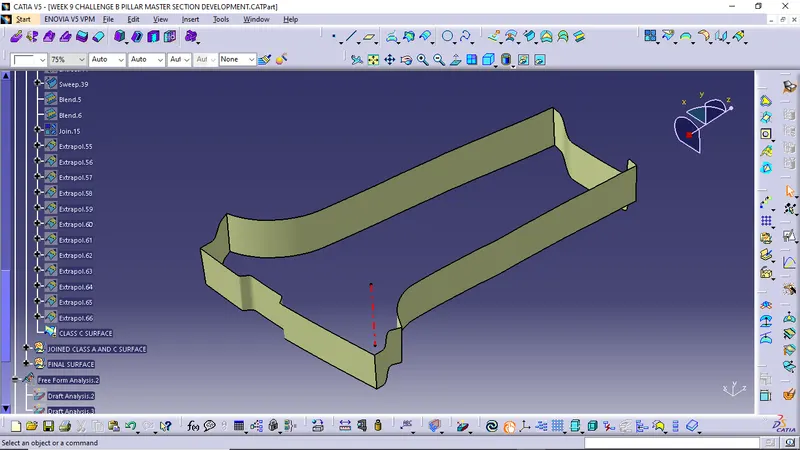
Extrapolate the class A surface with flange.
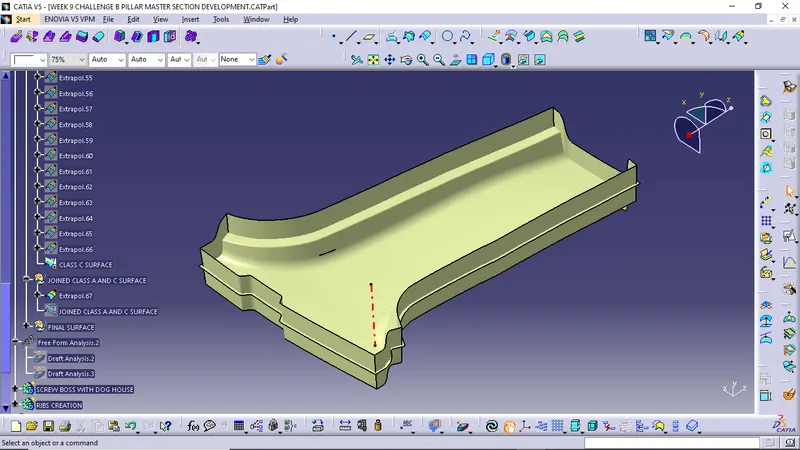
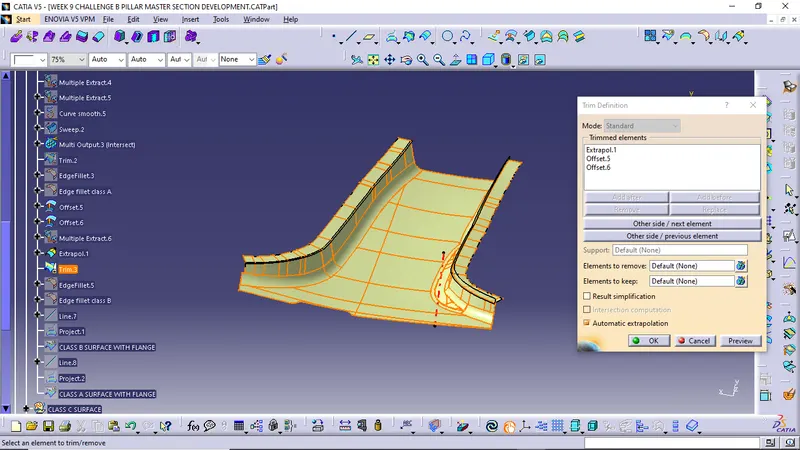
Then trim the extrapolated class A surface and extrapolated sweep surface.
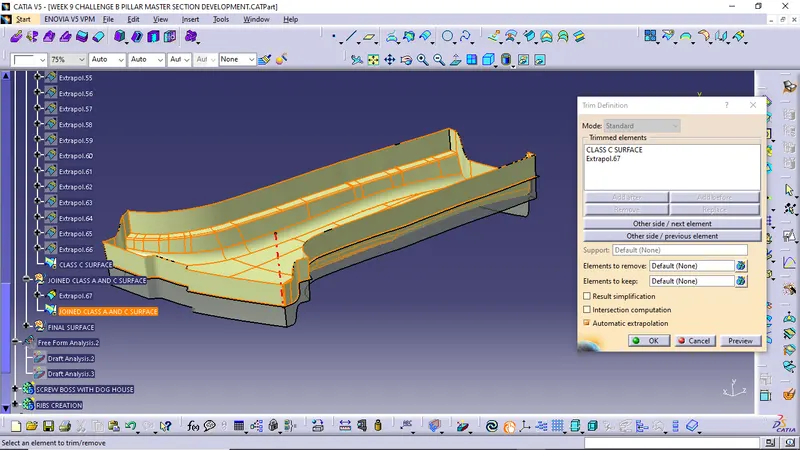
Final trim surfaces.
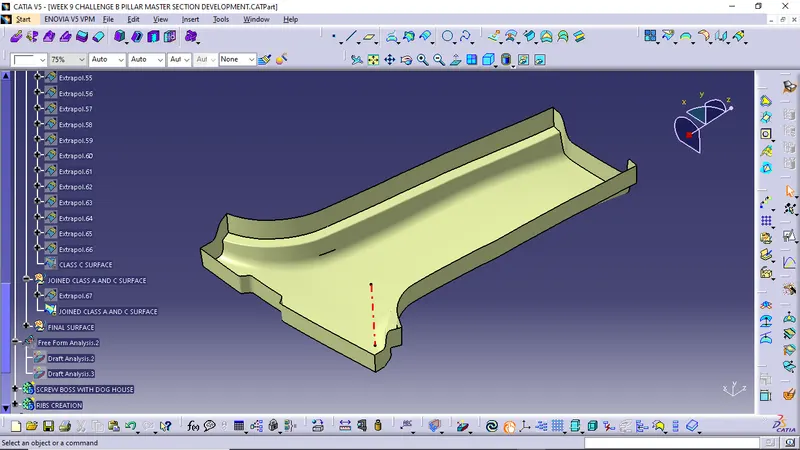
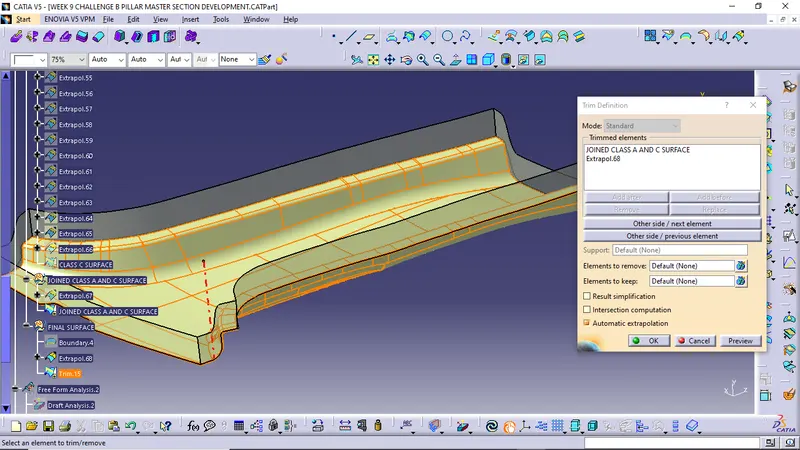
Trim the class B surface with class C surface and B surface with the A and C surface.
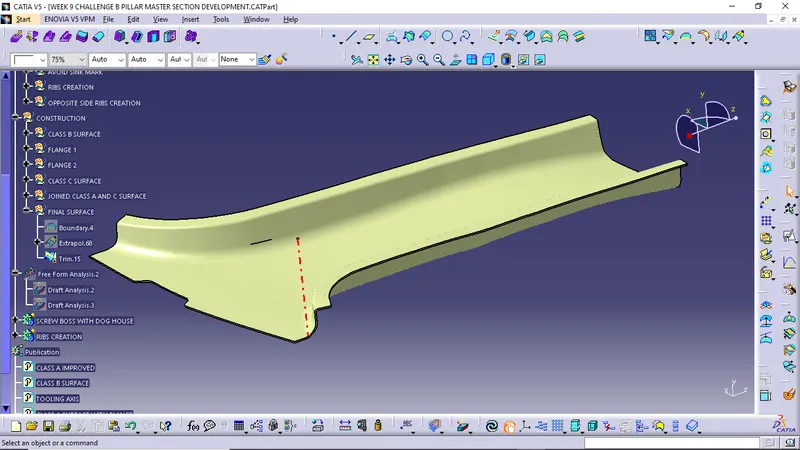
Creat the solid surface by using closed surface features in part design.
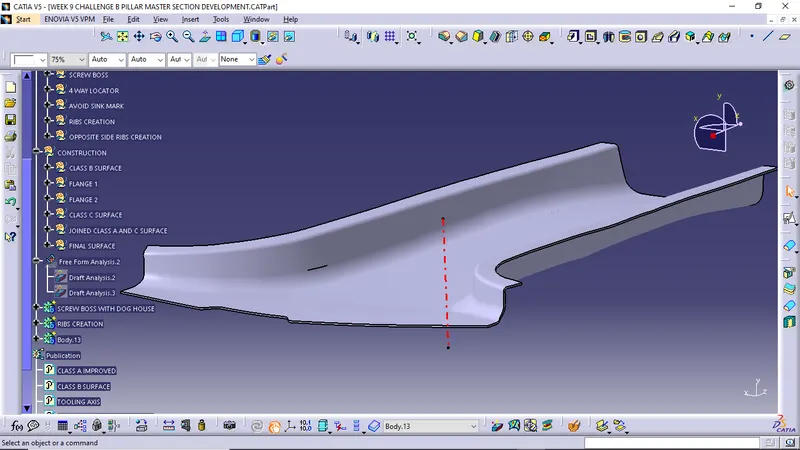
Creation of B side features.
Dog House Creation
Create a plane on the master section.
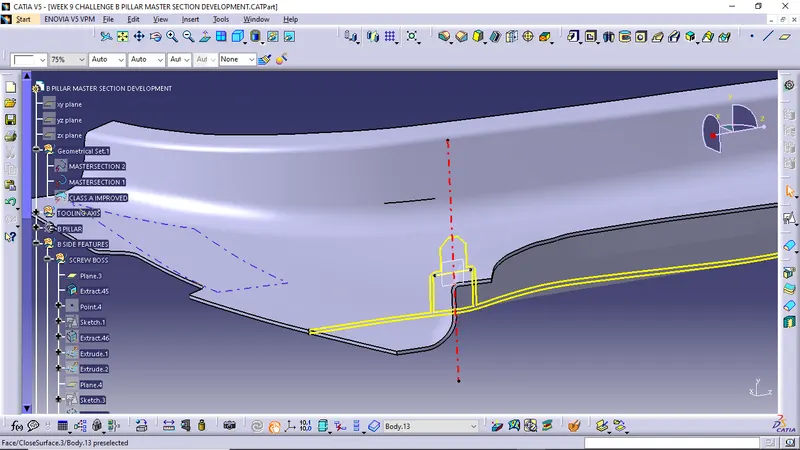
Extract the master section and create a point.
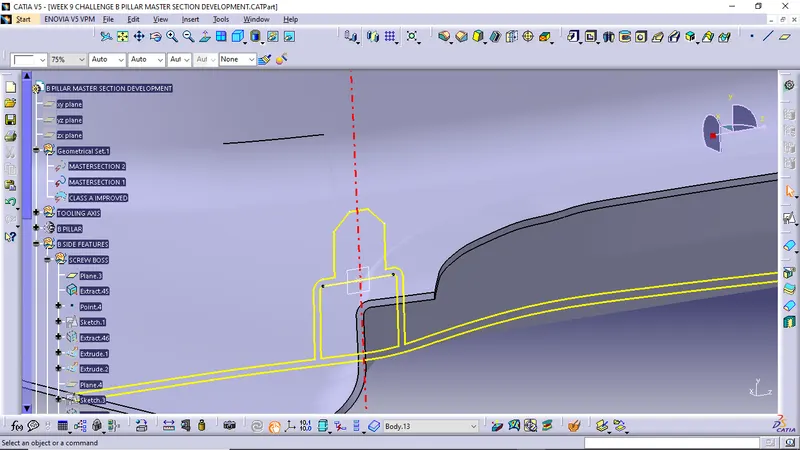
Create the sketches of dog house and extrude it .
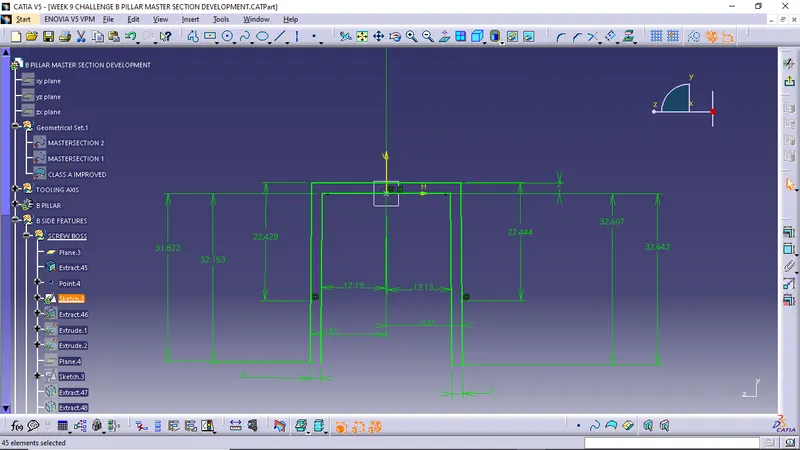
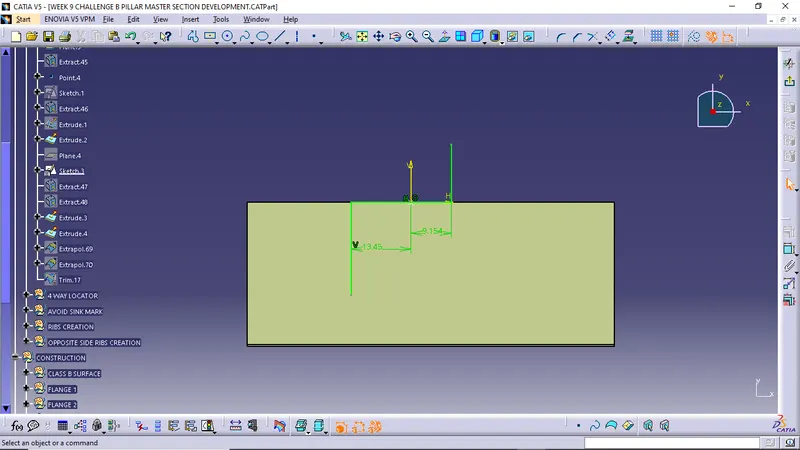
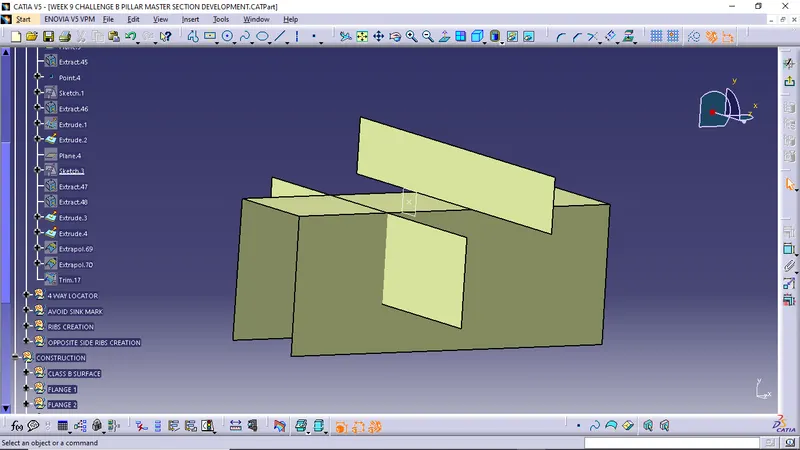
Extrapolate the extruded surface.
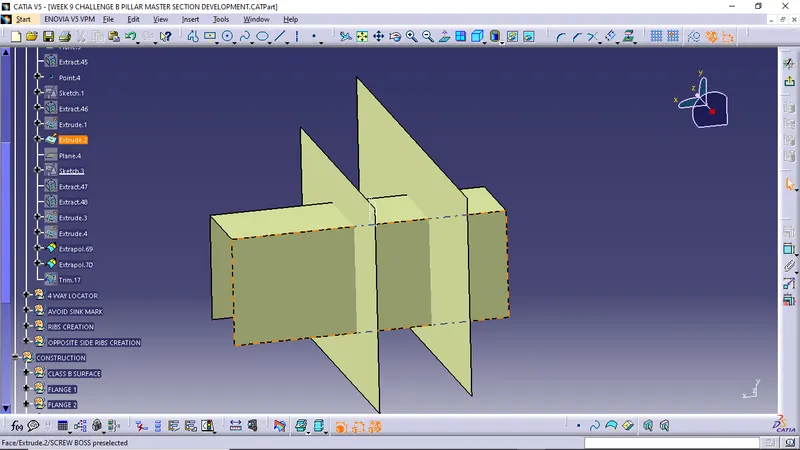
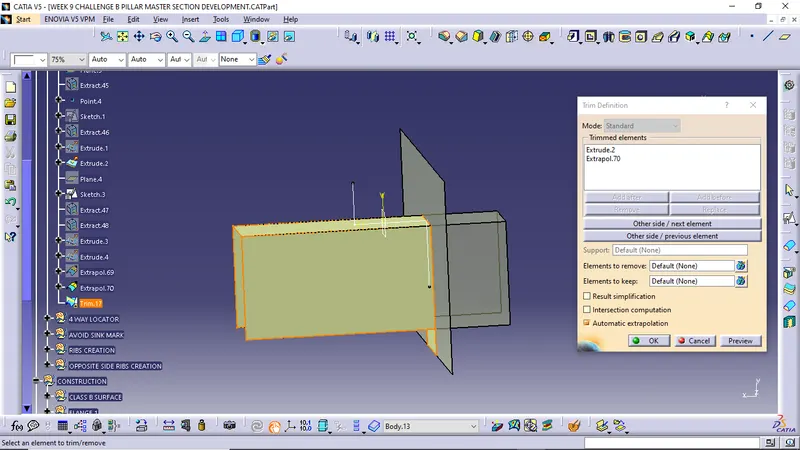
And trim it for finding the exact dog house structure.
Now provide thickness in dog house surface of 2 mm by thicken features in part design.
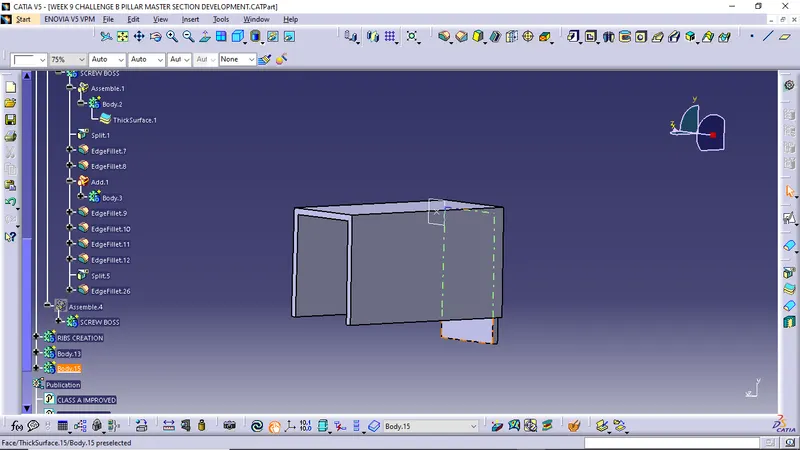
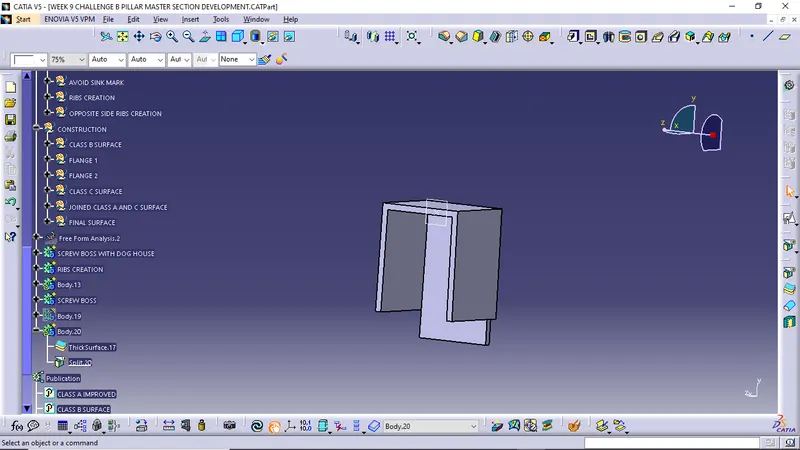
Apply draft and fillet it.
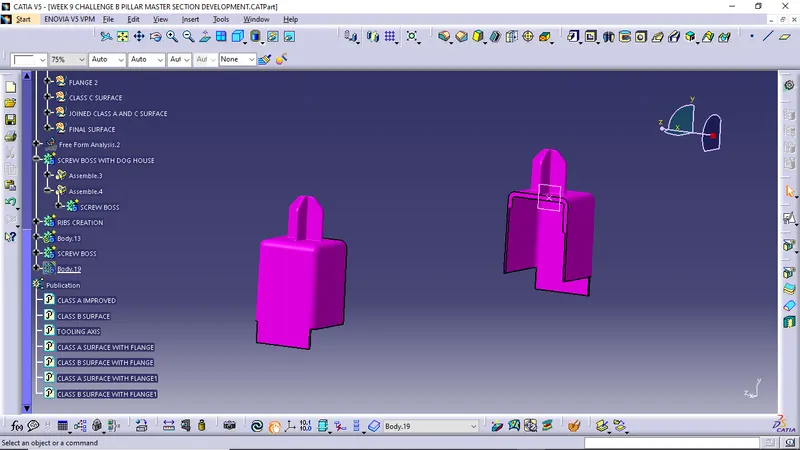
Creation of 4 way locator.
Create the sketches for four way locator and pad it.
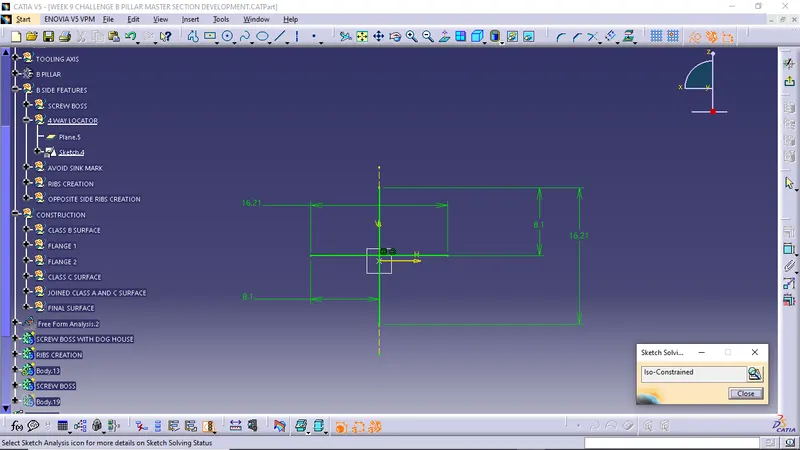
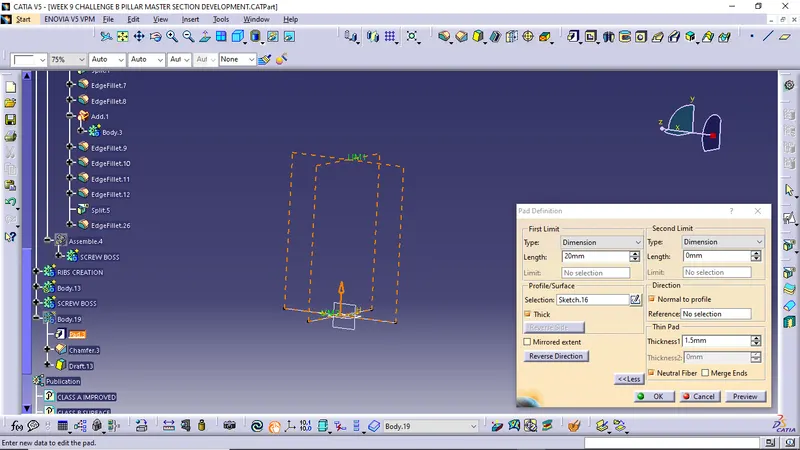
Now apply chamfer, draft and fillet on it
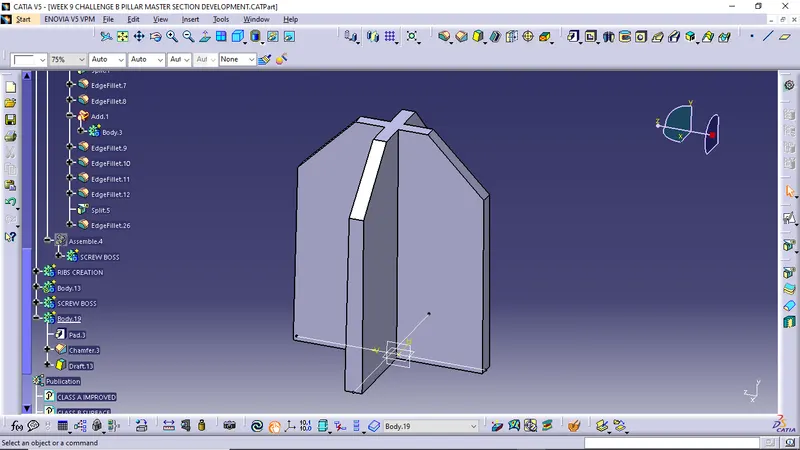
Avoid the sink marks
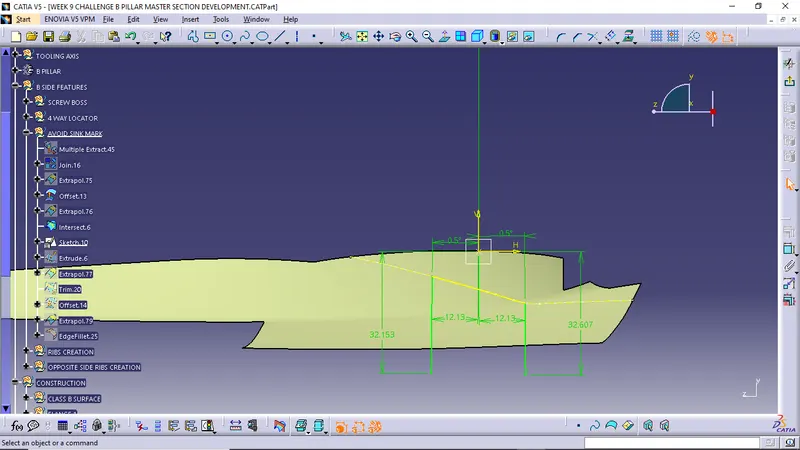
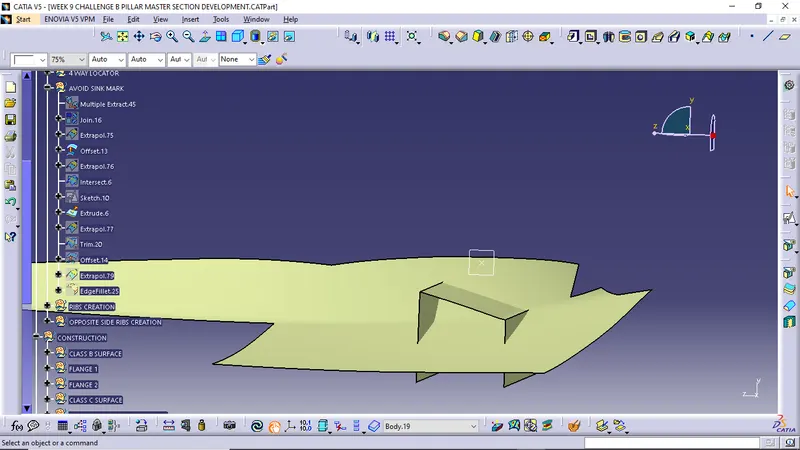
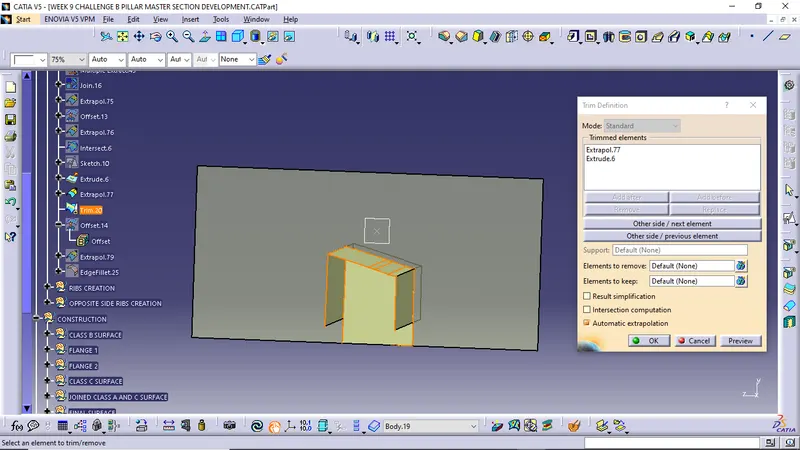
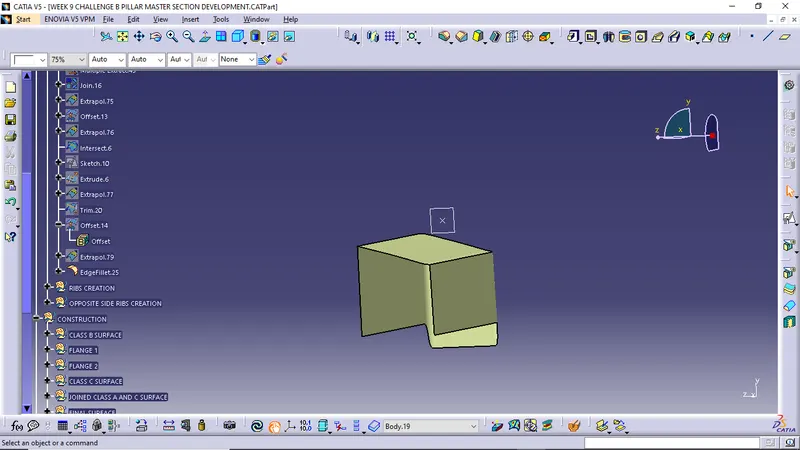
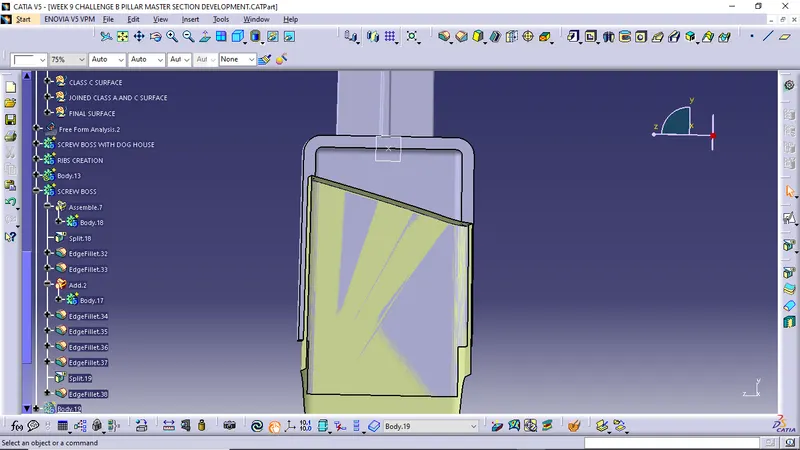
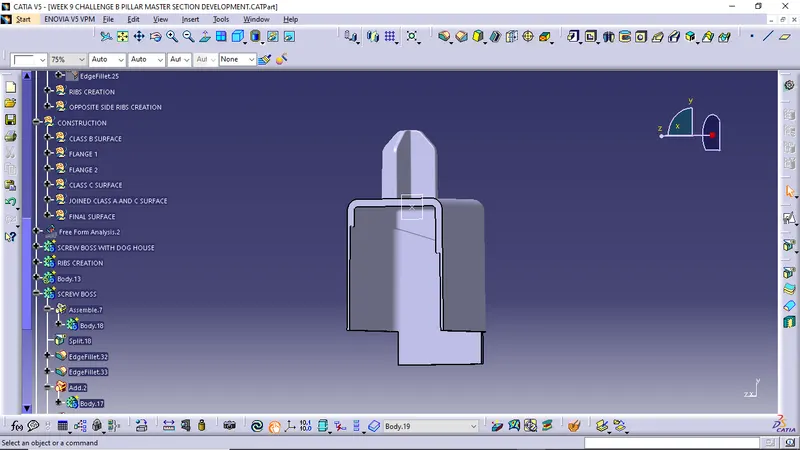
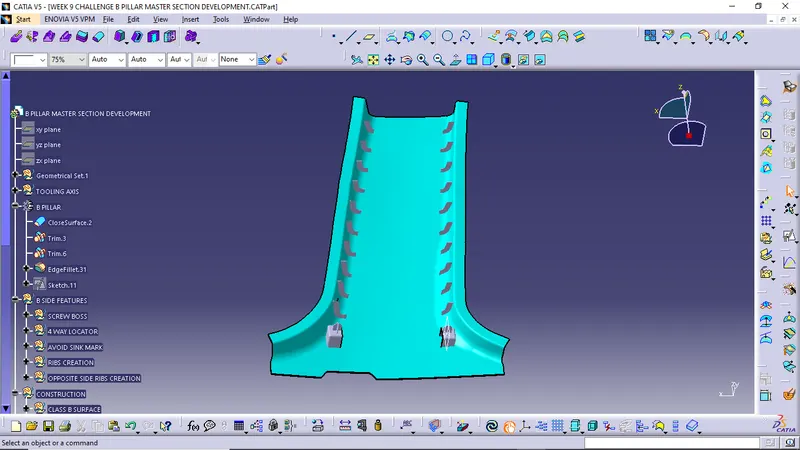
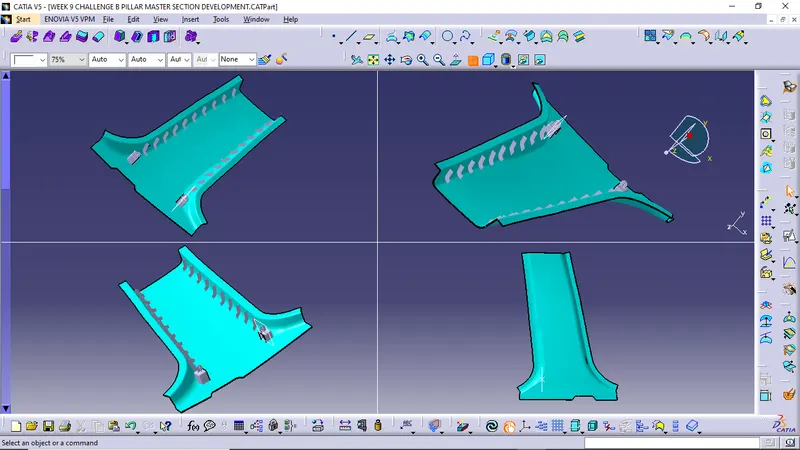
Creation of ribs
Create a sketch and draw a line of gap 50 mm up to the end point of B pillar.
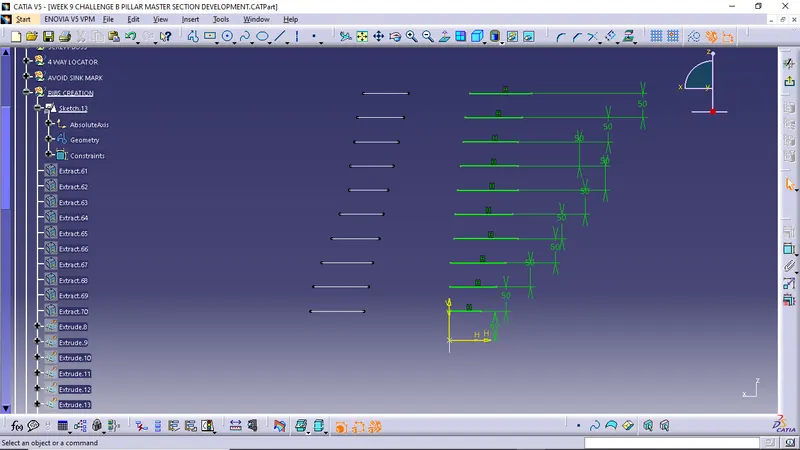
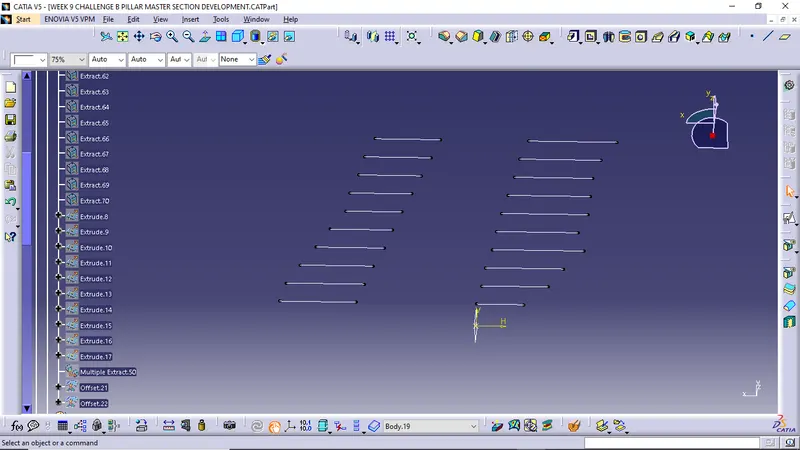
Extruded each lines.
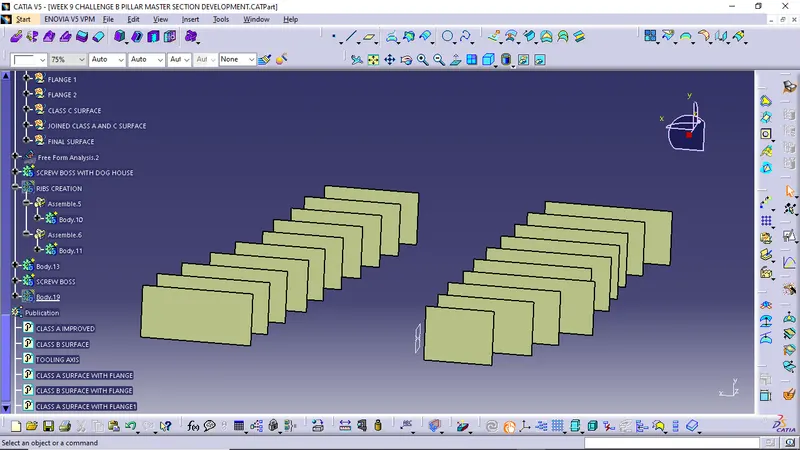
Applying the thicken features for providing the thickness in each extruded surface.
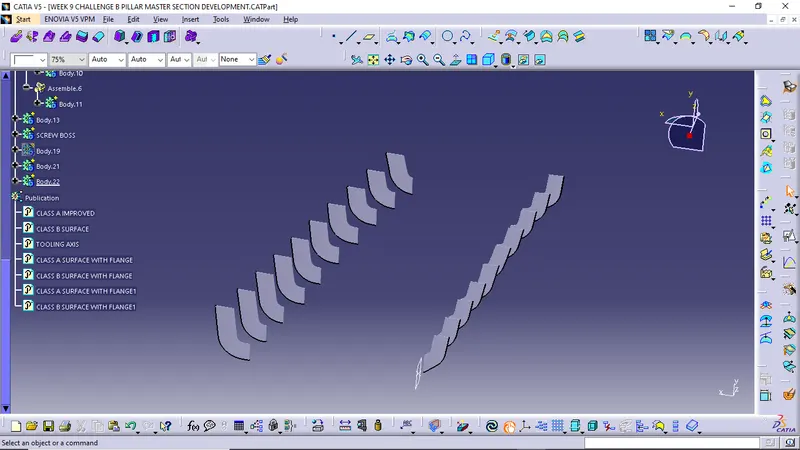
Now first offset the class A surface below 5 mm for splitting the ribs.
Now offset the class B surface above 10 mm for splitting the ribs.
Repeated the same process on the opposite side for creation of ribs.
Then applying draft and fillet features on each ribs.
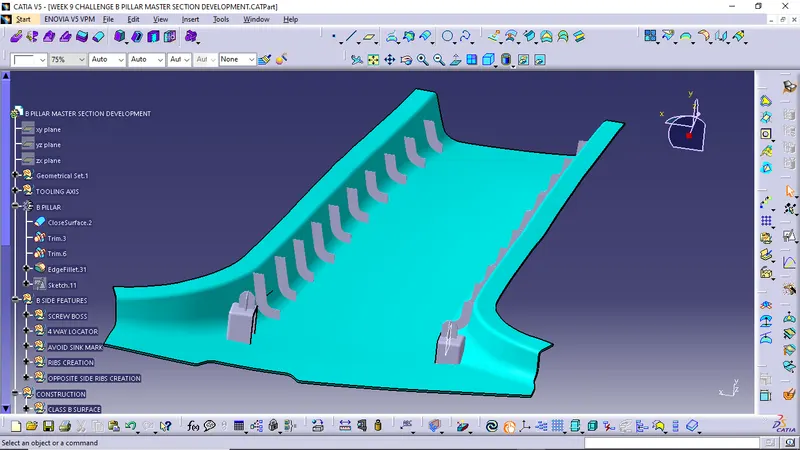
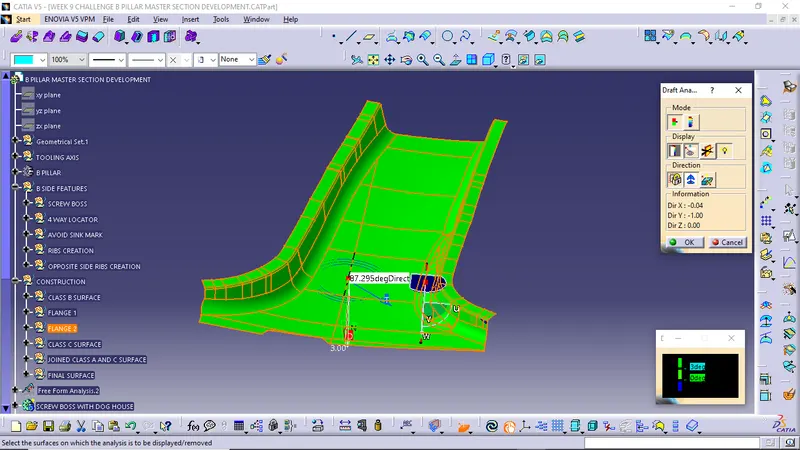
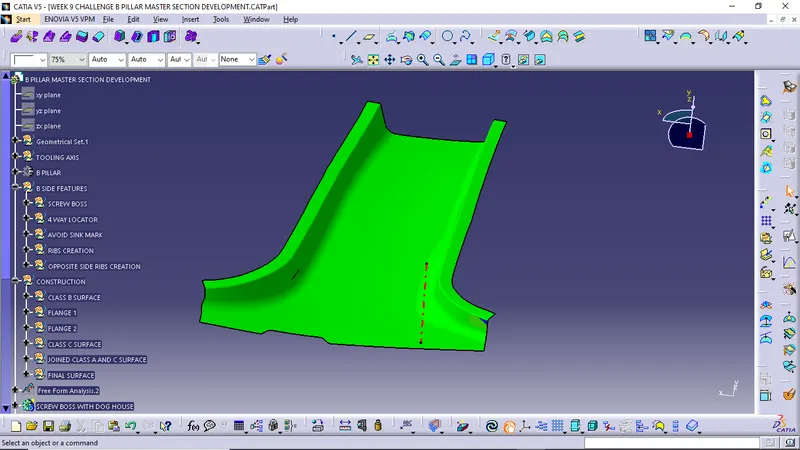
Draft analysis
Draft analysis on class A surface
Draft analysis on Dog house with screw boss
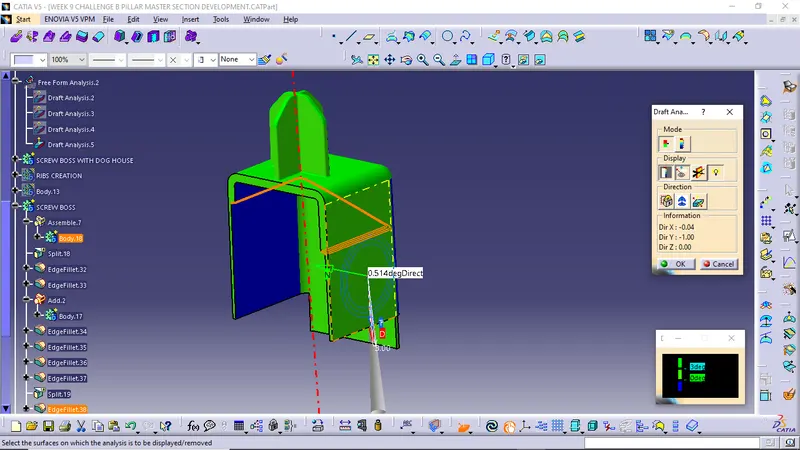
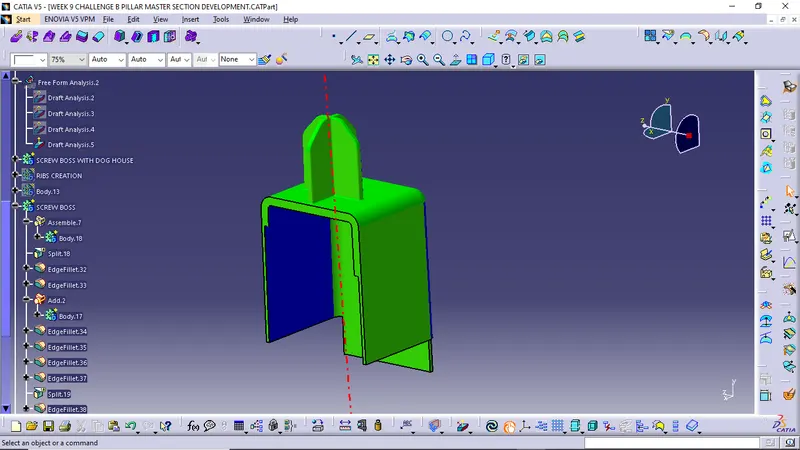
Draft analysis on hole body.
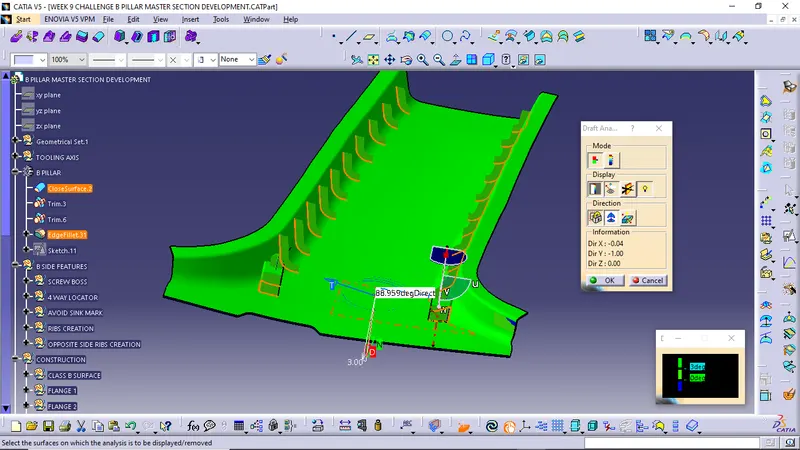
Design tree structure