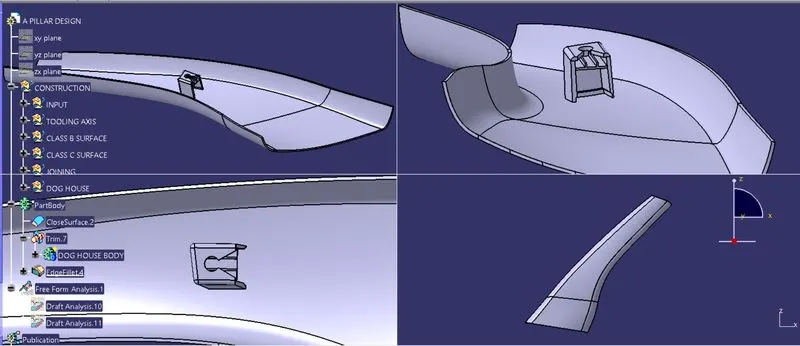
Week 9 - Project - A pillar Design with Master Section
OBJECTIVE
Create the A pillar plastic part from the given Class A surface, considering the design rules and master section and perform the draft analysis.
PROCEDURE
- Creation of Tooling axis
- Creation of CLASS B surface
- Creation of CLASS C surface
- Creation of Dog House
- Perform draft analysis
Creation of TOOLING AXIS
1- First we have created a point on the surface and We have extracted 2 line from the mastersection.
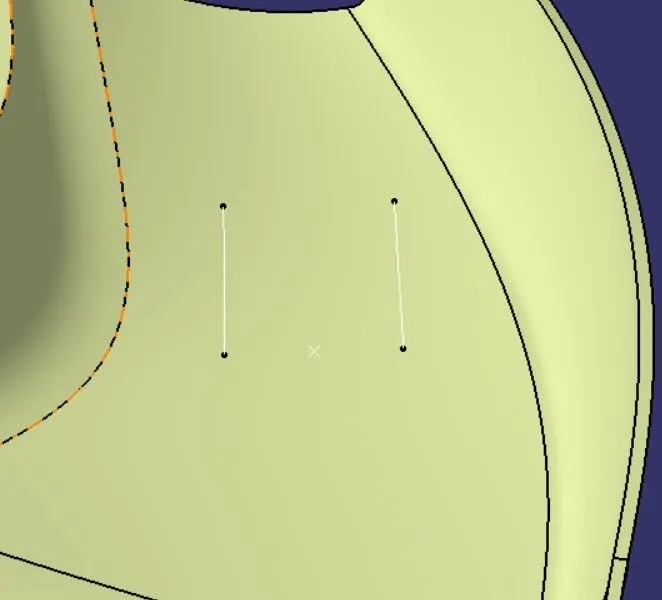
2- We have created a bisecting line on that point and from those 2 line
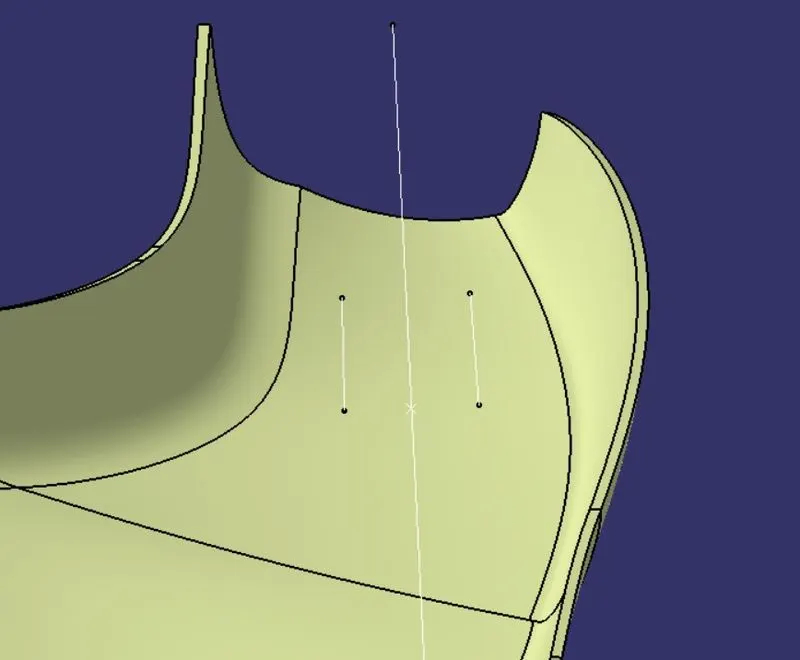
3- We have created 2 line from the master section
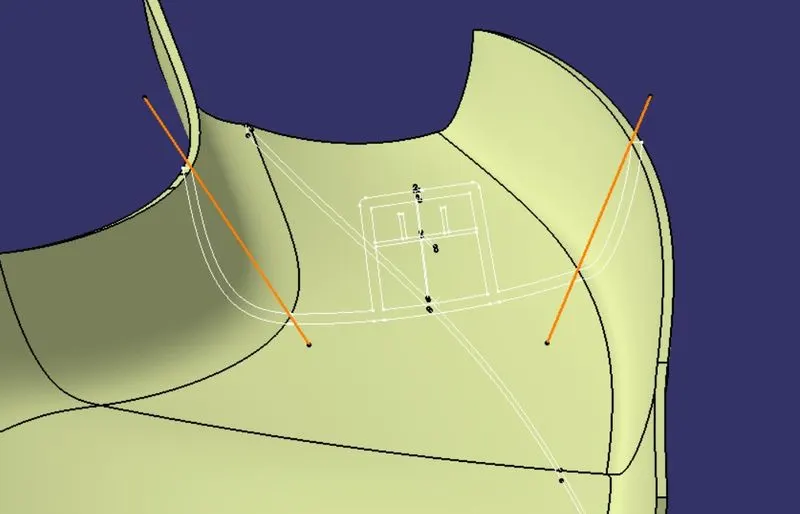
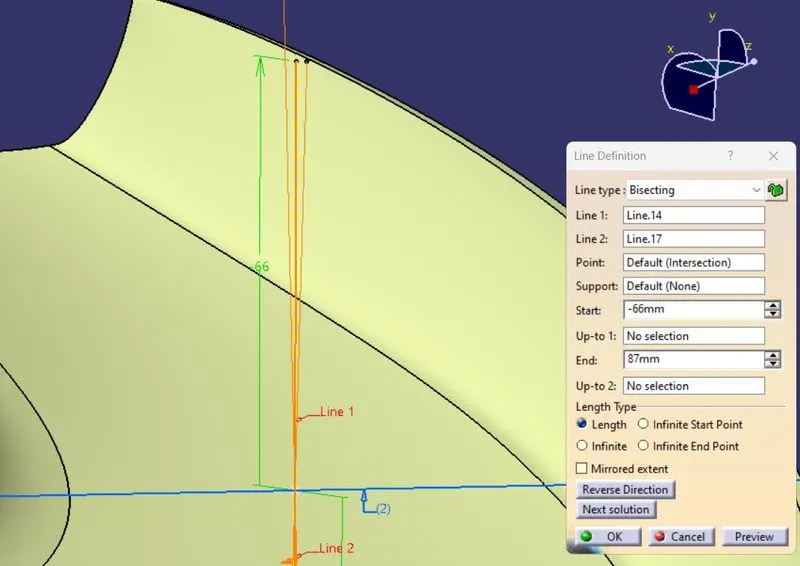
4- Created a bisecting line from those 2 created line (Mentioned in point 3)
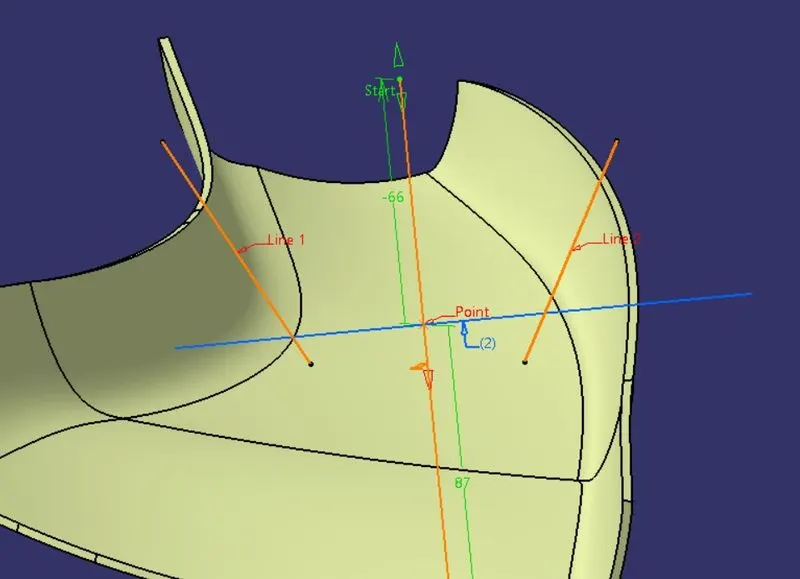
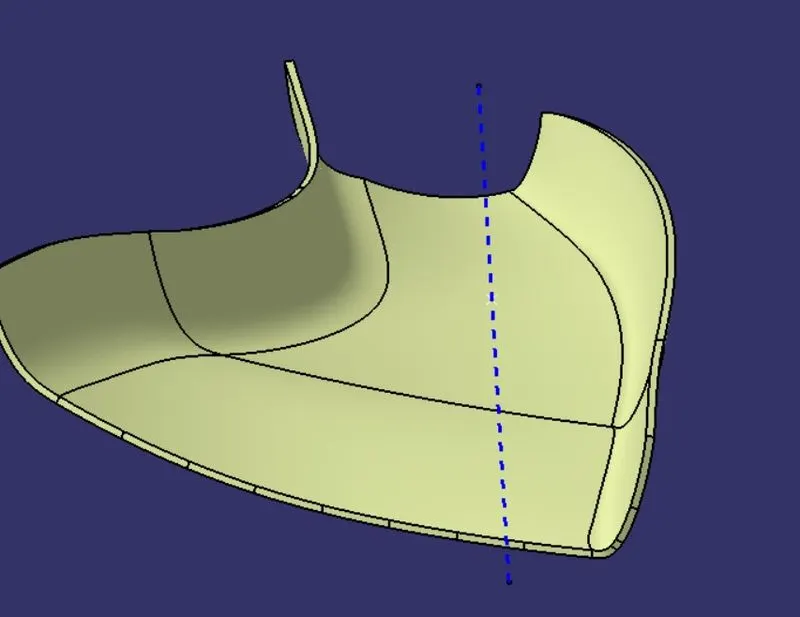
5- We have created a bisecting line by using those 2 bisecting line and that is the TOOLING AXIS for this part.
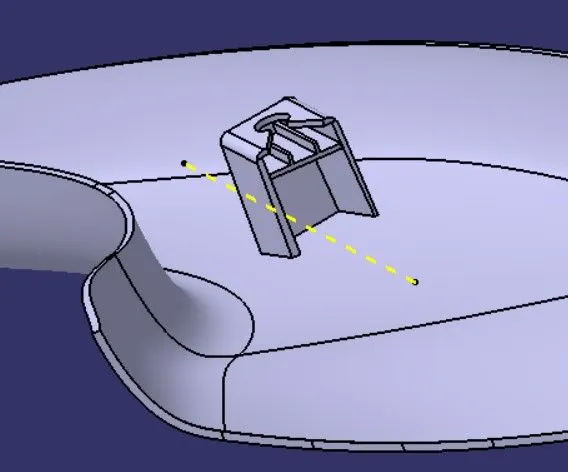
SIDE CORE AXIS
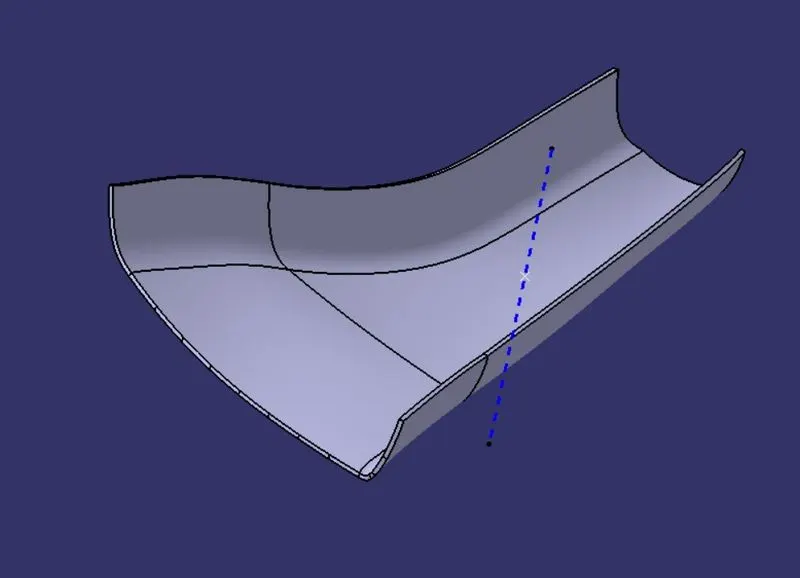
Side core axis is the moving direction of the side core because the inner side of the dog house cant be cleared by using the main core.
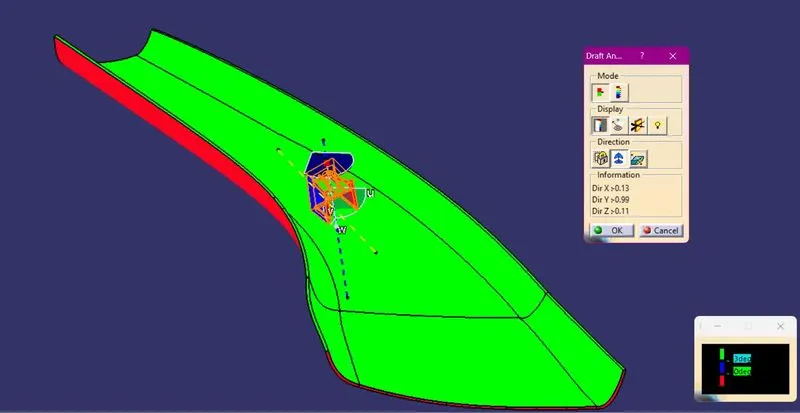
DRAFT ANALYSIS OF CLASS A SURFACE
Draft analysis is done to know wheather the part will be easily manufacturable by the given draft angle or not. It will ensure that the part will not stuck in the core and cavity.
PROCEDURE TO PERFORM DRAFT ANALYSIS:-
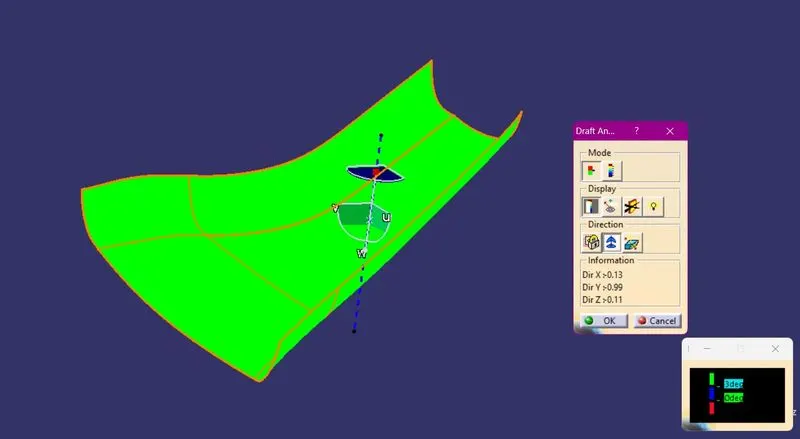
- Right Click on Tab < Go to Analysis < Feature Draft analysis
- Put the View Mode in material option
- Align the compass with the tooling direction line
- The surface will turn into green colour it means the part is manufacturable with the given draft angle.
We have given minimum 3deg. draft and the green colour parts are easily removed from the mold.
CREATION OF CLASS B SURFACE
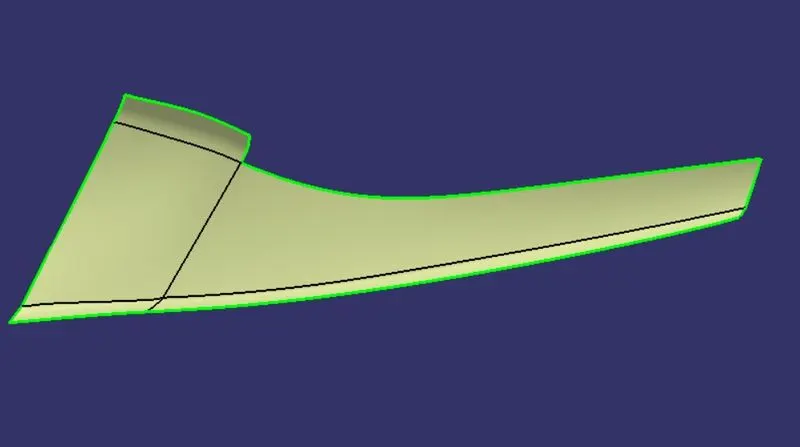
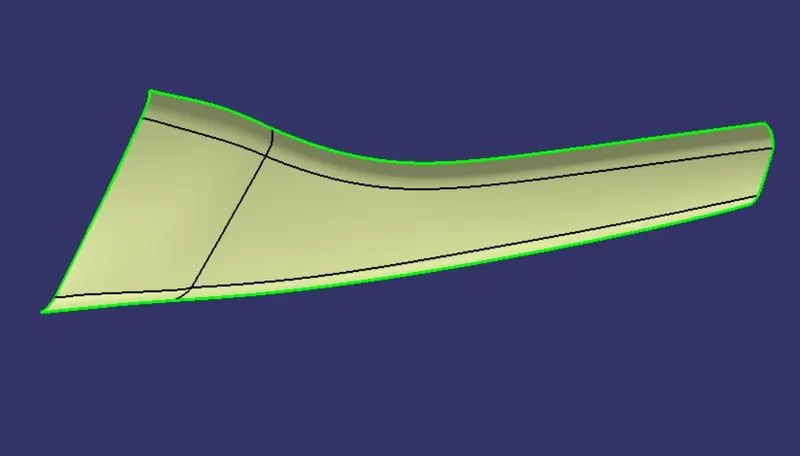
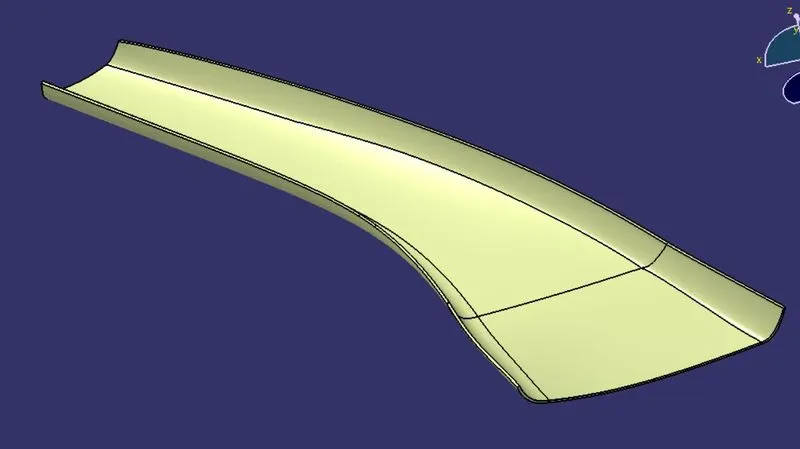
Class B surface is used for Engineering purpose. All the design parameter are done on the Class B surface.
PROCEDURE
1- We have offsetted the class surface for 2.5 mm to create CLASS B Surface. after offsetting some errors was occured so we fixed that.
CREATION OF CLASS C SURFACE
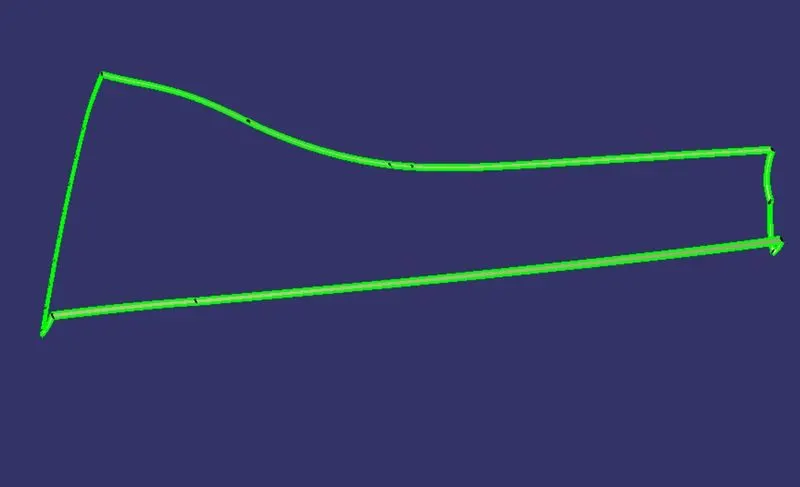
Class C surface is used to join the Class A and Class B surface together. For this surface Customer feels do not need to meet a high cosmetic finish.
SOLID SURFACE
We have first joined the CLASS C surface with CLASS A surface and then trimmed it with CLASS B surface, so it automatically joined together and formed a closed surface then we made it a solid surface.
DOG HOUSE CREATION
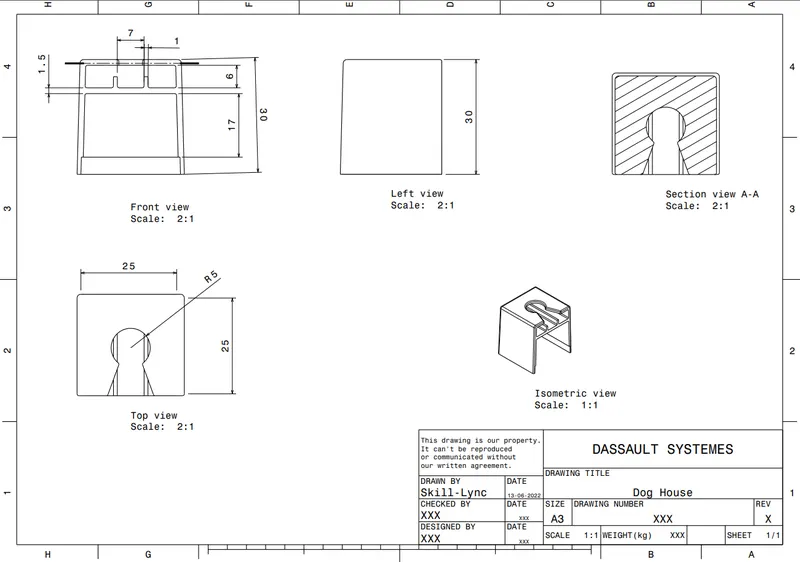
Dog house is a feature that helps to avoid sink marks. It is also used as supporting feature, screw boss and locator are also placed on it.
PROCEDURE
1- First we have extracted and extruded the line of the mastersection.
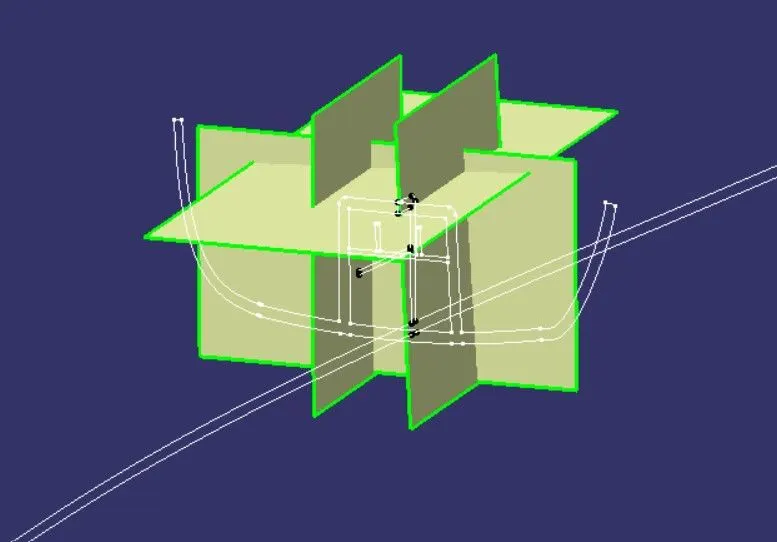
2- Then we trimmed this to make the body of the dog house
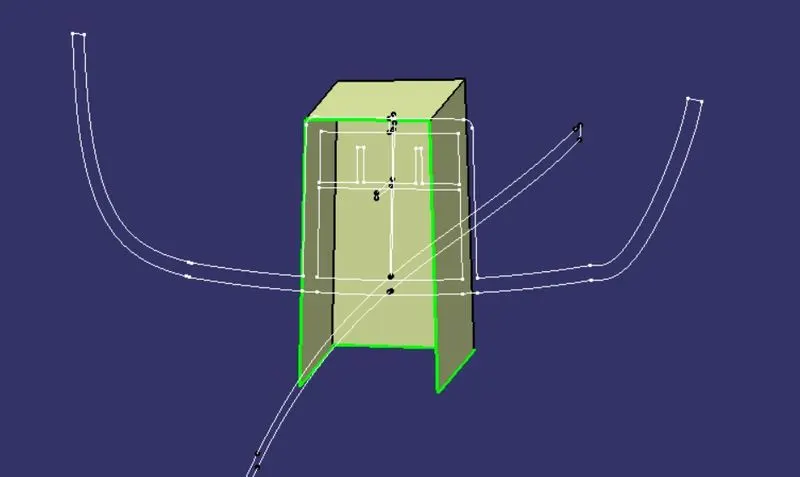
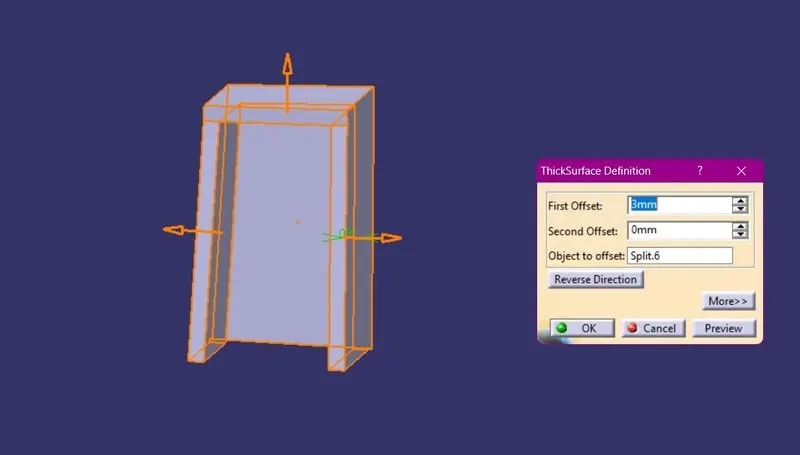
3- We have converted it into a thick surface and give draft of 1.5deg. to it
4- We have created a sketch to make ribs and pad it to make it a solid surface
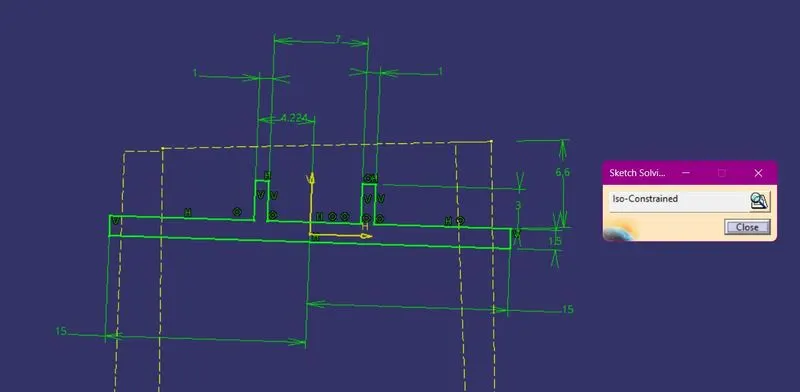
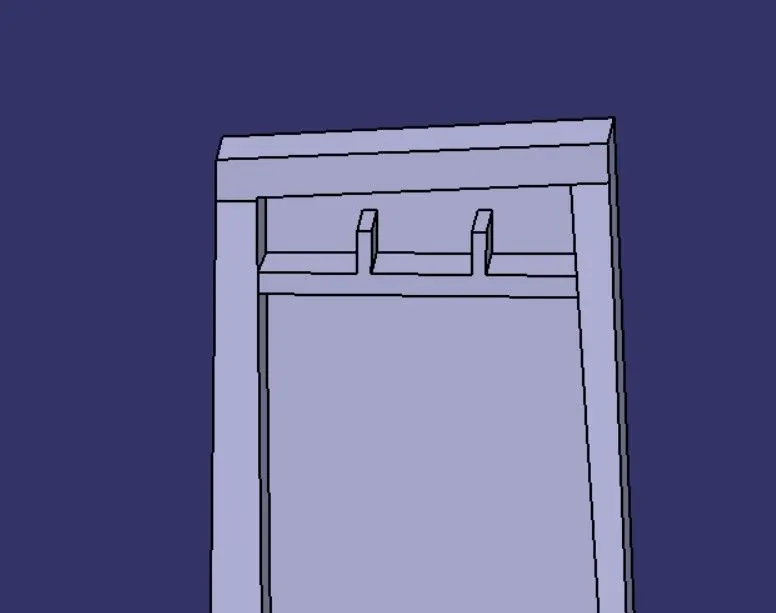
5- Created a sketch for the upper cutout, then pad it and remove it from the body to make this cutout.
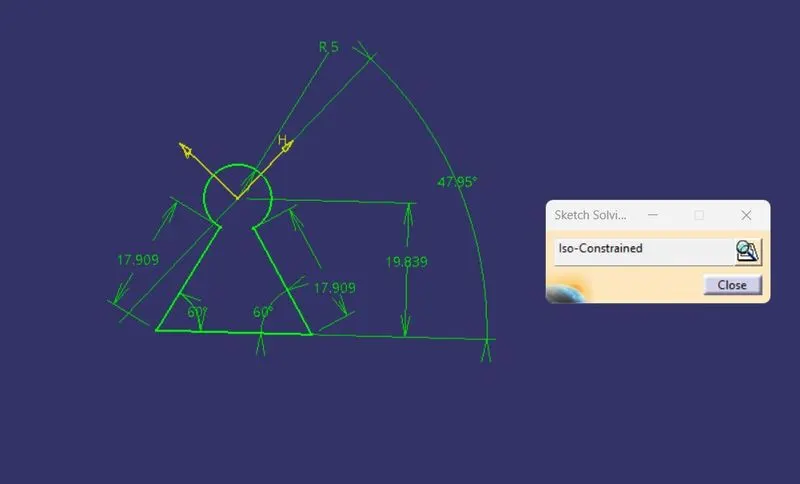
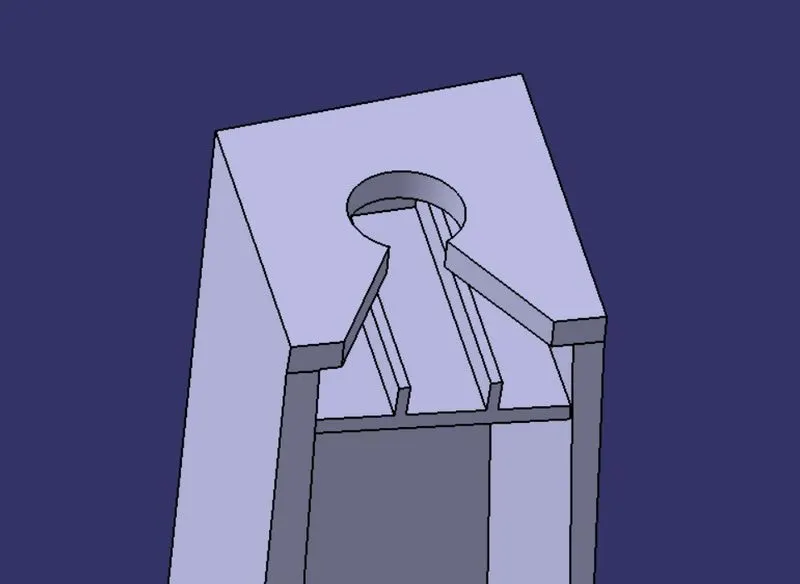
6- We have created a cutout for the dog house of height 3.5mm.
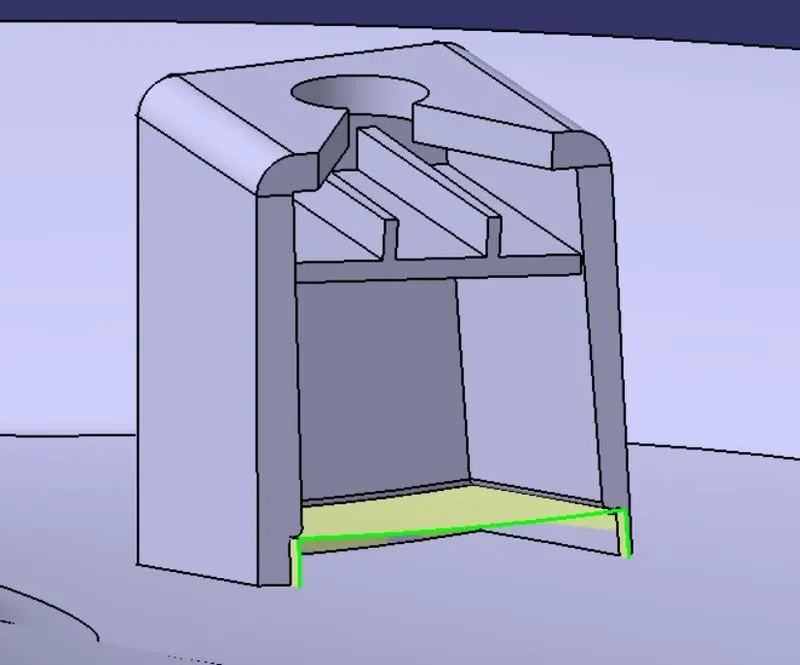
7- We have splited the cutout with the main dog house body to make the final Dog House Component
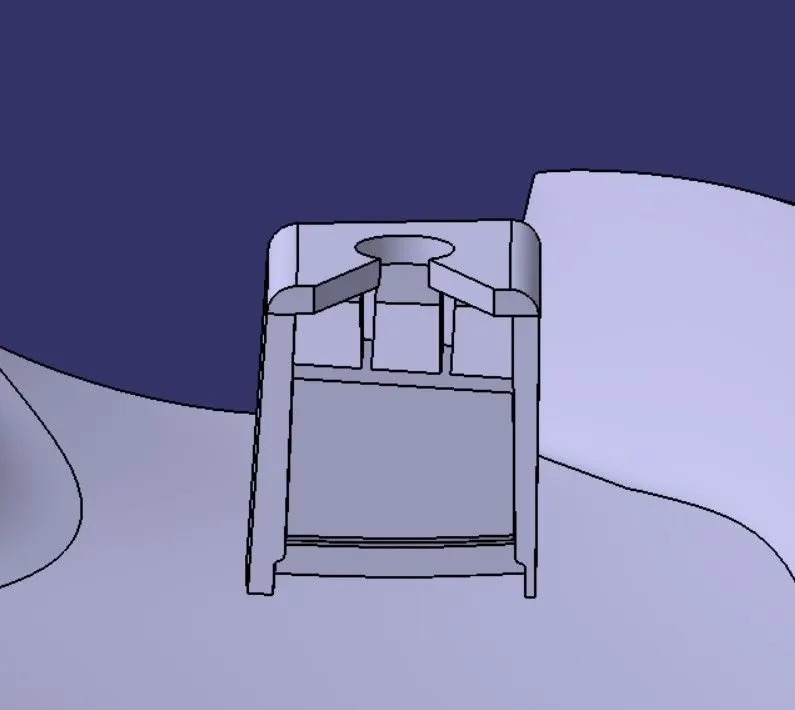
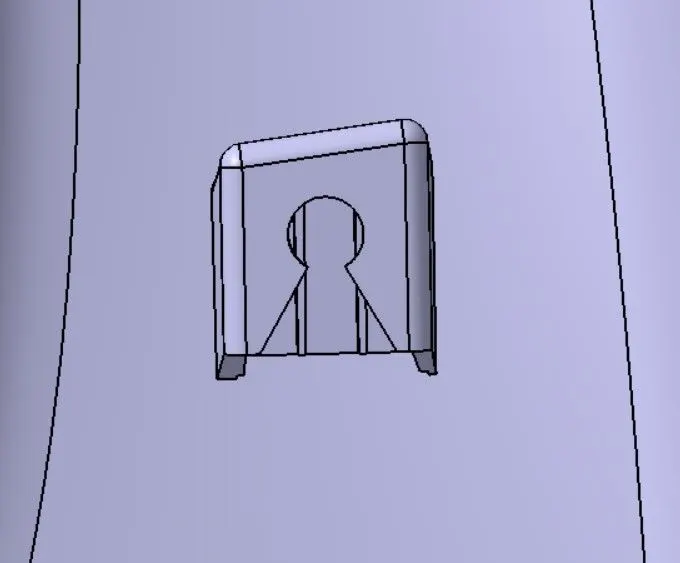
DRAFT ANALYSIS OF DOG HOUSE
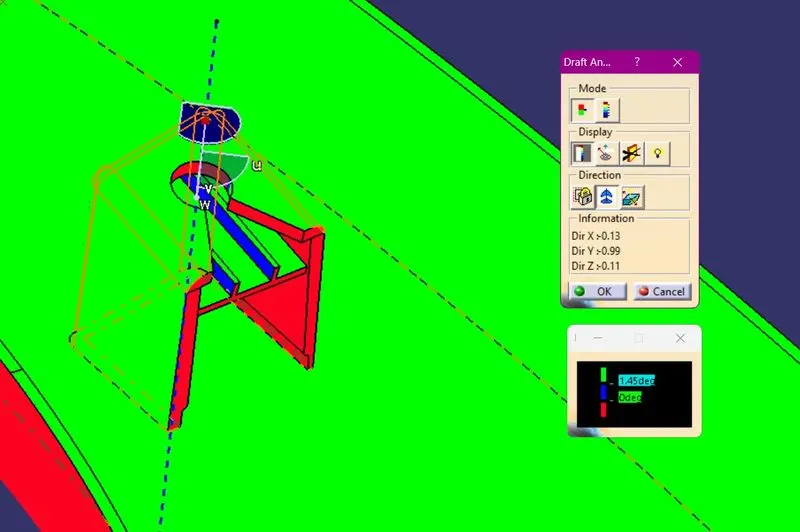
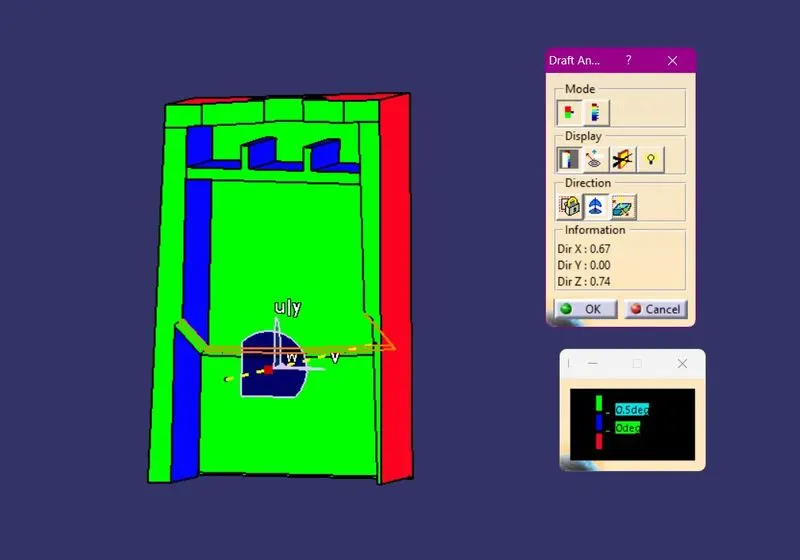
DRAFT ANALYSIS OF FINAL PART
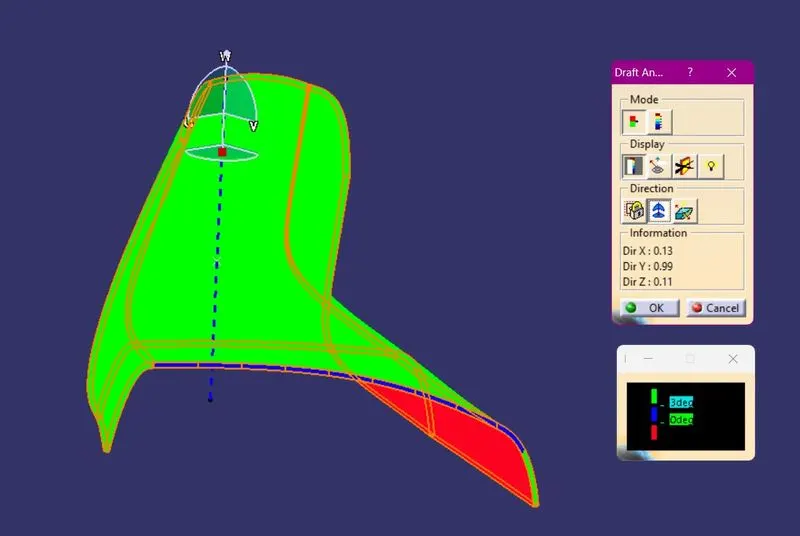
SUGGESTING SOME CORRECTION IN CLASS A SURFACE
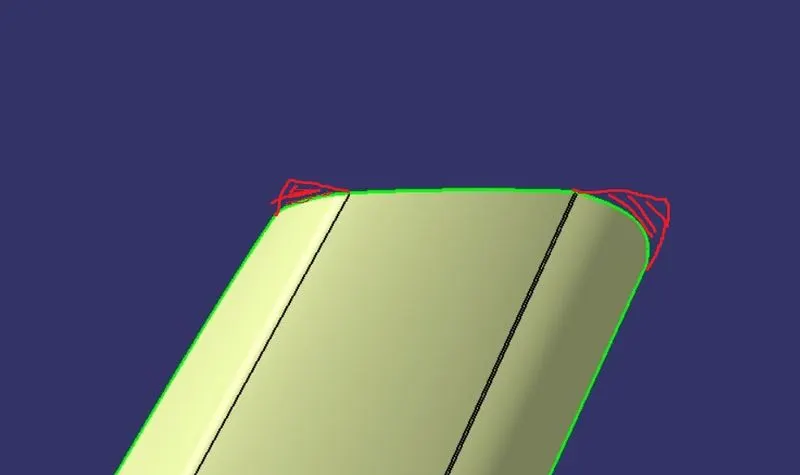
This egde of the part is facing inward from the intersection, if this happens the part is not going to producable because it will stuck in the cavity. So it should be fixed.
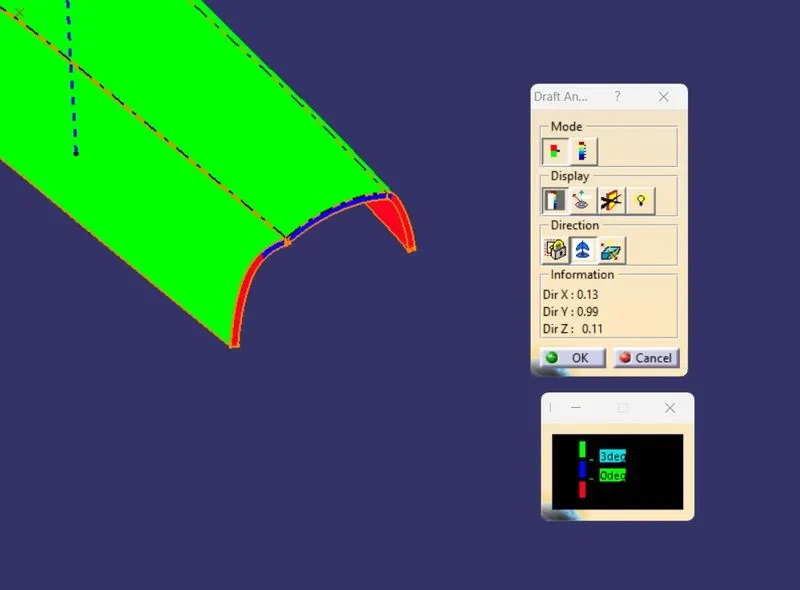
IMAGE OF THE FINAL PART