Week 9 - Project - A pillar Design with Master Section
Project - A pillar Design with Master Section
Aim :
To Create a Pillar design with the help of the master section.
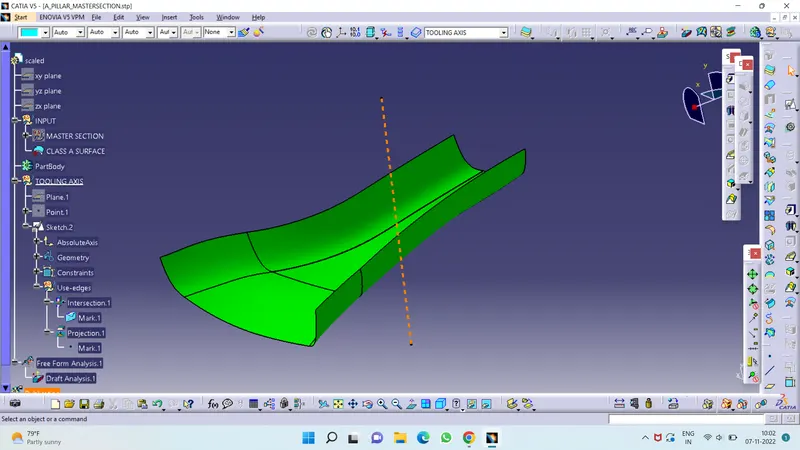
- To begin with, the tooling axis for the given Class-A Surface should be created meeting the requirements of the draft angle and at the end perform the Draft analysis on the model.
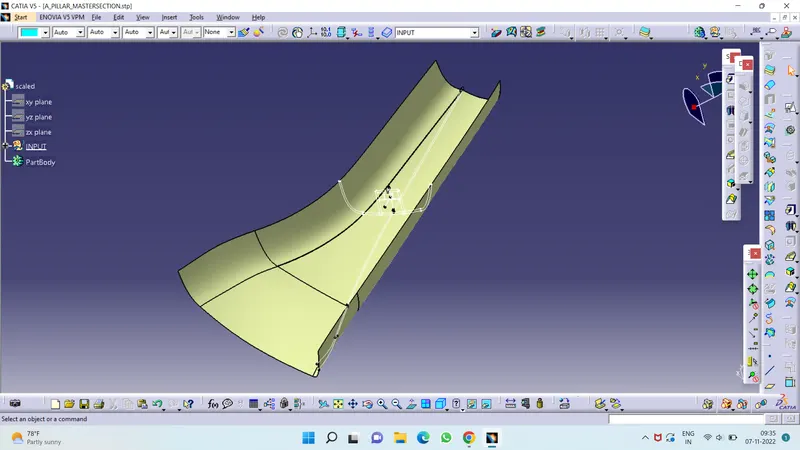
A below image is given class A with master section.
Body of content :
- From the Given Class A surface, B Surface has been created by offset command
- By doing this there were many missing elements in the CLASS B surface
- Sorted out each and every missing element in the Class B Surface with help of various commands like blend, multi-surface, offset, join(remove the surface), trim, offset, and more
- Once the surface is finished with the outer boundary
- After completing the b surface the Class C Surface is created from the Class A surface by sweep command
- As we cannot sweep the whole boundary the sweep is used to target continuity
- And with the join command join all the sweeps into one Class C surface
- Once the Class C surface is formed with no internal boundary
- Trim class C and Class B surface together
- Once the trim is created join the Class A Surface with trim
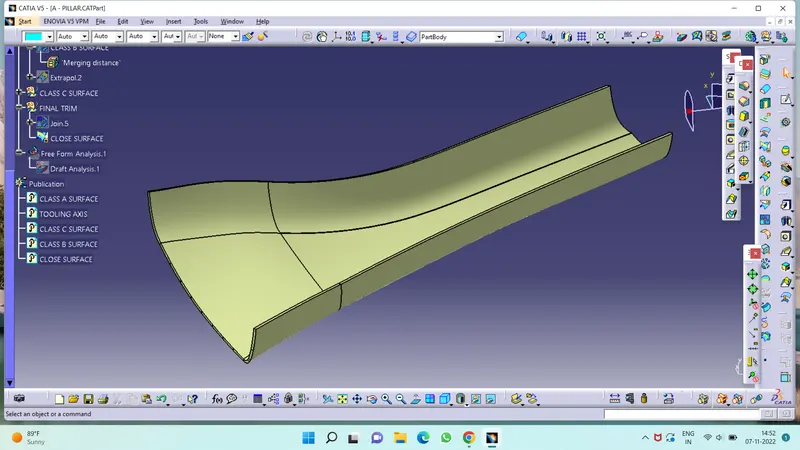
- Check whether there is any boundary in it to confirm the closed body
- Once confirmed using a close surface to create the part body
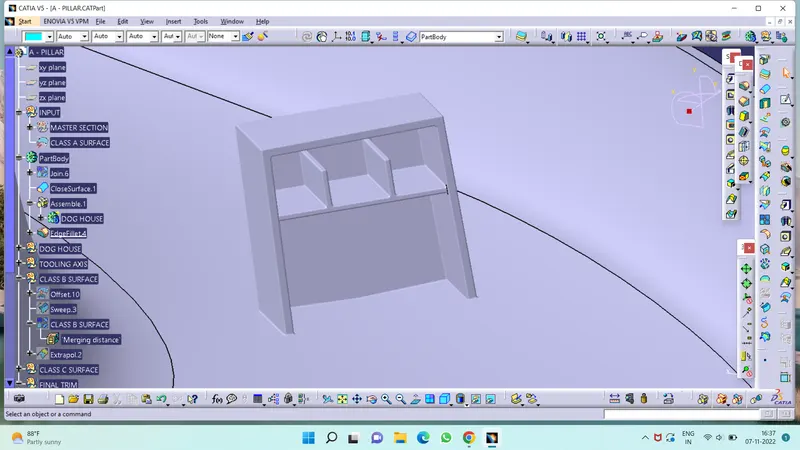
- For Doghouse Creation, create a sketch on the surface of the body
- Sweep the sketch with the draft of 1.5 deg and then create the wall of the dog house
- The top of the Doghouse surface is closed with the offset of the surface
- Now make the surface into the part using the thick command
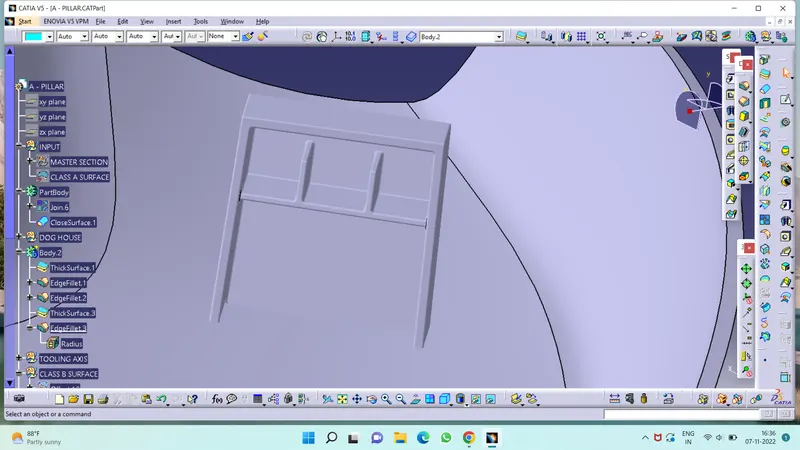
- Once the wall and top part are made the dog house rules should be followed create the part wall at the bottom of the dog house by height should be 3 to 6 mm and thickness of 0.4 times the thickness of the element
- Cut out as given in the diagram should be removed from the part
- Once it is created assemble the dog house with the door trim
- The reference of the same are taken from the master section given
- The screenshots are attached
CLASS A SURFACE :
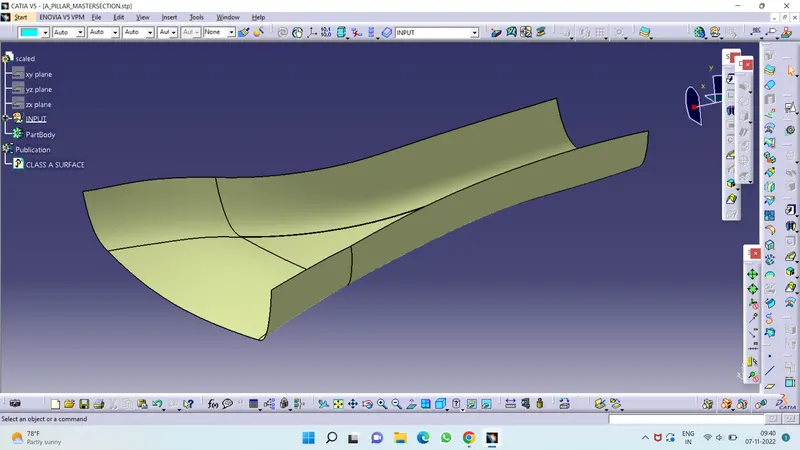
Class-A (or 'Strak') is a term used in specifically in automotive design. It describes the final production Class data for the aesthetic parts of the car. The term 'Class A' is often misunderstood, but it's generally seen as the 'Holy Grail' of Class modeling.
TOOLING AXIS :
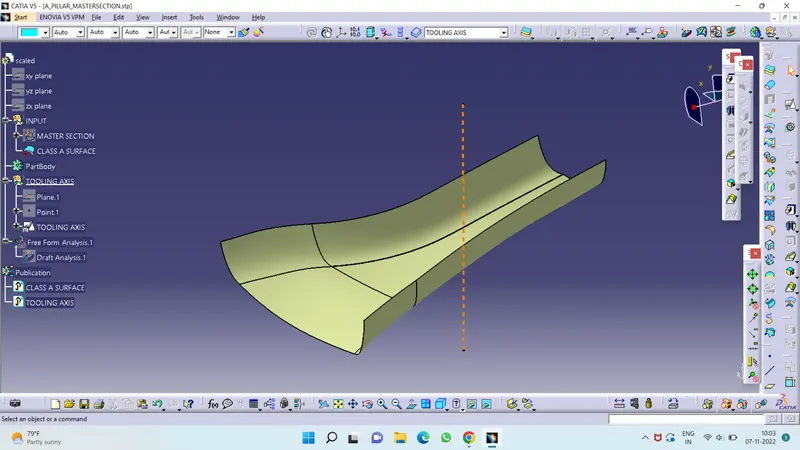
- Now we create tooling axis for the Class A. First a create axis system for where we want, then we create intersect based on the axis system.
- Extract the bottom surface and insert point on a surface then create line based on a point.
Draft Analysis : CLASS A SURFACE
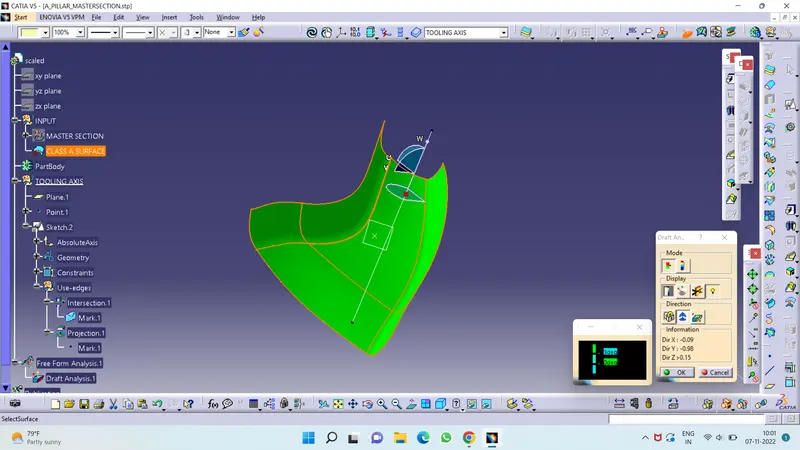
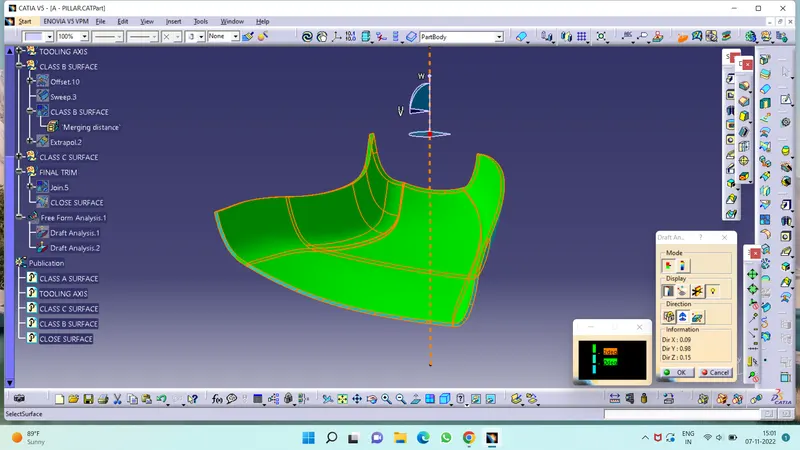
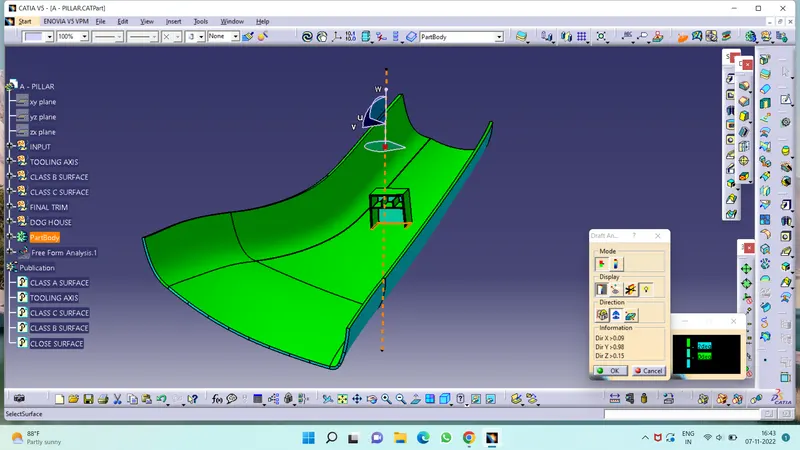
Draft analysis helps to detect if your drafted part is easily removable from the mold (in case of plastic component) or die (in case of sheet metal). All plastic components will have a minimum draft of 0.5 to 3deg. And for automotive sheet metal parts the draft will be 7deg or more. If a mold wall is perpendicular to the part ejection, there is ample friction or interference between the mold and the part which will not allow one to release from the other. This is why design engineers give a minimum draft to the part.
CLASS B SURFACE :
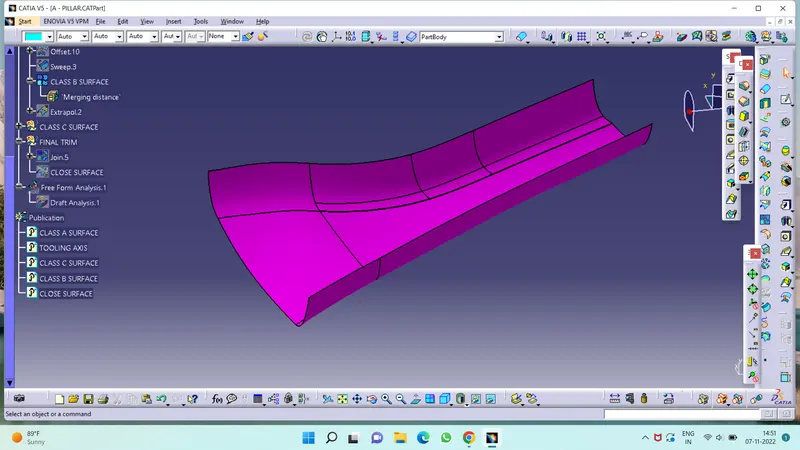
- Now create a class B surface.
- In class B, first create base of class B from class A. Insert geometrical set define as class B, that is base of class B.
- Use extract command and extract a base from class A. Then use untrim tool get full body of a base. Next use extrapolate tool extended a base , then offset of 2.5 mm.
CLASS C SURFACE :
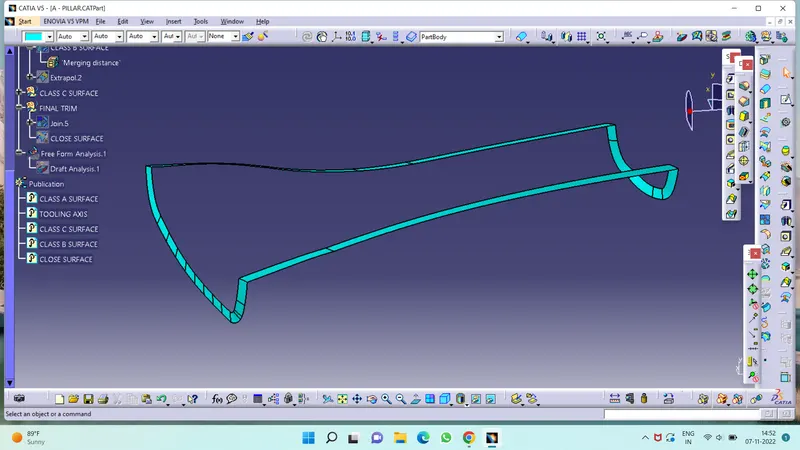
- Class C is nothing but its connecting part of Class A & B.
- Unhide the class A and take boundary of its and now boundary select the all corner of a class A and use sweep commends the we get a class c of boundary in Class A.
- Then trim it finally get class C.
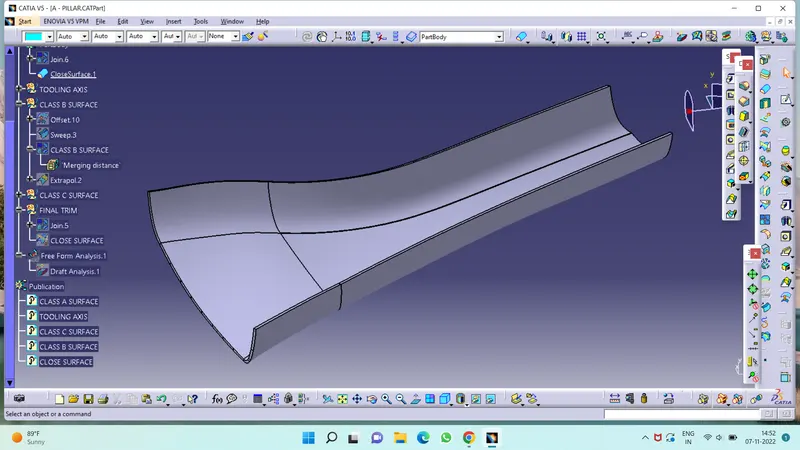
FINAL BODY : (A+B+C)
CLOSE BODY
- Go to the part body workbench then use close boby tool and finally get close body of base bracket
DOG HOUSE :
- Create sketch for a dog house, and pad it.
- Then pad this sketch, now shell the pad with 2.5 mm.
RIBS :
- Now create a ribs is inside a dog house, create a sketch for a ribs,use master section.
- Then pad this sketch . Next use add with dog house, get a ribs for the body.
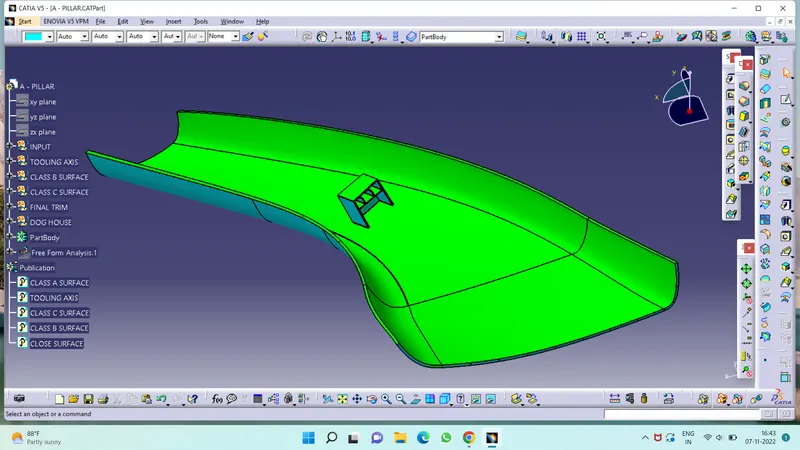
Draft Analysis of Close Body :
Tree Structure :
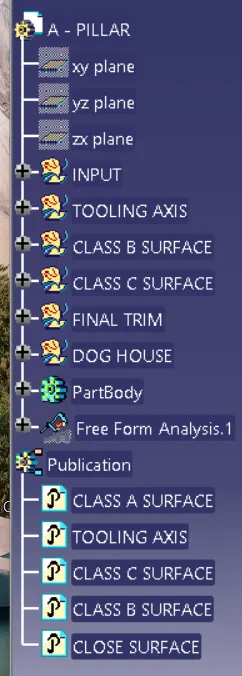
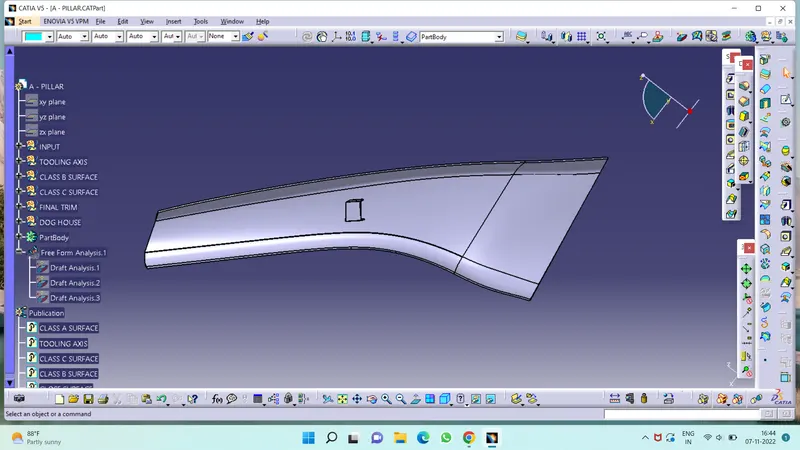
All Views of The A Pillar :
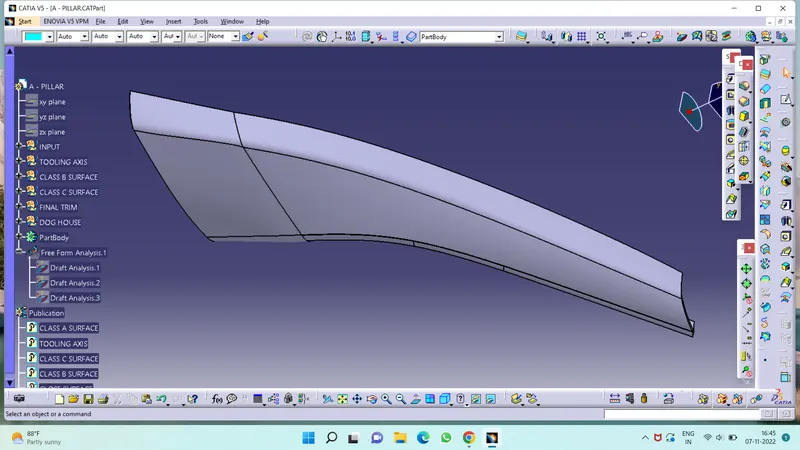
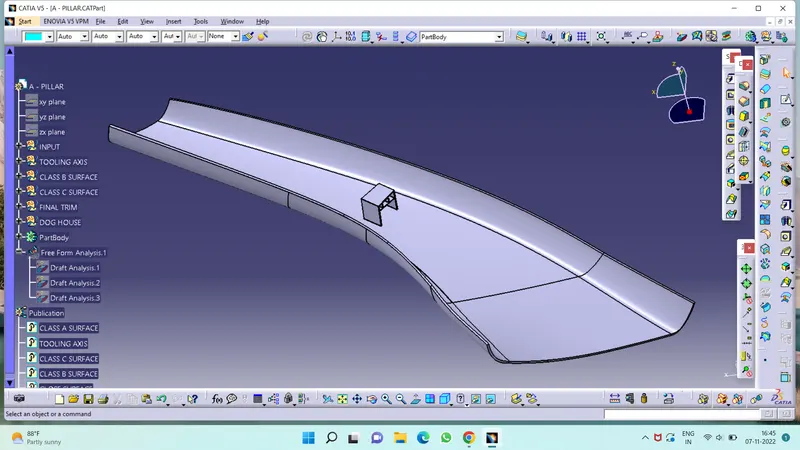
RESULTS :
Finally used draft analysis tool, analysis model get positive results from a draft successfully Class A,B & C is required angles from a draft angle analysis. Analysis the draft angle red is below 0 degree and green is 0.45 dgeree,
CONCLUSION :
The design of A pillar with Master Section is done with help of given videos and instructions data.