Week 9 - Project - A pillar Design with Master Section
Objective: The main objective of this challenge is to understand the given master section to create a solid body and B-side features for a given class A surface, by considering all the design parameters of A Pillar design.
Master Section: Master sections are the guides for design requirements which decide the component packaging after technical (Styling, Concept or Class-A) surfaces.
Overview: Here in this challenge, I created the solid part body from the class A surface and B-side features (Dog house) for the class A surface. The master section measurements are considered to make the solid part body and Dog house. Created a tooling axis by using the bisecting line method and created a side core axis for clearing the B-side feature of the dog house. The draft angle is provided to the dog house outer faces concerning the Tooling axis, and the draft angle to inside faces are provided concerning the side core axis. The draft angle for a solid part body is 3deg, the draft angle for the dog house's outer surface is 1.5deg, and the draft angle for the internal surface of the dog house is 0.5deg.
Creation:
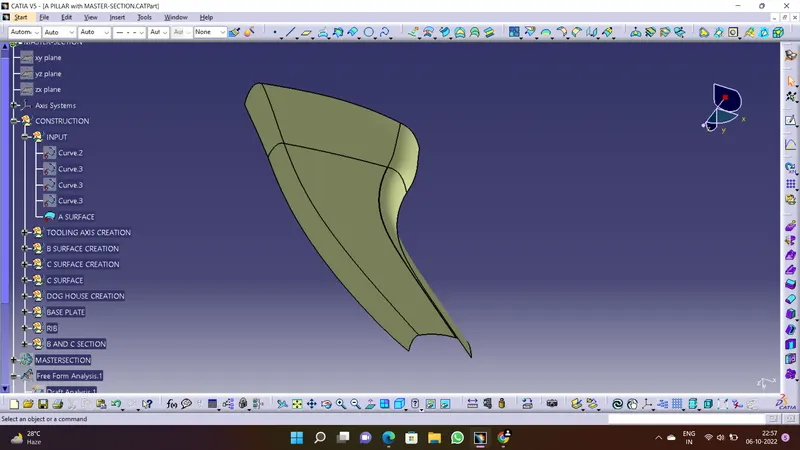
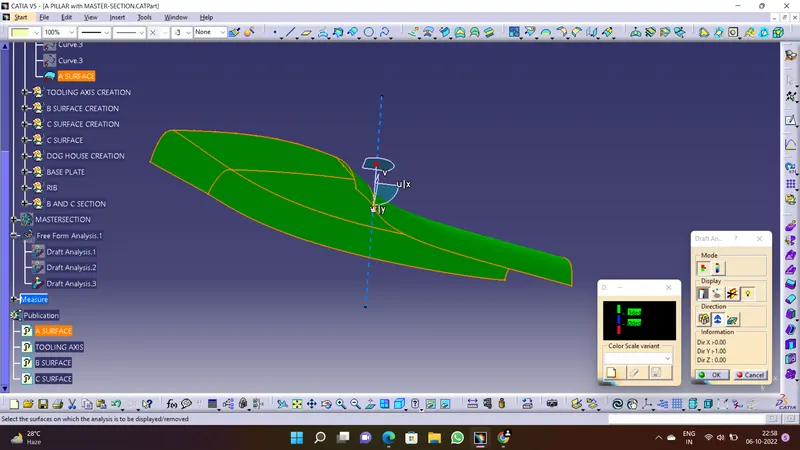
Firstly I have created a tooling axis and checked whether given class A surface is with proper draft of 3 degree angle or not. So as we can see that class A srface is coming in Green color as I have set color format green for surface having 3 degree draft angle.
Then I have created class B surface by applying offset command.
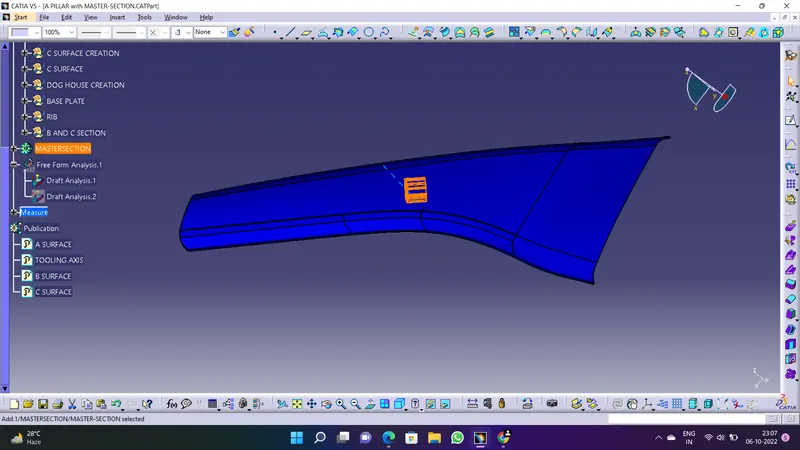
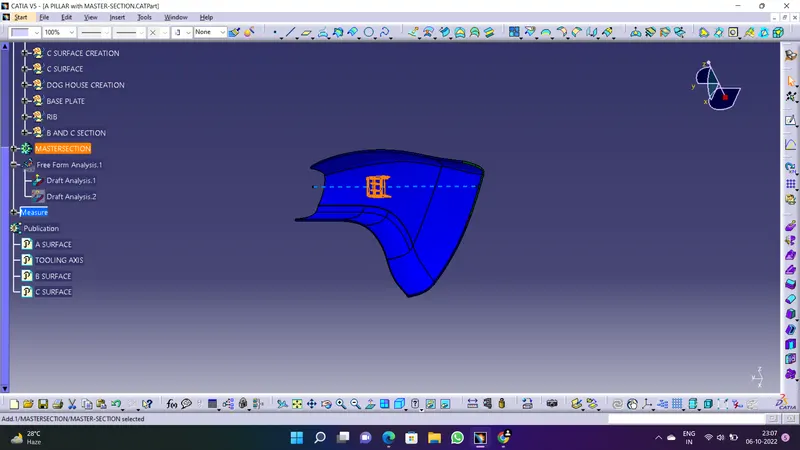
After that I created class C surface by sweep command and joined class A and class C surface.
and Finally added all surface by using Trim command.
and then I convered it into closed part body.
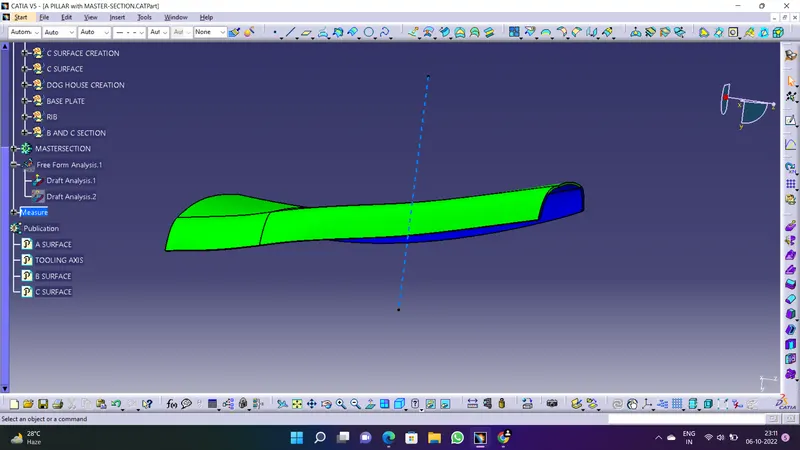
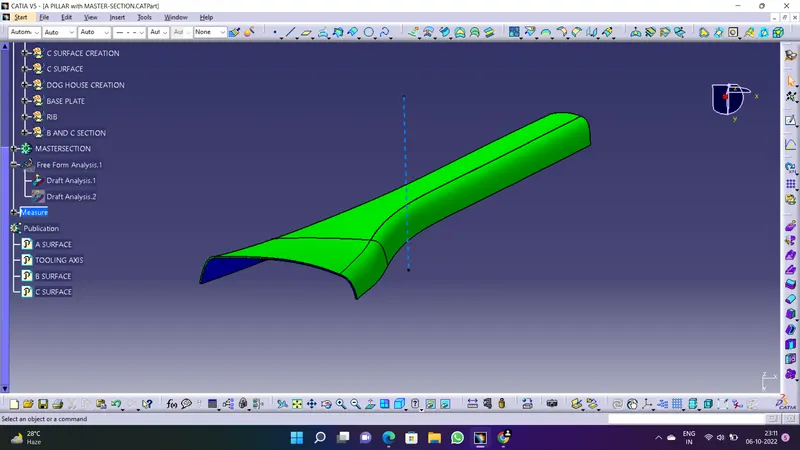
And then I converted this close surface structure into close body part by using Closed Surface command.
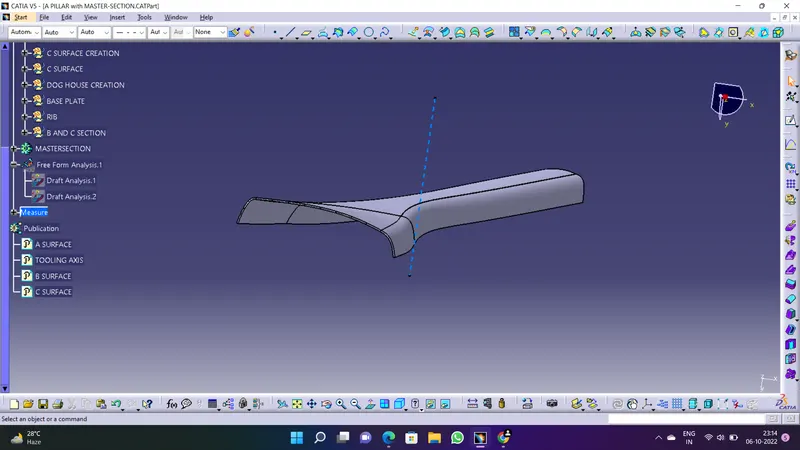
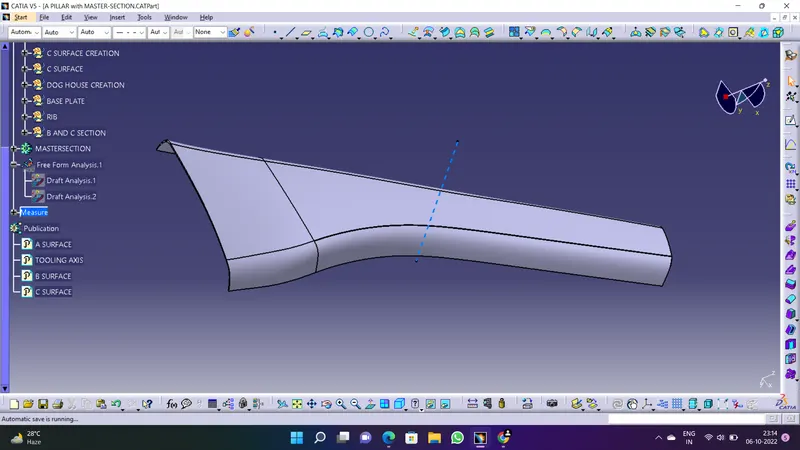
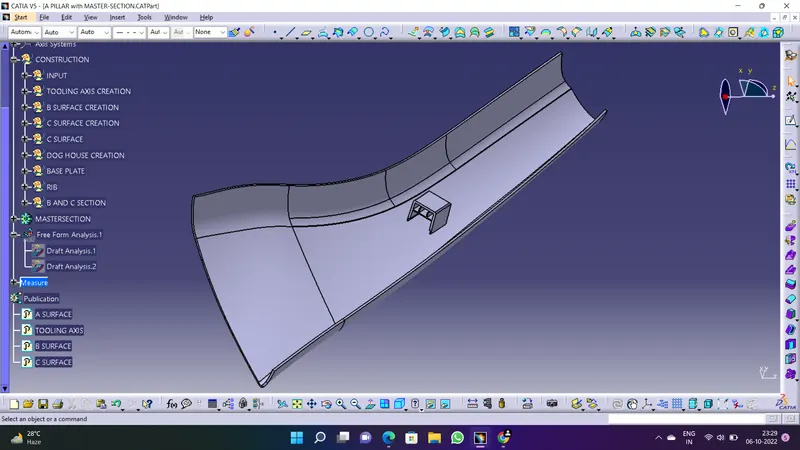
And then at last I did Draft analysis for final closed part body, as we can see that class A surface is green in color and class B surface is red in color, as well class C surface is blue in color, according to color format set into draft analysis.
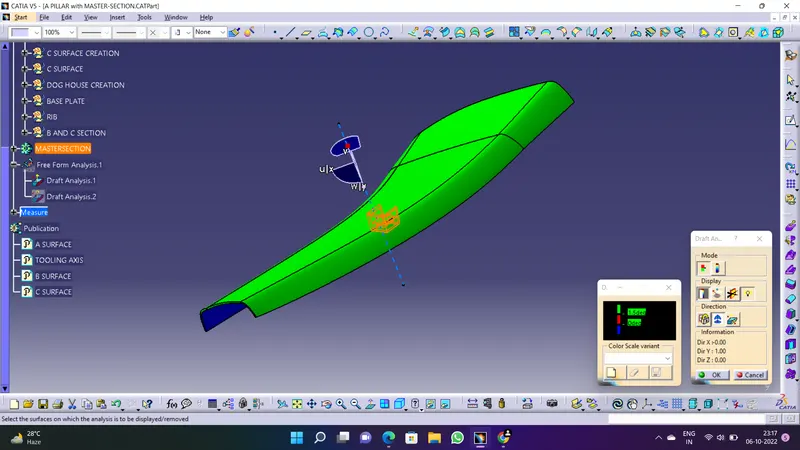
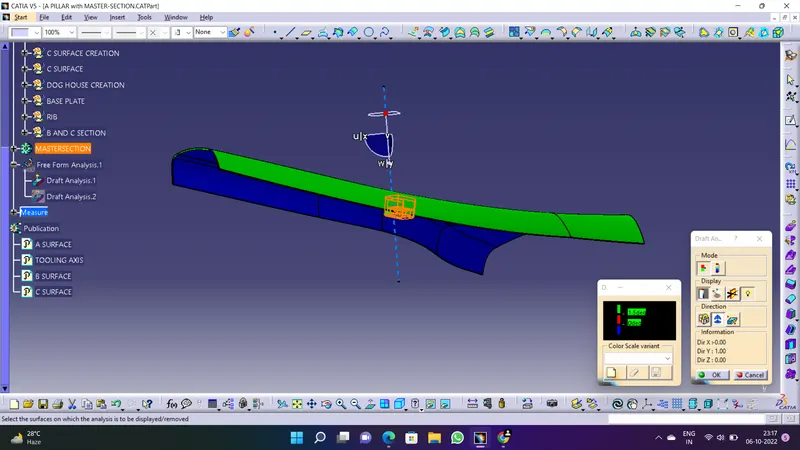
Creation of DOG HOUSE:
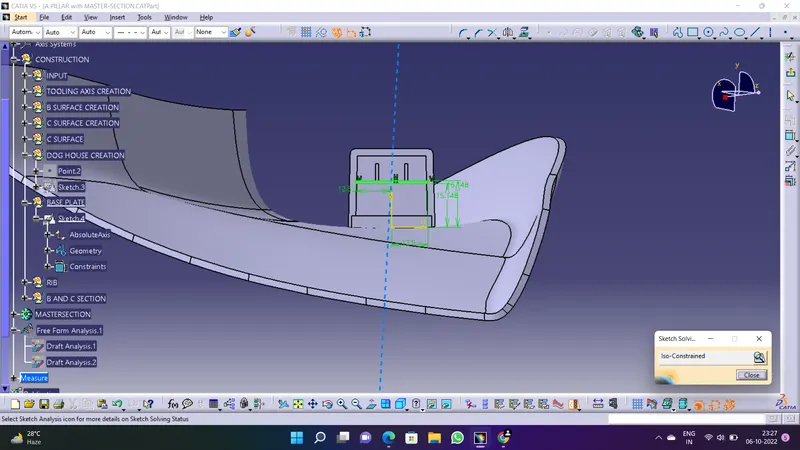
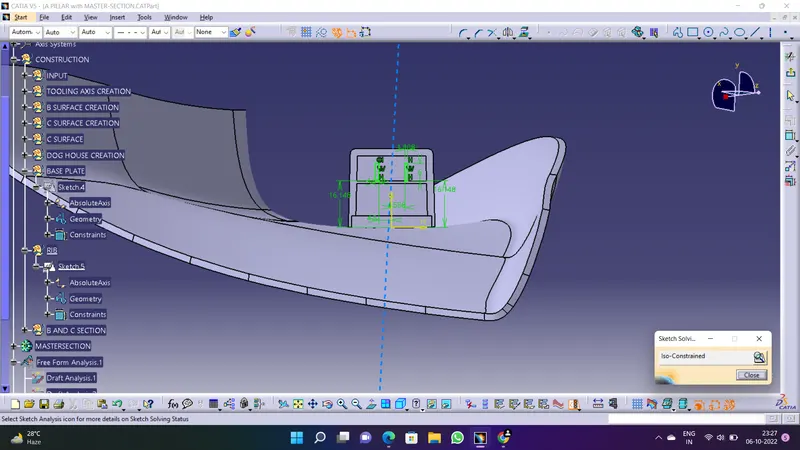
- Create sketch for a dog house, and pad it.
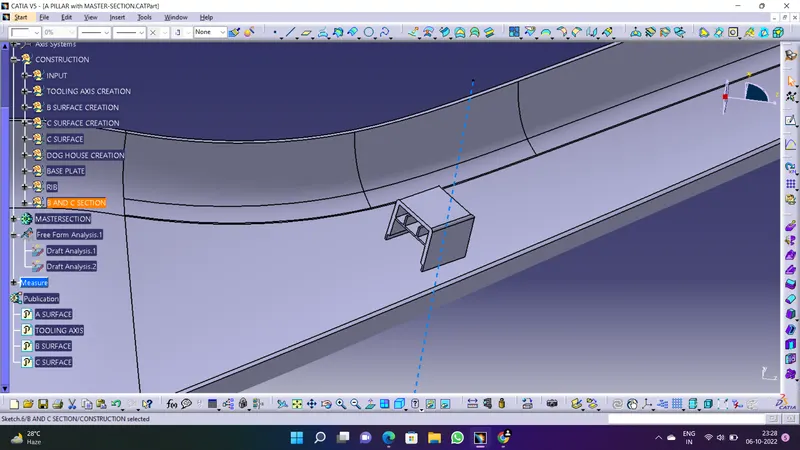
- Then pad this sketch, now shell the pad with 2.5 mm.
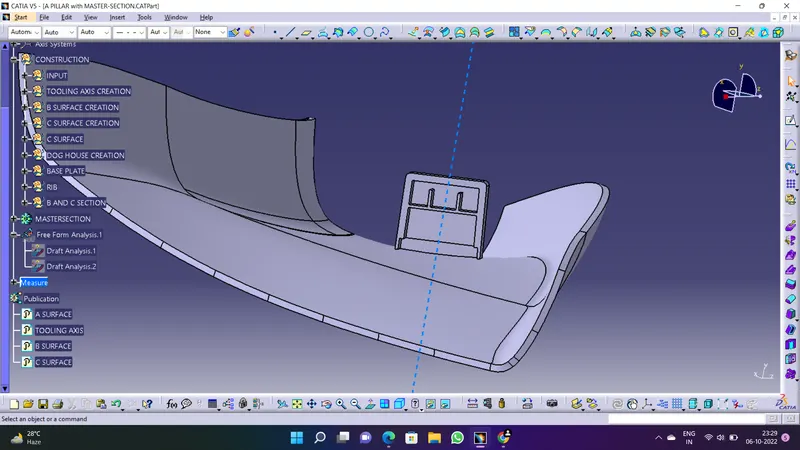
DOG HOUSE: Dog house are basically used to avoid sink marks on the A surfaces, specially at those regions where other attachment features like screw boss is attached, placing such features would add the thickness of the component at that particular region and this would leads to non uniform cooling of the molten platics during moulding resulting to shrinkage of the material from the outer side.
To create the Dog House we create a sketch on the XZ plane and draw a profile. After that we extrude the profile using Pad command and then translate it to obtain the second rib. We give draft of 0.5 degrees to the outer walls using the Tooling Axis and also, we create a Sliding Tooling axis by creating a line perpendicular to the tooling axis in the X-axis direction and use it as a pulling direction for giving the drafts to the inner wall of the Dog Houses.
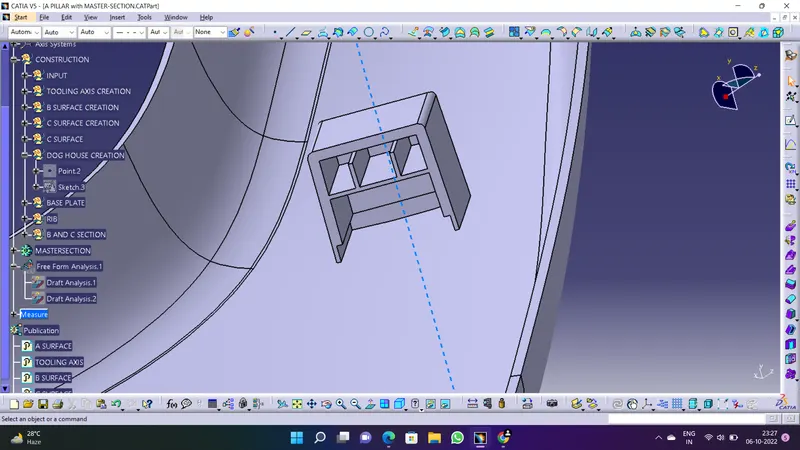
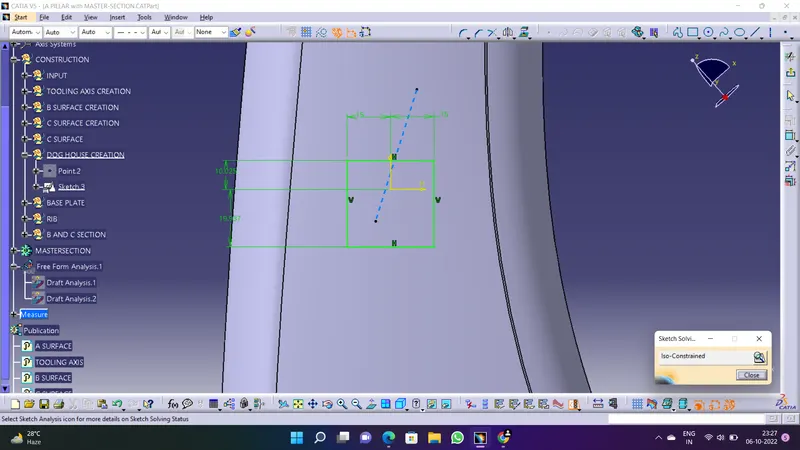
CONCLUSION:
- Thus the A-Pillar is developed by using given Class A surface and draft analysis have also been performed for the created body.
- Dog House has been designed in order to fix the position of the A-Pillar.