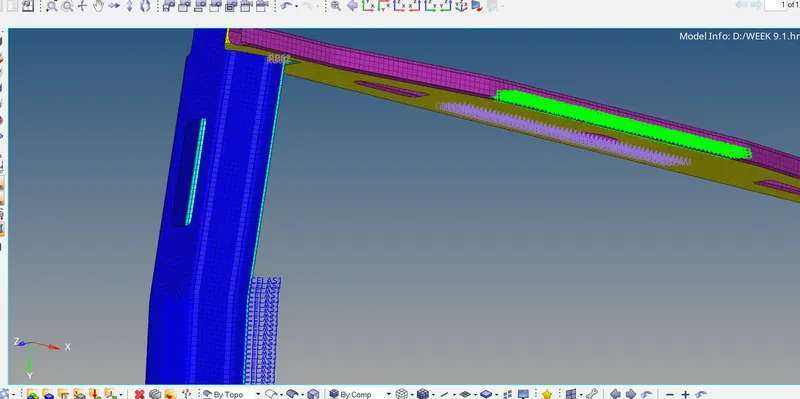
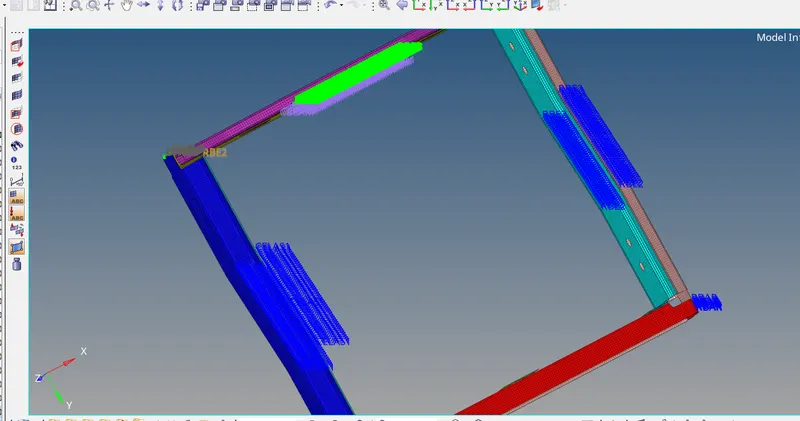
Week 9-Creation of 1D Connectors Challenge
AIM:
Create a connector of given model.
OBJECTIVE:
- Do the 2D automesh of given model
- Then create a connectors
INTRODUCTION:
- To ensure the connectivity of the different parts in a model.
- It represent the geometric connection in terms of FEA.
- To transmit the force between the part which are connected together.
PROCEDURE:
STEP 1:
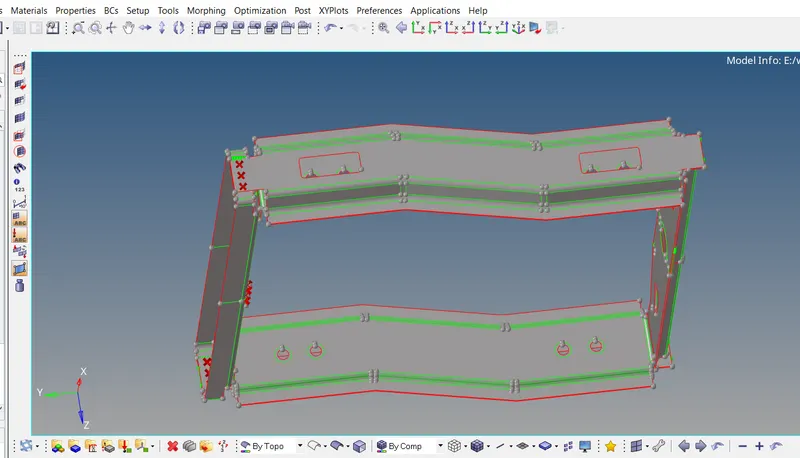
The given model
STEP 2:
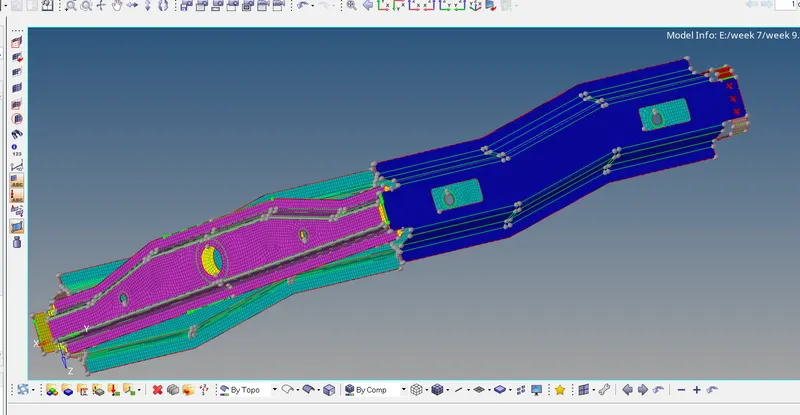
Mesh the model
Go to 2D -----automesh----element size as 5 -----then extract.
STEP 3:
Now, connect the each part.
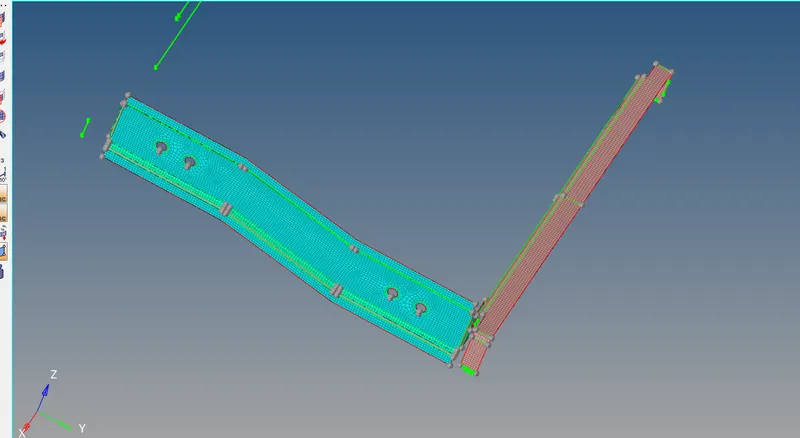
*** Right_Rail_2 & Front_truss_1--------Seam-Quad(angled+capped+L)***
Able the mesh of these component
STEP 4:
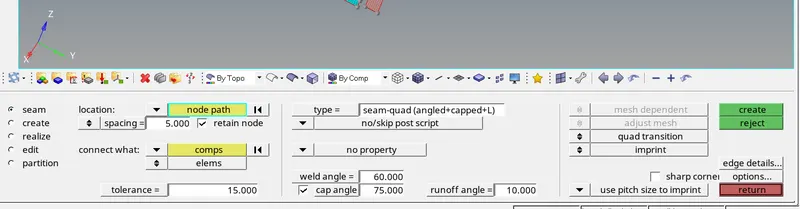
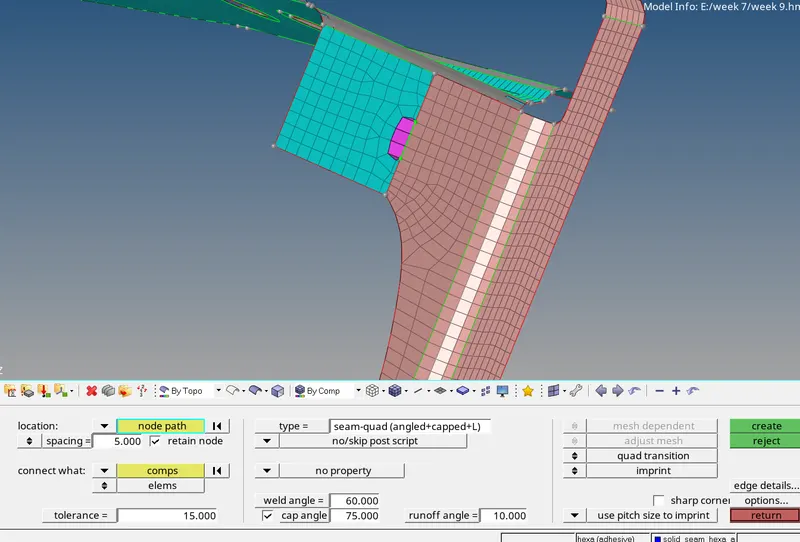
Now connect the two component with connectors.
Go to 2D-----connectors----seam----type= Seam-Quad(angled+capped+L)--then extract.
STEP 5:
AS same for other parts
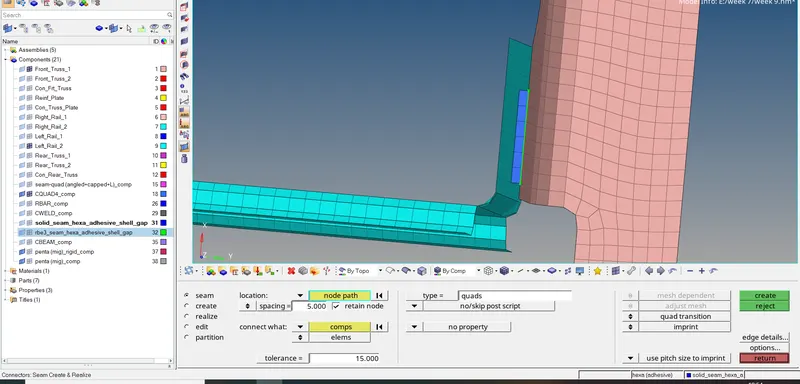
*** Left_Rail_2 & Front_truss 1 --- Quad elements***
Able these part and do connectors.
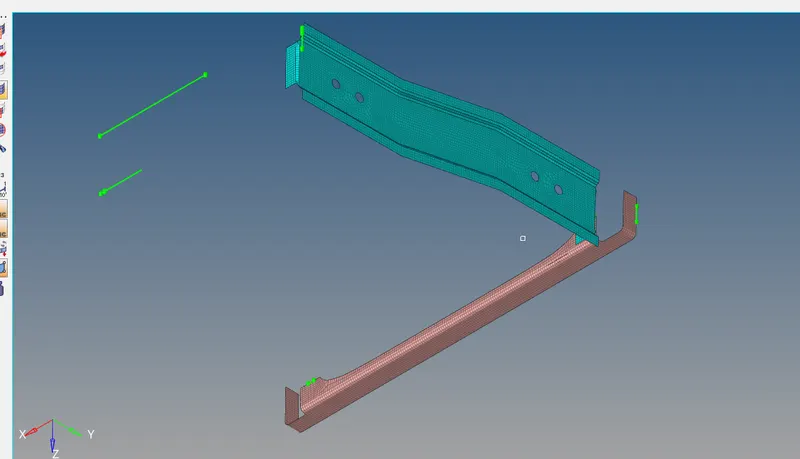
To create quad connectors....
Go to 2D ----connectors---seam---type =quad---then extract...
STEP 6:
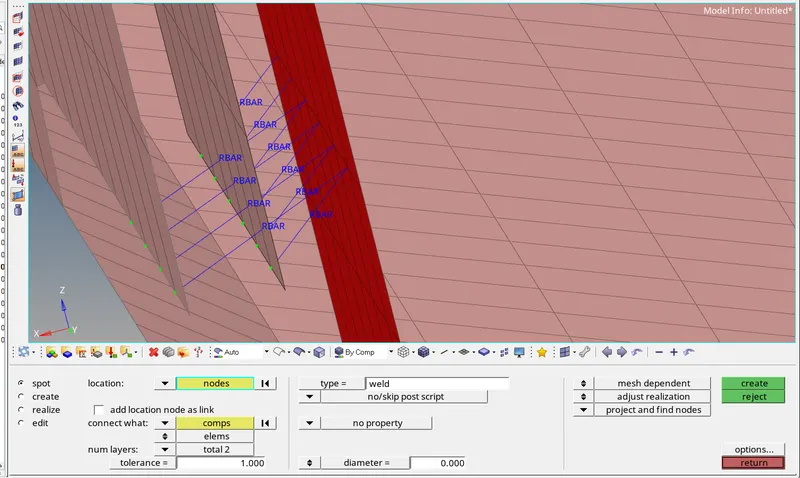
Front_truss_2, Front_truss_1 & Right_Rail_1--- Spot weld with 2 Layers and 5 mm Diameter
Do connectors for these parts
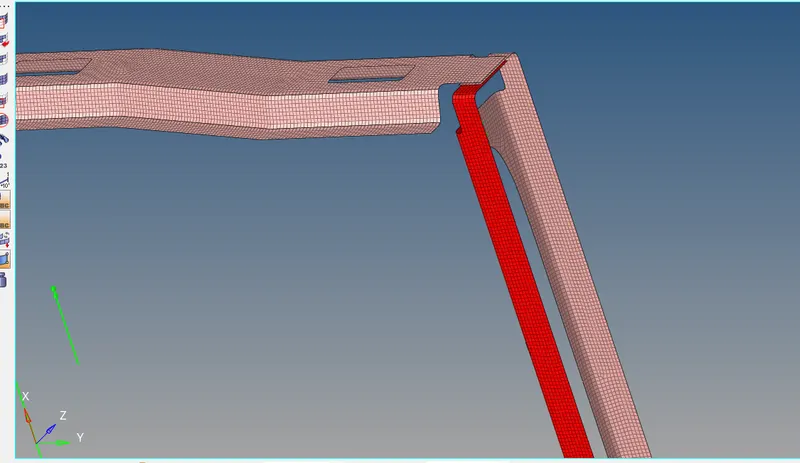
Go to 2D connectors----spot---weld----set layer as total 2--then extract
STEP 7:
As same for other connectors
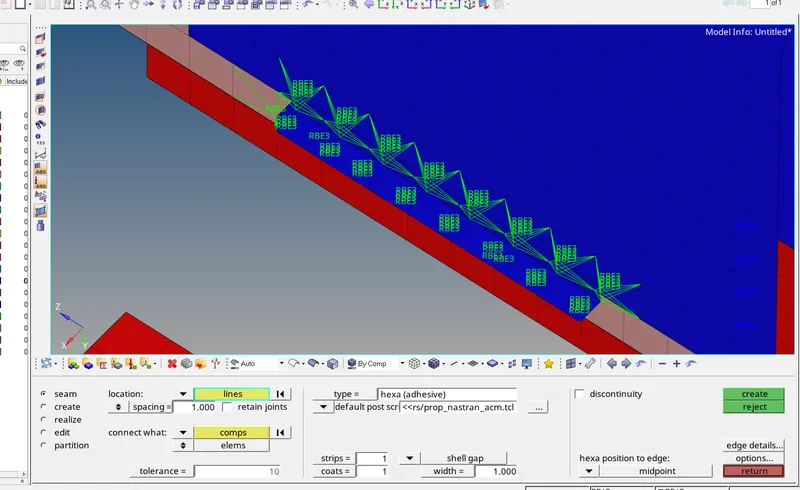
Front_truss_2, Front_truss_1 & Left_Rail_1---- Hexa (Adhesive)
Go to 2D ---connectors----seam--- select hexa(adhesive)----then extract
STEP 8:
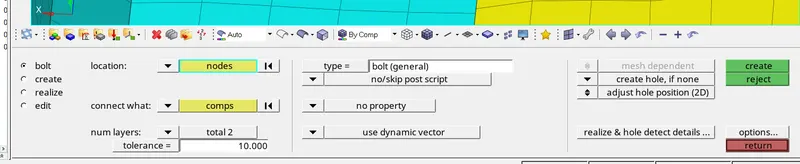
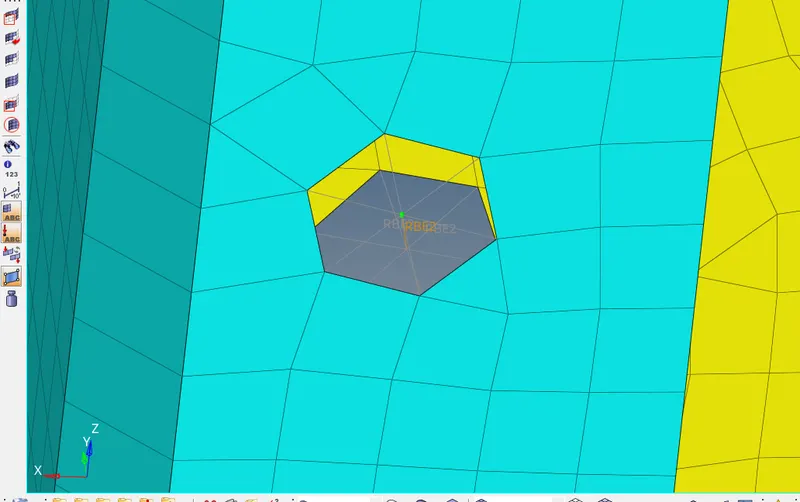
Rear_truss_2 & Right_Rail_2-----Bolt Connector
Go to 2D connectors ---bolt---total 2----set create hole if none--then xtract
STEP 9:
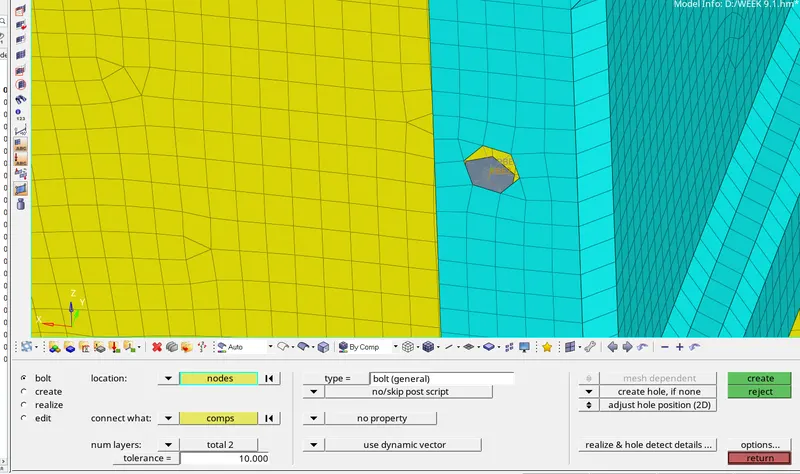
Rear_truss_2 & Left_Rail_2------ Bolt Connector
STEP 10:
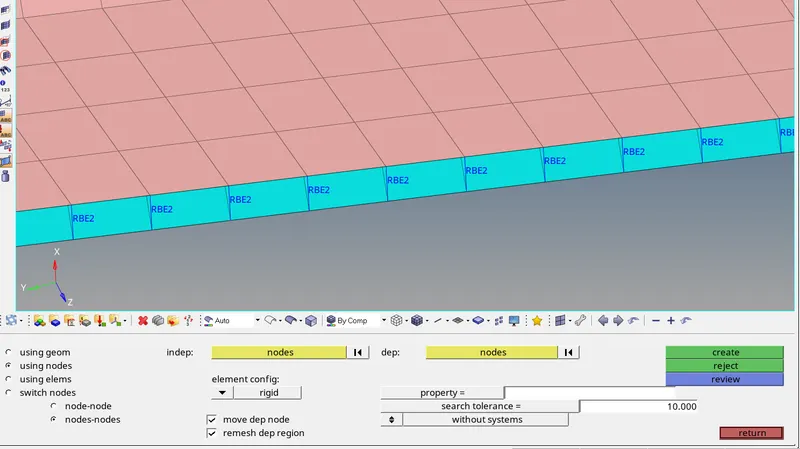
Right_Rail_1 & Right_Rail_2 -----Spot-weld with Rigid Elements
Go to 1D spot weld----config as =rigid----extract.
STEP 11:
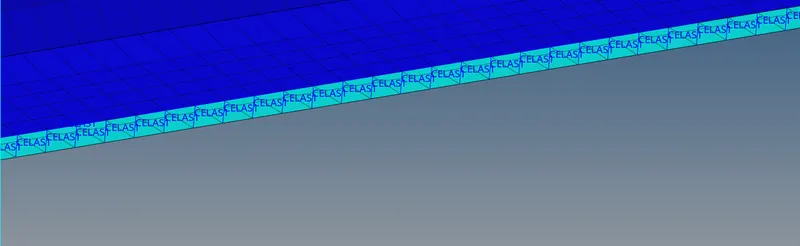
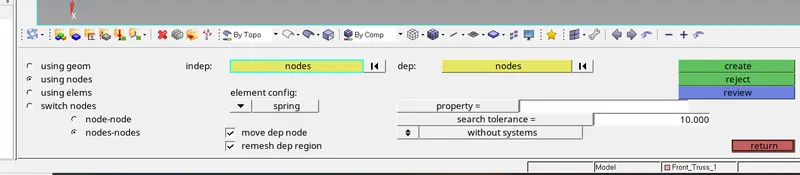
Left_Rail_1 & Left_Rail_2------ Spot-weld with Spring Elements
STEP 12:
For other connectors
Rear _ truss 1 and Rear_truss 2-----hexa(adhesive)
Go to 2D ---connectors----seam--- select hexa(adhesive)----then extract
STEP 13:
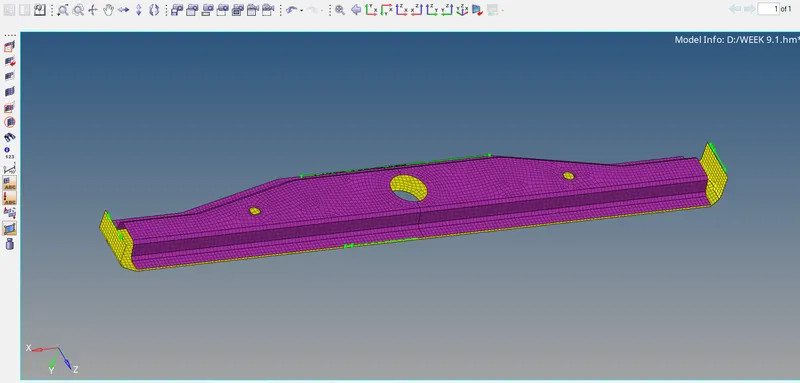
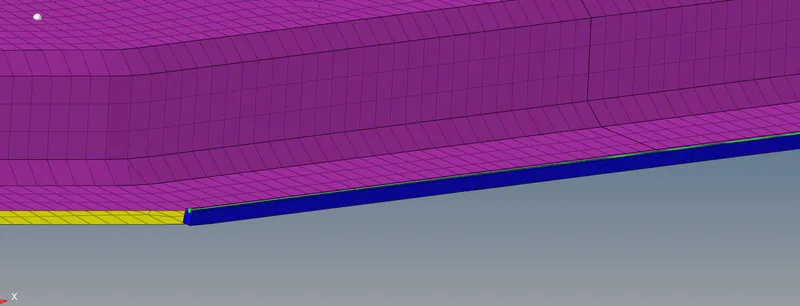
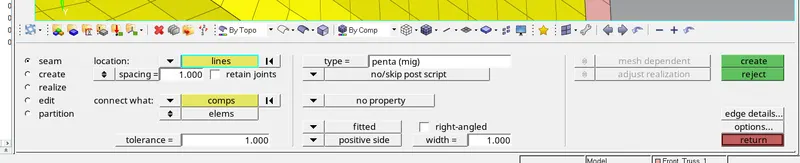
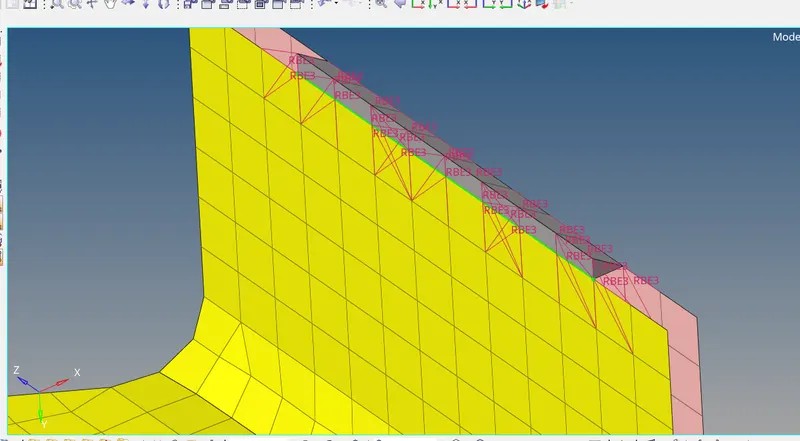
Right_ rail 1 and rear_ truss 1----penta(mig)
Go to 2D ---connectors---seam---type as penta(mig)----extract
RESULT:
Hence the connectors are done