Week 9-Creation of 1D Connectors Challenge
To mesh the geometry as per the given quality parameters,
create connectors and attach the various components of
the model using Hyperworks.
OBJECTIVES :-
To mesh the given geometry as per the required quality
parameters using Hyperworks.
Target element size - 5 Units
|
S.N |
Quality Criteria |
Value |
|
1 |
Aspect Ratio |
5 |
|
2 |
Skewness |
45 |
|
3 |
Warping |
15 |
|
4 |
Taper |
0.5 |
|
5 |
Min. Length |
2 Units |
|
6 |
Max. Length |
8 Units |
|
7 |
Min angle Quad |
45 |
|
8 |
Max angle Quad |
135 |
|
9 |
Min angle Tria |
30 |
|
10 |
Max angle Tria |
110 |
|
10 |
Tria % |
15 |
To create suitable connectors and connect the various
components of the given model as per requirement.
1. Right_Rail_2 & Front_truss_1:- Seam-Quad(angled+capped+L)
2. Left_Rail_2 & Front_truss_1:- Quad elements
3. Front_truss_2, Front_truss_1 & Right_Rail_1:- Spot weld with 2 Layers and 5 mm Diameter
4. Front_truss_2, Front_truss_1 & Left_Rail_1:- Hexa (Adhesive)
5. Rear_truss_2 & Right_Rail_2:- Bolt Connector
6. Rear_truss_2 & Left_Rail_2:- Bolt Connector
7. Right_Rail_1 & Right_Rail_2:- Spot-weld with Rigid Elements
8. Left_Rail_1 & Left_Rail_2:- Spot-weld with Spring Elements
9. Rest all the component left Join them with suitable connectors
PROCEDURE :-
First import the CAD geoemetry in the Hyperworks.
After Importing the model, Mesh all the surfaces individually with a
target element size of 5 mm.
CONNECTOR 1 :-
Right_Rail_2 & Front_truss_1:- Seam-Quad(angled+capped+L)
In order to attach the surface, go to 2D > Connectors > Seam
Select the element type as Quad(angled + capped + L ) and connect
the surface.
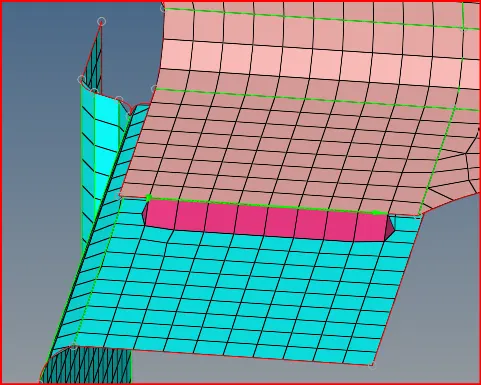
fig. Seam quad (angled+ capped + L)
Connector 2 :-
Similarly now attach Left_Rail_2 & Front_truss_1 with Quad elements.
This operation also done in 2D > Connectors > Seam but here we
need to select element type as quad.
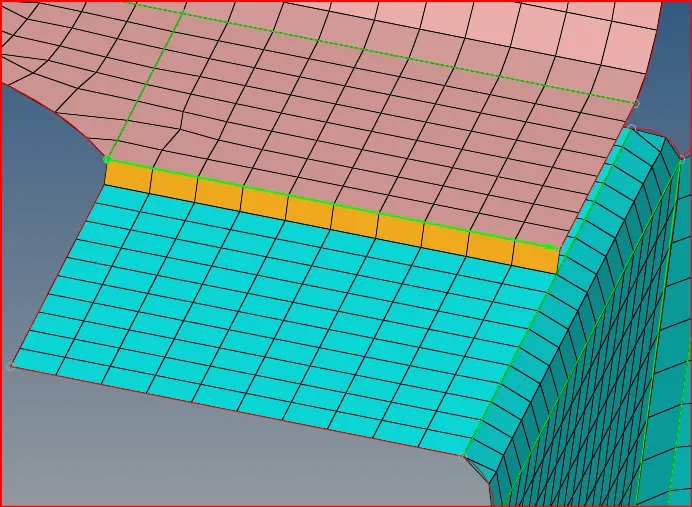
fig. quad element
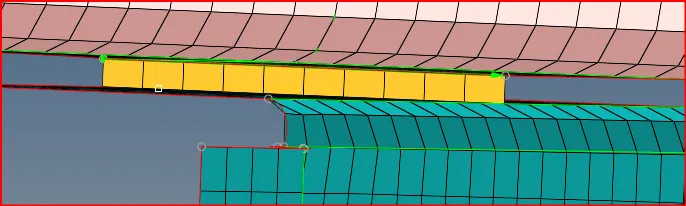
fig. quad element
Connector 3 :-
In this operation we need to spot weld front_truss_2, Front_truss_1 and
Right_Rail_1 with 3 Layers and 5 mm diameter. In order to do spot weld go
to 2D > Connector > Spot and select type as weld.
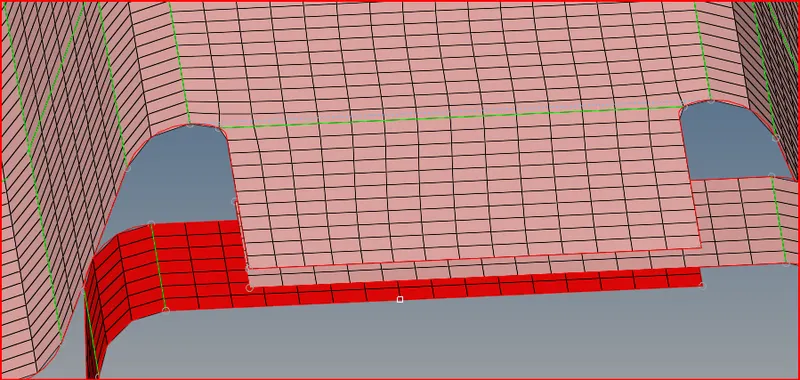
fig. Before spot weld connection
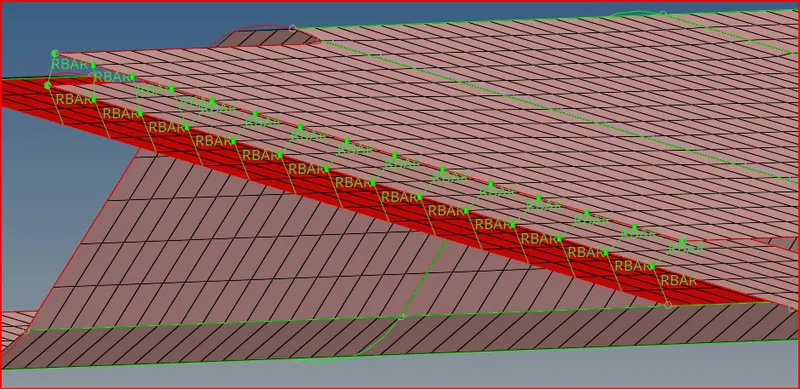
fig. spot weld connection
We have weld the 3 components with a BAR element.
Connector 4 :-
After that attach Front_truss_2, Front_truss_1 & Left_Rail_1 with Hexa (Adhesive).
To perform this operation go to 2D > Connectors > Seam and select the element
type as Hexa (Adhesive). Here give a width of 1 mm or 2 mm and also set a
tolerance of 5 mm between each surface.
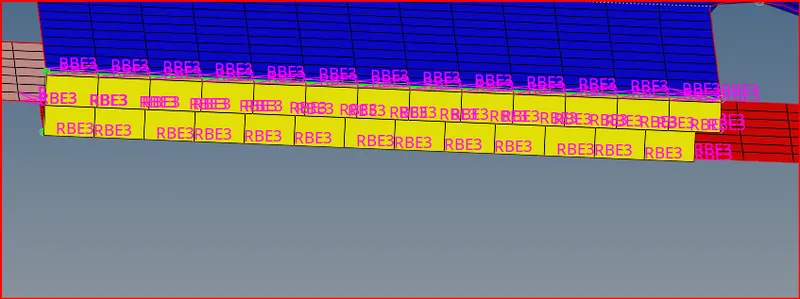
fig. Hexa adhesive connection
Connector 5 :-
After that attach Rear_truss_2 & Right_Rail_2 with Bolt Connector.
To give a Bolt connector , go to 2D > Connectors > Bolt and select type
as bolt (general) and also set the option of "create hole if none " to
create a hole for bolt connector.
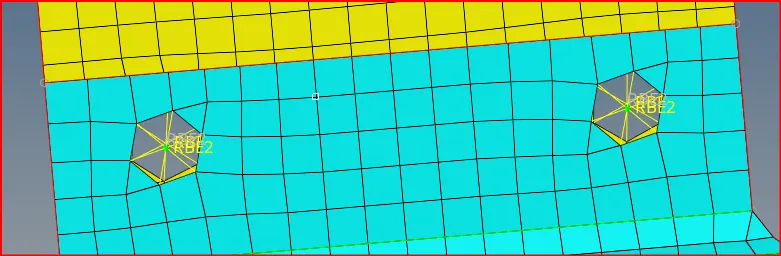
fig. Bolt Connector
Connector 6 :-
Now attach Rear_truss_2 and Left_Rail_2 with a Bolt Connector. The procedure
for this operation is similar to the 'connector 5' but here only the component
is different.
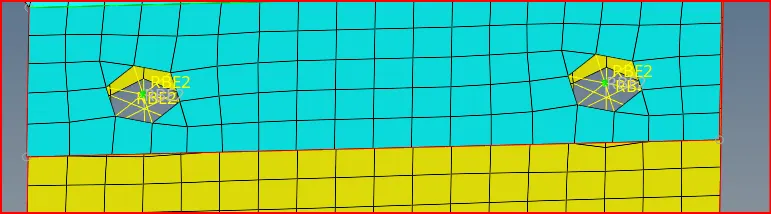
fig. Bolt connector
Connector 7 :-
Here we need to spot weld Right_Rail_1 and Right_Rail_2 with Rigid elements.
To do this go to 2D > connector > Spot and select element type as rigid.
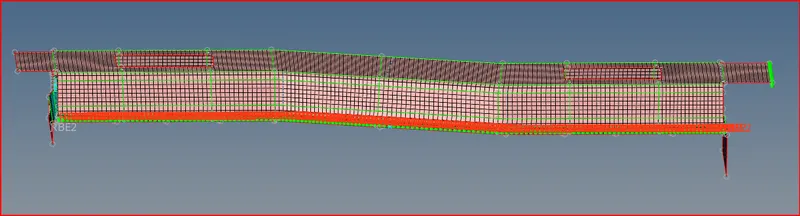
fig. spot weld with rigid element
Connector 8 :-
Similar to the coonector 7 operation need to attach Left_Rail_1 and Left_Rail_2 but
here with spring elements. To do this go to 2D > Connector > Spot and select
element type as spring.
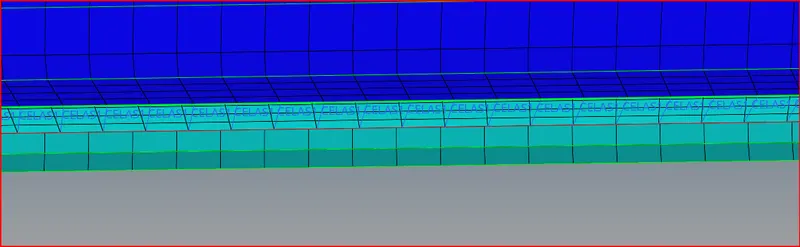
fig. spot weld with spring element
Connector 9 :-
In this operation we are attaching the components which were not attached in the
above steps. Here we have attached Rear_truss_1 and Rear_truss_2 with 2 different
elements i.e, rigid and spring elements.
FINAL OUTPUT :-
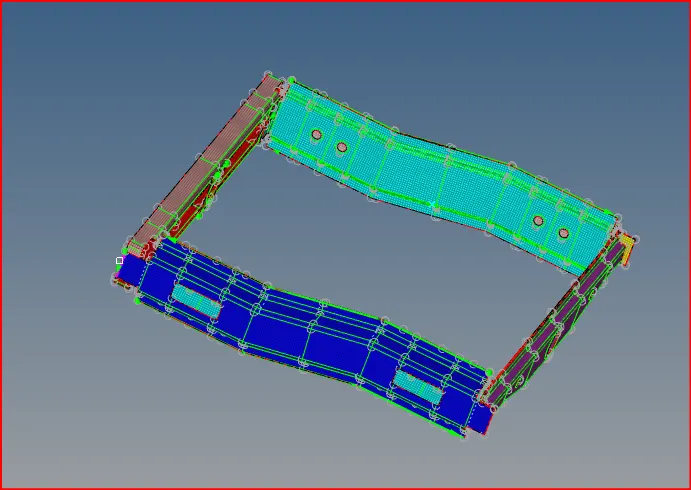
fig. whole body
CONCLUSION :-
Understood how to perform seam weld connections.
Understood how to deploy spot weld and bolt connection.
Understood how to perform bolt connections.
Understood how mesh must redefine while connection deployed.
Link Of Model :-
https://drive.google.com/file/d/1ZbIgZmslpZnnc0kNEB-X8WLTw1s3C1Vv/view?usp=share_link
https://drive.google.com/file/d/1ZbIgZmslpZnnc0kNEB-X8WLTw1s3C1Vv/view?usp=share_link