Week 9-Creation of 1D Connectors Challenge
AIM:
For this challenge, you will have to mesh the given geometry. Provided below are the quality parameters that you have to follow.
Target Element size - 5 Units
|
S.N |
Quality Criteria |
Value |
|
1 |
Aspect Ratio |
5 |
|
2 |
Skewness |
45 |
|
3 |
Warping |
15 |
|
4 |
Taper |
0.5 |
|
5 |
Min. Length |
2 Units |
|
6 |
Max. Length |
8 Units |
|
7 |
Min angle Quad |
45 |
|
8 |
Max angle Quad |
135 |
|
9 |
Min angle Tria |
30 |
|
10 |
Max angle Tria |
110 |
|
10 |
Tria % |
15 |
Create connector and Attach the various parts of the given model
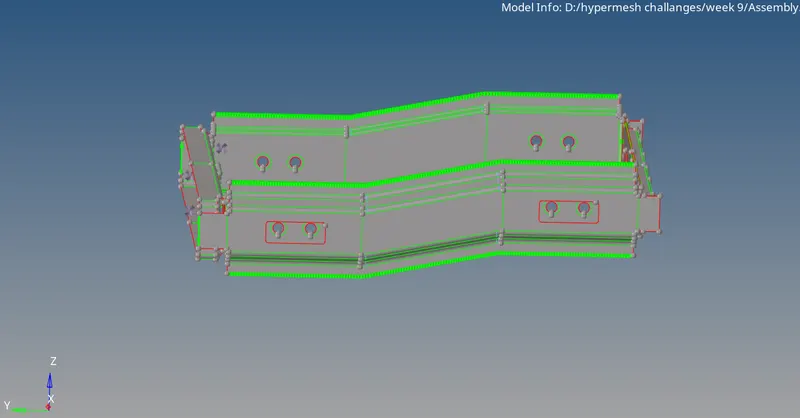
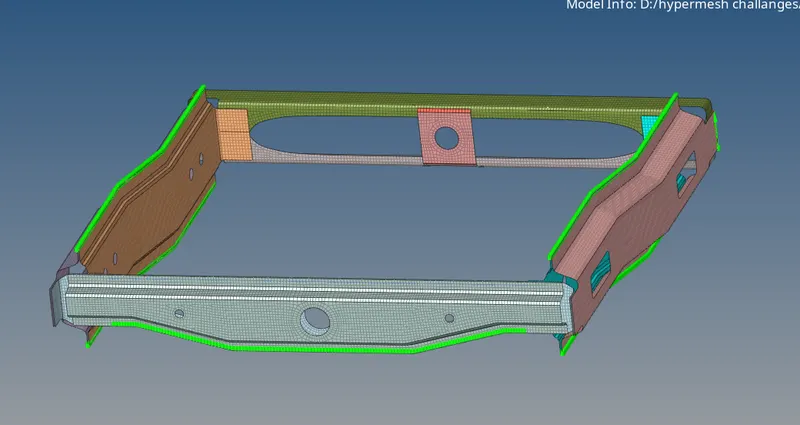
After importing the model we have total 9 component and here we have been given directly the mid surface so we have to just mesh it one by one.
So here i used the automesh option in 2D and some of the components are symmetric so we do reflect option inside the tool some of the component shown below.
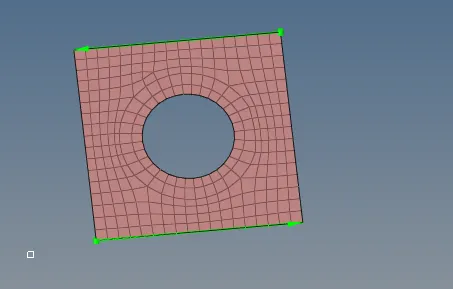
here we do automesh.
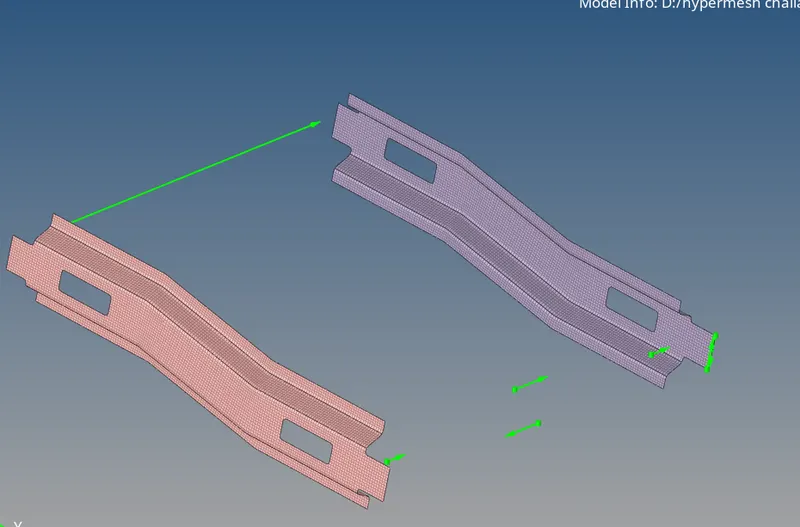
Here we hyave symmetric components so here i mesh one side and do reflect to other side.
like the above i did meshing for all the component.
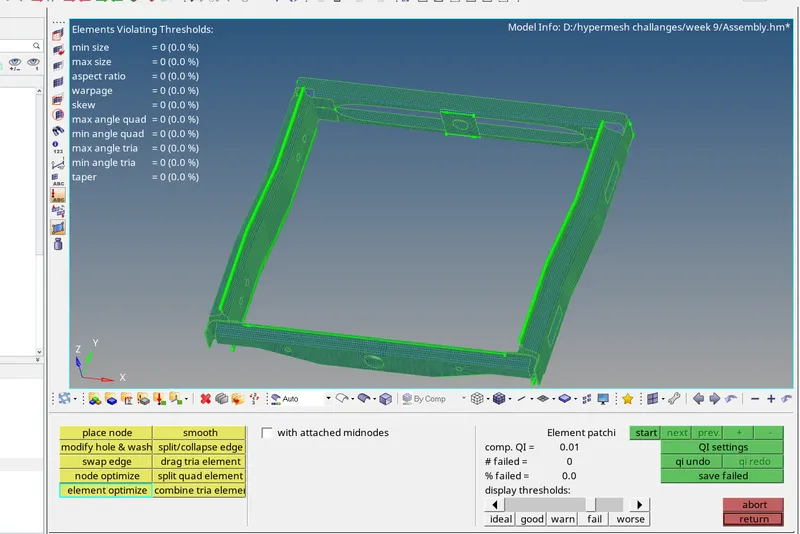
After that we have to clear the quality so i don't have any quality issue all the elements are cleared of with quality.as you can see below.
Now i have to make the connection as per the question so here we have multiple options to create connections in 1D/2D both so i go with 1D>Connectors
and first one is for the Right_Rail_2 & Front_truss_1:- Seam-Quad(angled+capped+L)
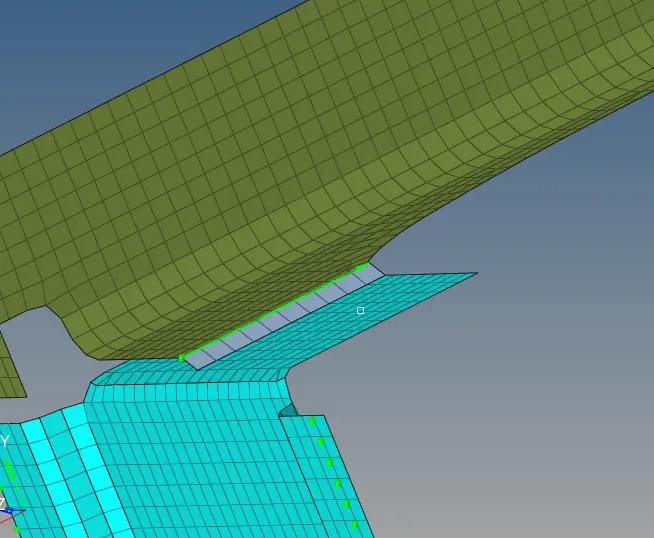
Here i used the seam weld option and inside that in the type i used the Seam-Quad(angled+capped+L) and give the spacing as 5 and the location as nodelist, tolerance as 10 and select the both component and click create.and the connection is realized as you see above.
Second one is Left_Rail_2 & Front_truss_1:- Quad elements
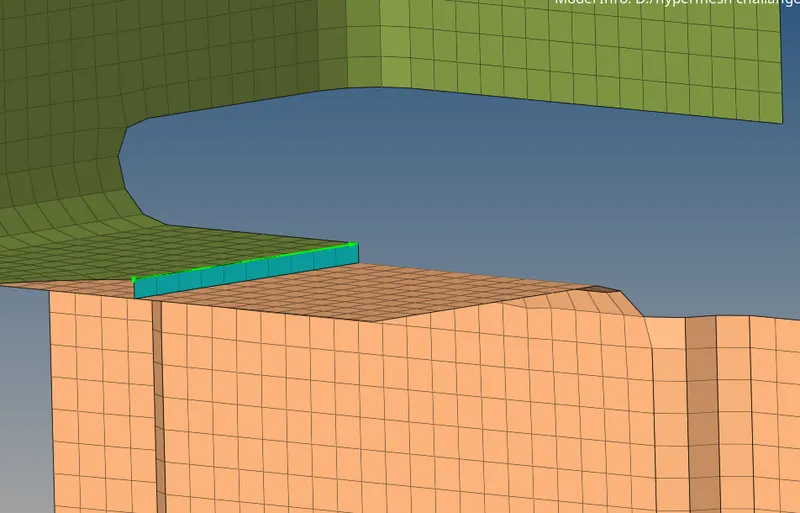
Here as above all the options are same just in palte of type i had selected quad and then select the nodes and then create the connection as above.
Third Front_truss_2, Front_truss_1 & Right_Rail_1:- Spot weld with 2 Layers and 5 mm Diameter
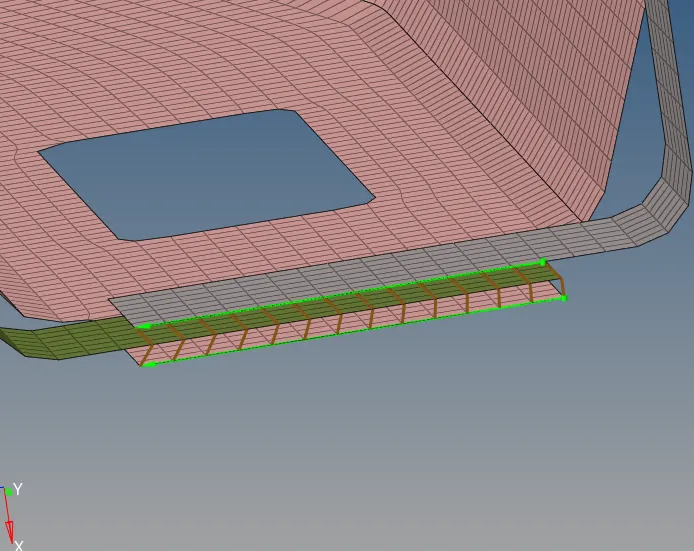
Here we have to first Select the spot weld inside the connection and there we have to select the the location as nodelist as above ,no.of layers 2 and type as i acn select as nay one because nothing is mentioned in question so here i selected the plot and diametre as 5, tolerance as 10 and then click create and yo ucan see the connection above here when we select the 3 components at once then also the connection is made between only two so the spot connection i had made 2 time secon time with the bottom plate.
fourth connection is Front_truss_2, Front_truss_1 & Left_Rail_1:- Hexa (Adhesive)
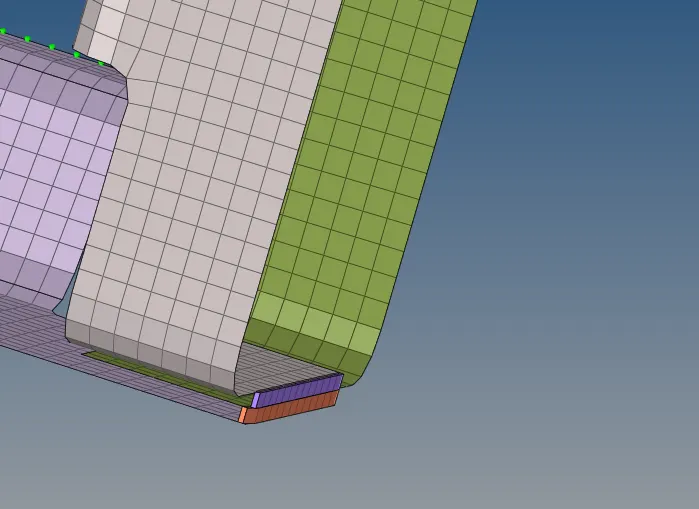
Here we again go to the seam weld and in type we have to give hexa (adhesive ) and rest is same as above and now after creating we can see the connection also here an automatic property is genetrated as psolid.
fifth connection is Rear_truss_2 & Right_Rail_2:- Bolt Connector
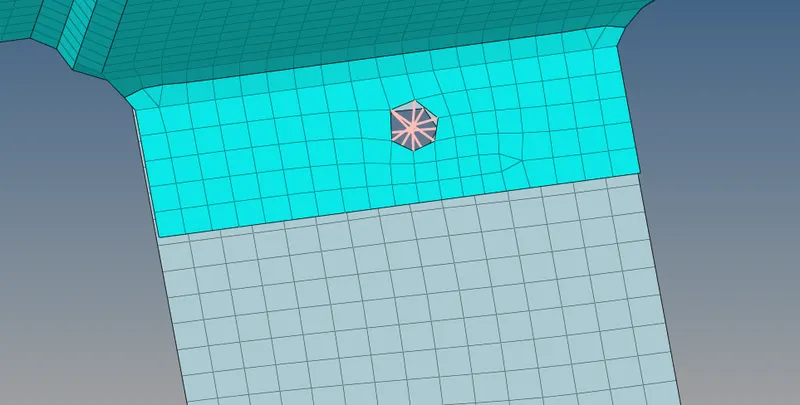
here we have to go to the bolt under the connection. select the type as anyone as not mentione in the question.And select the option as create hole if none because here we don't have hole here .and afte the we have the connection you can see above.
sixth is Rear_truss_2 & Left_Rail_2:- Bolt Connector
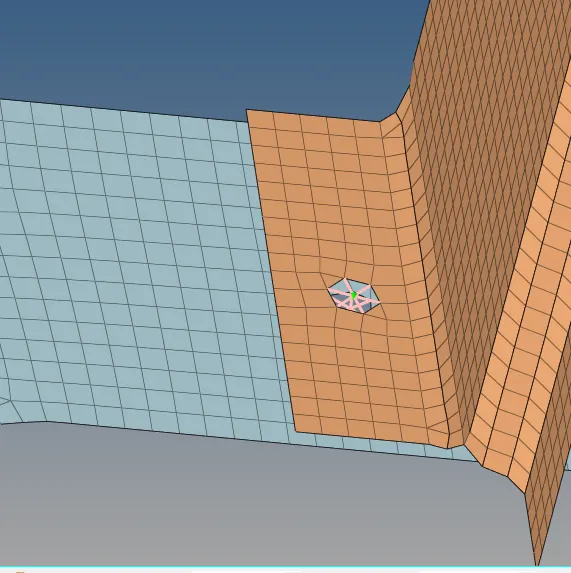
This is same as above just select the node and create the connections.
Seventh is Right_Rail_1 & Right_Rail_2:- Spot-weld with Rigid Elements
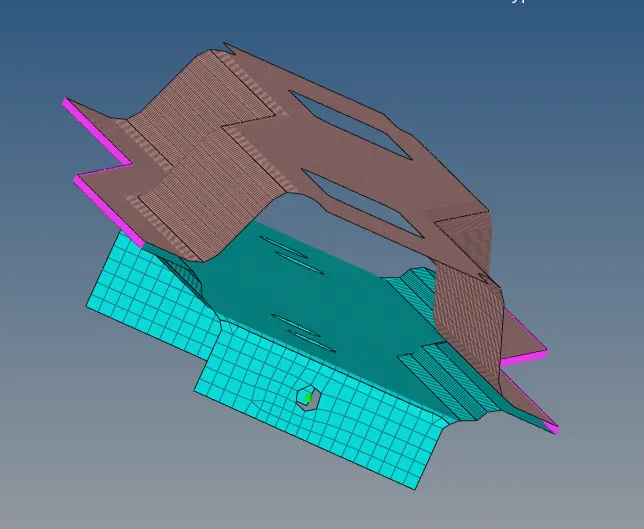
Select the spot weld in the connector select the type as rigid element and rest of the options are same and after clicking create and you can see the connecion above.
Eighth is Left_Rail_1 & Left_Rail_2:- Spot-weld with Spring Elements.
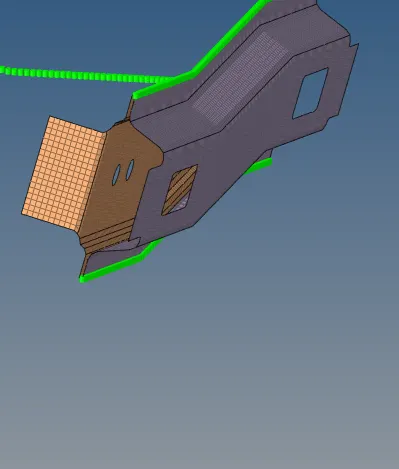
Select the spot weld in the connector select the type as spring element and rest of the options are same and after clicking create and you can see the connecion above.
Rest of the connection i made it by own and now all the parts are connected and the process is same as i explained above.
Conclusion:
- Here in this challenge we have to make the connection and practice the different types of connection like spot,seam,bolt,etc.