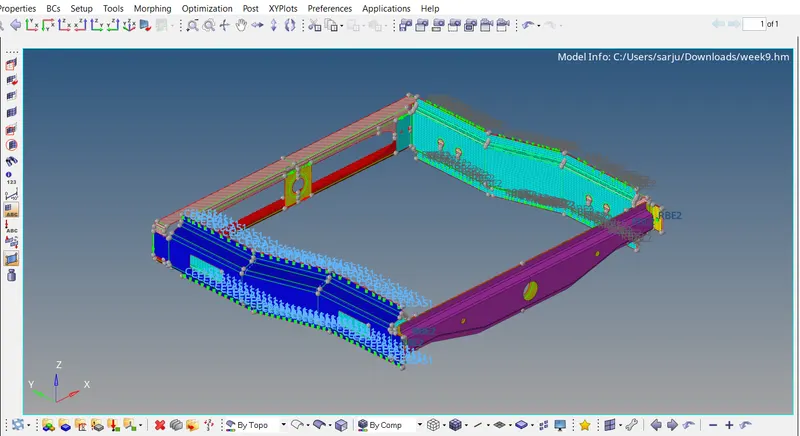
Week 9-Creation of 1D Connectors Challenge
AIM
To create connectors at the different joints and attach the various parts in the given model.
OBJECTIVE
- To Mesh the given components
- To make connectors after meshing
- Right_Rail_2 & Front_truss_1 Seam Quad(angled------capped------L)
- Left_Rail_2 & Front_truss_1 Seam Quad elements
- Front_truss_2, Front_truss_1 & Right_Rail_1 Spot Weld
- Front_truss_2, Front_truss_1 & Left_Rail_1 Seam Hexa(Adhesive)
- Rear_truss_2 & Right_Rail_2 Bolt
- Rear_truss_2 & Left_Rail_2 Bolt
- Right_Rail_1 & Right_Rail_2 Spot Weld (Rigid elements)
- Left_Rail_1 & Left_Rail_2 Spot Weld (Spring elements)
PROCEDURE.
Importing the model:
The format of the file is stp, then first of all select import solver deck command, choose import geometry type and select file type is HM.
file -- Import -- select the file -- Import.
now select the file from our folder and import it.
Cleaning Geometry
We can remove the unwanted lines in between the geometry and can properly create the lines for meshing.
To toggle lines
Geoms--- Quick Edits--- Toggle Lines
Generating mesh
To mesh the component
2D -- automesh -- select the surface -- mesh.
Start the Meshing with the closed area with less free edges
Keep the Mesh flow as per geometry and create mesh with less tria elements
Now the meshing is done
Quality criteria
Give the quality criteria for the elements in the criteria box
Check for the elemental failures
Tools--Check elems
After Rebuilding Mesh now the component is ready for connectors
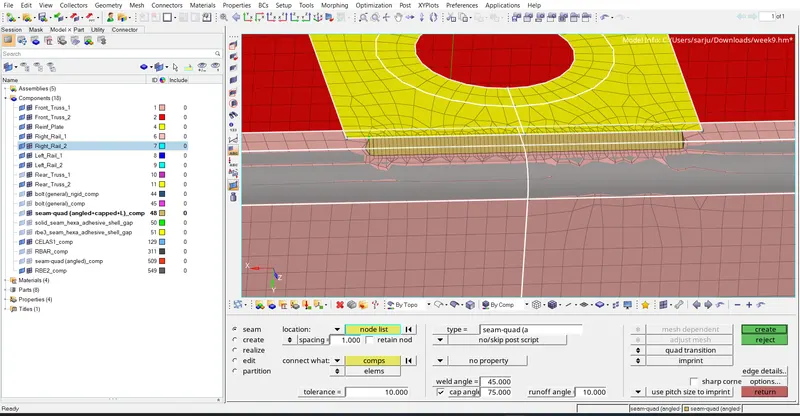
Right_Rail_2 & Front_truss_1 -------Seam Quad(angled------capped------L)
Make only the given surfaces ON an mesh ON now we can perform the connector operation
Click on
1D------Seam------type:seam quad (angled------capped------L) ------ Tolerance: 10 ------ Weld angle: 45------ run off angle: 10------ Create
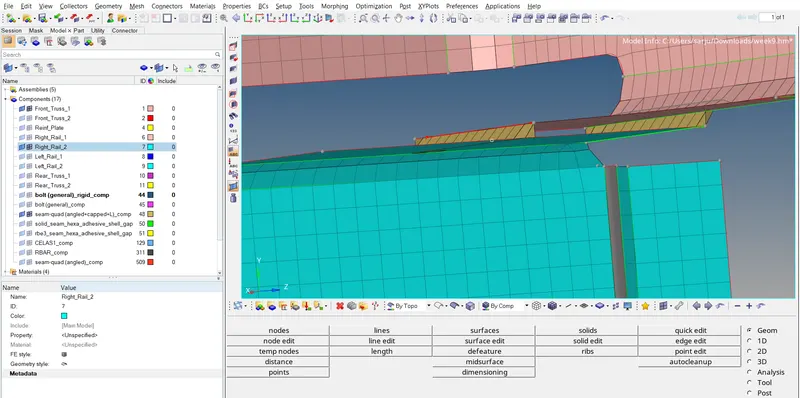
Now we can see the connections
Left_Rail_2 & Front_truss_1---------Seam Quad elements
Make only the given surfaces ON an mesh ON now we can perform the connector operation
Click on
1D------ Seam------ Spacing:4------ Type: seam quad------ Tolerance: 10------ Create
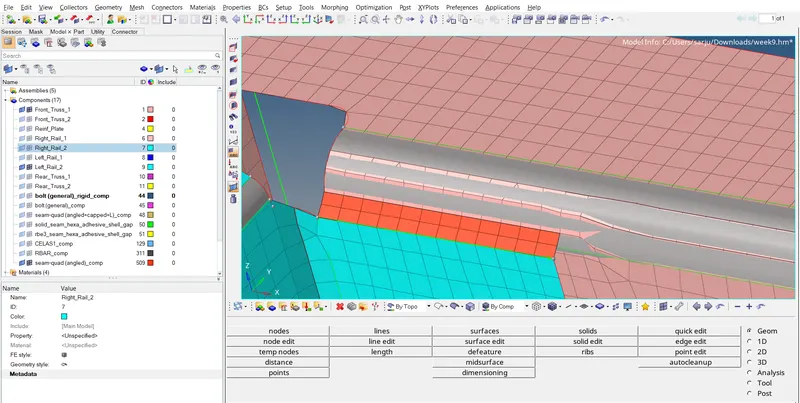
Now we can see the connections
Front_truss_2, Front_truss_1 & Right_Rail_1 ------Spot Weld
Make only the given surfaces ON an mesh ON now we can perform the connector operation
Click on
1D ---- connectors ------spot ------location: nodelist ------select the nodes along which the weld is to be created ------type: weld ------diameter: 5mm ------select components which are to be joined ------tolerance: 10 ------create
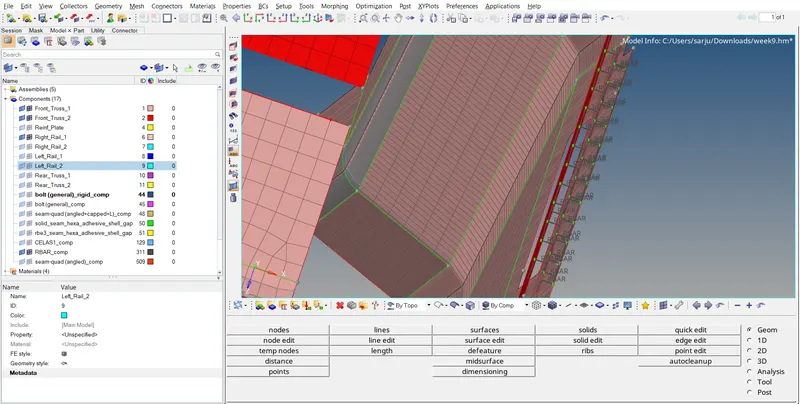
Now we can see the connections
Front_truss_2, Front_truss_1 & Left_Rail_1 ------Seam Hexa(Adhesive)
Make only the given surfaces ON an mesh ON now we can perform the connector operation
Click on
1D------ Seam------ Spacing:4------ Type: Hexa (adhesive)------ Strips: 01------ Coats: 01------ Tolerance: 10------ Create
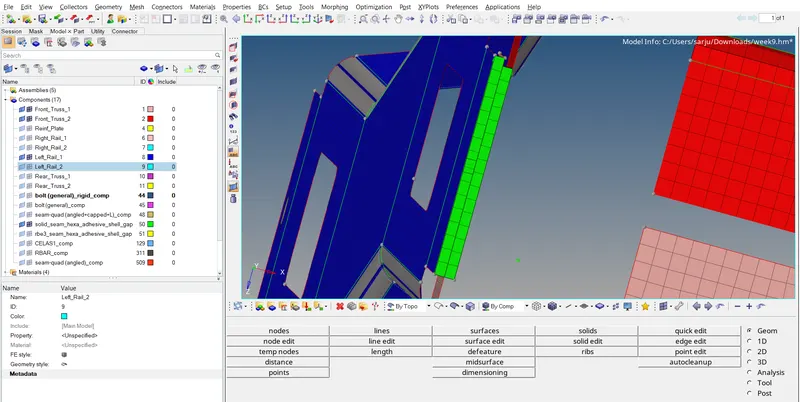
Now we can see the connections
Rear_truss_2 & Right_Rail_2 ------Bolt
Make only the given surfaces ON an mesh ON now we can perform the connector operation
Click on
1D------ Bolt ------Type: Bolt(general)------ no of layers: 2------ Tolerance: 10------ create hole if none------ create
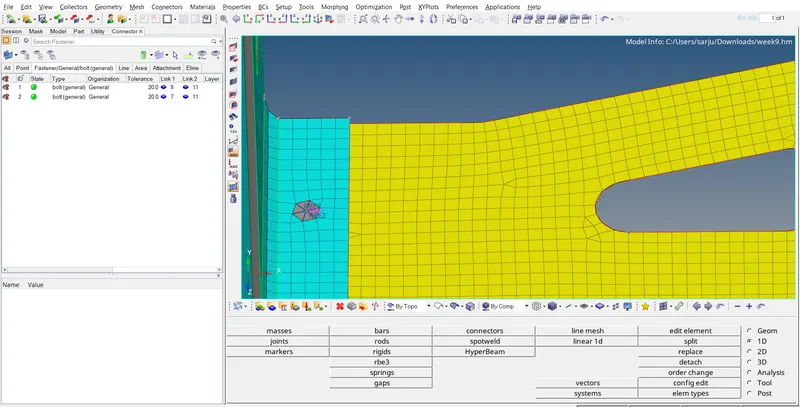
Now we can see the connections
Rear_truss_2 & Left_Rail_2 -------Bolt
Make only the given surfaces ON an mesh ON now we can perform the connector operation
Click on
1D------ Bolt------ Type: bolt------ no of layers: 2------ Tolerance: 10------ create hole if none------ create
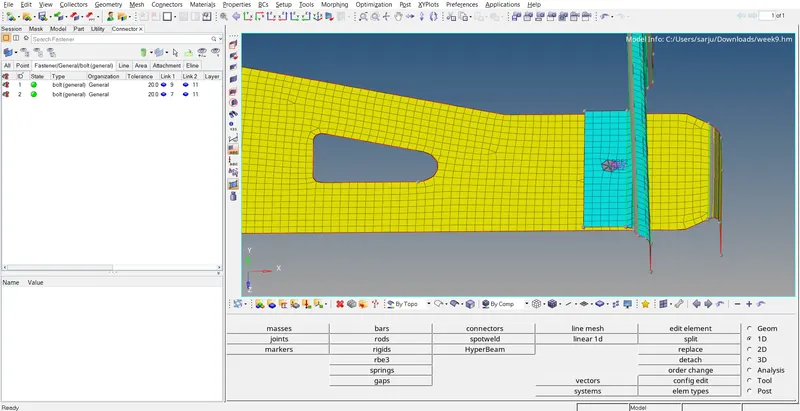
Now we can see the connections
Right_Rail_1 & Right_Rail_2 -------Spot Weld (Rigid elements)
Make only the given surfaces ON an mesh ON now we can perform the connector operation
Click on
1D ------spotweld ------using nodes ------select the nodes along which the weld is to be created ------type: rigid ------create
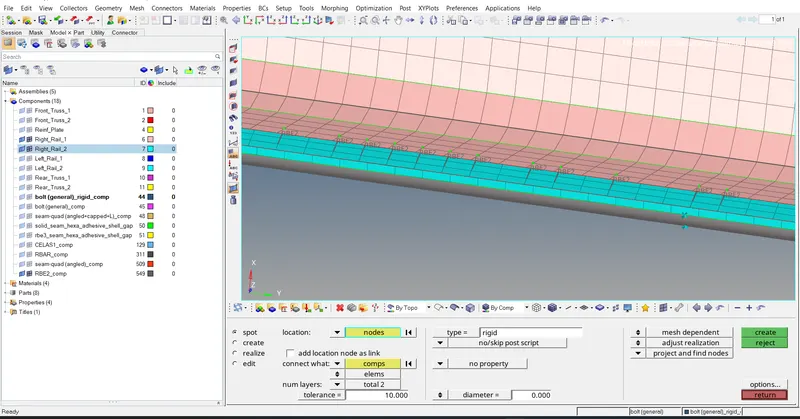
Now we can see the connections
Left_Rail_1 & Left_Rail_2 ------Spot Weld (Spring elements)
Make only the given surfaces ON an mesh ON now we can perform the connector operation
Click on
1D ------spotweld ------using nodes ------select the nodes along which the weld is to be created ------type: spring ------create
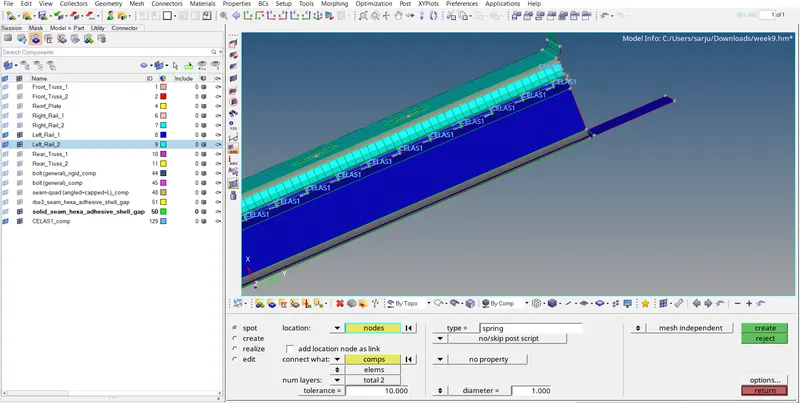
Now we can see the connections
Rest of the components were joined using appropriate connectors
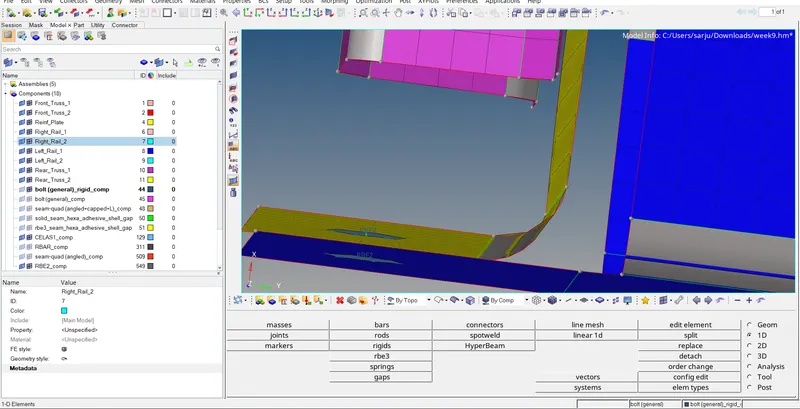
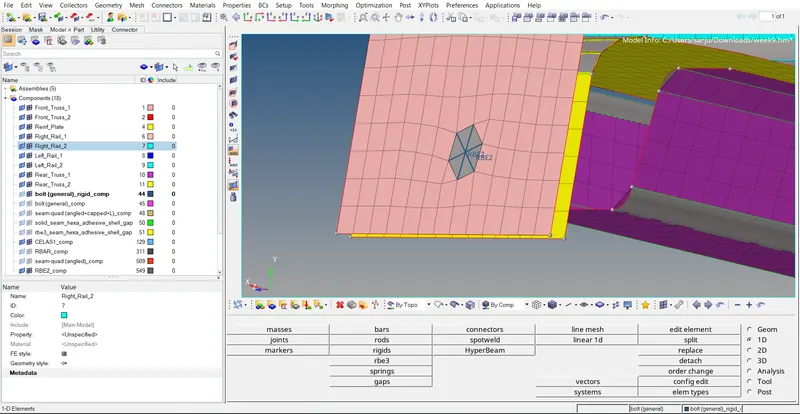
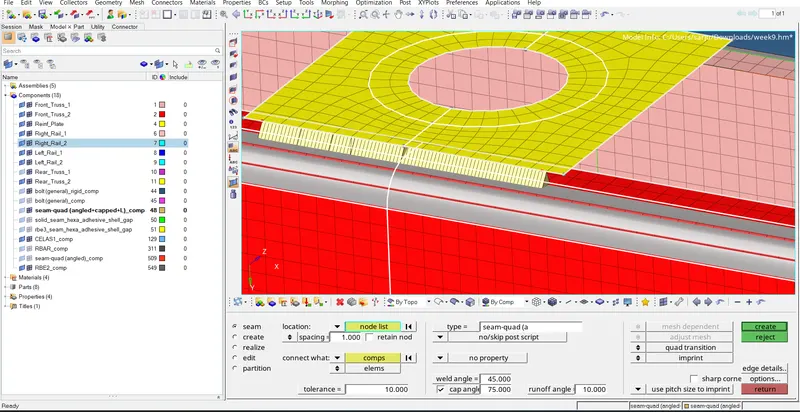
RESULT
Thus all the connections have been made and the final connections are as shown in the figure.