Week 9-Creation of 1D Connectors Challenge
AIM
Mesh the various parts of the component model and connect them using follwoing connectors
OBJECTIVE
- Import the geometry model file provided
- Mesh the following components with suitable mesh element size and maintain the mesh flow
- Clean up the mesh elements error
- Connect the components by using suitable connectors and remesh the elements if required
PROCEDURE
- First we have to import the model file which is provided for the task to import that file we need to go to import menu option
- In import we select for the import model file because the file which is provided to us already a model file of hypermesh
- After importing the model file we check for the so;lids if there are any present we delete the solids
- After that we need to check for the geometrical errors clean up the geometrical errors if present any
- After we go for meshing the components individually and then cleanup the mesh elements errors
- After mesh clean up the components are to be connect by using the connectors
- As per the given data of using the suitable connectors for the components to connect we follow that data and connect the components perfectly
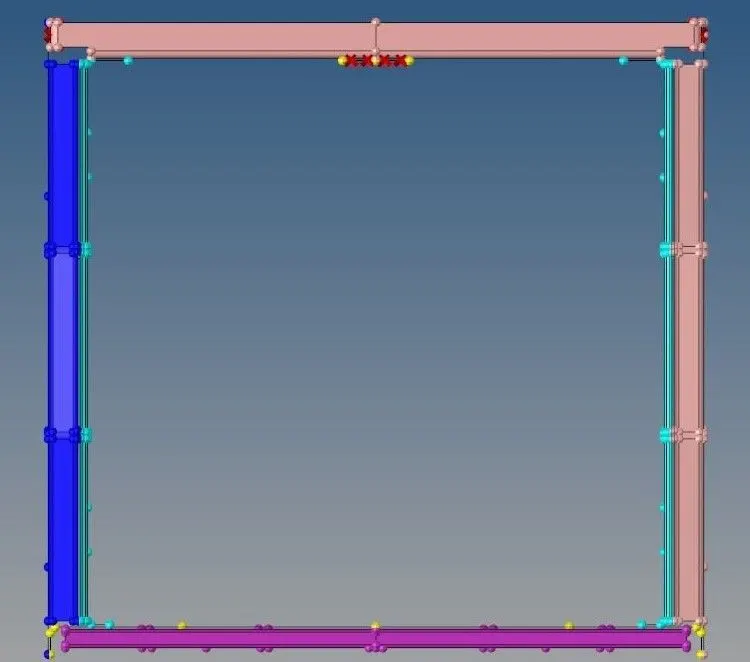
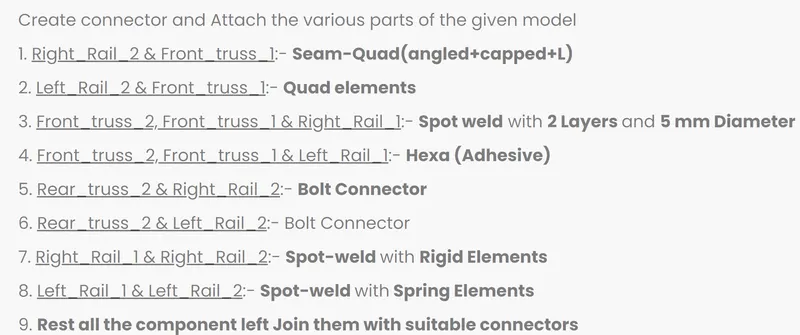
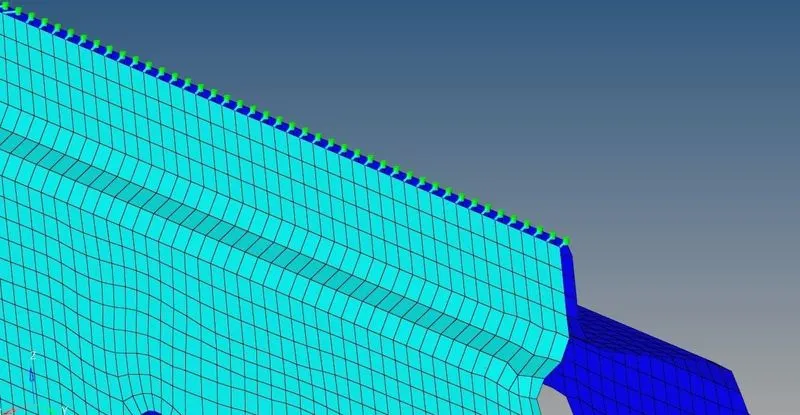
- For the first task connecting right rail 2 and front truss 1 by using seam quad
- We got to the 2D -connectors - seam option
- In this tool option we have to provide the node list spacing type of the connection weld angle ,cap angle runoff angle and the components which have to be connected
- In this option we give the tolerance value as 10 which helps to search for the nearest elements in that range to connect with
- Spacing is the distance between each weld location in the line as per the target element size
- Weld angle is the distance between the normal projection and the quad direction , cap angle is measured between the normals of the last and the second to last elements of the seam
- These are usually defined by the user as per the requirement but for this model we dont have ant requirement regarding this so we leave it as it default
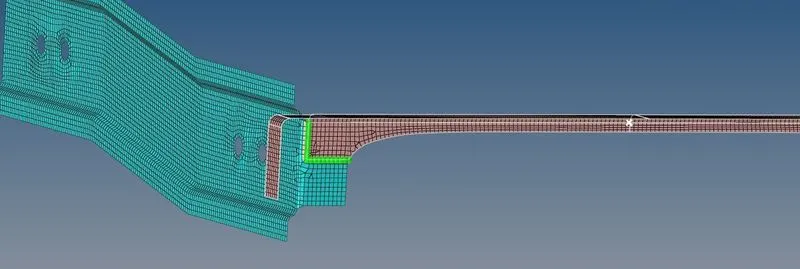
- For the 2nd task of connecting left rail 2 and front truss 1 using quad element
- We go to the 2D - connectors-seamoption
- This time we select for the quad in the type of elements for connecting
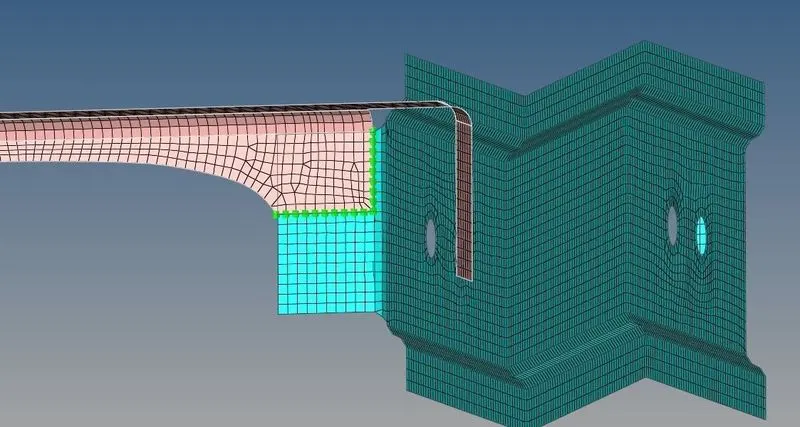
- For the 3rd task of connecting front truss 2 front truss 1 and right rail 1 with spot weld with 3 layers and 5mm diameter
- We go to the option 2d connectors -spot option
- In this spot option we have to select the nodes which have to make the connection select the type of connection weld as per the requirement we given the diameter and select the components which are going to be connected with each other
- Num layers is the formation of thickness layers between the surface we give as 3 and tolerance is given for the search radius
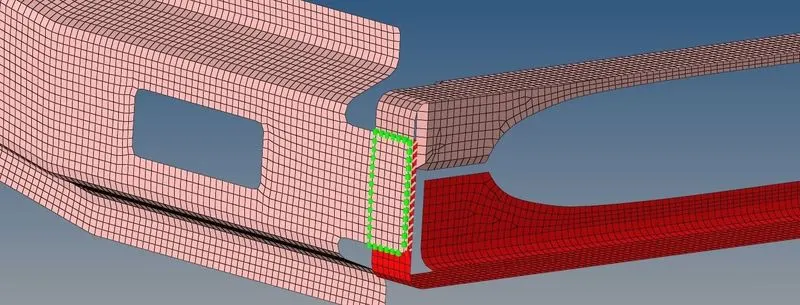
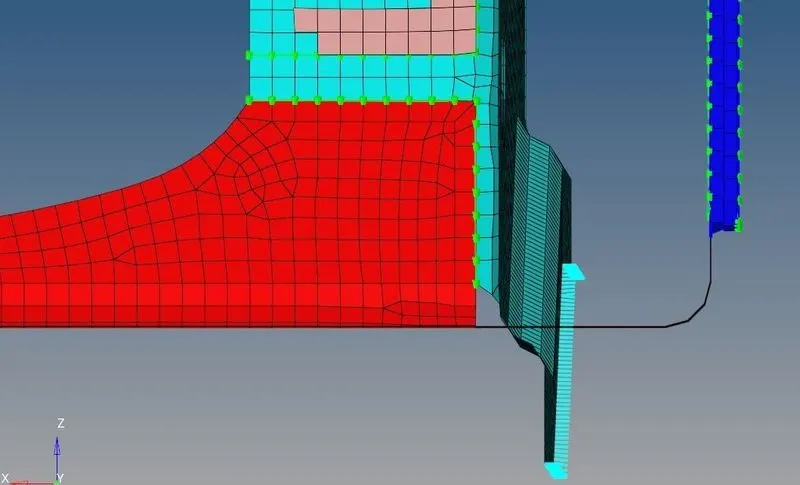
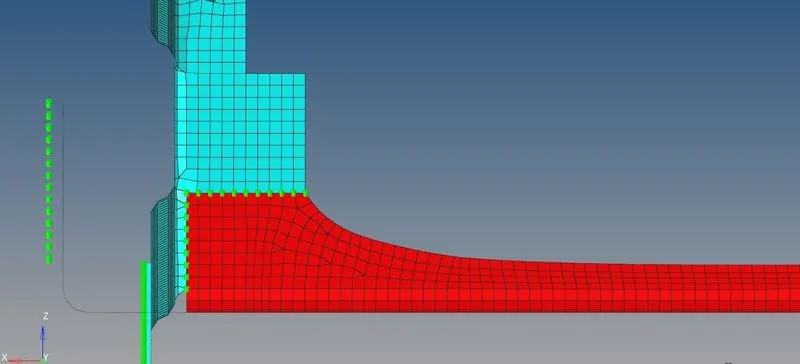
- For the 4th task of connecting the front truss 2 front truss1 and left rail 1 using hexa
- We go to the option 2D connectors-seam option
- In this we select the nodes and type of elements for connecting the components
- Strips are the number of hexa elements required along the width and coats are the number of hexa elements required along the thickness
- The search tolerance is provided as the 10
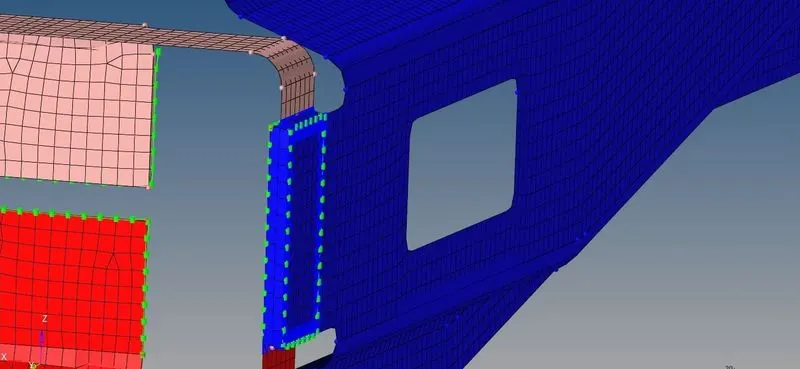
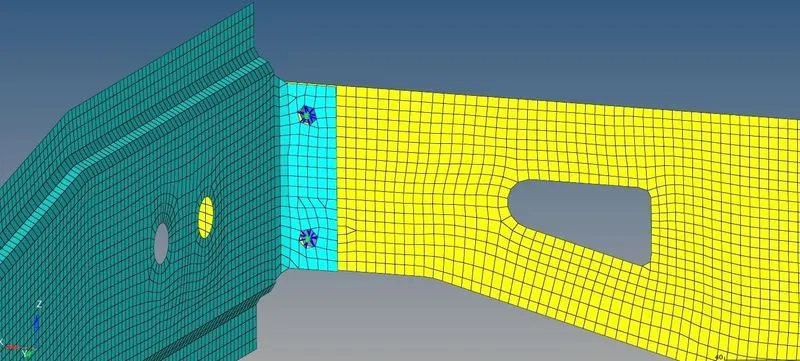
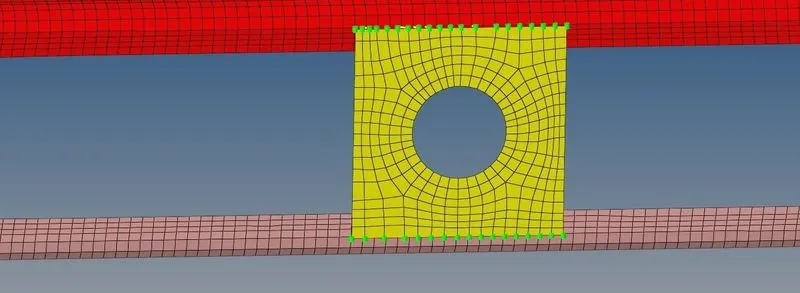
- For the 5th task of connecting rear truss 2 and right rail 2 using bolt connector and 6th task of connecting rear truss 2 and lest rail 2 using bolt connector
- We go to the option 2D connectors -Bolt option
- In this option we have to select the node for creating the bolt connection and the bolt type
- The num layers is taken as 2 tolerance for search is given as 5
- Now we select the components which we want to connect with the help we have to enable the option of create hole if none otherwise the connectors fails to connect with the surface
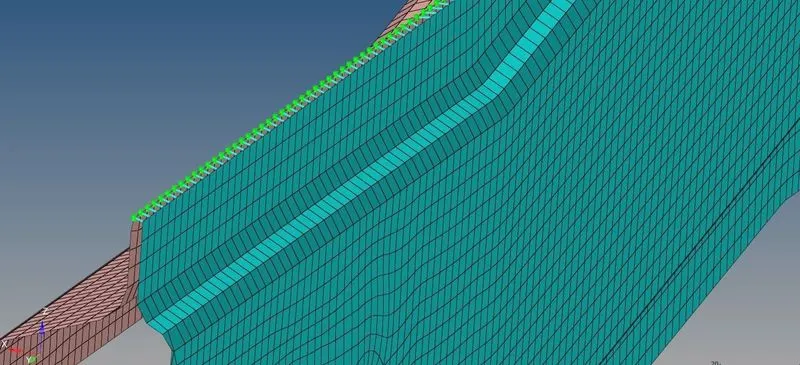
- For the 7th task of connecting the right rail 1 and right rail 2 spot weld with rigid elements
- We have to go the option 1D connectors -spot
- In this option we have to provide the node list type of element to be formed and the components which we have to connect
- For the 8th task of connecting the left rail 1 and left rail 2 spot weld with spring elements
- In this option we have to provide the nodes list type of elements to be formed and the components which have to connect
- Here as per the target elements size we provide diameter as and the num layers is taken as 2
- In this both sides of the component to connect with rigid elements we proceed the same prodecure
- For the task 9 to connect all the component lest join them with suitable connectors
- We connect the component by using suitable connectors a per previous experience of the above components
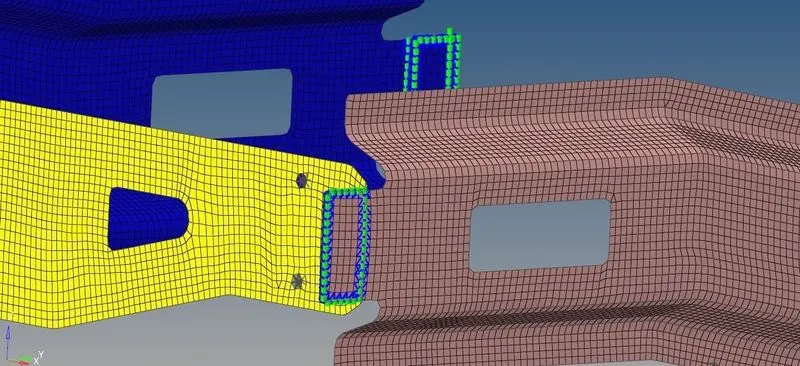
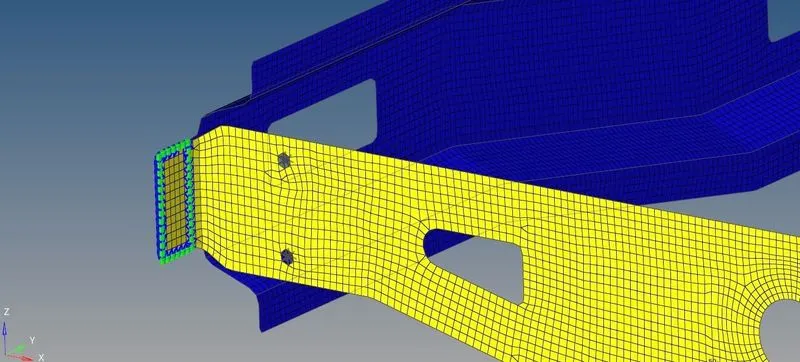
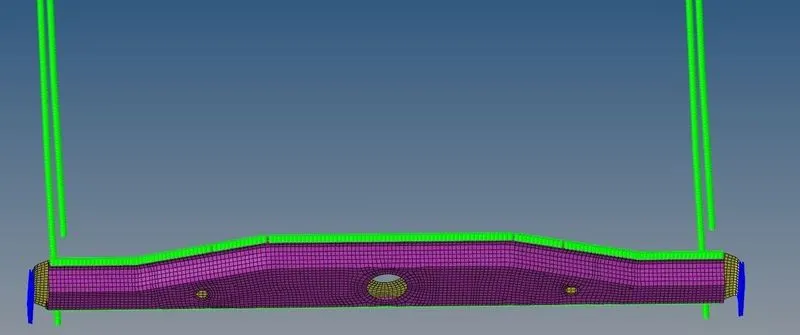
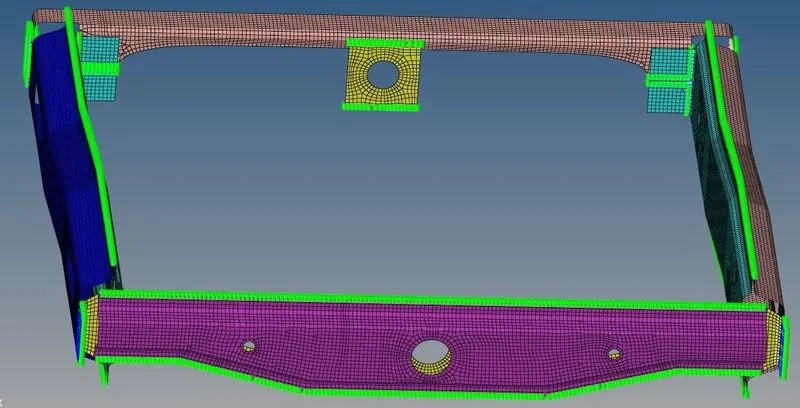
CONCLUSION
As per the given challenge task is completed of connecting the components with suitable connectors as per the data provided after connecting the components we also check for the elements not to fails and also follows the mesh flow as possible.