Week 9-Creation of 1D Connectors Challenge
AIM:
Aim to Generate Mesh on Frame Assembly and connect parts with suitable connectors
Procedure:
- opening .hm file
- Giving Quality Criteria
- Generating Mesh
- Improving Quality of Mesh
- Deploying Connectors
1- Opening .hm file:
- Given File is in .hm Format
- Click on this open icon located on left top side of HyperMesh tab

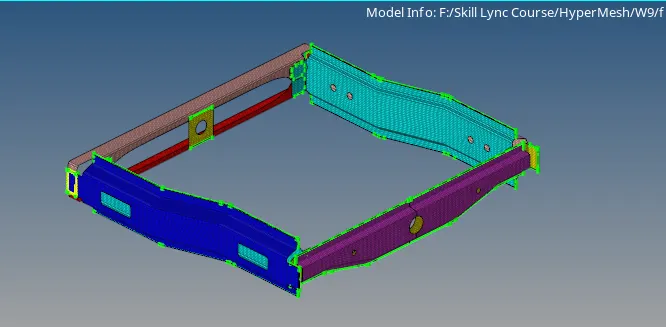
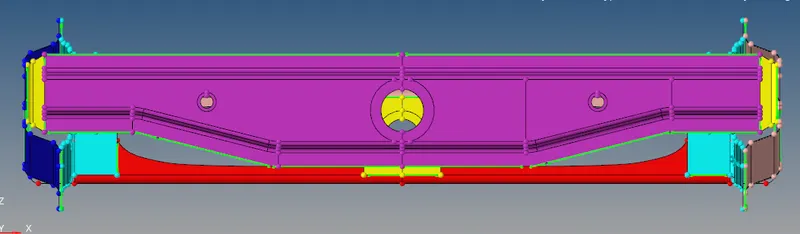
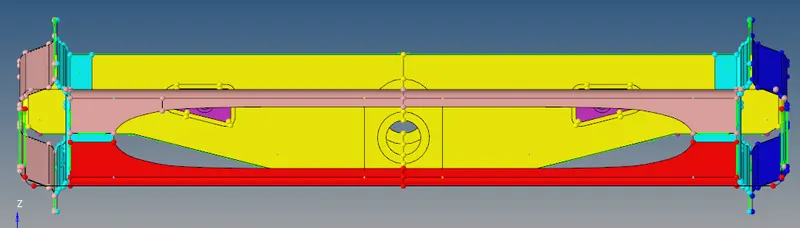
- Different Views of Given Model
2-Giving Quality Criteria:
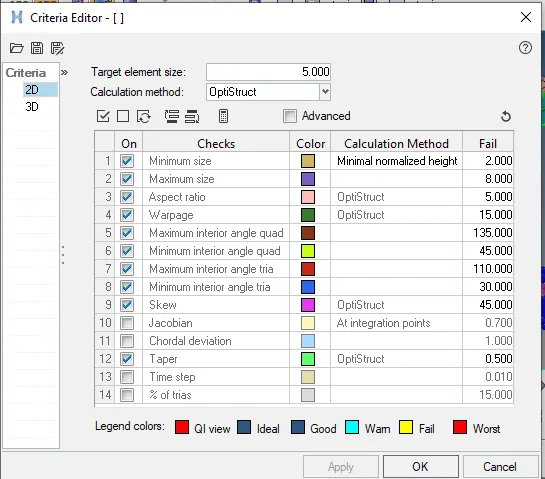
- Now before going for meshing we need to give some Quality criteria to HyperMesh
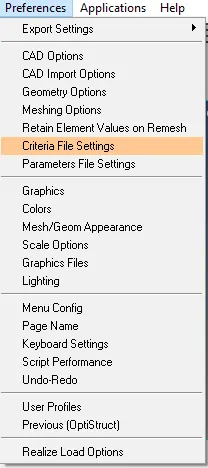
- To apply Quality Criteria go to Title bar->Preferences->Criteria File Settings
- Enter Required values and save the Criteria file for future use
- click on apply
3&4Generating Mesh & Improving Quality of Mesh:
- Now to Generate Mesh consider only Mid-Surface
- Mesh should be generated on Mid-Surface
- To Mesh consider part and use Tool 2D->AutoMesh
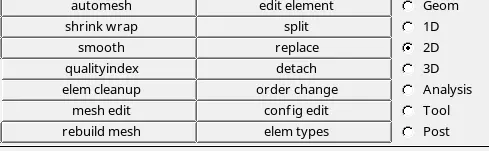
- Select surface and Click on Mesh
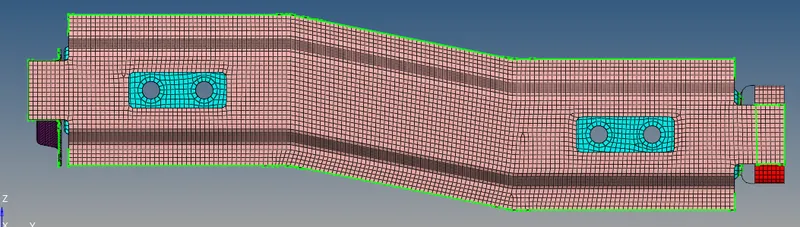
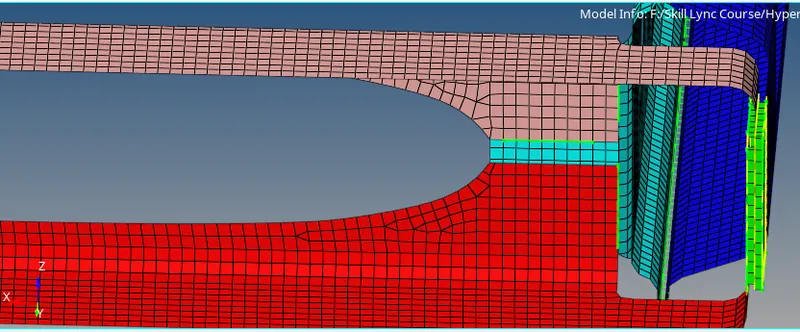
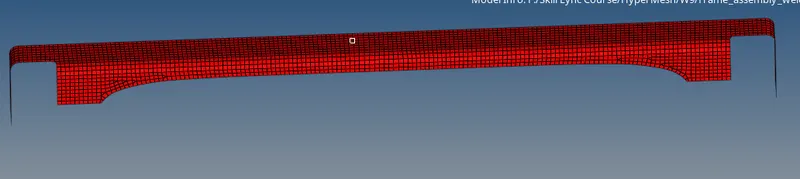
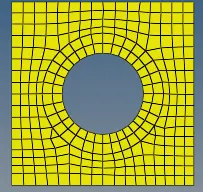
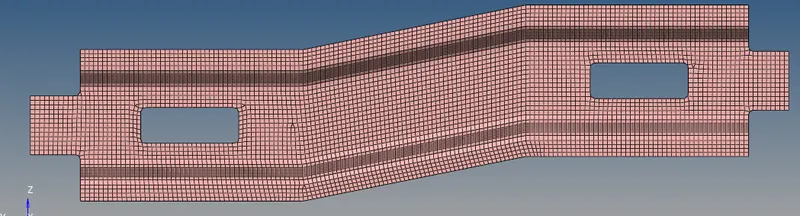
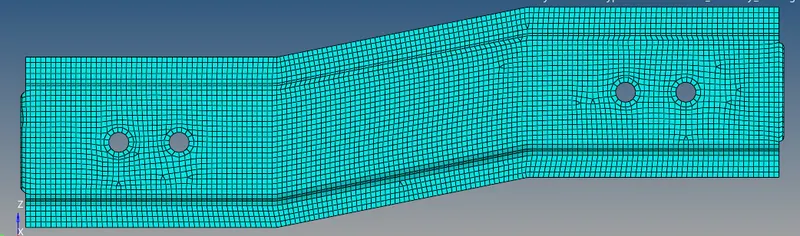
- Mesh will be Generated Shown Below
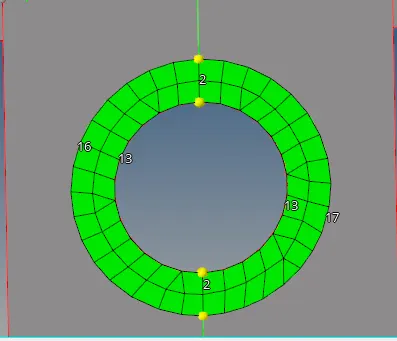
- To Improve Mesh Quality use tools
- a-2D->Quality Index->Cleanup Tools
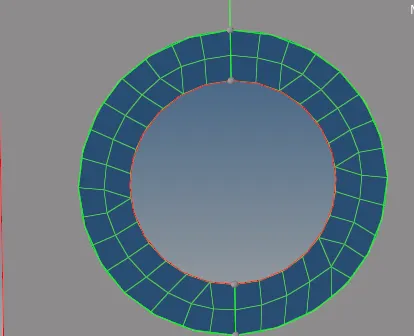
- b-2D->Rebuild Mesh>Select Elements and click on Rebuild

- Our Mesh Should Pass all Quality and there should be no Failing Quality Elements
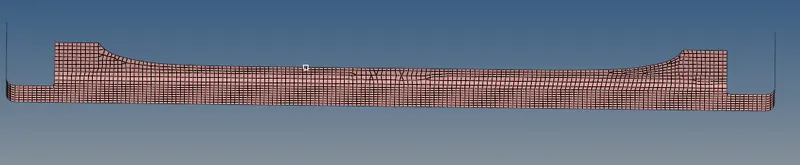
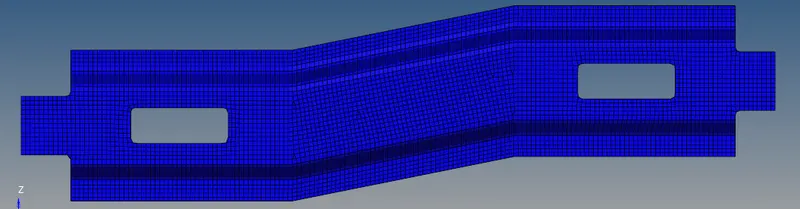
- Images of Parts After mesh
5-Deploying Suitable Connectors for Different Parts:
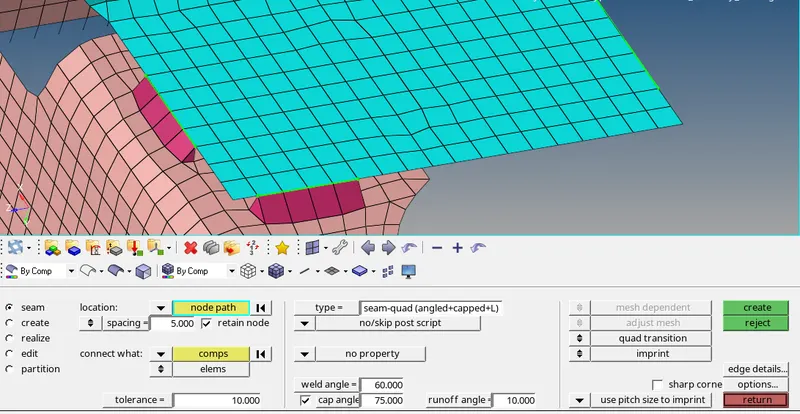
- For Right_Rail_2 & Front_truss_1:- Seam-Quad(angled+capped+L):
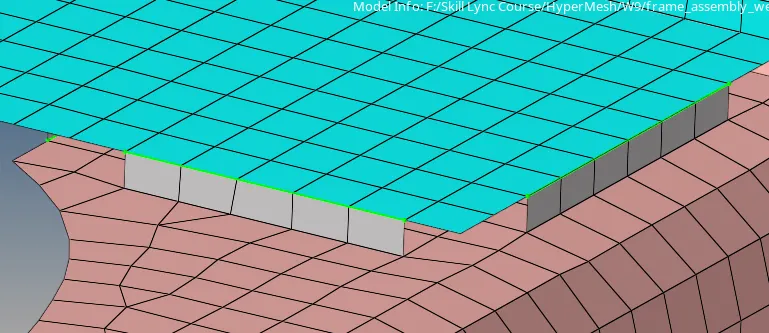
- Left_Rail_2 & Front_truss_1:- Quad elements:
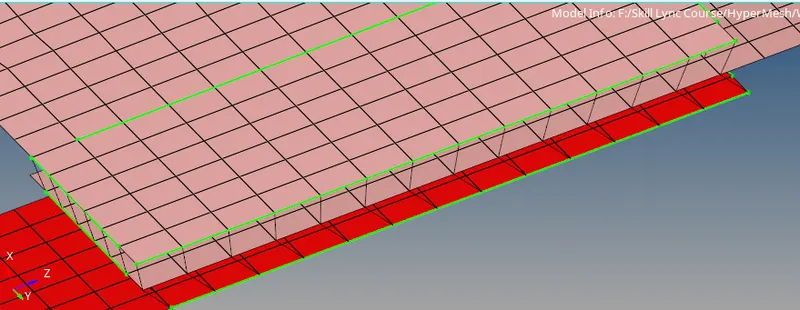
- Front_truss_2, Front_truss_1 & Right_Rail_1:-{ Spot weld with 2 Layers and 5 mm Diameter}:
- Front_truss_2, Front_truss_1 & Left_Rail_1:- Hexa (Adhesive):
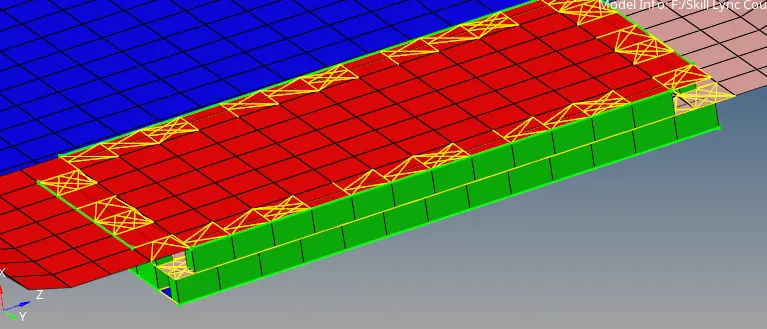
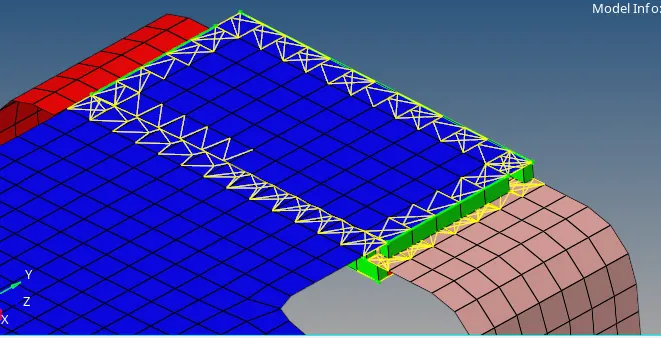
- Rear_truss_2 & Right_Rail_2:- Bolt Connector:
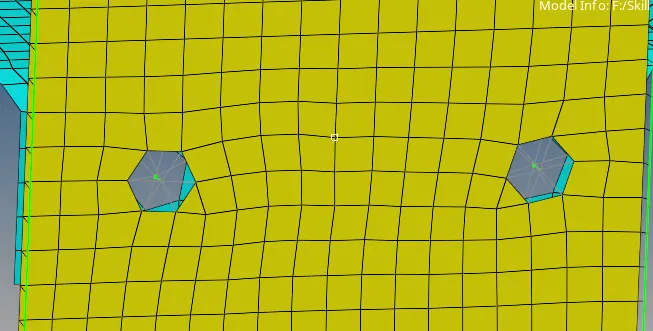
- Rear_truss_2 & Left_Rail_2:- Bolt Connector:
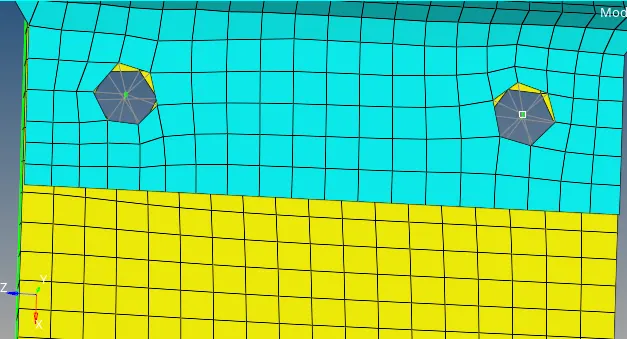
- Right_Rail_1 & Right_Rail_2:- Spot-weld with Rigid Elements:
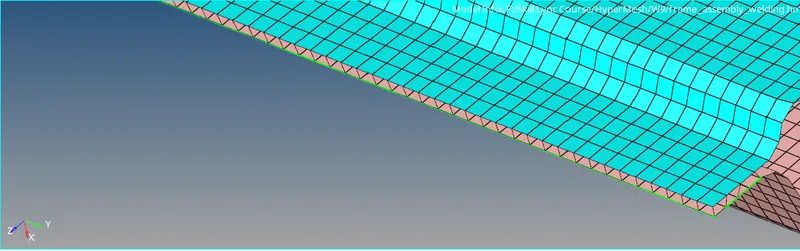
- Left_Rail_1 & Left_Rail_2:- Spot-weld with Spring Elements:
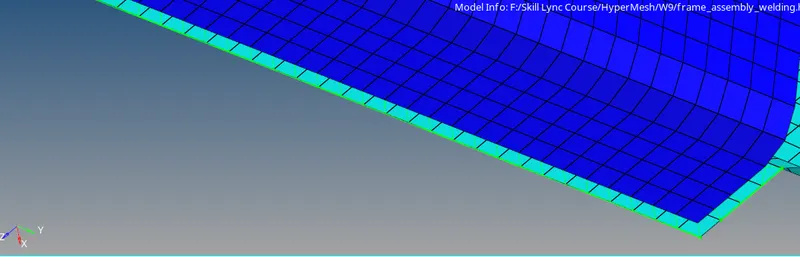
Learning Outcomes:
- Learned how to generate mesh on mid-surface
- Learned how to Deploy Suitable (or) Industry Standard Connection on Different parts of Model
- Time Taken to Complete This Challenge: 4Hours
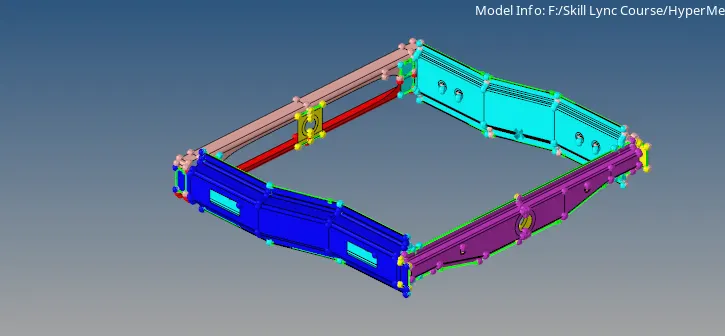
- Final Model Images of Model after Deploying Connections: