Week 9-Creation of 1D Connectors Challenge
Objective:- To mesh the given geometry based on the given parameter and create connectors and attach to the various parts of the given model.
Target Element size - 5 Units
|
S.N |
Quality Criteria |
Value |
|
1 |
Aspect Ratio |
5 |
|
2 |
Skewness |
45 |
|
3 |
Warping |
15 |
|
4 |
Taper |
0.5 |
|
5 |
Min. Length |
2 Units |
|
6 |
Max. Length |
8 Units |
|
7 |
Min angle Quad |
45 |
|
8 |
Max angle Quad |
135 |
|
9 |
Min angle Tria |
30 |
|
10 |
Max angle Tria |
110 |
|
10 |
Tria % |
15 |
Create connectors and attach them to the various parts of the given model:-
1. Right_Rail_2 & Front_truss_1:- Seam-Quad(angled+capped+L)
2. Left_Rail_2 & Front_truss_1:- Quad elements
3. Front_truss_2, Front_truss_1 & Right_Rail_1:- Spot weld with 2 Layers and 5 mm Diameter
4. Front_truss_2, Front_truss_1 & Left_Rail_1:- Hexa (Adhesive)
5. Rear_truss_2 & Right_Rail_2:- Bolt Connector
6. Rear_truss_2 & Left_Rail_2:- Bolt Connector
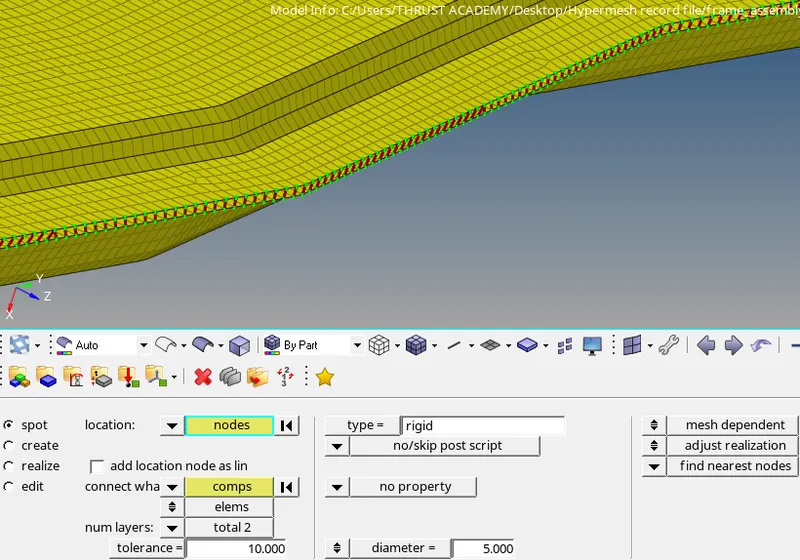
7. Right_Rail_1 & Right_Rail_2:- Spot-weld with Rigid Elements
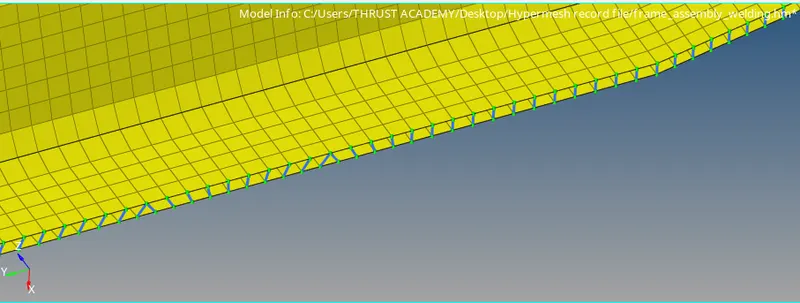
8. Left_Rail_1 & Left_Rail_2:- Spot-weld with Spring Elements
9. Rest all the component left Join them with suitable connectors.
About CONNECTORS:- It is a geometric entity that defines the connection between other entities. It is used for welding, bolt, adhesive.
→ It links geometry or FE entities.
→ Types of connectors:-
1. Spot:-
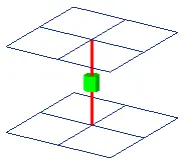 * Connection at a point.
* Spot welds, rivets, etc.
2. Bolt:-
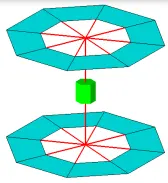 * Connection at hole location.
3. Trim mass:-
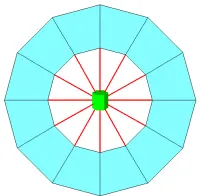
* Non-physical mass.
* Simplification through replacement of parts with mass only or adding mass to existing parts.
4. Seam:-
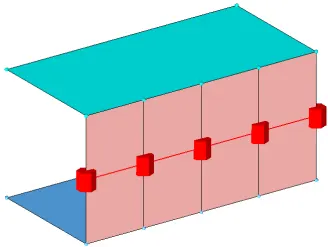
* Connection along a length.
* Connects geometry only.
5. Area:-
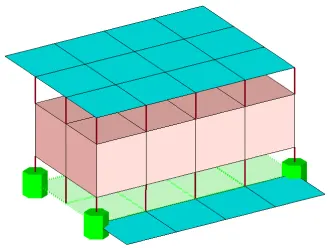
* Connection of Areas.
* Adhesives.
Procedure:-
→ Import the given truss and rail assembly.
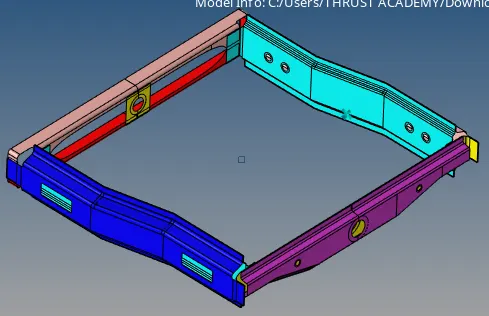
→ Perform 2D mesh operation based on the given quality criteria.
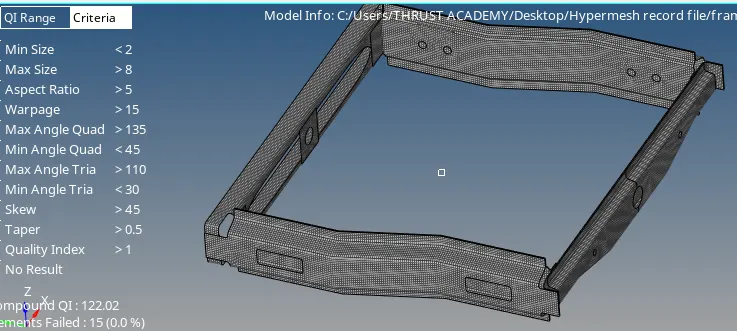
Create connectors:-
1. Right rail2 & front truss1:- Seam(angled+capped+L)
This connector can be created from the seam types connectors.
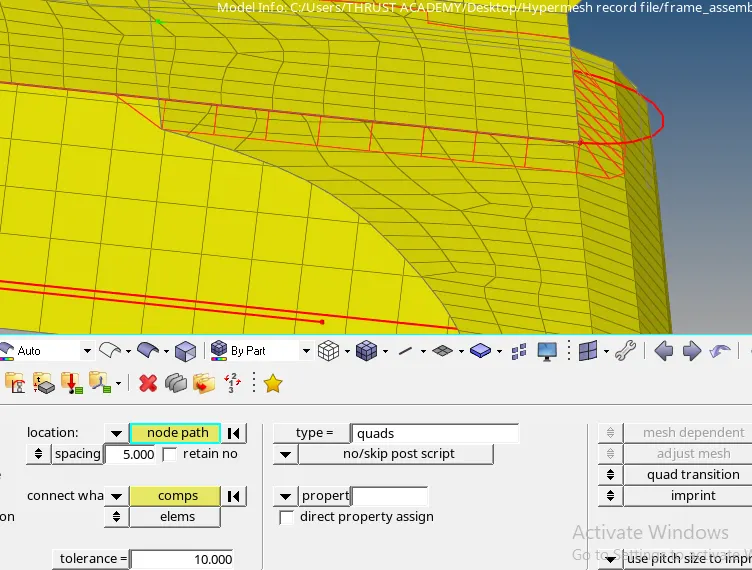
(2D↵connectors↵seam↵type: seam(angled+capped+L)↵tolerance 10↵select components and nodes then create.)
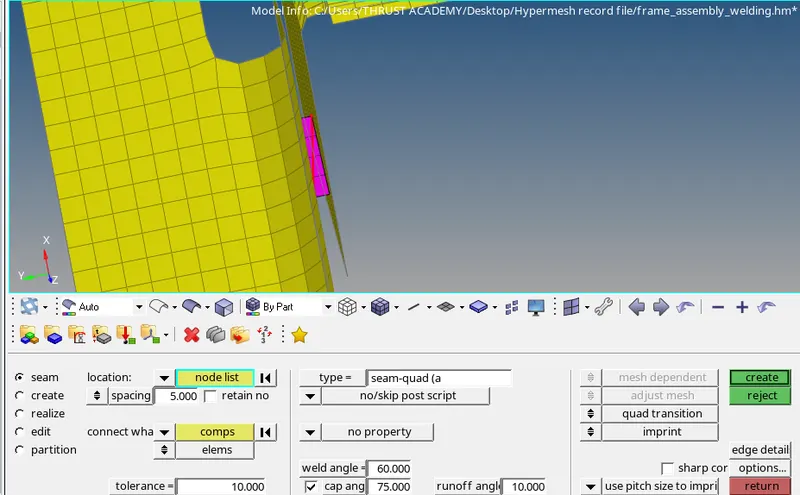
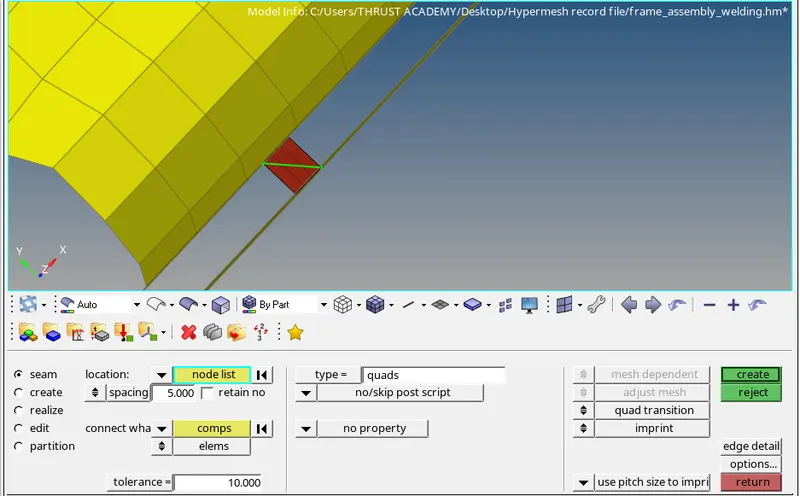
2. Left rail 2 & front truss 1:- Quad elements
It is also connected through seam type of connectors.
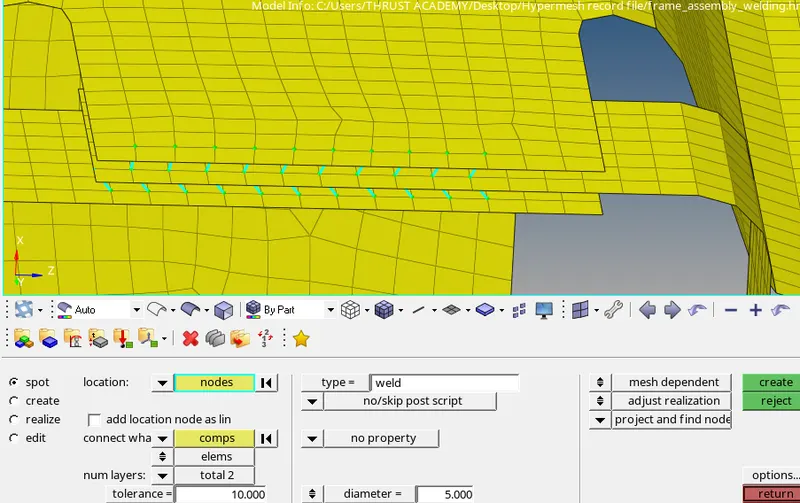
3. Front truss 2, front truss 1 & right rail 1:- spot weld with 2 layers and 5mm diameter.
It is a spot-type weld with 2 layers and a 5mm diameter.
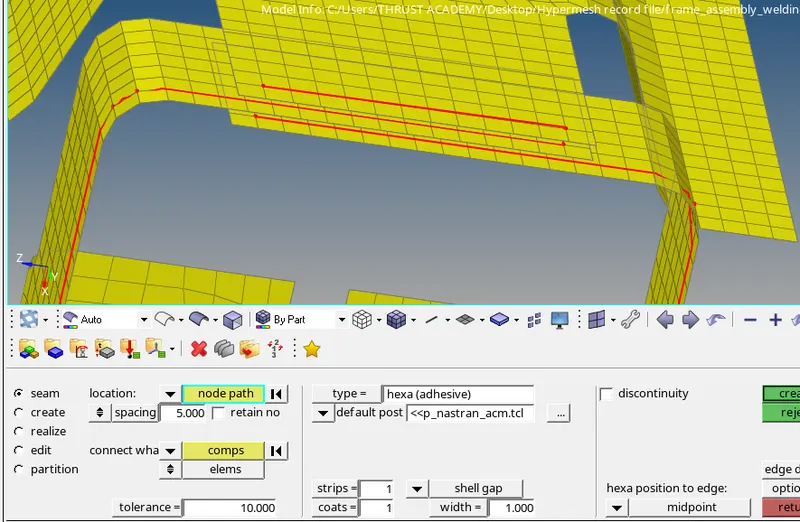
4. Front truss 2, front truss 1, and left rail 1:- Hexa(Adhesive)
This could be created with the help of seam type of connectors.
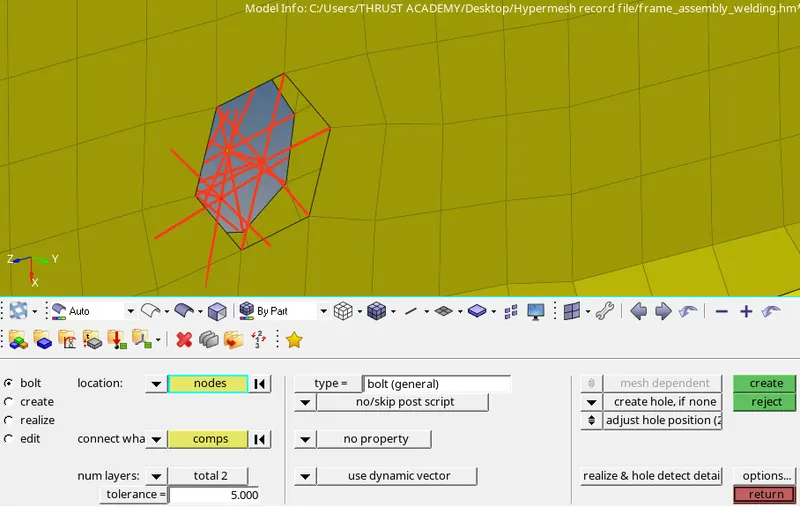
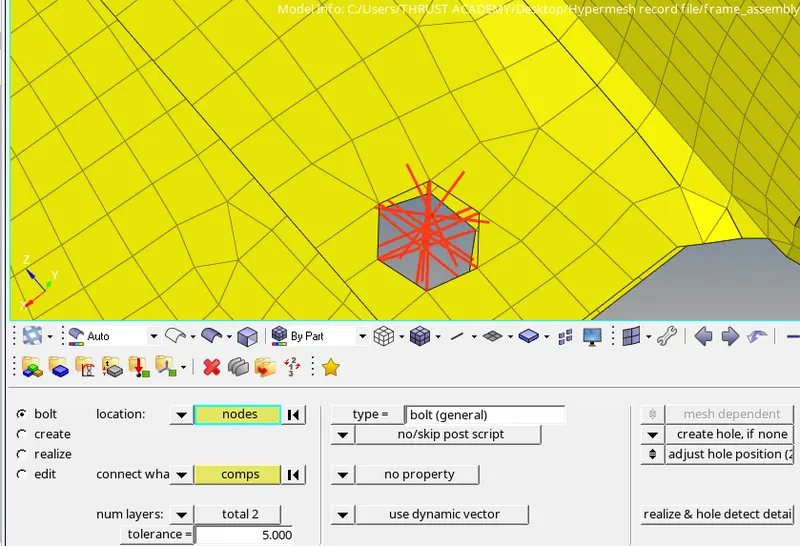
5. Rear truss 2 & right rail 2:- Bolt connector
Use bolt type option. Since there is no existing hole so we have to choose to create a hole option.
6. Rear truss 2 & left rail 2:- Bolt connector
Do the same operation, that we did above.
7. Right rail 1 & right rail 2:-Spot-weld with rigid elements.
For rigid elements select the spot-weld option.
8. Left rail 1 & left rail 2:- Spot-weld with spring elements
This is also done through spot type connector.
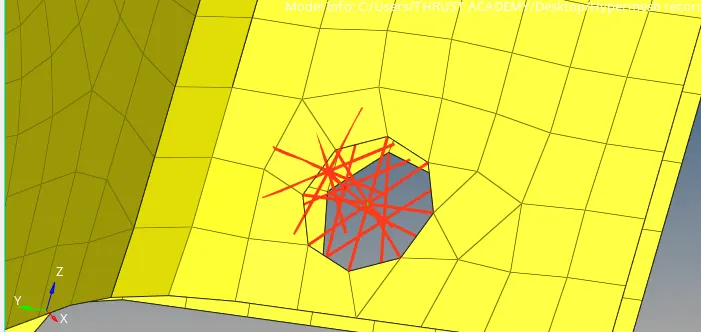
9. For the remaining types, I used the following connectors;-
a. Rear truss 2 & right rail 1:- Bolt type
b. reinforcement plate and front truss 2:- Hexa (Adhesive)
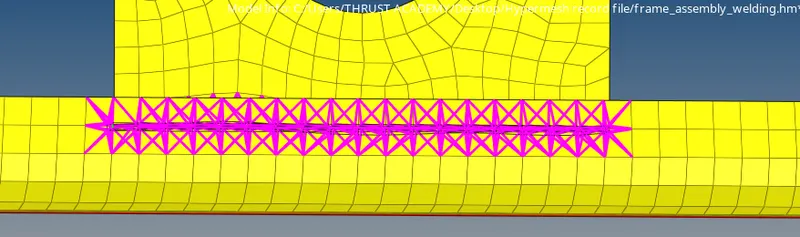
c. Reinforcement plate and front truss 1:- Spot-weld
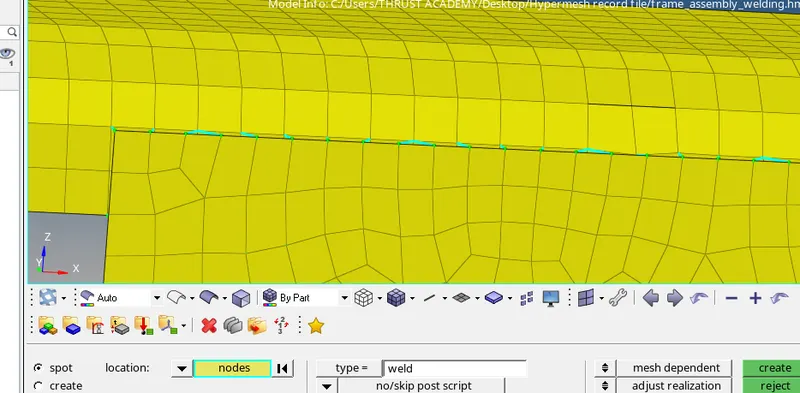
d. Left rail 2 and front truss 1:- Quad type
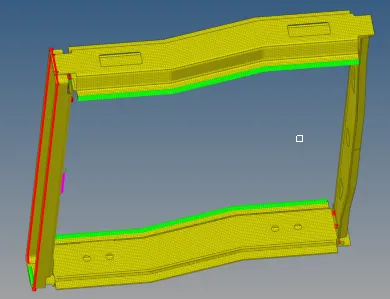
RESULT:-
CONCLUSION:-
Have gained about connectors and their uses.