Week 9 - Creating connection for Rear door
Aim : Provide the connections in the rear door model.
Procedure :
First of all separate PID's have to be assigned.
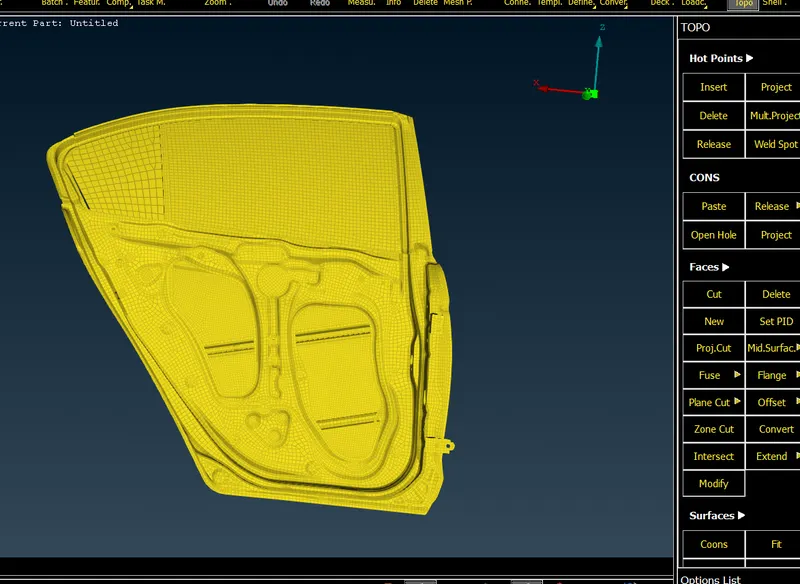
Model w/o PID's assignment.
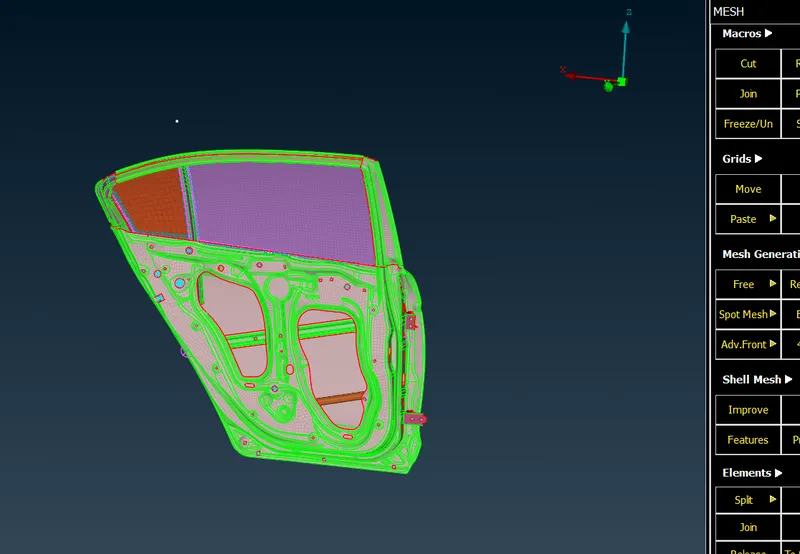
Model with separate PID's assigned.
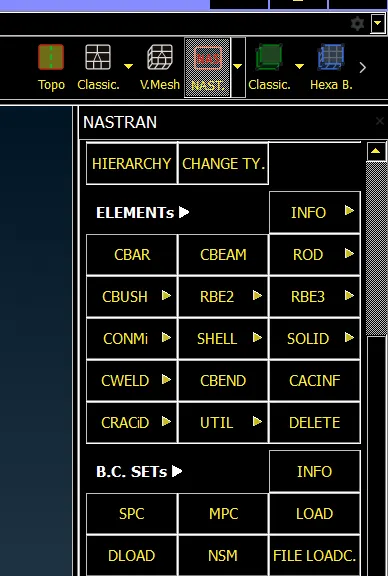
To establish the rigid connection between two parts, First of all go to 'NASTRAN Deck' --> Elements --> RBE 2.
Inside 'RBE 2 ' select 'many nodes' or two nodes' option as per connection requirement.
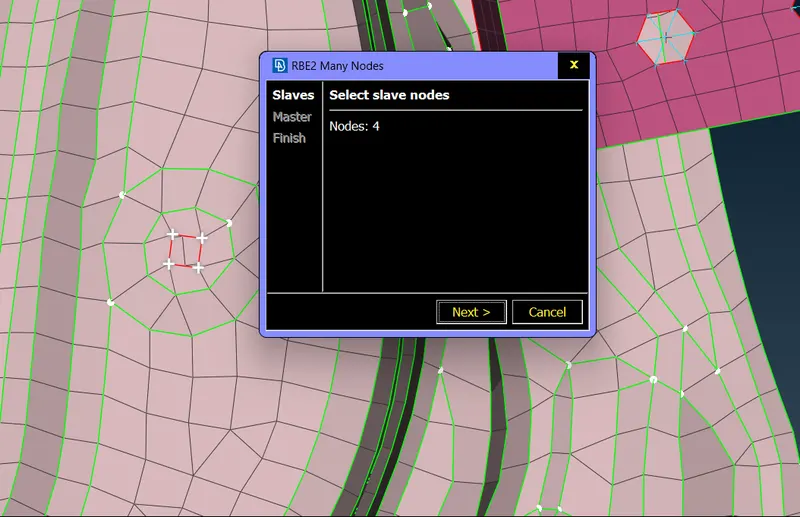
1] After selection many nodes, select slave nodes.
2] Click on next and select Master node.
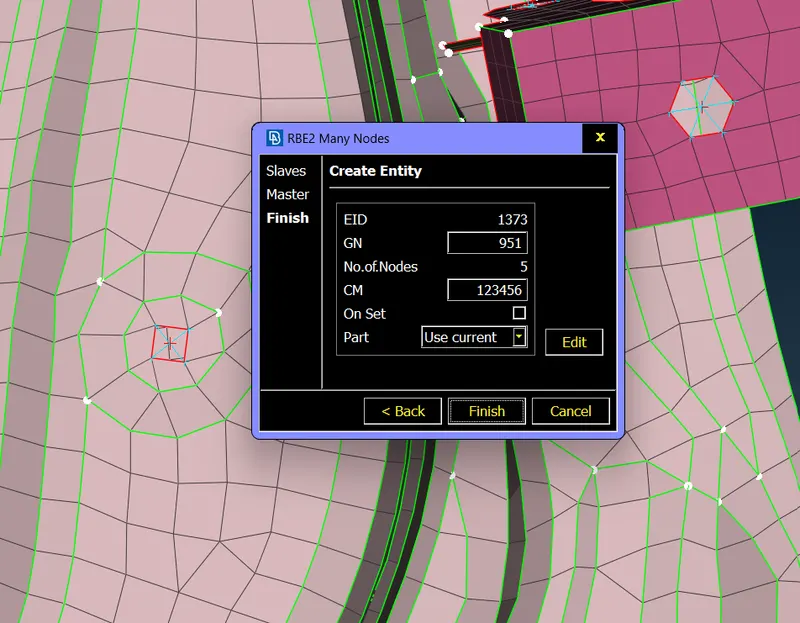
1] After clicking on next, another dialogue box will open.
2] Select part location path and say Finish.
Slave nodes are the ones whose behaviour will be based on master nodes behaviour.
Spot weld connection :
1. To create spot weld connection we need to define a point first.
2. After that convert that point to spot weld point from assembly module.
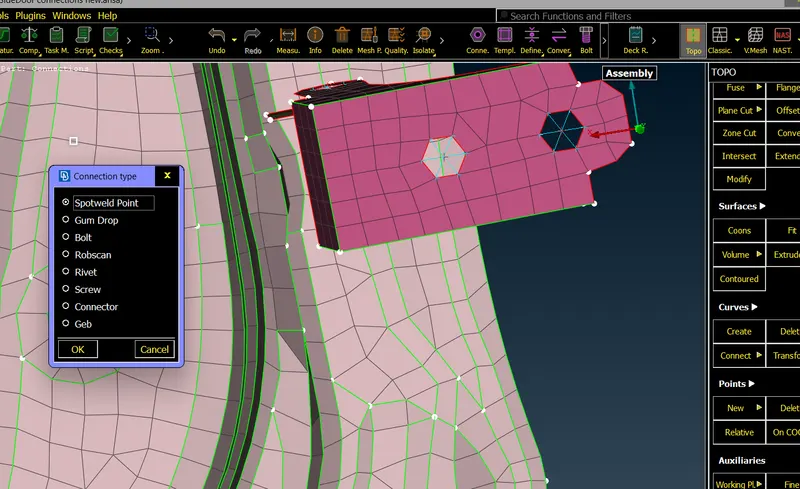
3. And then establish a rigid conenction from connection manager.
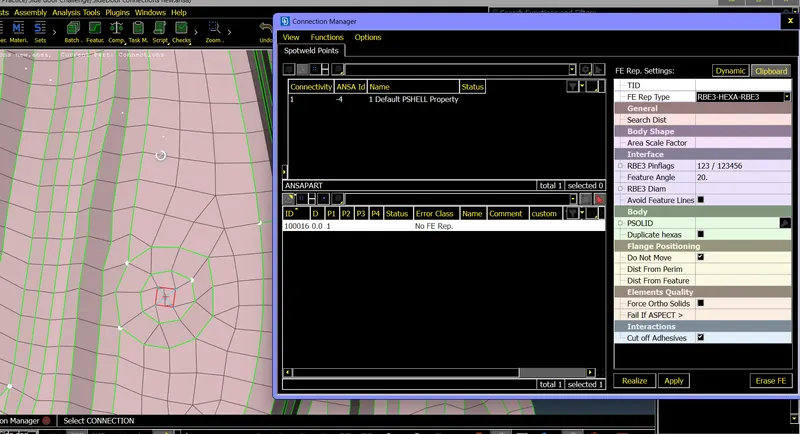
To establish the connection : -
1. On the left side select parts as P1 and P2 as two parts between which connection is to be established.
2. Now, on the right side select FE REP TYPE as '' RBE-3 HEXA RBE-3'' .
3. Give the search distance accordingly.
4. Do apply and say Realize.
Seam weld connection :-
1. For seam weld connection do the same procedure as above only chance FE REP TYPE as -
'' Overlap shell " for Parallel joints and " Y - Joint shell " for perpendicular joints.
To create connection between glass part -
1. Convert the edge lines into curves.
2. Convert this curves into seam lines from Convert button in Assembly module.
3. Then, select this seam lines and Go to Connection Manager in ASSEMBLY MODULE.
4. Where do the same procedure as shown in seam weld section except only select " RBE 3 - CBUSH - RBE 3 " in FE REP TYPE .
LEARNING OUTCOMES :
1. In this challenge, learnt about the connections. Why are the connections made, need of connection in the model, different types of joints.
Conclusion :
At the end of the challenge able to establish required connection as per the requirement