Week 9 - Creating connection for Rear door
AIM:
To creating the connection for given Rear door model.
CAD Model:
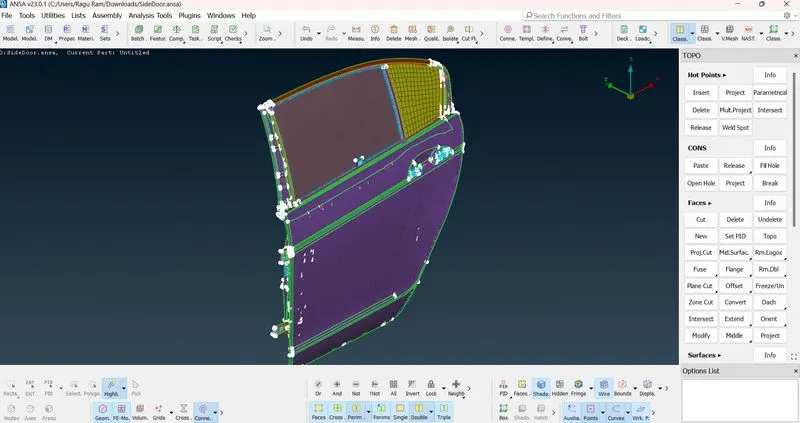
PROCEDURE:
1. DO fill the all holes by using Nastran deck>Elements>RBE2>Many nodes.
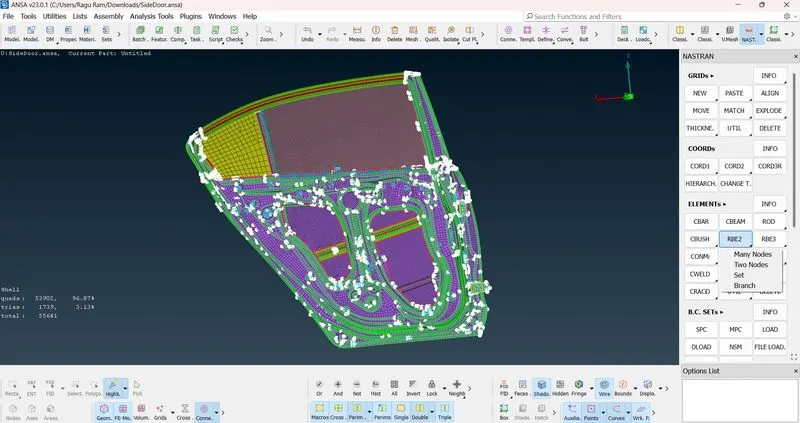
2. After that the slave nodes were form spider and surrounded the centre node which is Master node.
3. Some of the holes were connected by using bolts. That connections have explained by using below images.
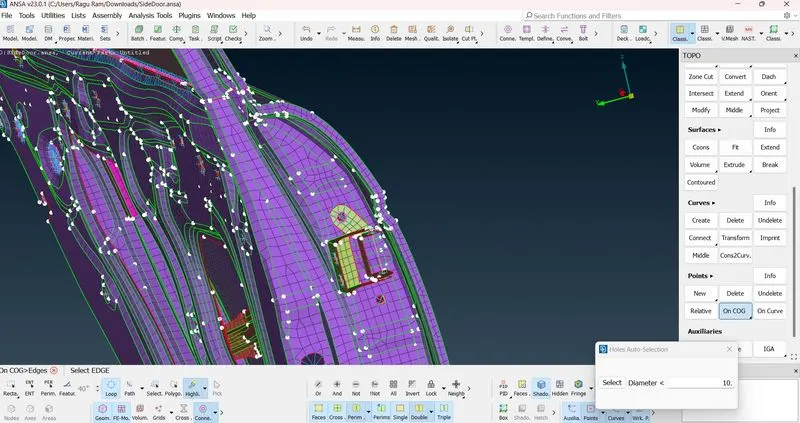
4. In classic >Points>On COG>Select the middle surface node>3D elements will form then convert that 3D element into bolt.
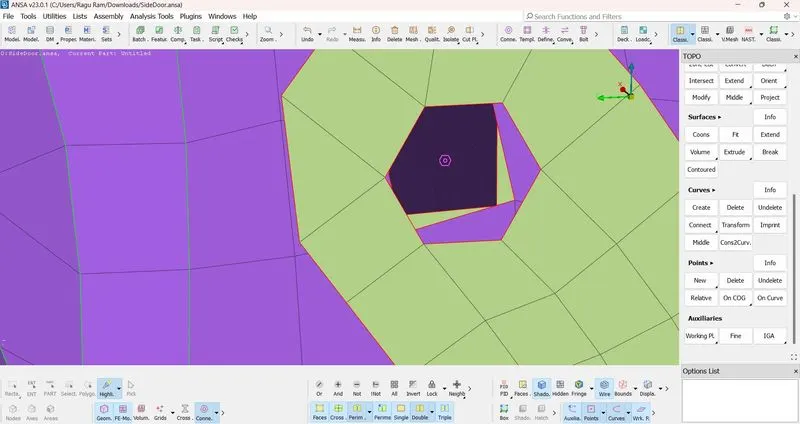
5. After that bolt symbol will form in the centre of the hole.
6. Then connection>select the bolt symbol>
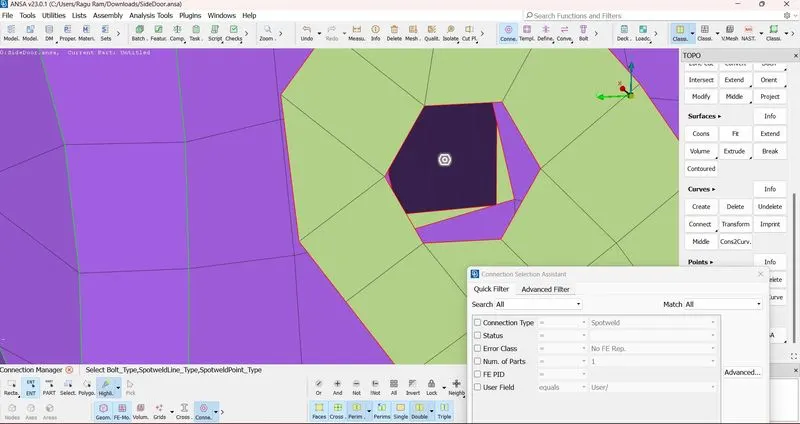
7. Give p1 and p2 by selecting the portions and give appropriate values.
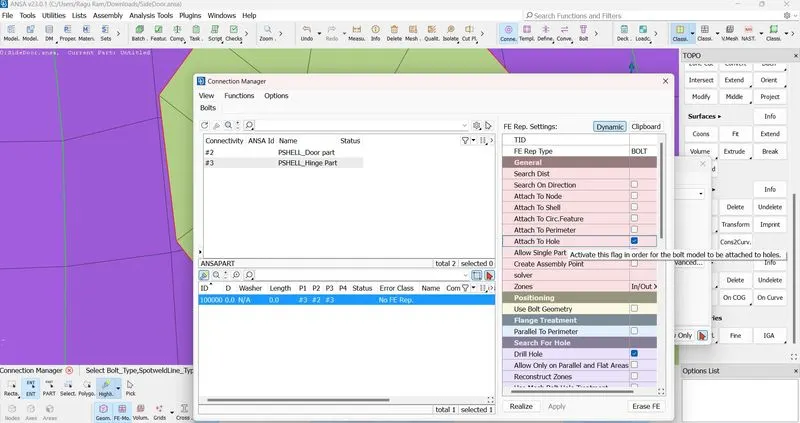
8. For Bolt connection the FE Representation be BOLT. Then given all respective values APPLY>Realize> Bolt connection will formed.
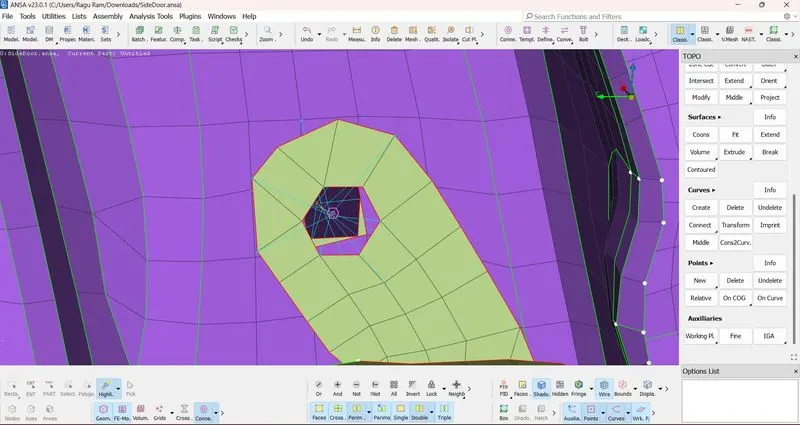
9. Spot weld is formed by select classic topo>points>On COG
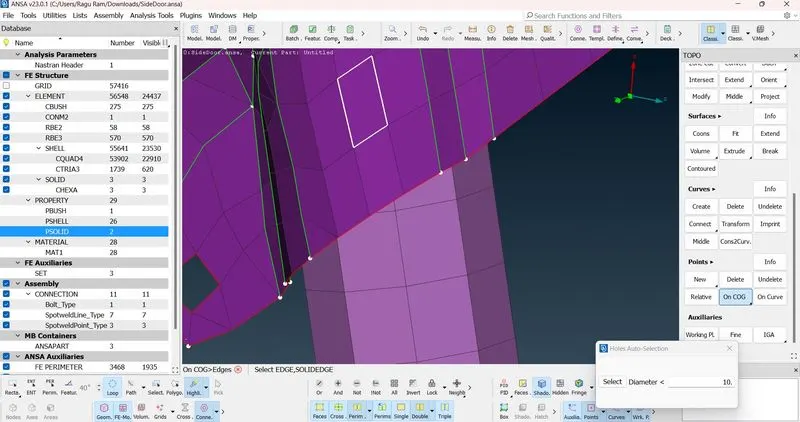
10. Select the elements>click middle mouse button> 3D Elements formed.
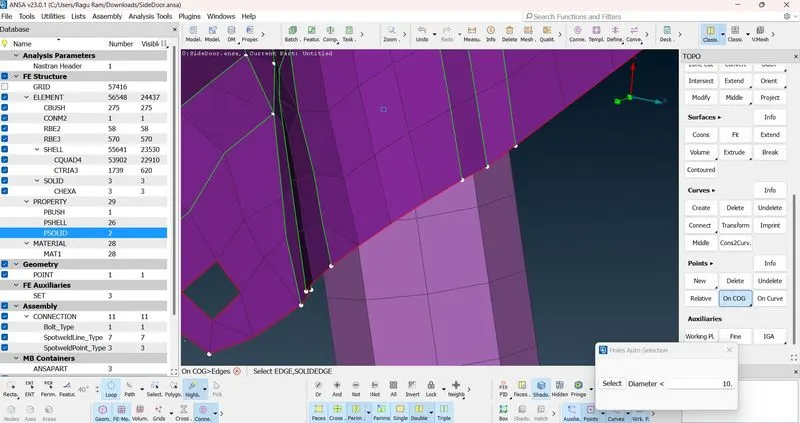
11. Convert the 3D element into weld spot as same as procedure followed for bolt connection.
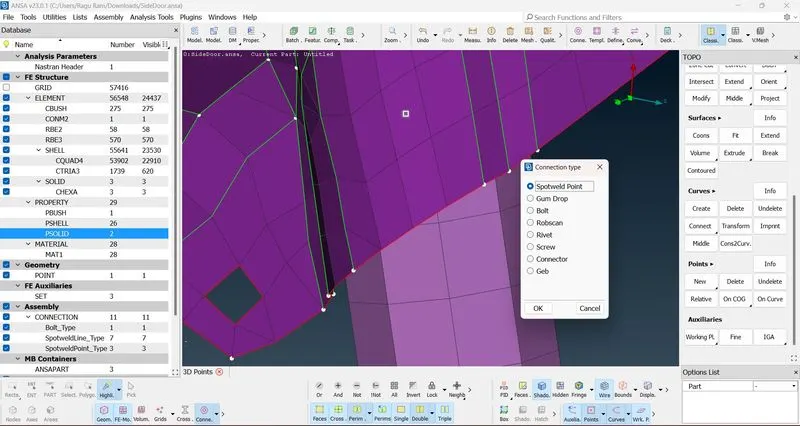
12. Click on ok then the spot weld symbol will formed.
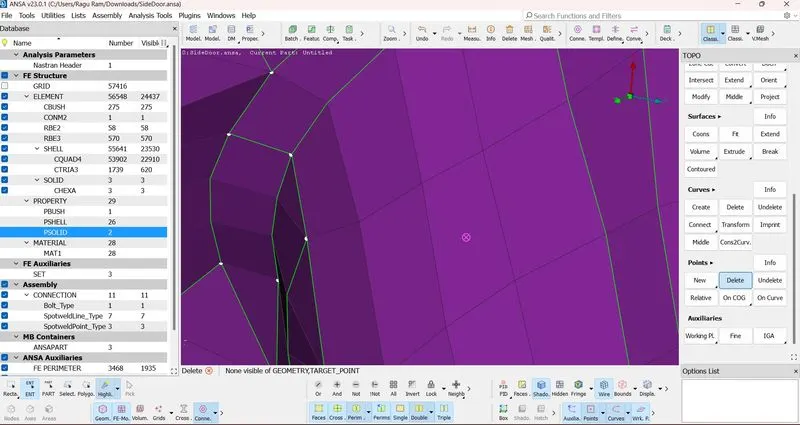
13. Then connection>select the symbol>conform it
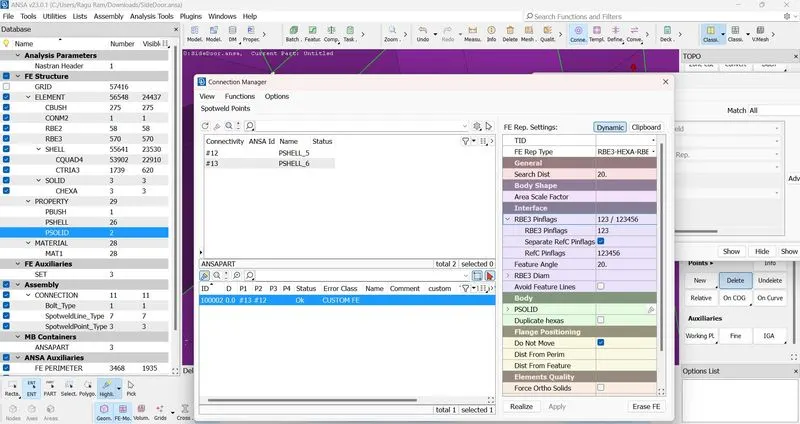
14. For weld spot connection the FE Representation will be RBE3-HEXA-RBE3.
15 Select P1,P2 and give respective values> Apply>Realize> Spot weld connection will formed.
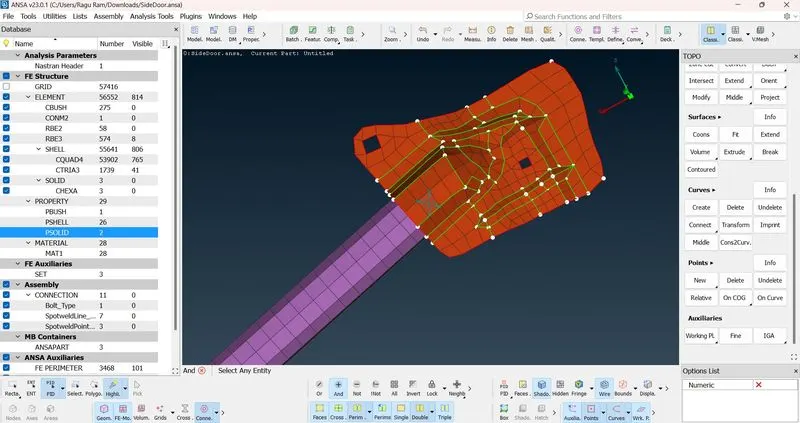
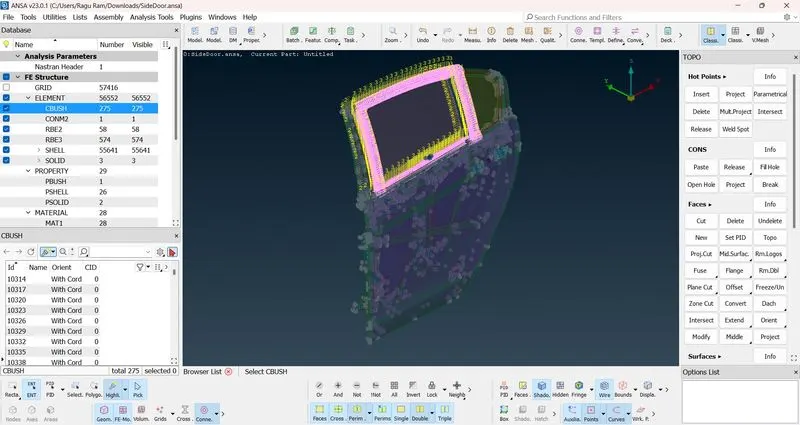
16.CBUSH Connection
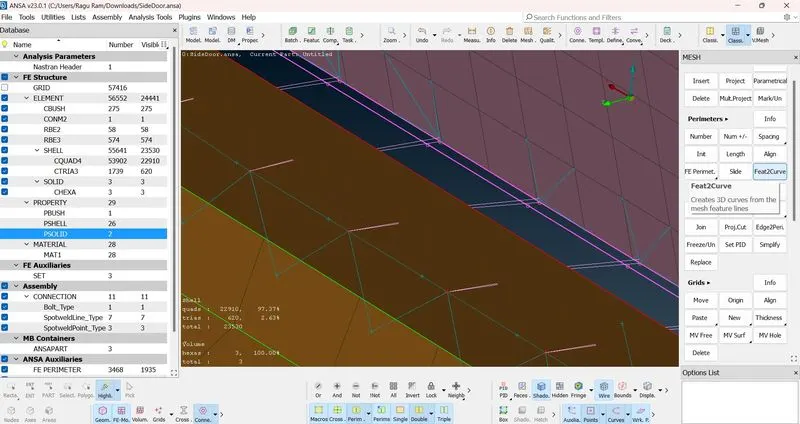
17. Make a curve before doing cbush connection.
18. After that select the curve > connection
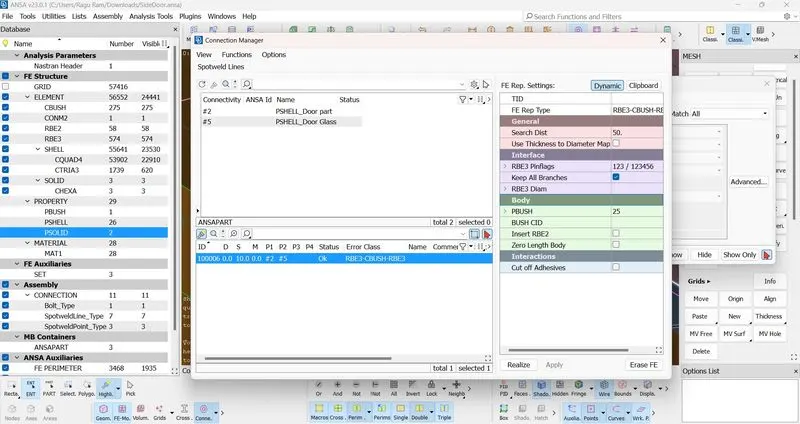
19. For Cbush connection FE Representation is RBE3-CBUSH-RBE3.
20. Selecting P1 P2 > create new pbush id in Pbush STIFFNERS values have assigned.
21. K1,K2,K3 were 0.001 k4,k5,k6 were 10.
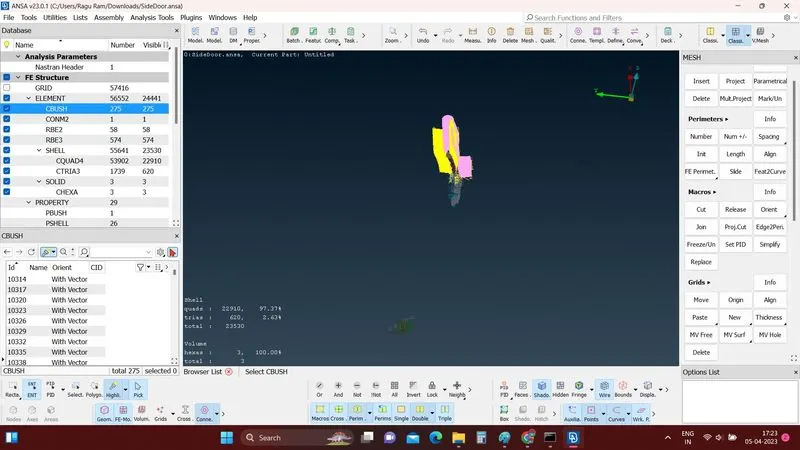
22. After modify the orient as with CORD and CID value as 0 then same direction of sting will appear.
NEW THINGS LEARNED FROM THIS CHALLENGE:
From this challenge I had learned how to create the connection for rear door model and different types of connection have worked on this model.
CONCLUSION:
Hence the given model have connected properly as per the given criteria by using NASTRAN deck.