Week 9 - Challenge 3 - Bumper
BUMPER
AIM:
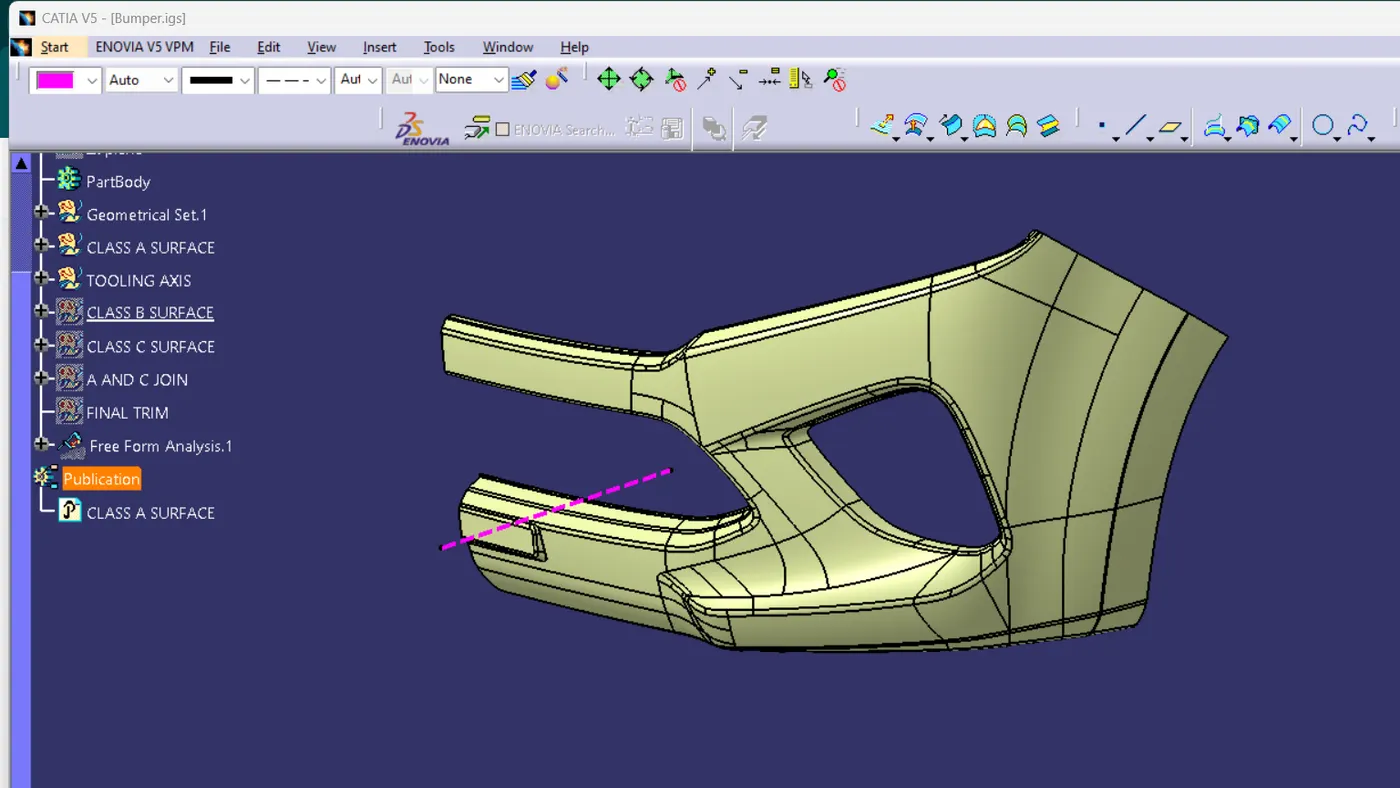
- Create the Bumper Plastic component through the given Class-A surface. To begin with, the tooling axis for the given Class-A Surface.
INTRODUCTION:
- A bumper is the curved bar across the front of a car that protects it from getting dented or scratched during minor accidents. If you bump into your mailbox, you may damage your car's bumper.
OBJECTIVE
- To design Bumper as per automotive industry Standard.
- Create tooling axis for the given CLASS-A surface.
- Create B and C Class surfaces.
- Create final surface model and convert it into solid body.
- Perform draft analysis for both Class-A surface and Final part body
- TOOLING AXIS :
DRAFT ANALYSIS
-
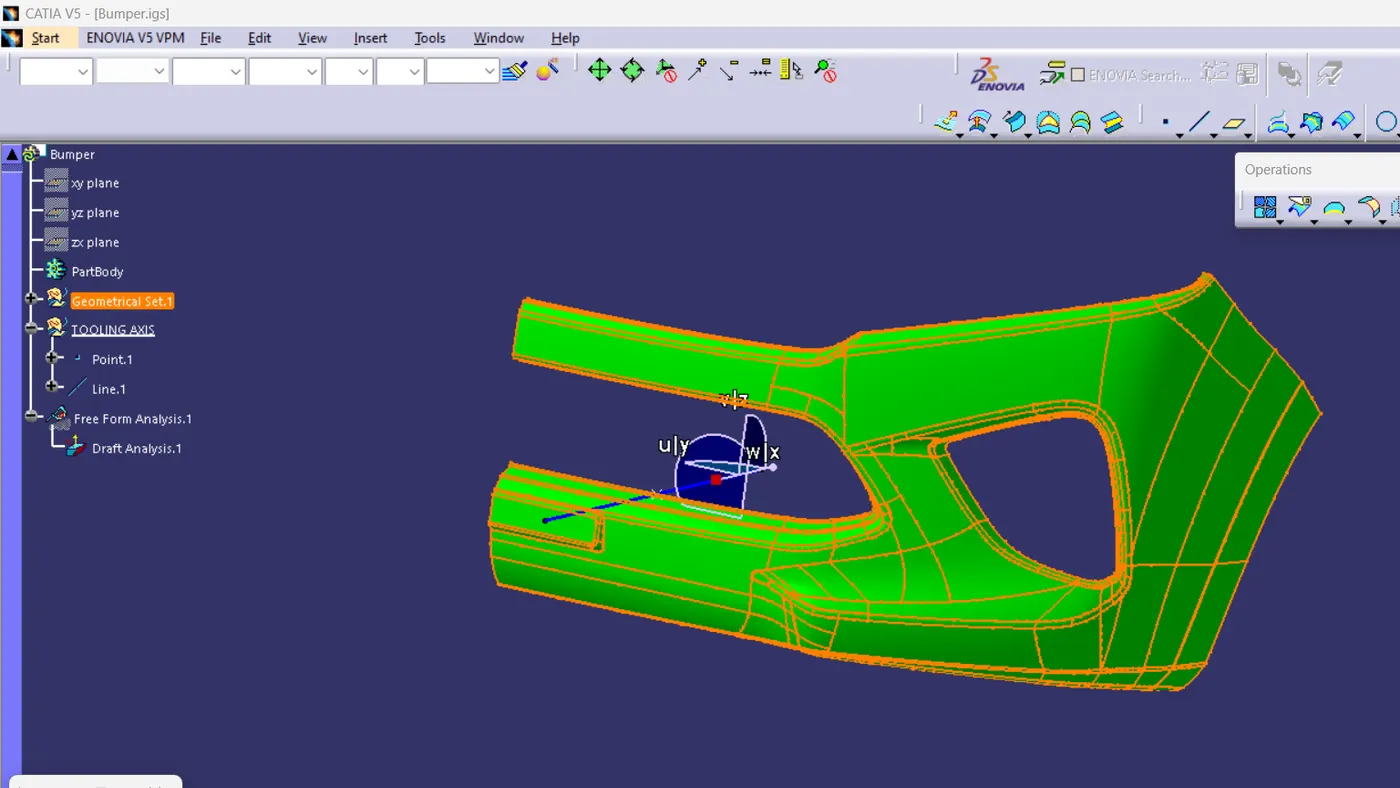
The Draft Analysis is a command enables you to detect if the part you drafted will be easily removed. This type of analysis is performed based on colour ranges identifying zones on the analysed element where the deviation from the draft direction at any point, corresponds to specified values.
-
Draft analysis is done after determining the tooling axis, draft analysis is used to check whether the minimum draft (3 degrees) is maintained or not.
- Check Draft Analysis for the given Class A surface
CLASS B SURFACE
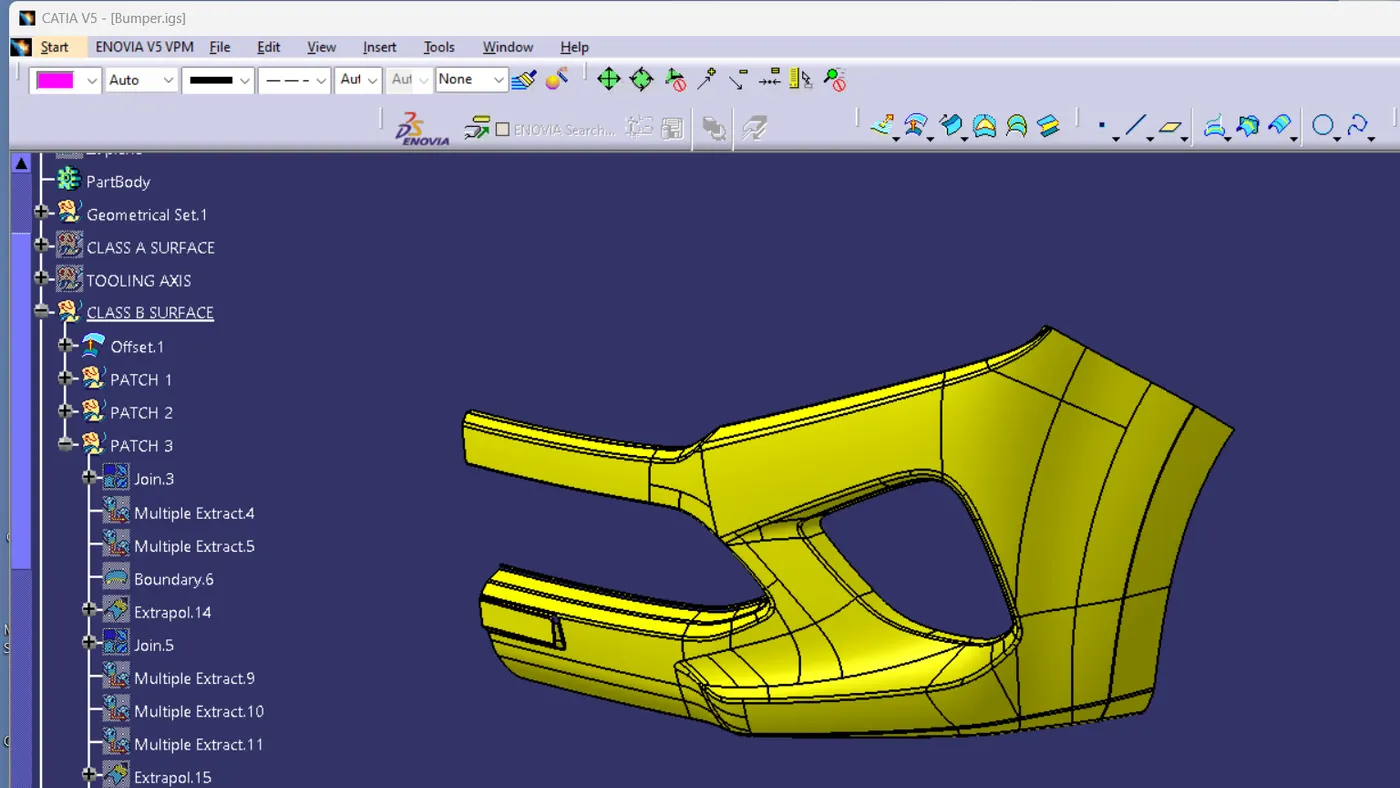
To create a B surface by using A surface to offset ( offset 3mm)
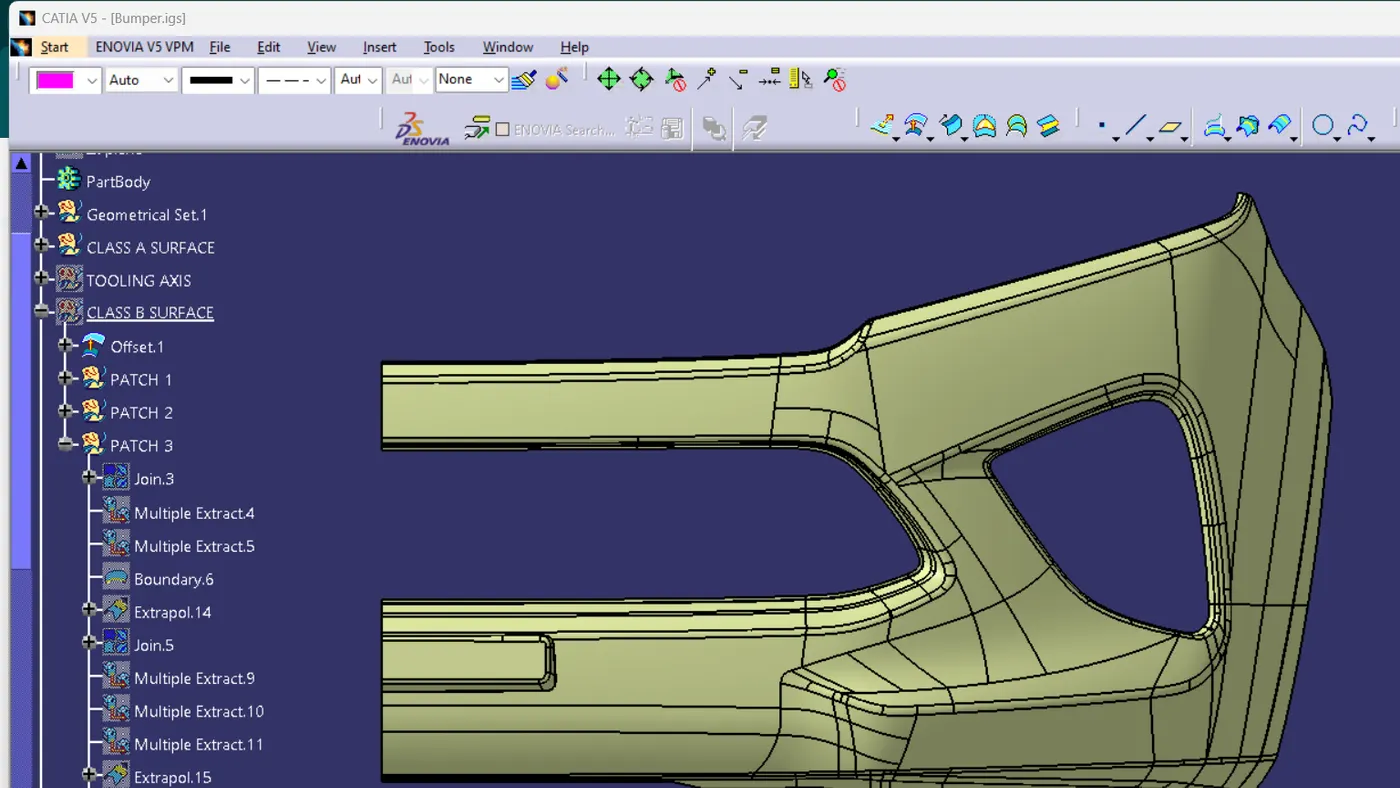
FINAL CLASS B SURFACE
CLASS C SURFACE
-
Surface that joins class-A and class-B surfaces is class-C surface. Class C is often specified for interior surfaces not readily visible, surfaces that will be covered by another part when assembled
-
Since it is a complex class-A surface, we cannot simply create the class-A boundary curve and sweep it at one shot. Hence, we need to create smaller curves using multi-extract command and then create sweep of 90 degree with reference to the surface option. sweeps at the midportion of the bumper should have a 93 degree vaue to pass the draft analysis.
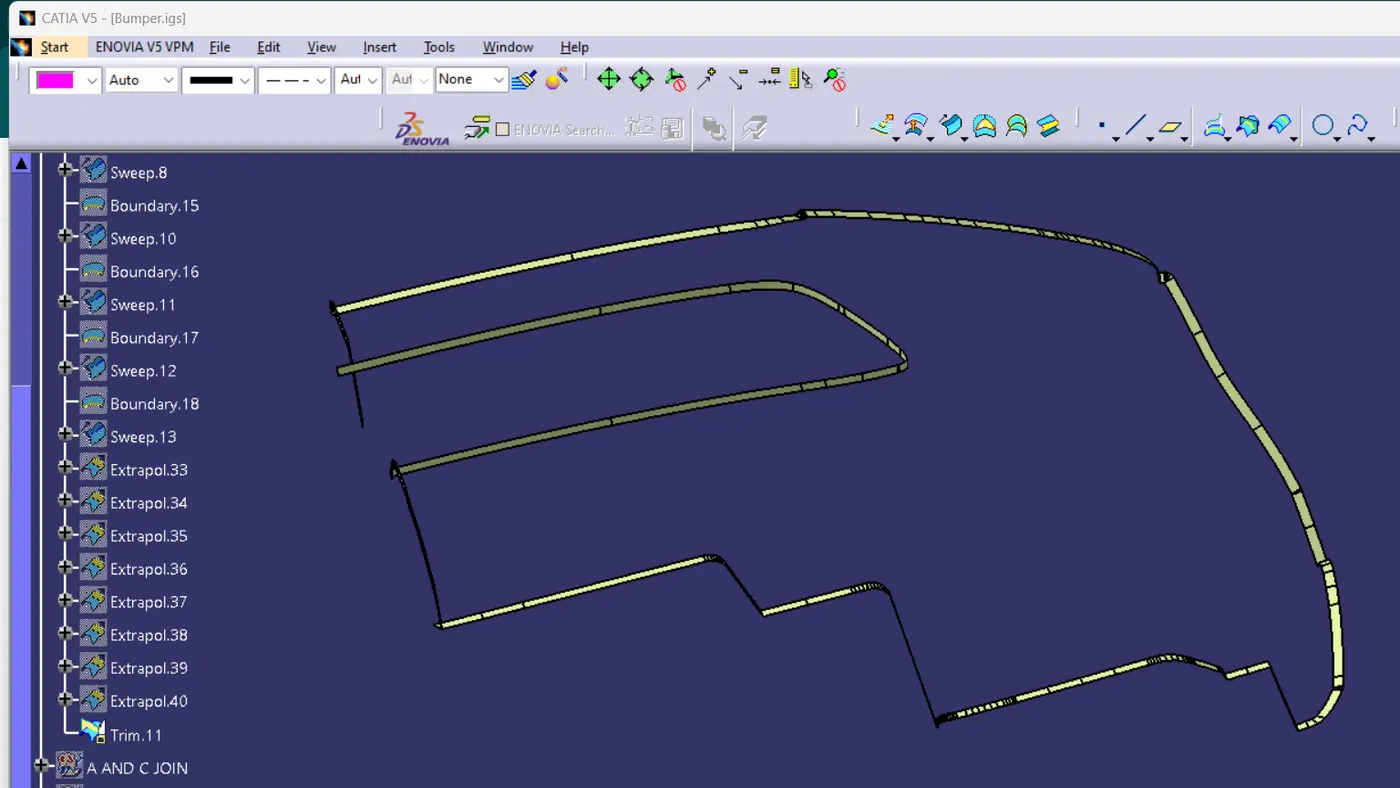
CLASS A AND C SURFACES ARE JOIN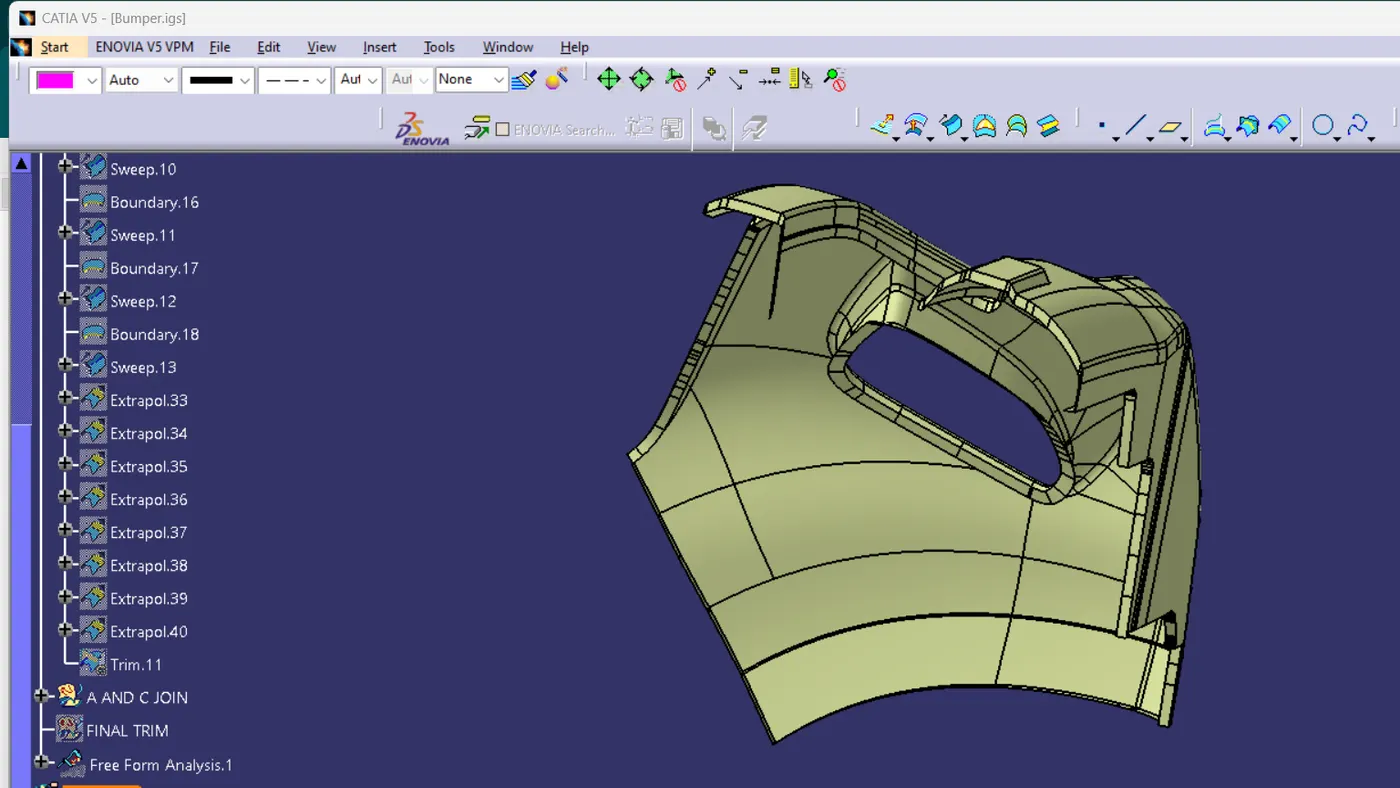
FINAL OUTPUT:
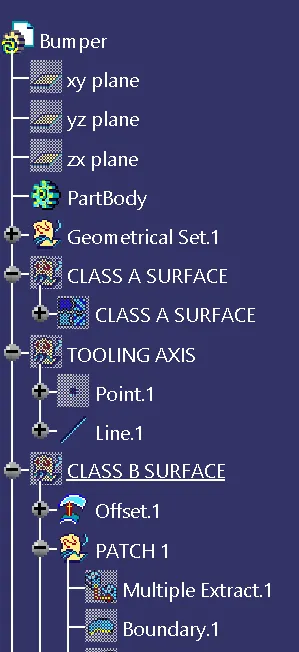
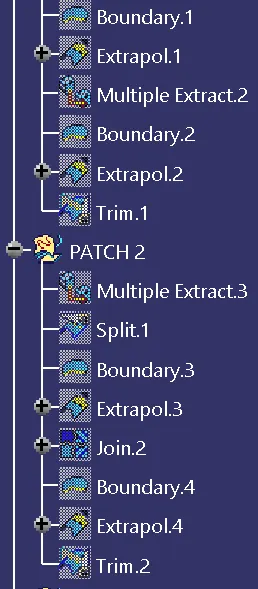
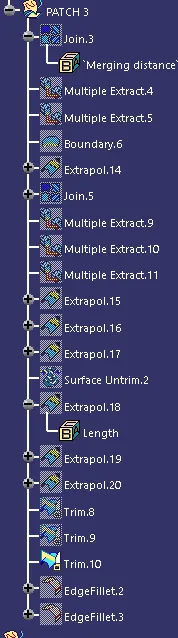
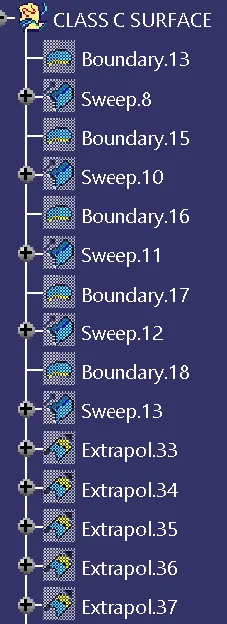
TREE STRUCTURE