Week 9 - Challenge 3 - Bumper
BUMPER DESIGN
AIM:
To create the bumper plastic component through the given Class A Surface and to perform draft analysis on the plastic component.
OBJECTIVES:
- Create the Tooling Axis
- Create the Class B and C Surface
- Create the Close Surface
- Perform Draft Analysis
SPECIFICATIONS:
- Bumper Thickness = 3mm
- Minimum Draft Angle = 3 Degrees
PROCEDURE:
1. CLASS A SURFACE: Import the Class A surface and check for gaps using the boundary in the given Class A surface. Then Create a tooling axis to check the given surface is capable for drafting.
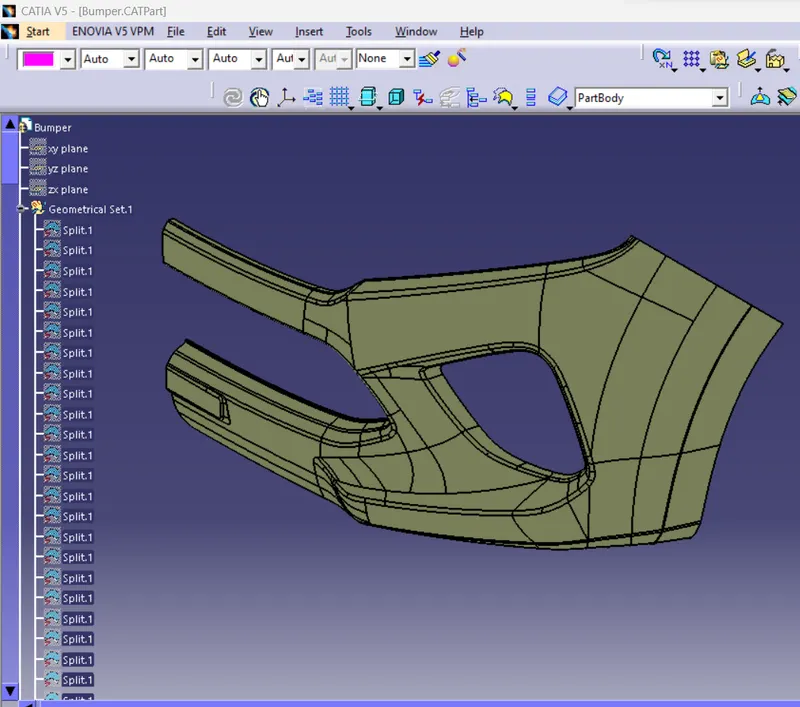
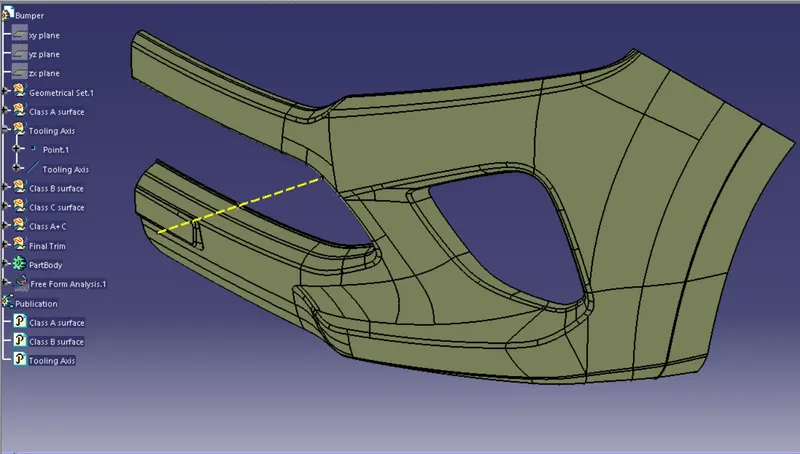
2. TOOLING AXIS:
It is the direction in which the core and cavity open and close. After the class A is imported check for possible irregularity, using boundary.
Use the Join command to merge all the splits in the imported class A surface. then change the color of class A in the graphical property toolbar for easy reference.
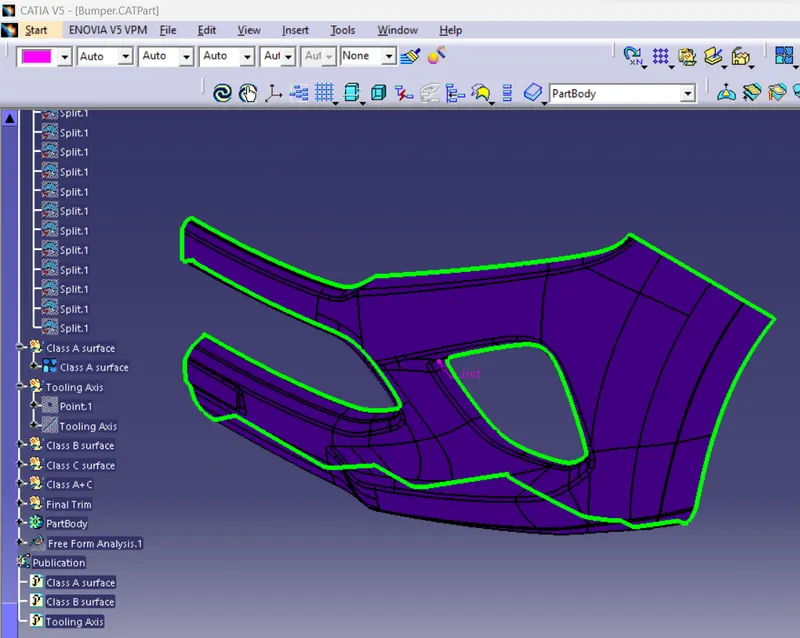
Create a point on the flat surface using on point on curve option. Create a line using point direction in the point on the surface. The created line is the tooling axis, perform draft analysis on the class A surface using the tooling axis.
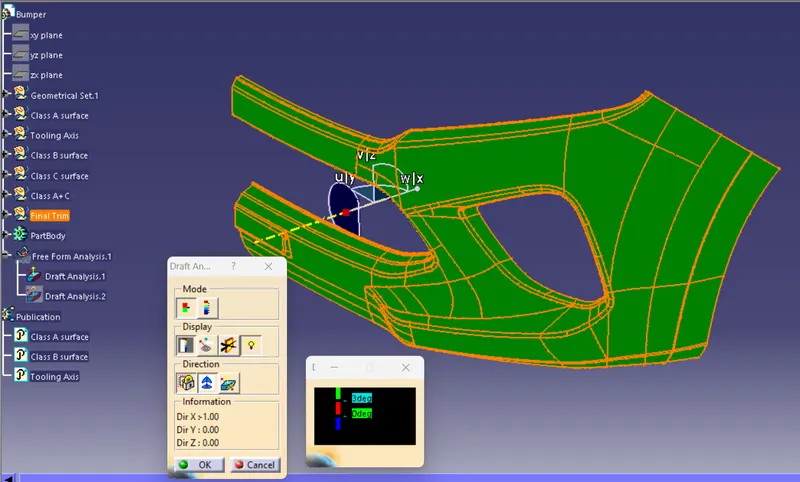
3. DRAFT ANALYSIS:
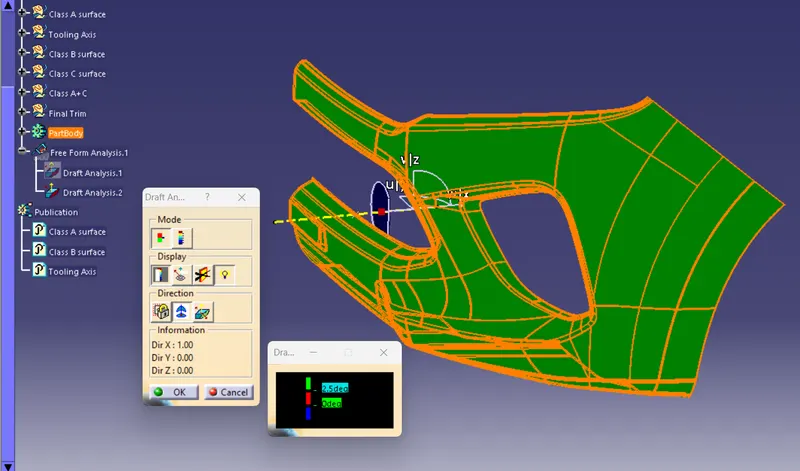
- The draft analysis technique is used to analyze whether our part model created is manufacturable based on the draft condition applied. To perform draft analysis the view parameters are set to material mode.
- Then insert the feature draft analysis select the axis system and drag the axis system to align and coincide with the tooling axis and lock the orientation.
- This axis system defines the draft direction according to the tooling axis. Set the minimum value, here it is set to 3 degrees and it will be displayed in green color. Now select the running point tool to measure the draft angle at various locations.
4. B SURFACE CREATION:
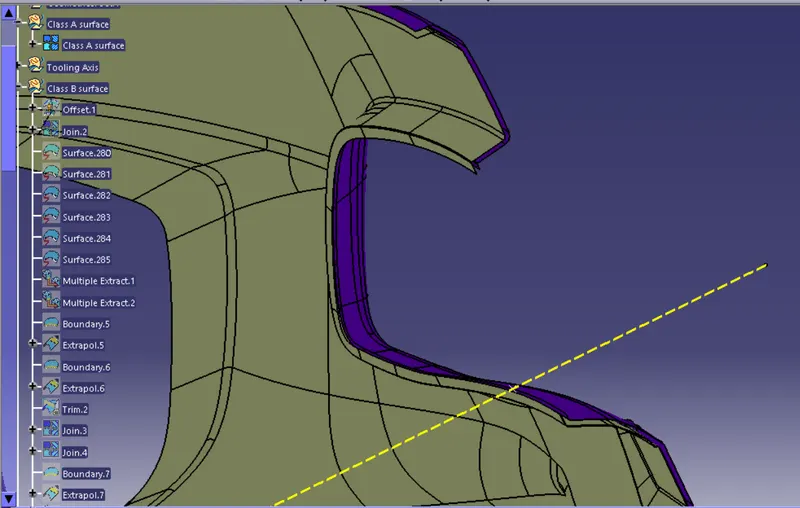
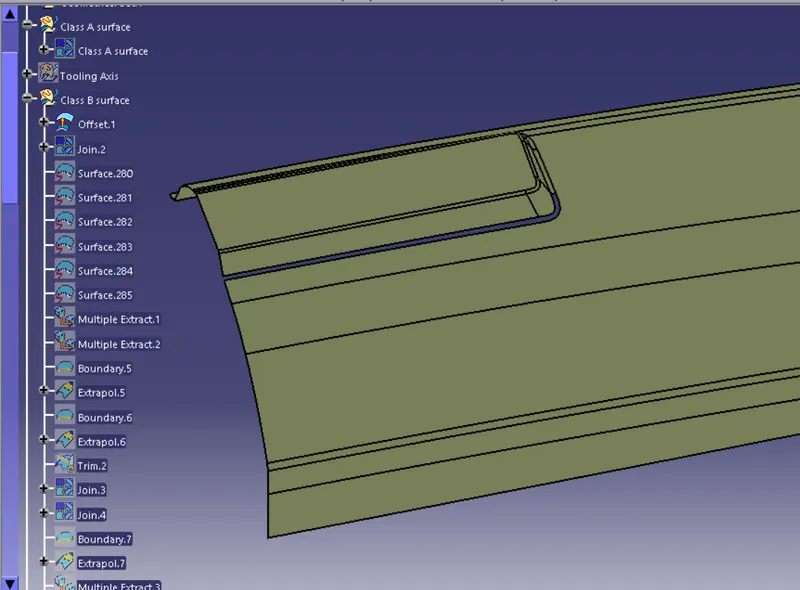
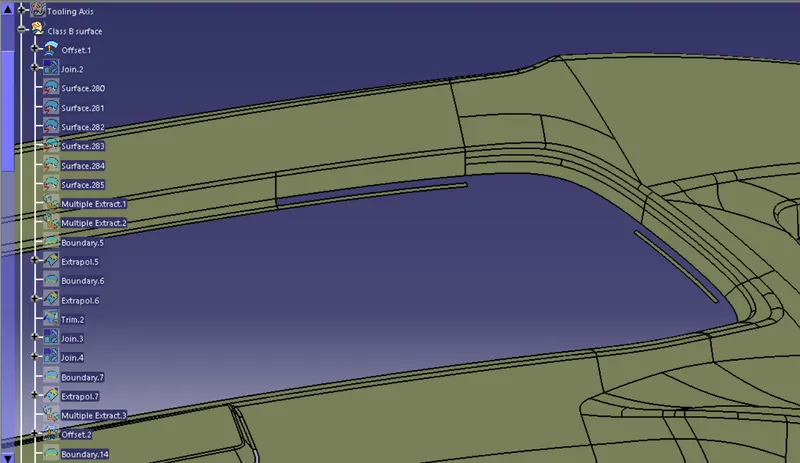
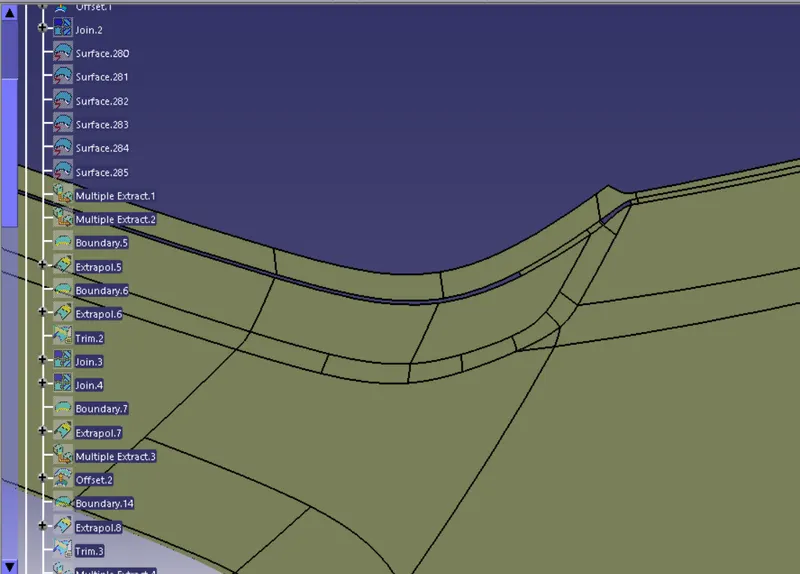
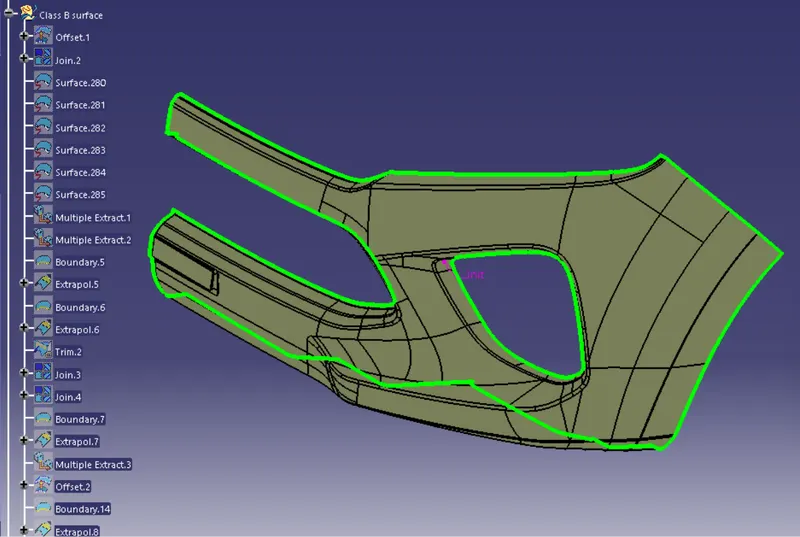
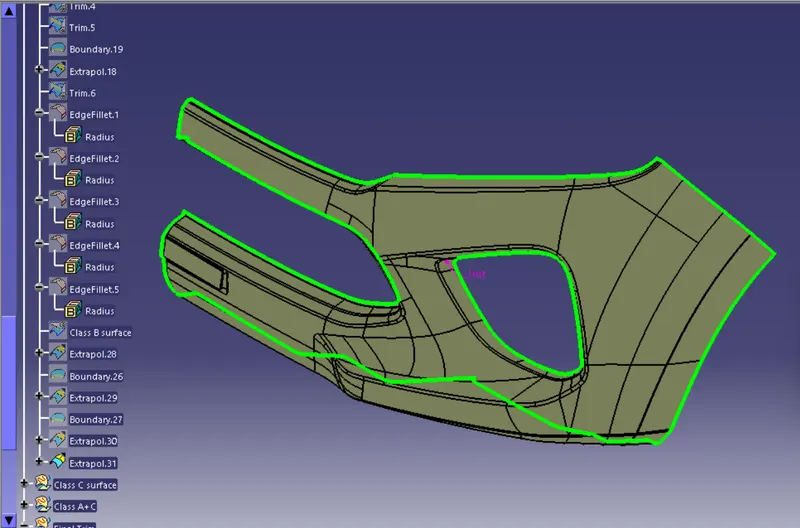
The offset from the Class A surface 3mm inward to produce the Class B surface. Offset the given Class A surface downwards to 3mm. There will be certain patches in the offset surface, close all the surfaces using a multi-section surface.
5. PATCHES:
- Rework the patches and discontinuity of the offset surfaces using the features like extract, multi-extract, sweep, multi-section surfaces, and extrapolate.
- To ensure the continuity of the Class-B surfaces check the boundary command to find out the boundary.
- Hence class-B surface creation is done.
6. SURFACE-C CREATION
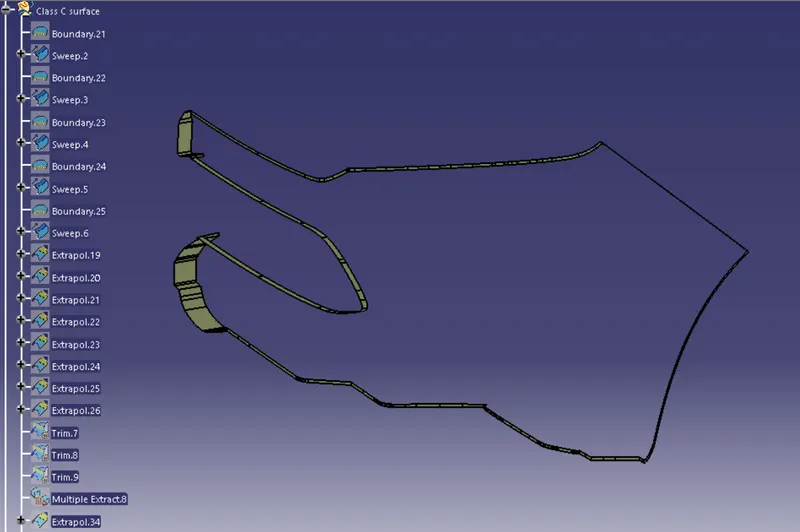
- Surface that joins class-A and class-B surfaces is class-C surface. Class C is often specified for interior surfaces not readily visible, surfaces that will be covered by another part when assembled.
- Since it is a complex class-A surface, we cannot simply create the class-A boundary curve and sweep it at one shot. Hence, we need to create smaller curves using multi-extract command and then create sweep of 90 degree with reference to the surface option. sweeps at the midportion of the bumper should have a 93 degree vaue to pass the draft analysis.
- Join the sweeps using the join command and the class-c surface is created.
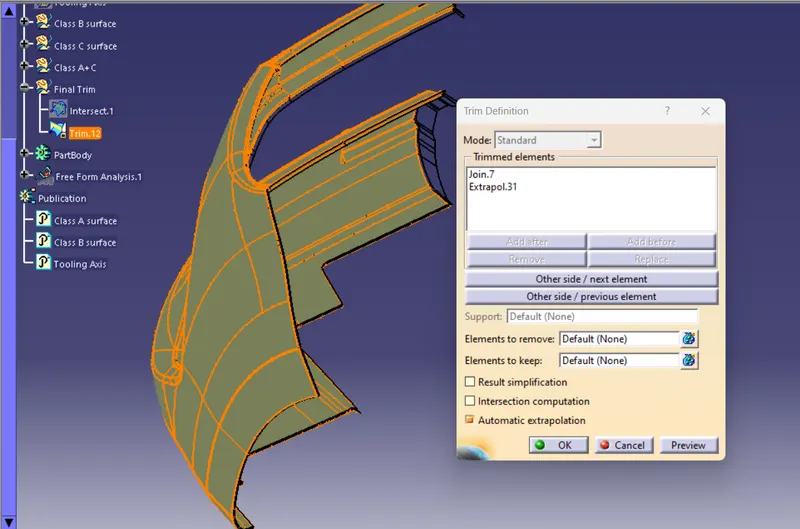
7. CREATING THE FINAL TRIM OF BUMPER
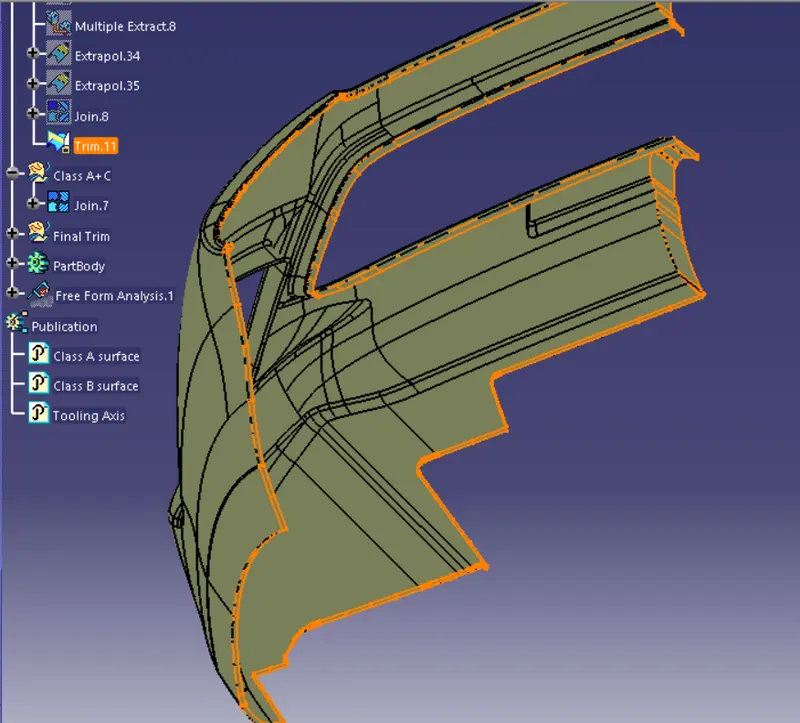
- The first step is to join the CLASS-A surface with the CLASS-C surface.
- Then Trim the Joined surface with CLASS-B surface to achieve the final Bumper surface.
8. FINAL SOLID MODEL CREATION:
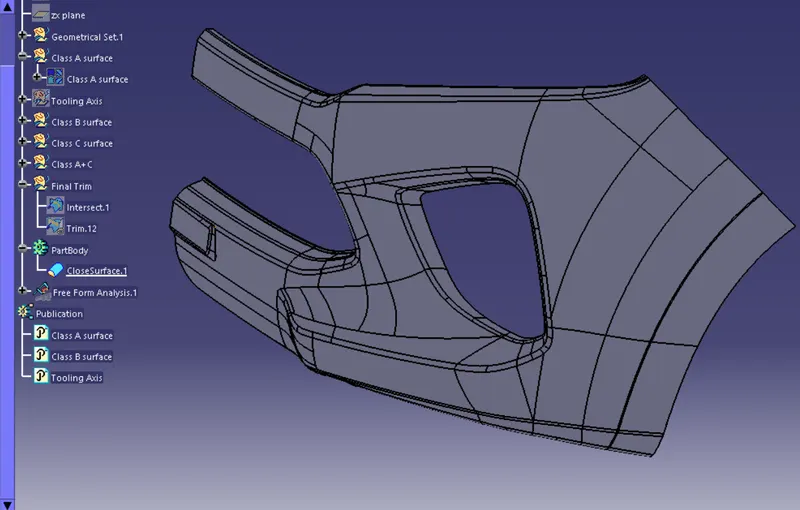
Go to the part design work bench and using the close surface command create the base bracket solid part body.
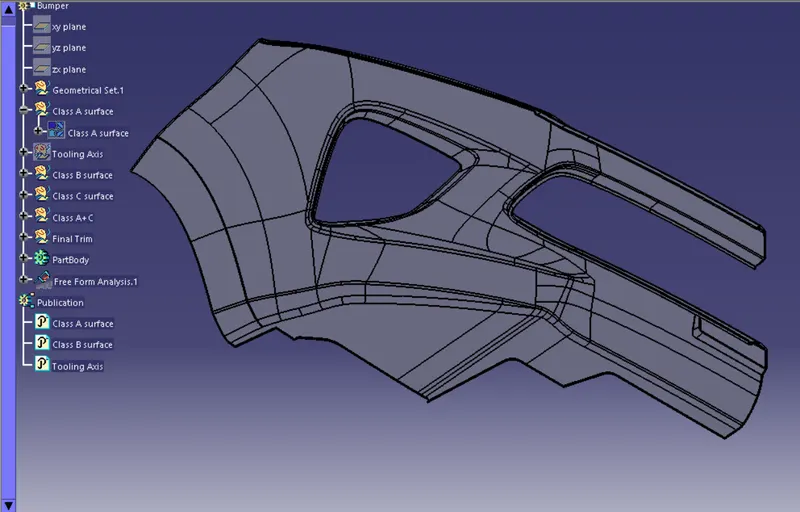
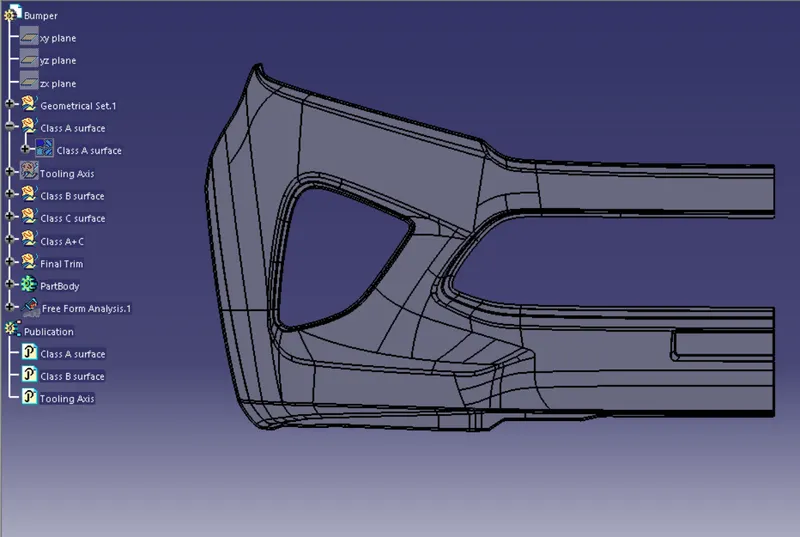
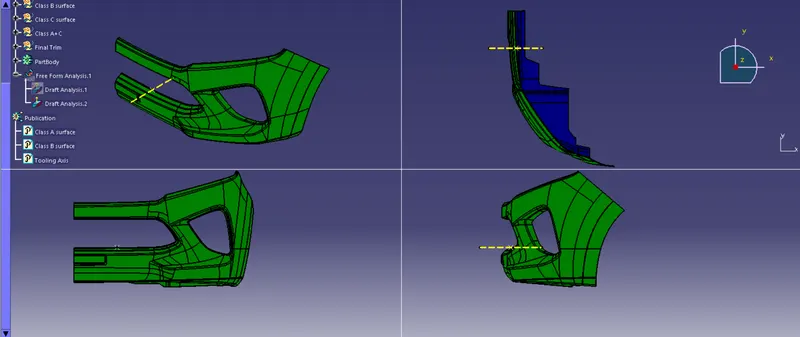
9. 3D Part model in various orientations (Isometric, Front, Side, and Top View)
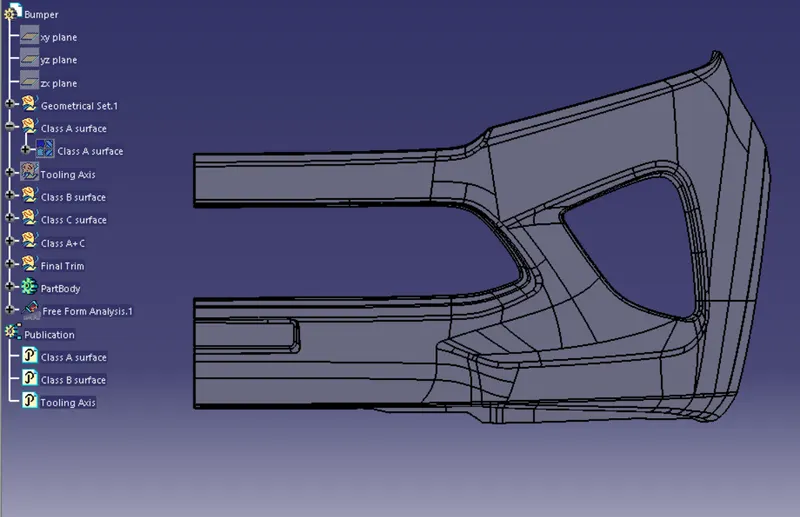
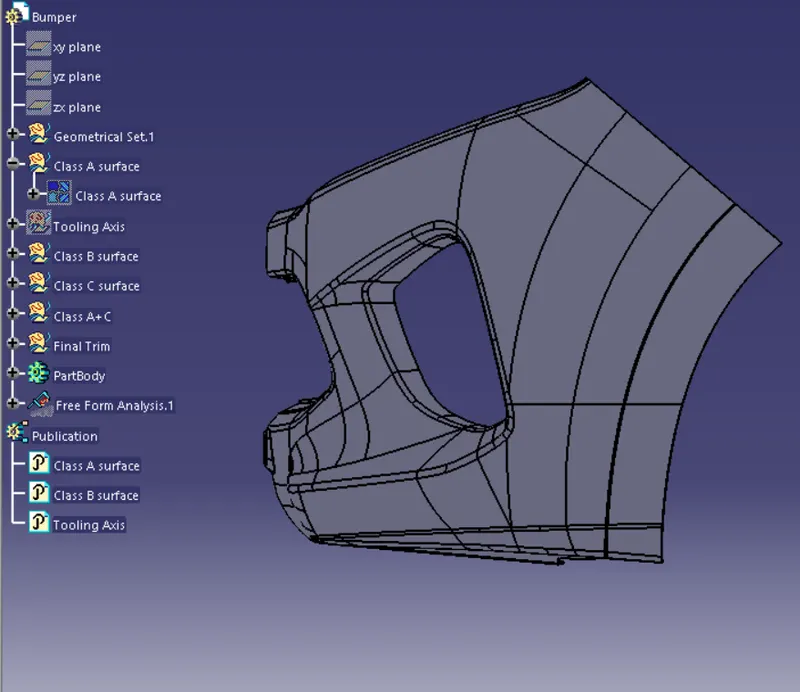
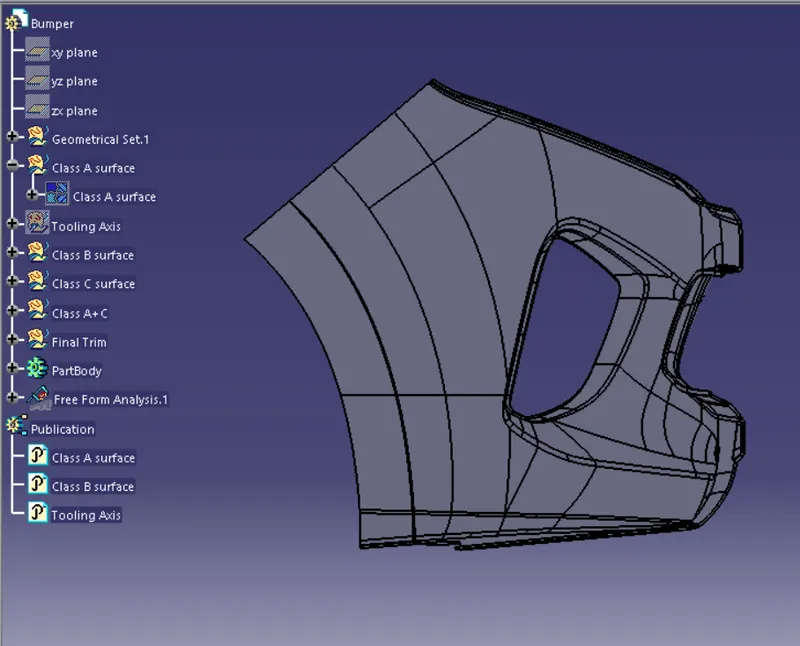
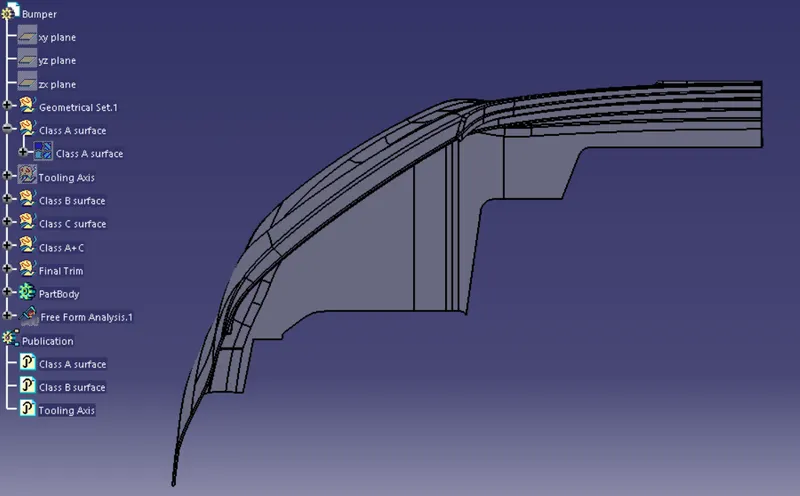
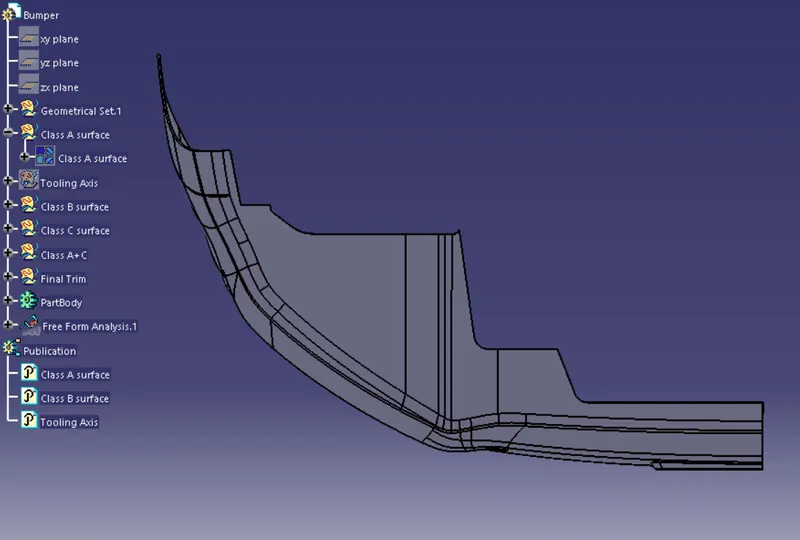
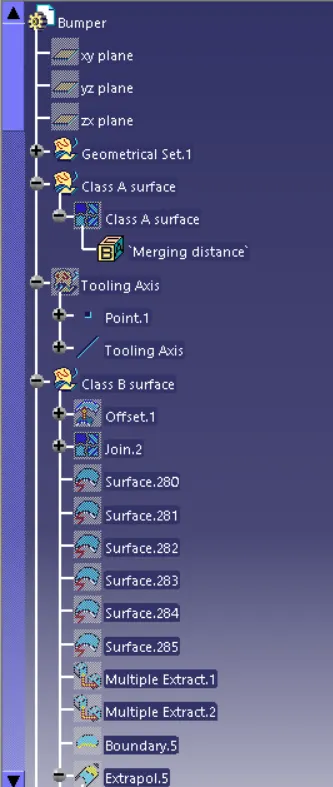
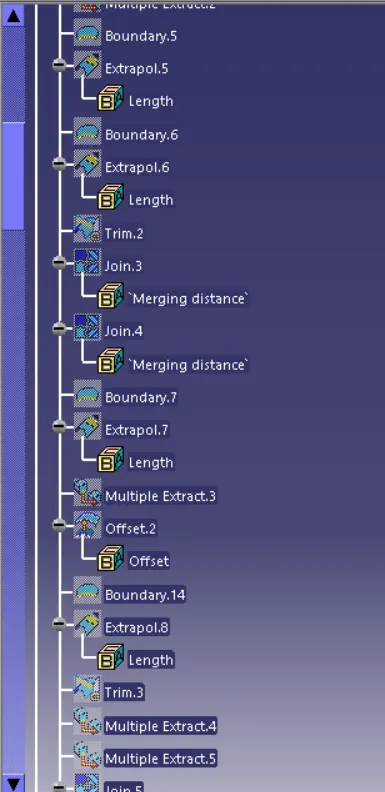
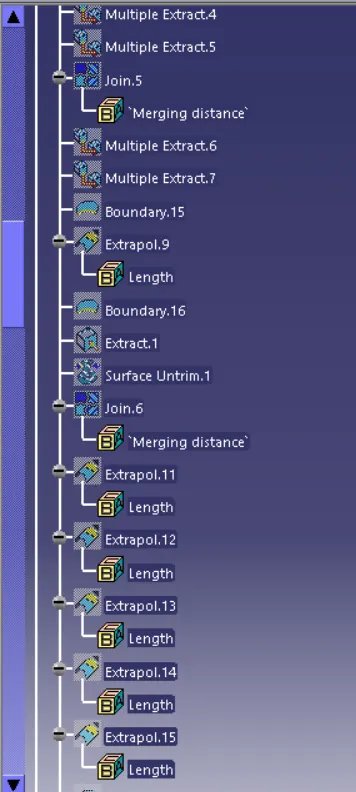
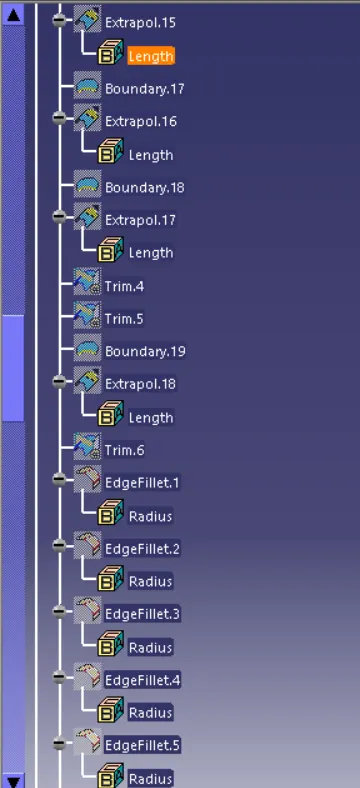
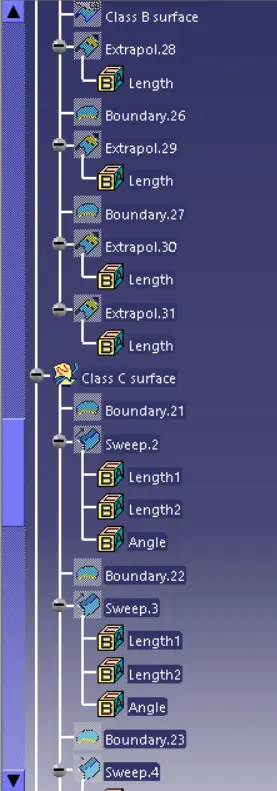
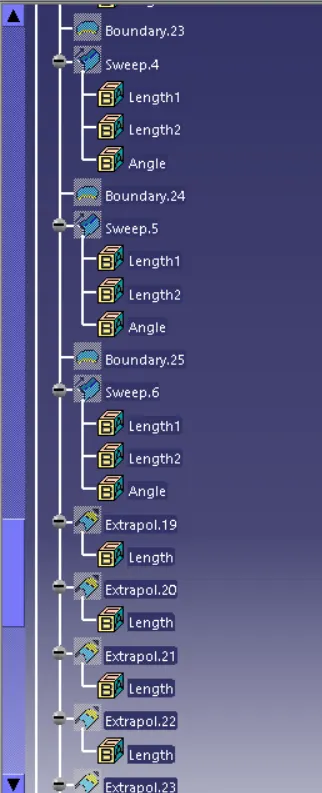
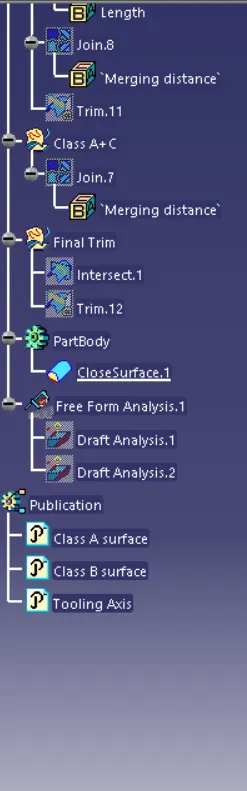
10. The expanded Tree Structure for the geometrical set and the Part Body
11. Draft analysis of the Final part body
The same procedure for the draft analysis of the CLASS-A surface is followed.
- Change the view mode to material shading
- Align the Compass with the Tooling axis.
- Lock the draft direction and perform the Draft analysis.
Conclusion
I have successfully created the class-B and Class-C surfaces of the Bumper using the given Class-A surface along with the tooling axis in the CATIA surface workbench.