Week 9 - Challenge 2 - Switch Bezel Design
CHALLENGE: SWITCH BEZEL
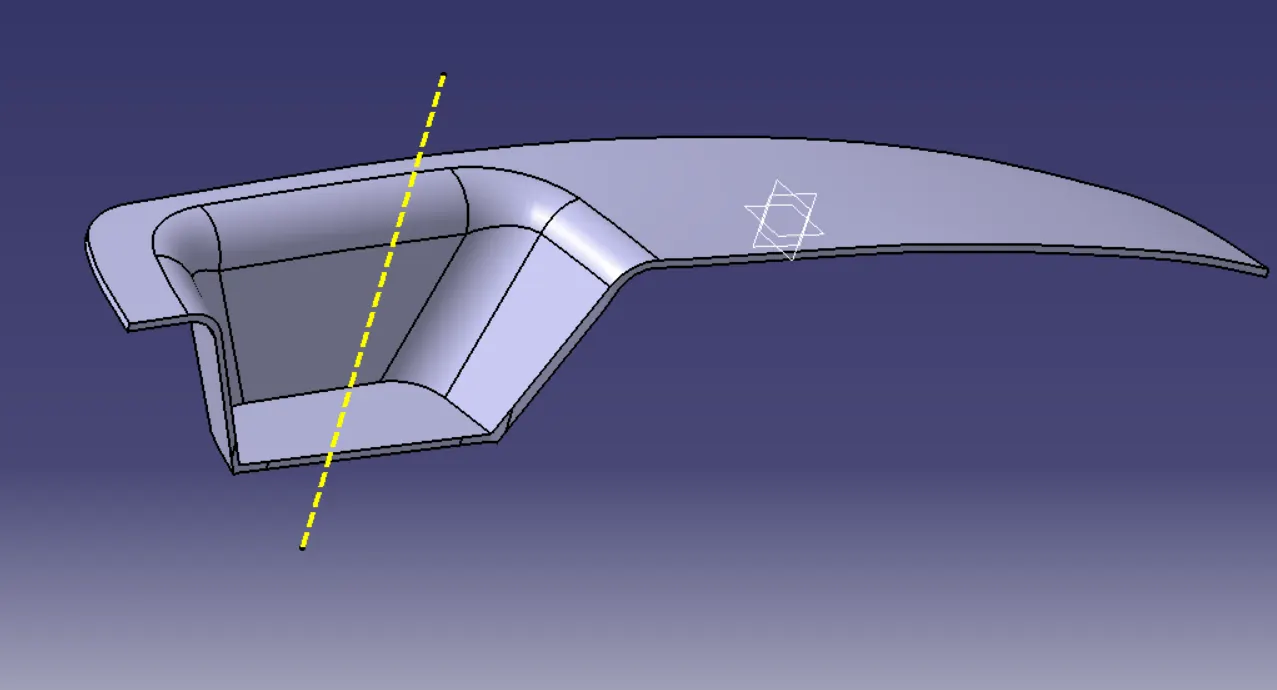
AIM- Create the Switch Bezel Plastic component through the given Class-A surface. To begin with, the tooling axis for the given Class-A Surface should be created meeting the requirements of the draft angle and at the end perform the Draft analysis on the model.
INTRODUCTION-
CLASS A SURFACE – The outermost skin of a part model which is visibly aesthetic surface/ free-form surface having an optimal shape & high surface quality. Design engineer with help of class A Surface create class B surface & class C surface.
CLASS B SURFACE- A surface below the Class A surface is created by design engineer to give a desirable thickness. This surface is also known as engineering surface.
CLASS C SURFACE- A surface that join Class A Surface & Class B surface.
METHODOLOGY
1) TOOLING AXIS
2) CLASS B SURFACE
3) CLASS C SURFACE
4) CLOSED SURFACE
5) DRAFT ANALYSIS
CREATING TOOLING AXIS
· First, we check the all the direction X, Y, Z Direction for creating suitable tooling axis.
· Create sketch 1 of tooling direction Y, draw to lines in the class A surface randomly in YZ plane. Then bisect the two lines with midpoint to create tooling direction Y.
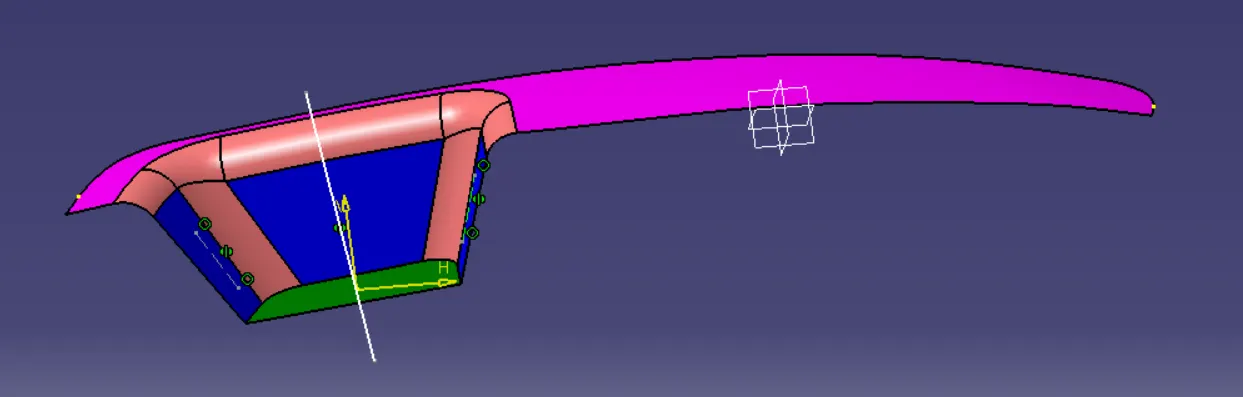
· Create sketch 2 of tooling direction X, draw line one section on Class A surface & another line from mid-point at angle of 3 degree or more accordingly.
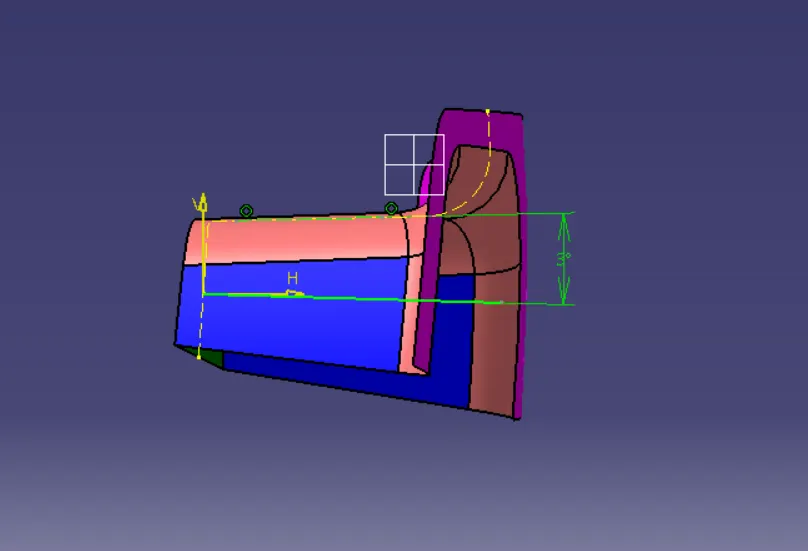
· Bisect the both tooling direction X & Y respectively & generated a tooling axis.
DRAFT ANALYSIS
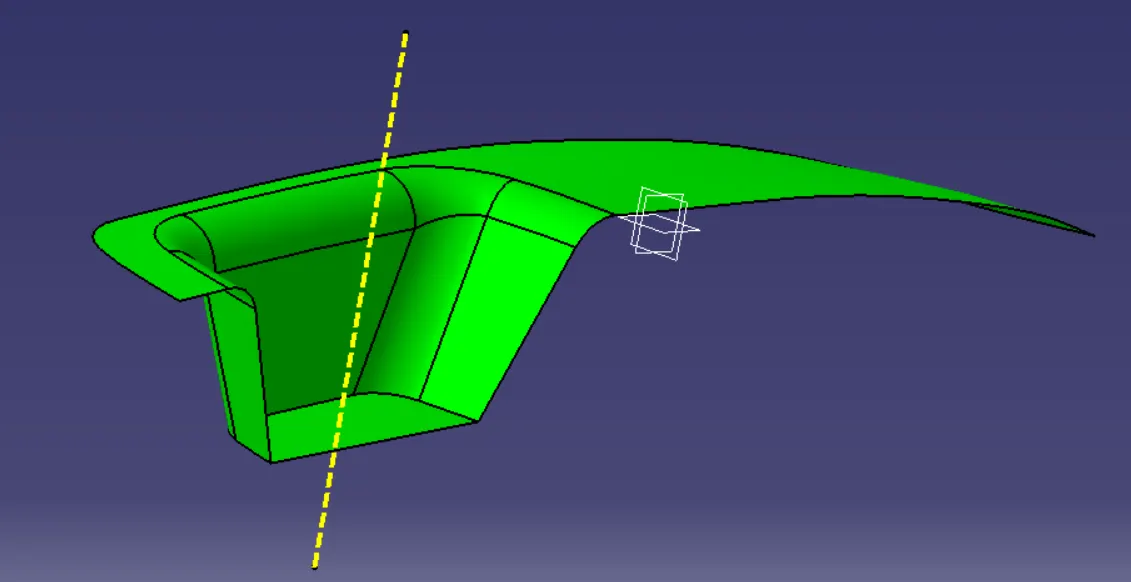
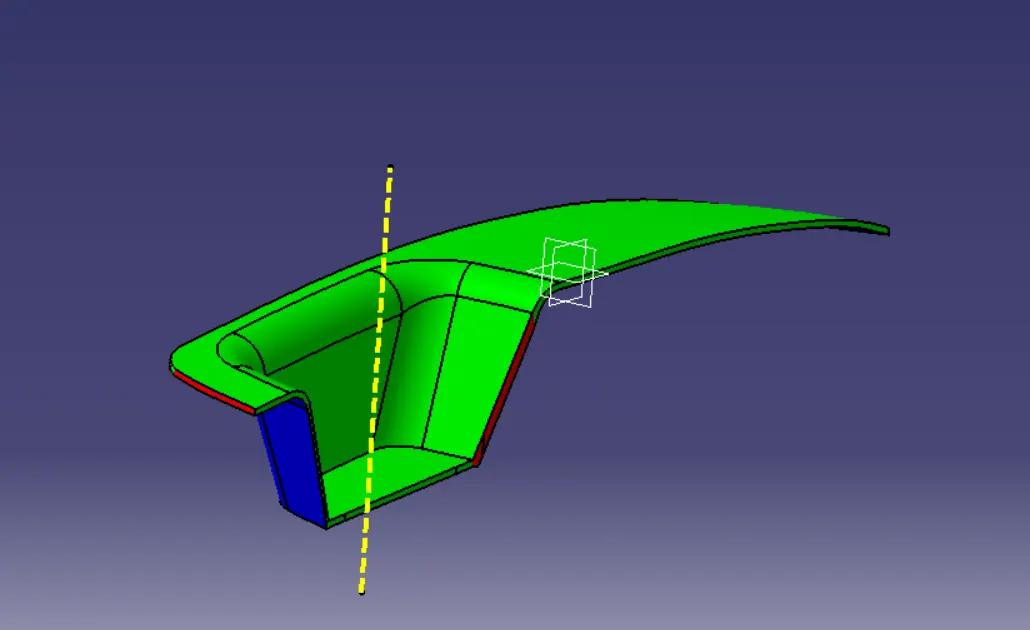
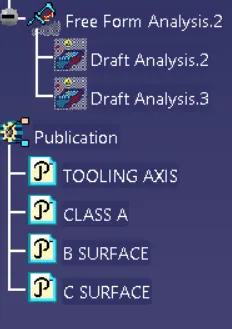
· Go to insert > analysis > feature draft analysis.
· Align the compass with the tooling axis.
· Click on the surface & check the surface within the permissible limit of the draft values.
· The surface should be green & draft angle should not exceed more than 3 degrees. Hence draft analysis on the class A surface performed successfully.
CLASS B SURFACE CREATION
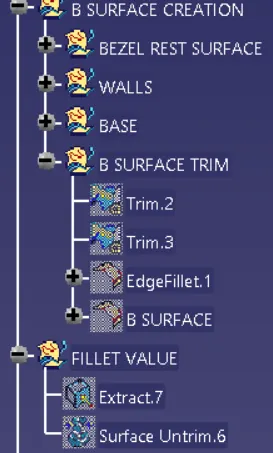
Extract the arm rest surface (highlighted in pink surface). Untrim the surface & then offset the surface by 2.5 mm.
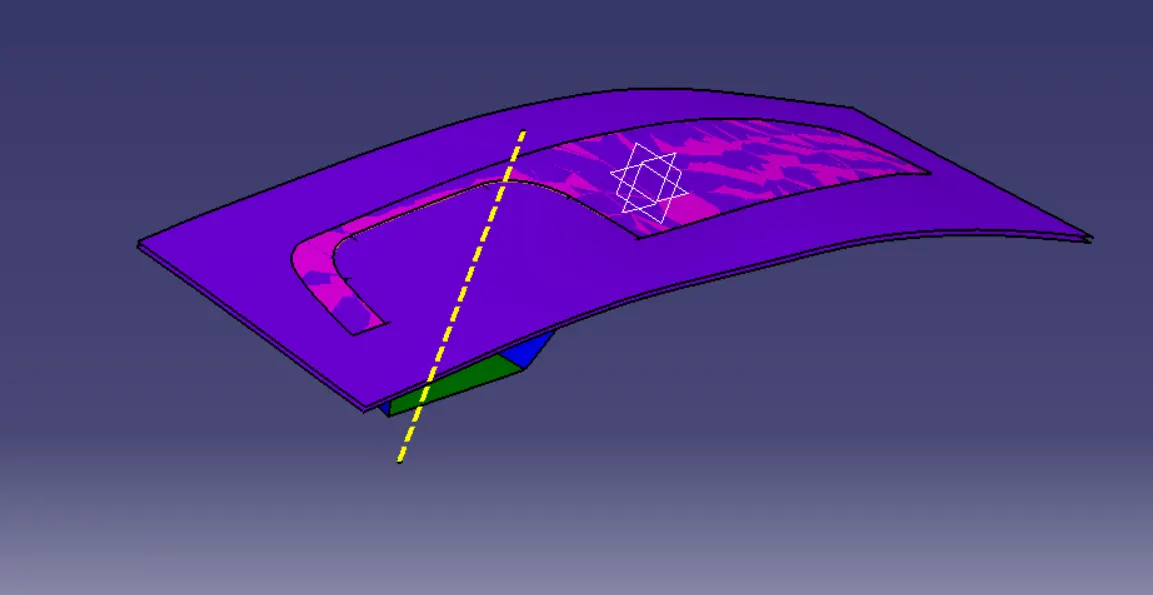
Extract the 3 walls (highlighted in blue surface). Un-trim the 3 surface respectively & also extrapolate the 3 surfaces.
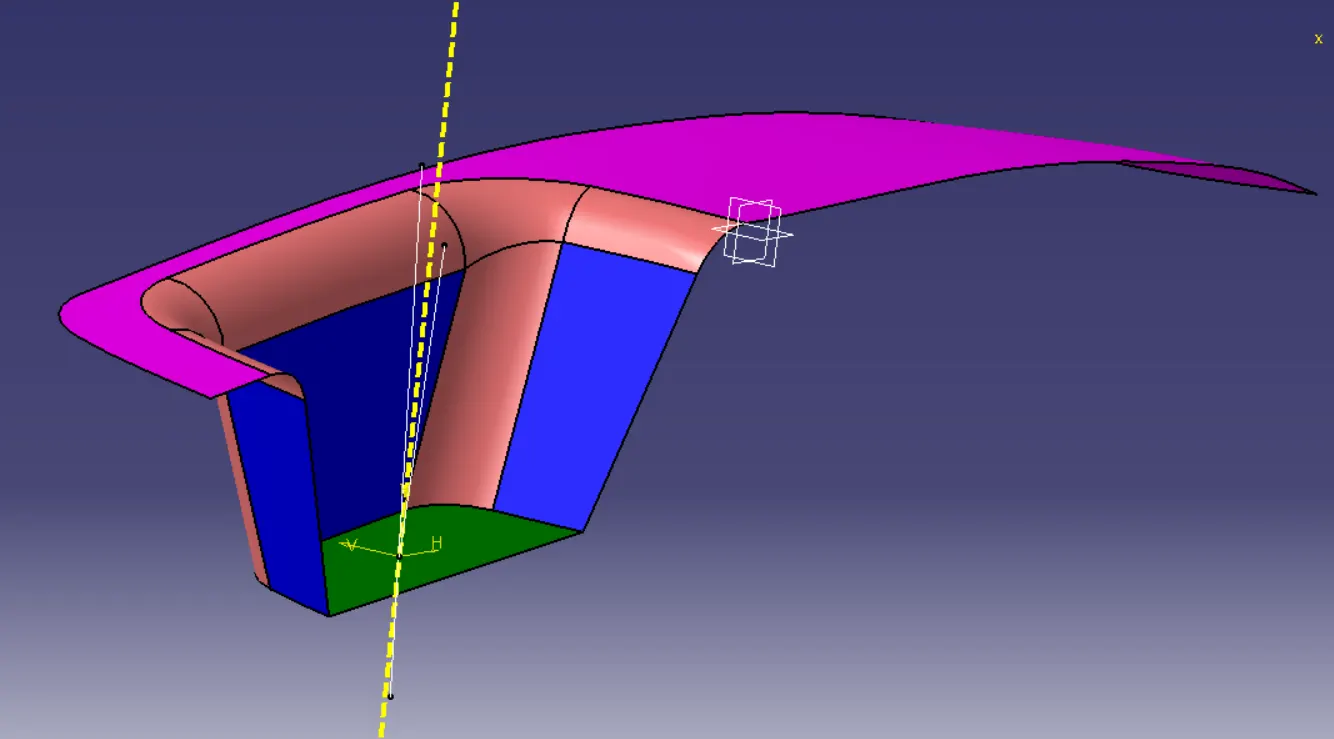
Extract the base (highlighted in dark green surface). Un-trim the base surface & extrapolated the base surface.
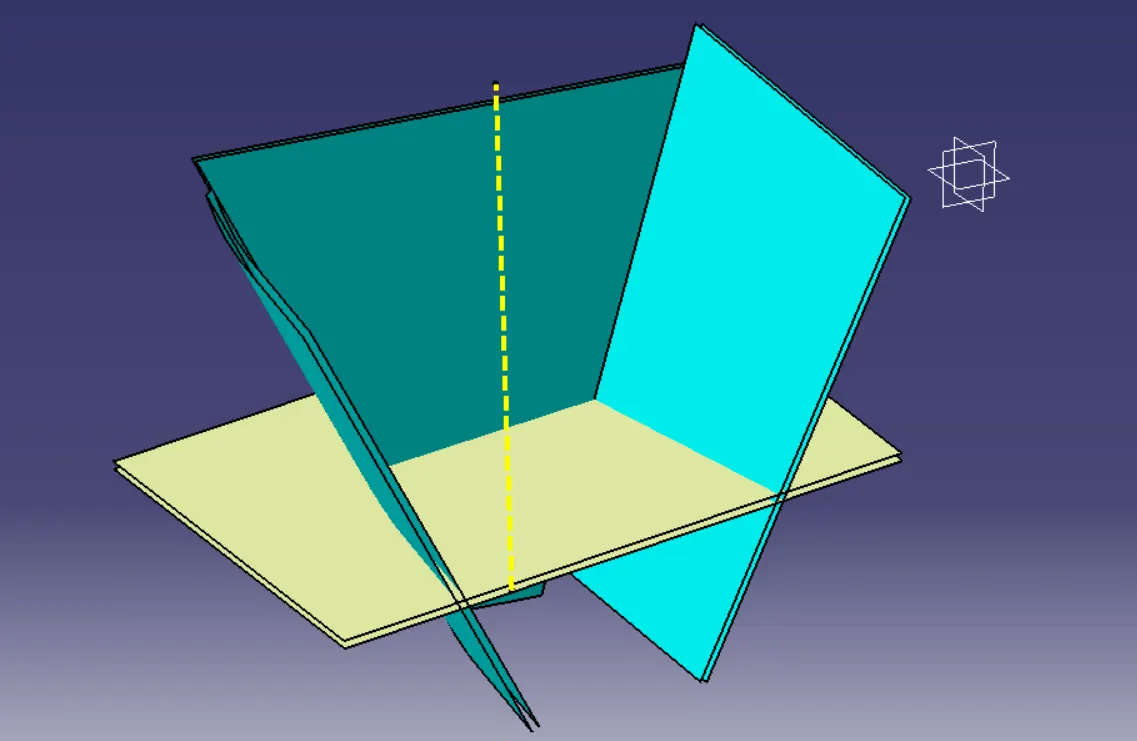
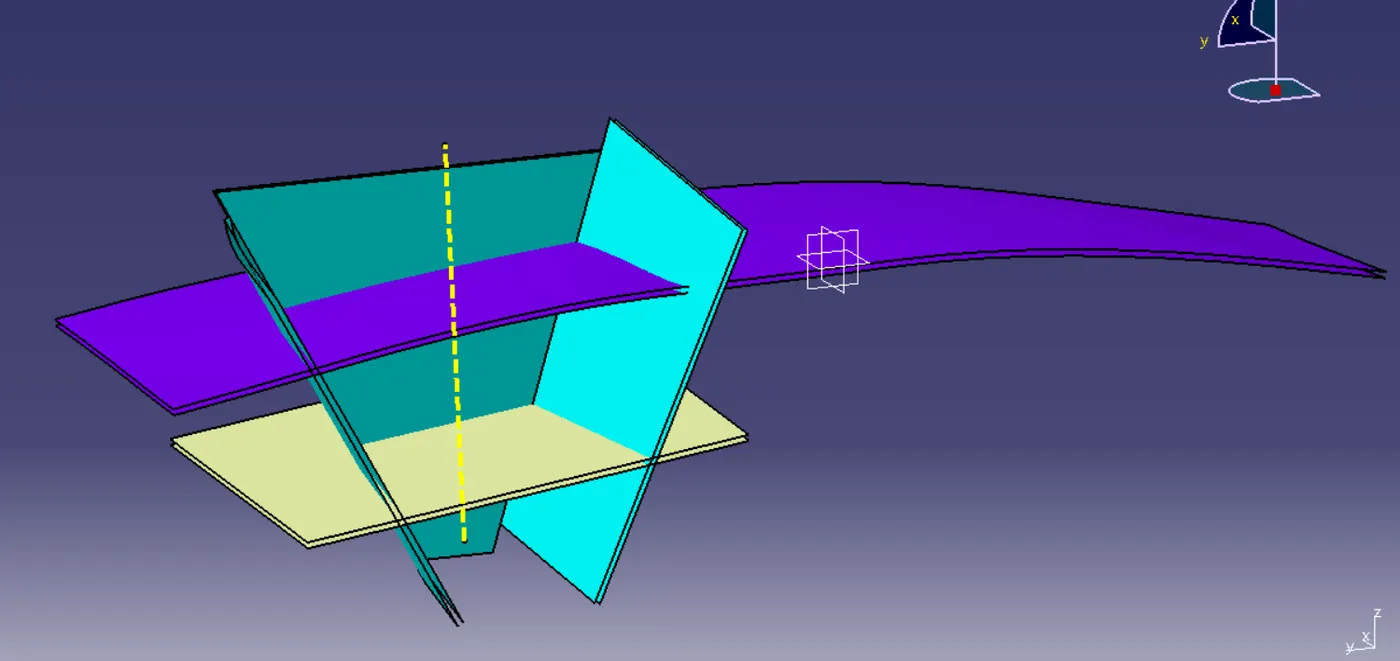
Trim the following surface respectively as shown below.
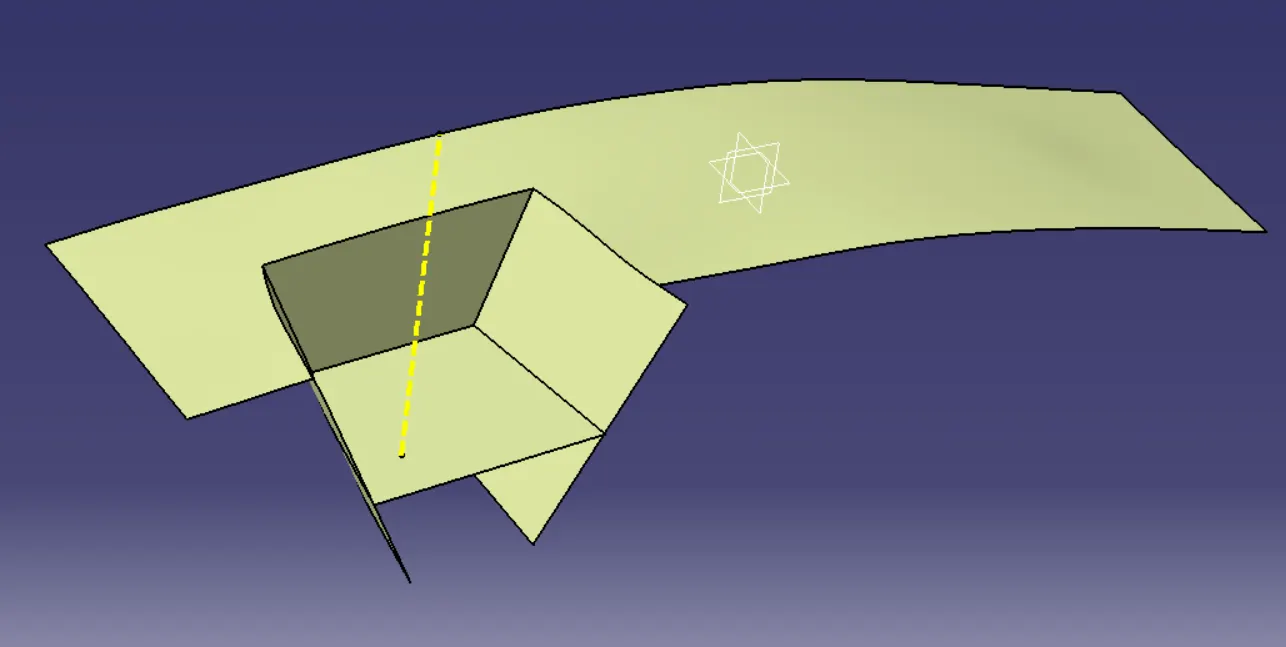
Calculate the fillet value by un- trimming the fillet surface & check the measurement values.
Using fillet value by check with Class A surface accordingly. Measure the distance between of Class A surface & Class B surface within the curvature limit (must be equal).
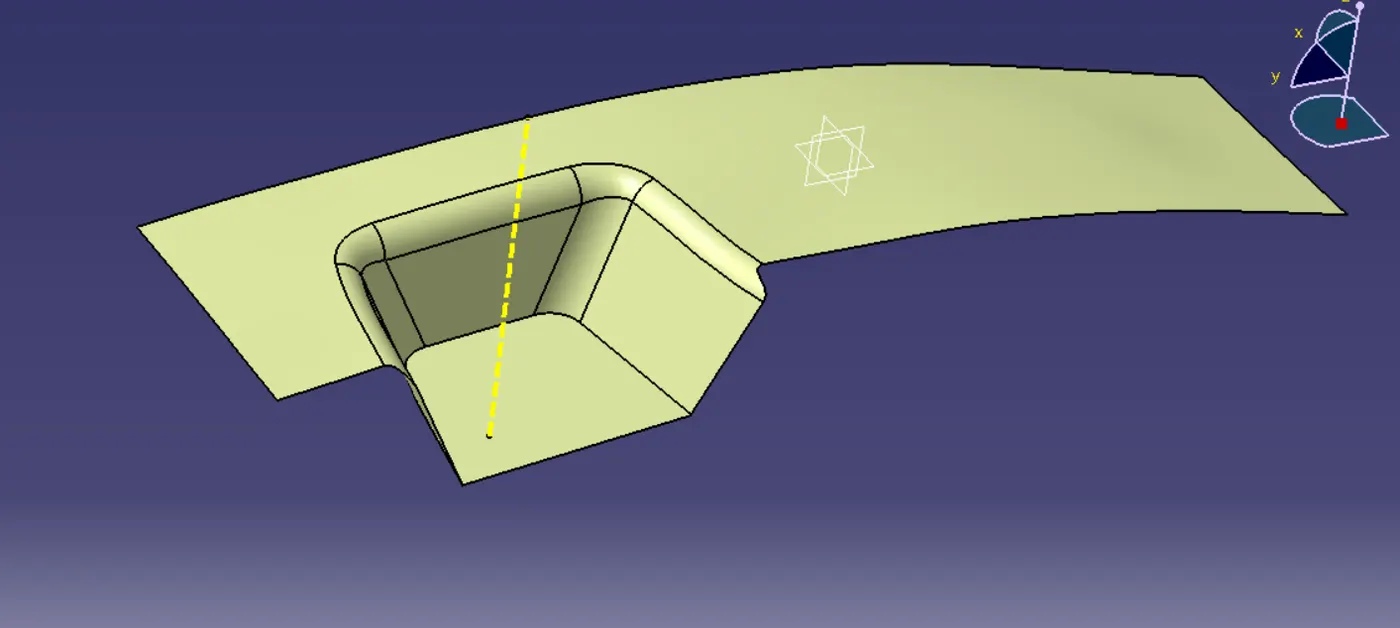
CLASS C SURFACE CREATION
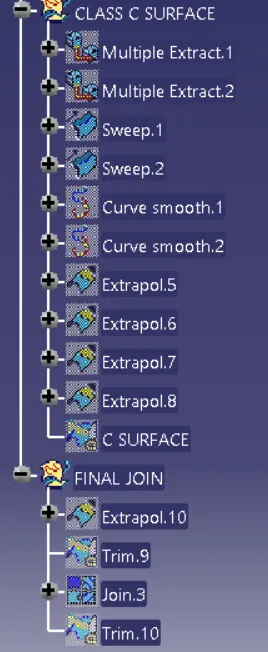
Extract the edge of the Class A surface by using multiple extracts & convert it into smooth curvature to avoid the patches.
Sweep operation is performed (with draft direction) selecting the smooth curves as guide curves & tooling direction as the draft angle as 3 deg.
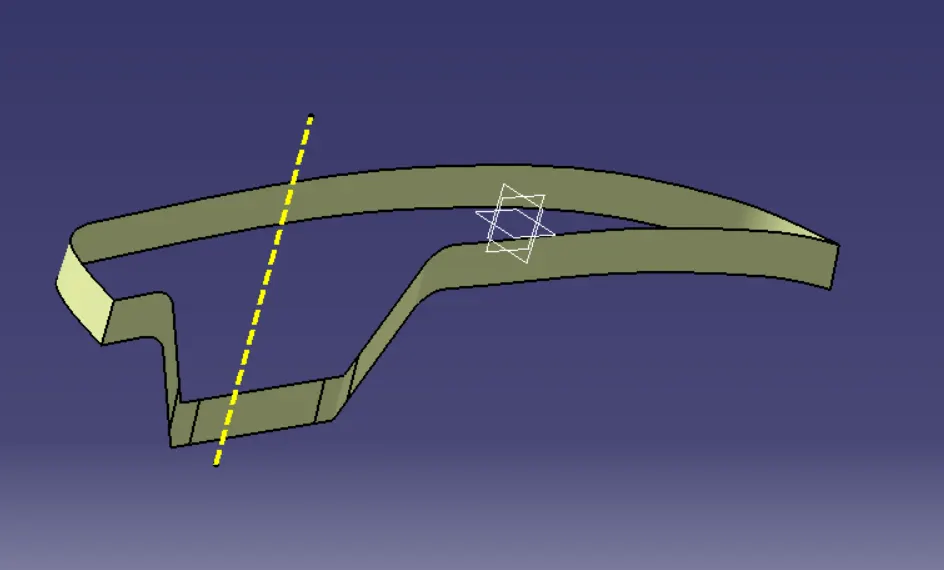
· Join the Class A & Class C surfaces. Check for unnecessary boundary present by using boundary command. If there is present of unnecessary boundary then increase the merging distance not more than 0.003mm. Even after unwanted boundary still present, extrapolate the edge of the Class A surface by a small distance & trim it. Join again & trim it with Class C surface.
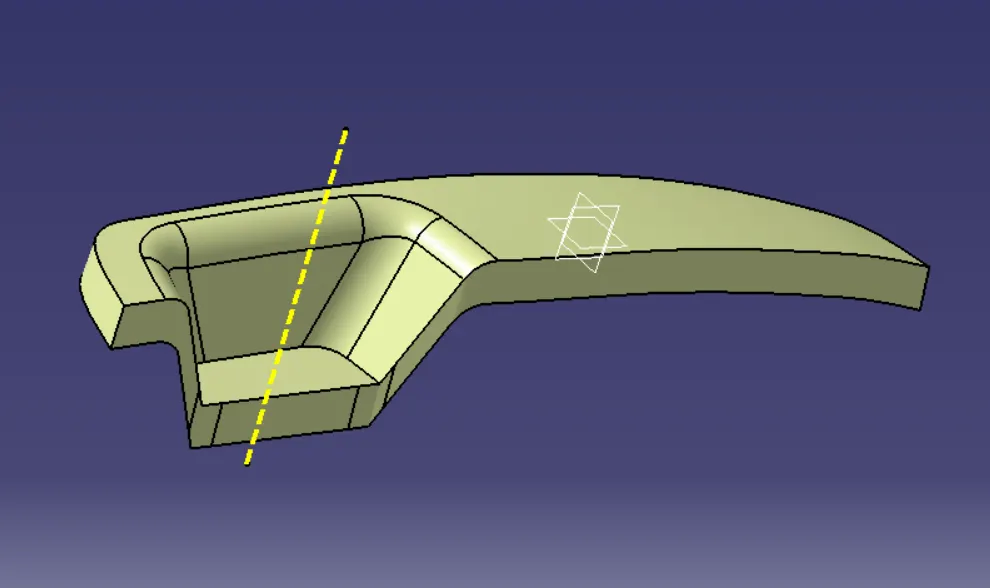
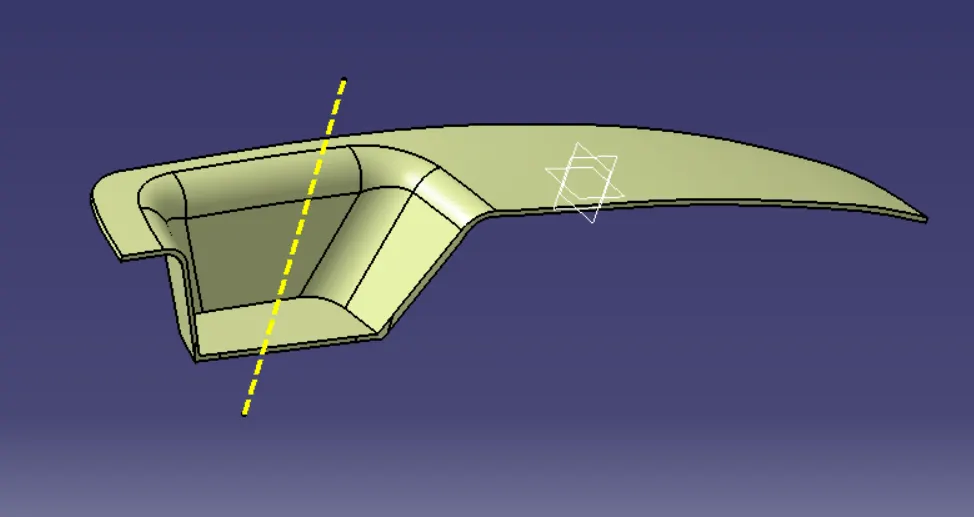
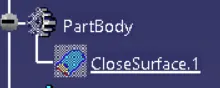
Go to the part workbench by using the closed surface feature we created a solid body from the surface.
DRAFT ANALYSIS OF FINAL PLASTIC COMPONENT
The draft analysis command enables you to detect if the part can draft easily while removing. This type of analysis is performed based on the range colour range identifying zones on the analysed element where the deviation from the draft direction at any point.
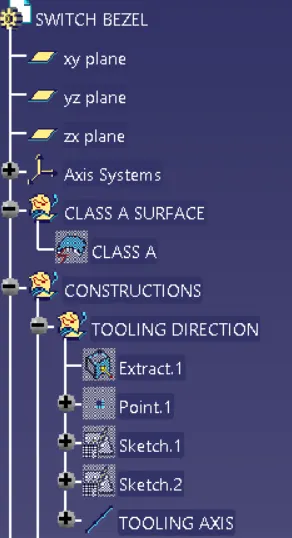
Go to tool > Publication, publish the tooling axis, Class A surface, Class B surface & Class C surface. Under the publication tree structure, it will appear.
TREE STRUCTURE
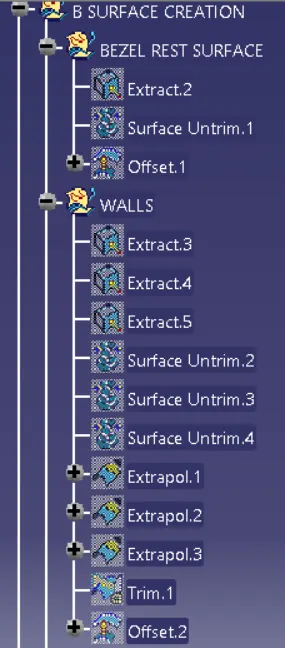
CONCLUSION- Switch bezel plastic component using Class A surface successfully created & performed draft analysis.