Week 9 - Challenge 2 - Switch Bezel Design
Week 9 - Challenge 2 - Switch Bezel Design
Aim:
To Create the Switch Bezel Plastic component through the given Class-A surface and analys the draft analysis of the final component by creating the required tooling axis with the help of bisecting line.
Objective:
- A surface should be aesthetic and smooth
- Create a required Tooling axis with the help of Bisecting Line
- create B surface and C surface
- Create the Switch Bezel Solid body by use of close surface feature and draft anlysis.
Class A
Class A surface is the aesthetic skin data for the automotive part designing and curvature surface to represent the main component.Befor proceed with A surface to analys the Draft angle, if get any mis-match surface reconstruct the A surface.
Tooling Axis:
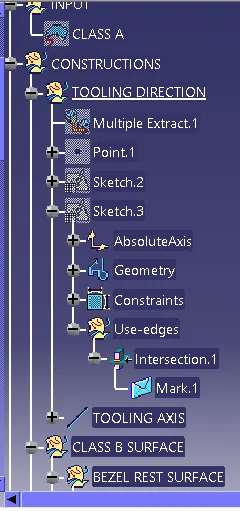
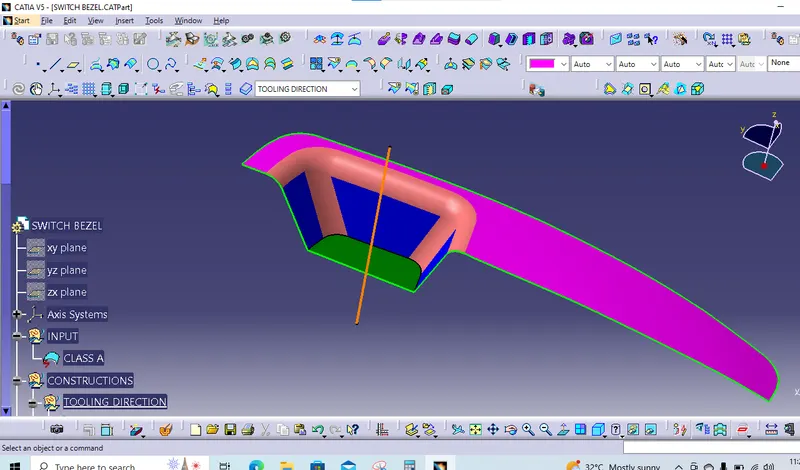
In plastic design injection molding the Tooling Axis is the most important criteria. The tooling axis tends to the core and cavity area, also the component ejecting direction is the most common tooling direction. For creating tooling axis create the intersecting line to the A surface. Then create the point and new axis system.
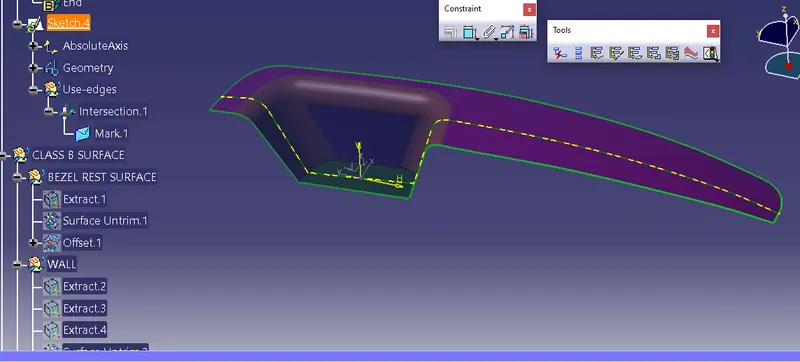
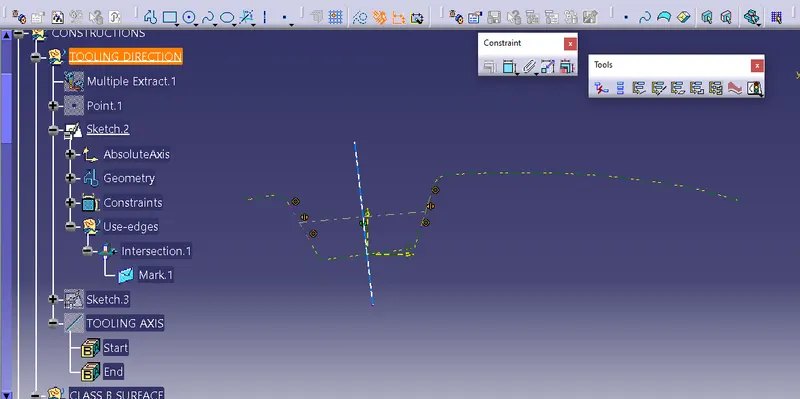
YZ Tooling Axis
To create the bisecting line on the intersecting surface A line and get the YZ direction Tooling axis.
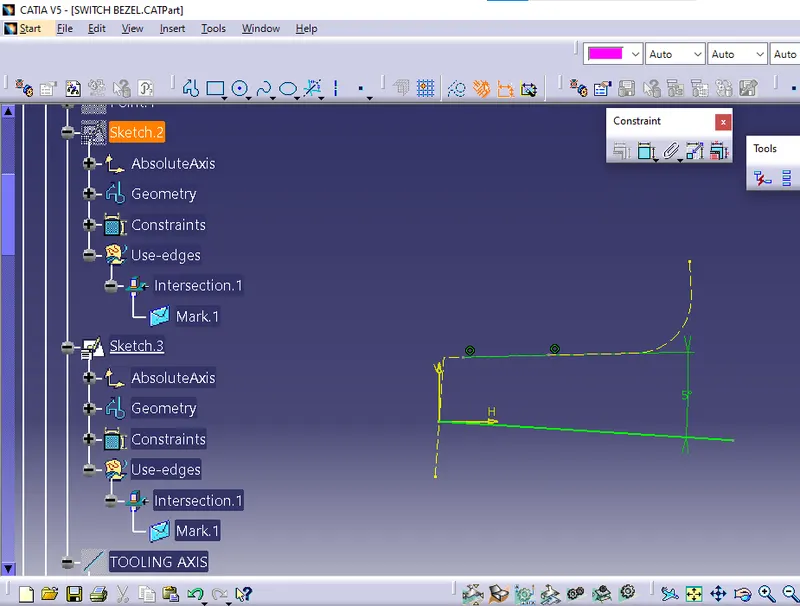
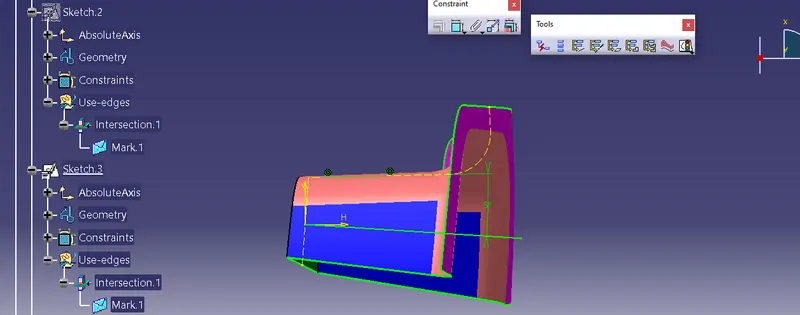
ZX Tooling Axis
Go to the axis system and select the zx direction create the positoned sketch create the bisecting line and define the angle at 5 degree.
Final Tooling Axis
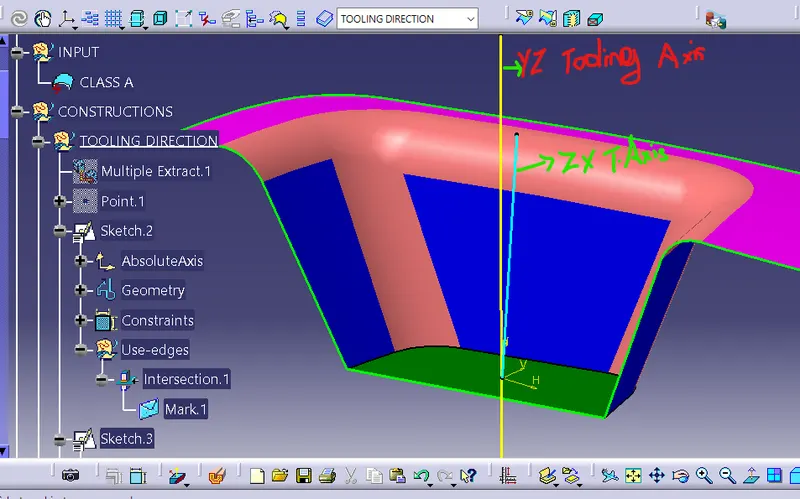
Create the Line by the iption of Bisecting Line, Pick the YZ Tooling axis, ZX tooling axis and point define the bisecting line and drag it for required length.Hence the final tooling axis created successfully
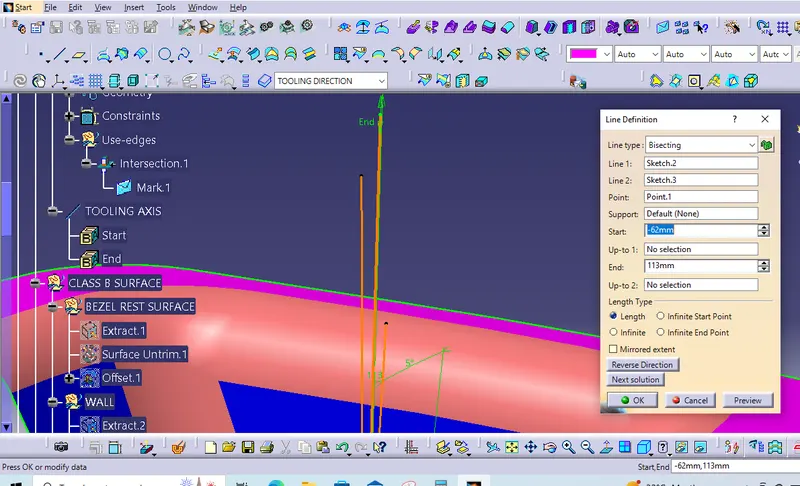
Bisecting Line => Line -> Line Type -> Bisecting Line
Tooling Axis created by the Bisecting Line and define the direction by the changing Next Solution. Hence the Tooling axis created successfully.
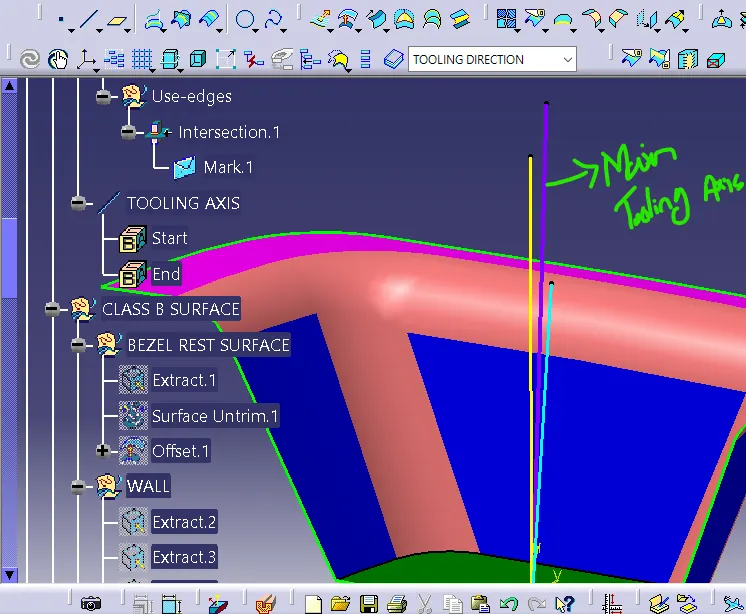
Class B Surface
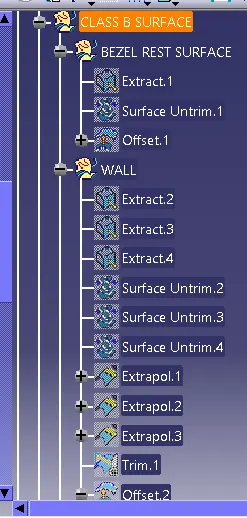
Class B surface is the secondary surface created from the Class A surface. Creating Class B surface Extract the class A surface and untrim, extrapolate. Then create the base and wall surface after that final trim to all the extrapolate surface you get the B surface.
Bezel Rest Surface & wall
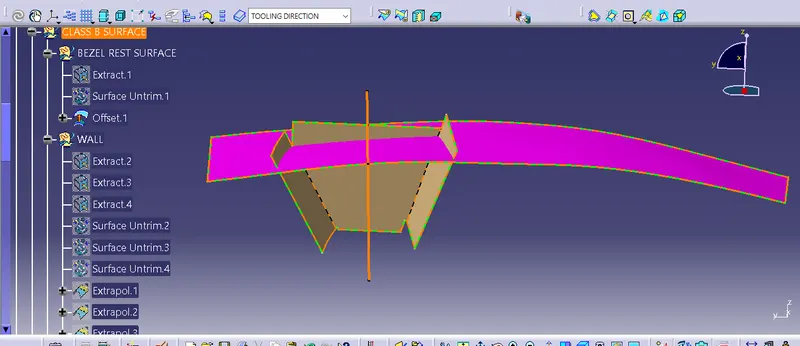
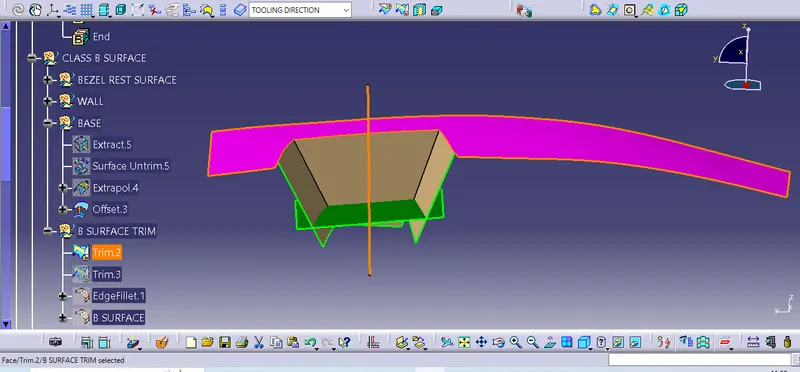
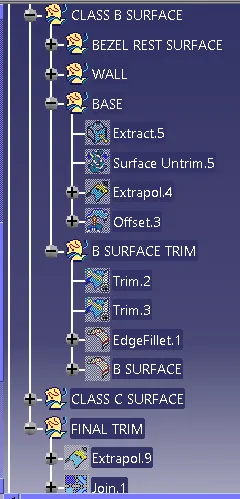
Finally trim the bezel rset surface, wll and the base surface and final trimed B surface created successfully.
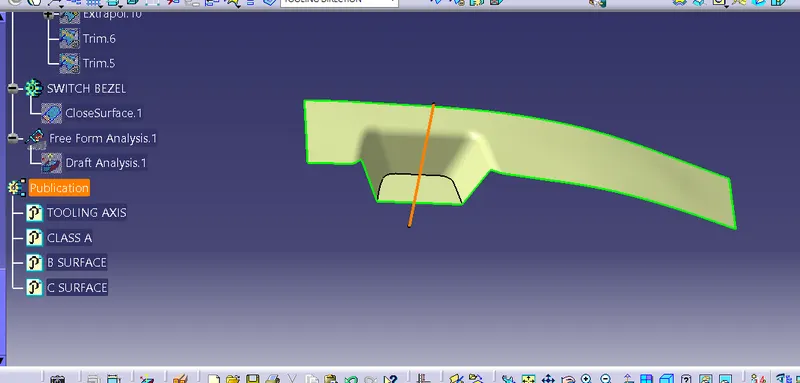
C Surface
To create C surface extract the outer boundary of the A surface and sweep the boundary with the draft direction at the agnle of 3 degree and smooth the curves.
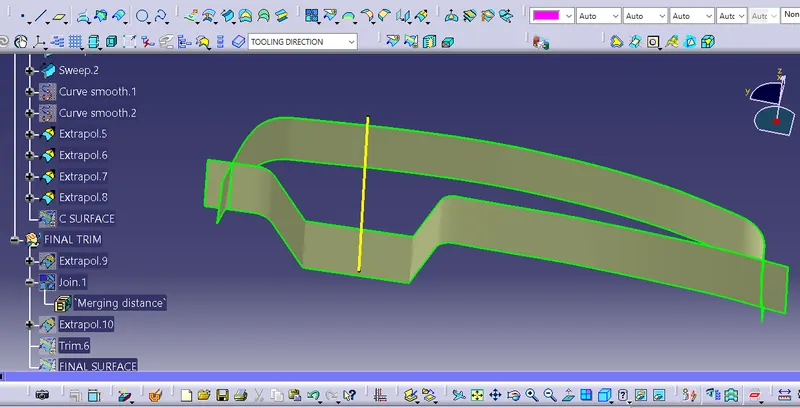
Extrapolate the un even surface and trimed it by together. Finally created the c surface.
Class A + Class C
To join the class A and Class C surface by using joint command.
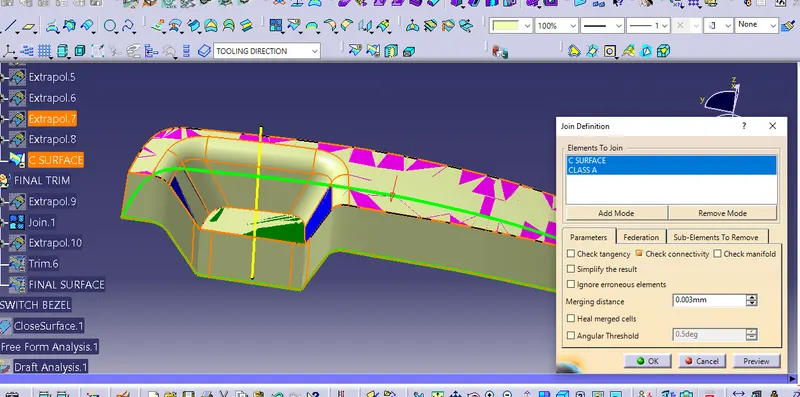
Then trim with the B surface will get the final switch bezel.
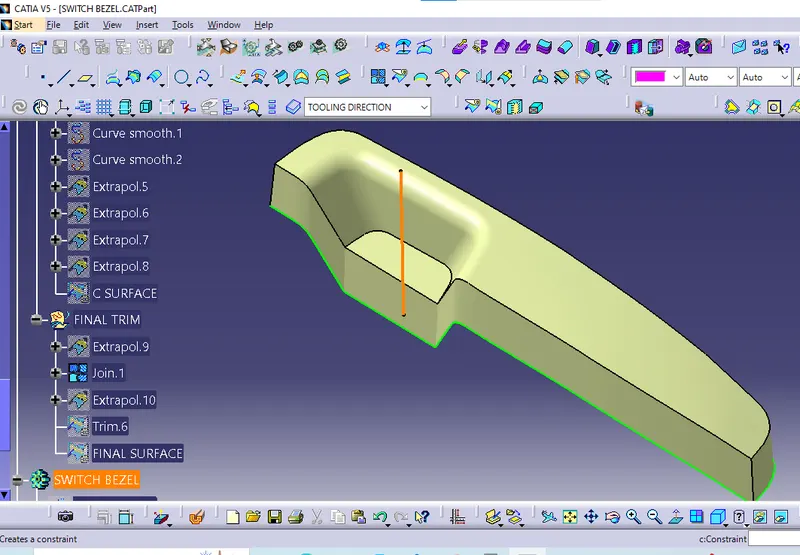
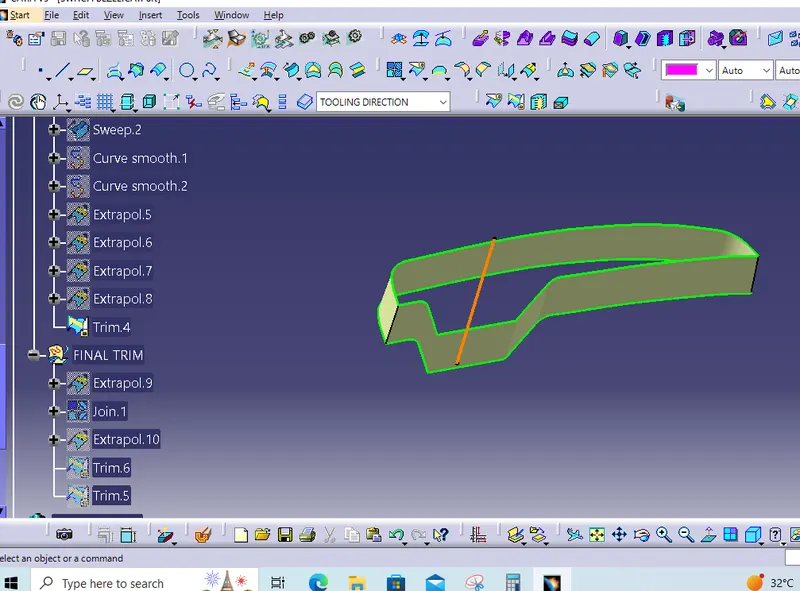
Final Trim (A+B+C)
To trim the Surface (A+C ) with the B surface.
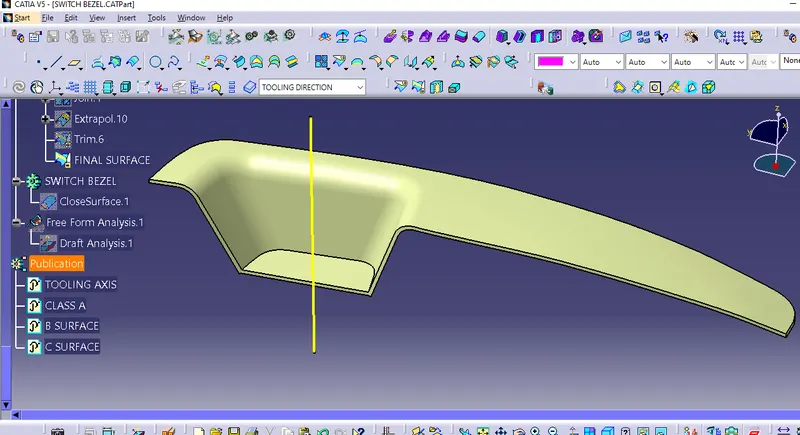
Close Solid Surface:
START -> MECHANICAL DESIGN -> PART DESIGN -> SURFACE FEATURE -> CLOSE SURFACE
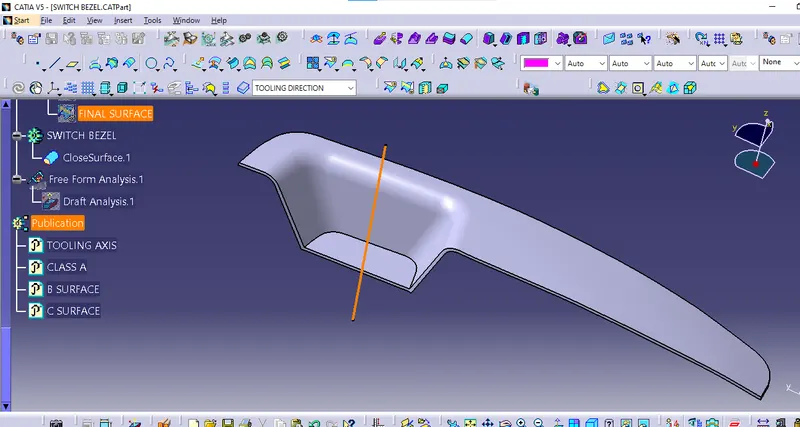
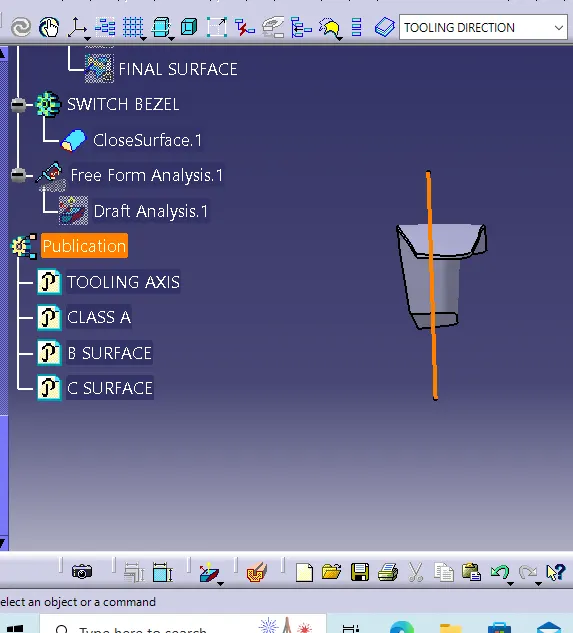
Front View
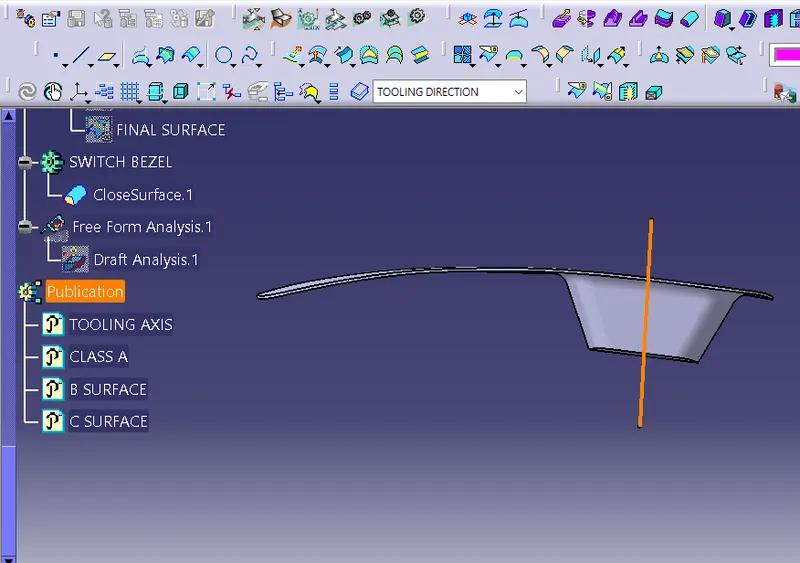
Side View
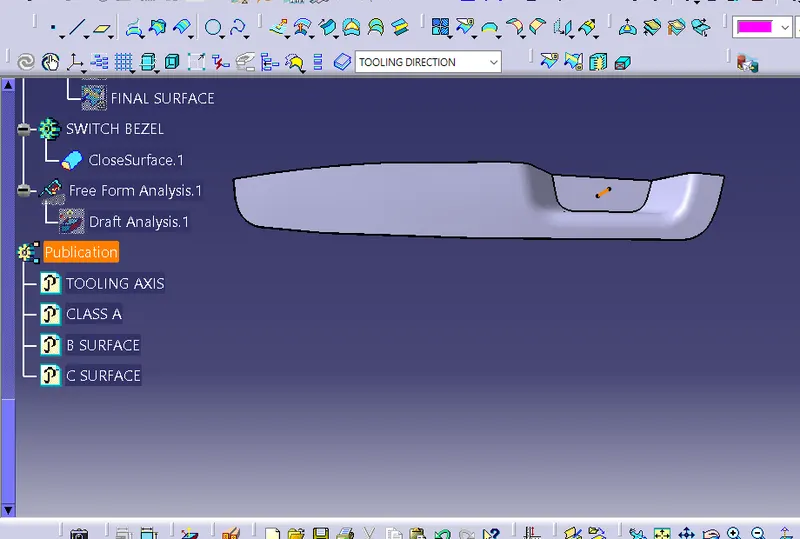
Top View
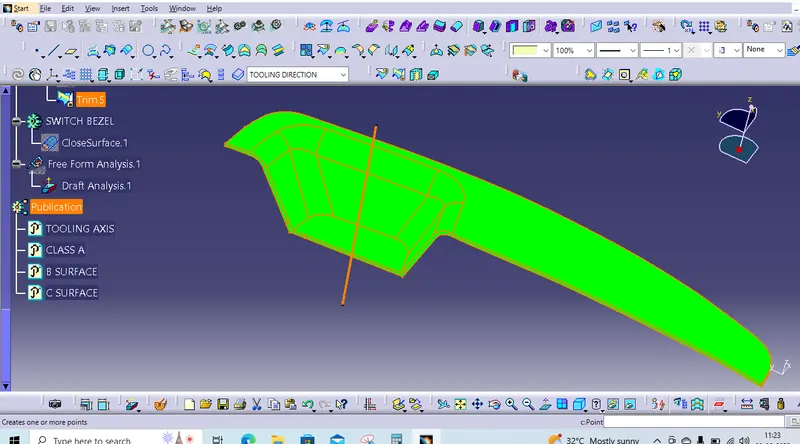
Draft Analysis
Draft is one of the main requirments in plastics molding. If the draft angle is less than 0 degree, the part or component and tool is to be damaged in mass production. So the drafting analysis to find out the lesser angle area by the colour variation.
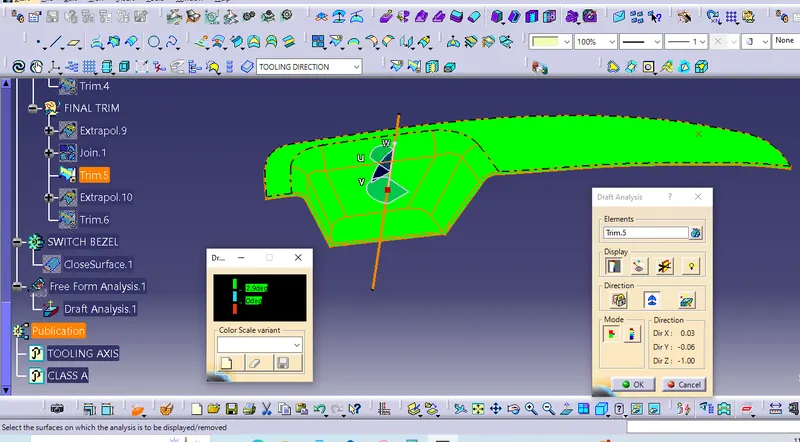
Above 3 - Green
0 to 3 - Blue
< 0 - RED
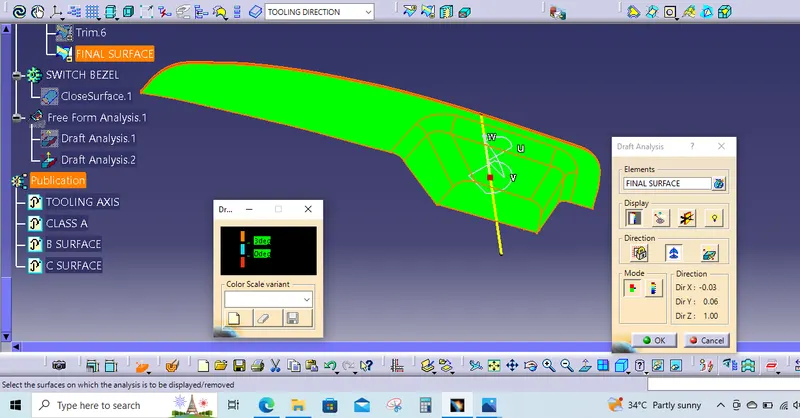
The final draft analysis the close surface clear by the draft angle.Here 2.9 degree is the drafted over the area which is permissible at the injection molding manufacturing area.So the draft analysis was done successfully.
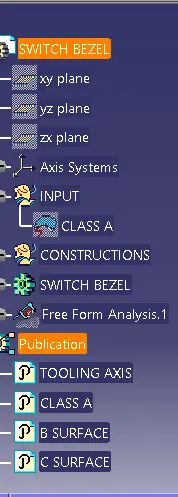
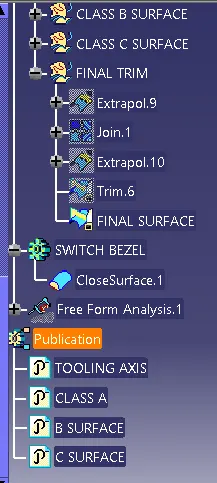
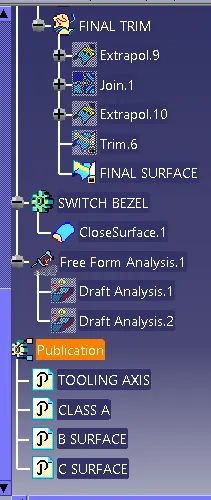
Tree Structure: