Hood design-Week 2
Hood Design
Introduction
Hood is the moveable part of the car that covers and protects the engine.The hood is given the access to the engine compartment. In most of the car the hood is hinged at the front end. The hood design has consists of several parts to be assemble.
Hood Assembly Parts,
1. Outer Panel
2. Inner Panel
3. Hinges
4. Striker and Latch mechanism.
Master Sketch
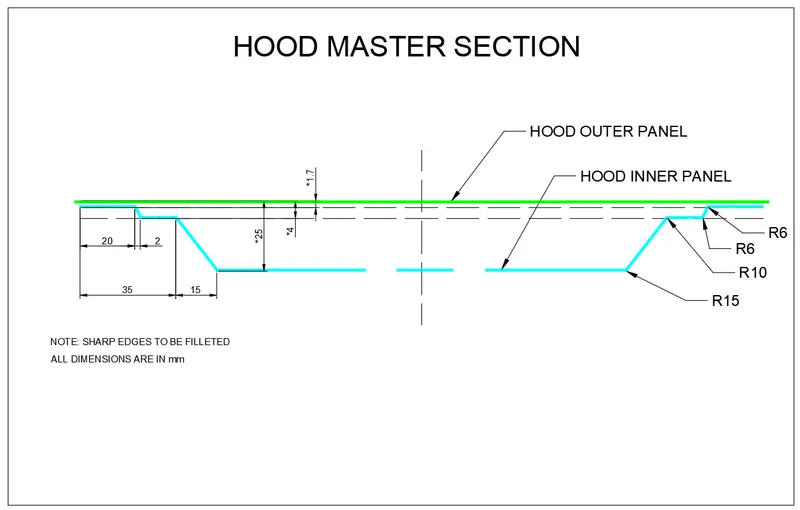
Outer Panel:
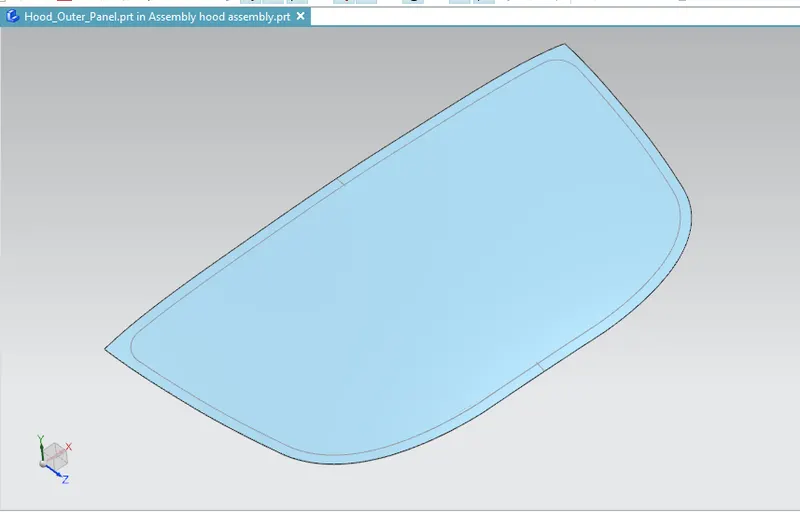
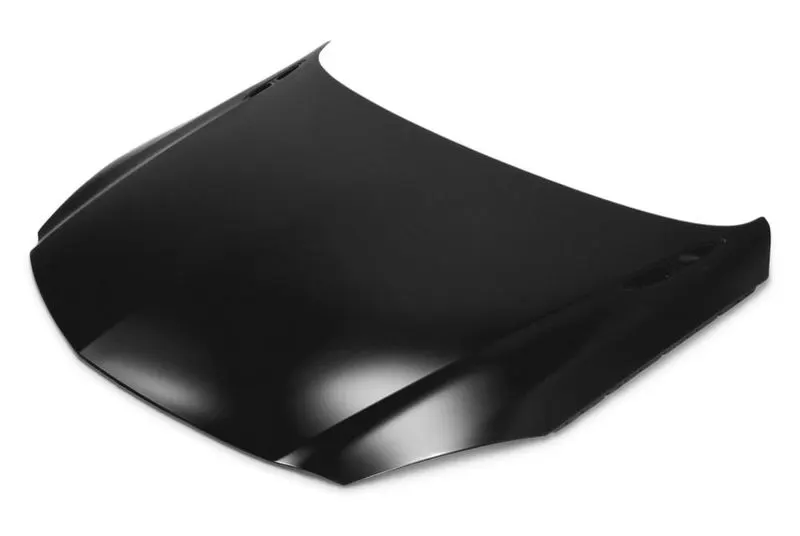
A car hood outer panel is the one of the most important parts of the BIW, it is considered as a closure sheet metal component.It is protects the inner panel.
Inner Panel
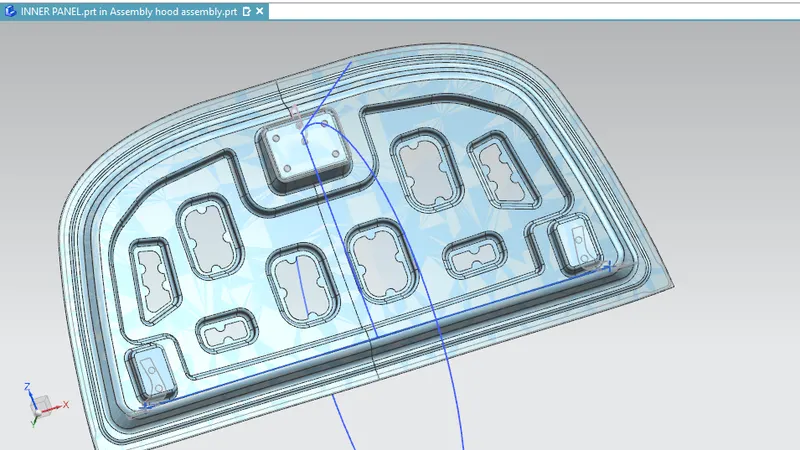
Inner panel is the part that gives strength and rigidity to the outer panel. The master section represents the initial emboss shape and dimensions. Then we provide the emboss for the masyic data, latch and hinge elements befor fixing the inner panel.
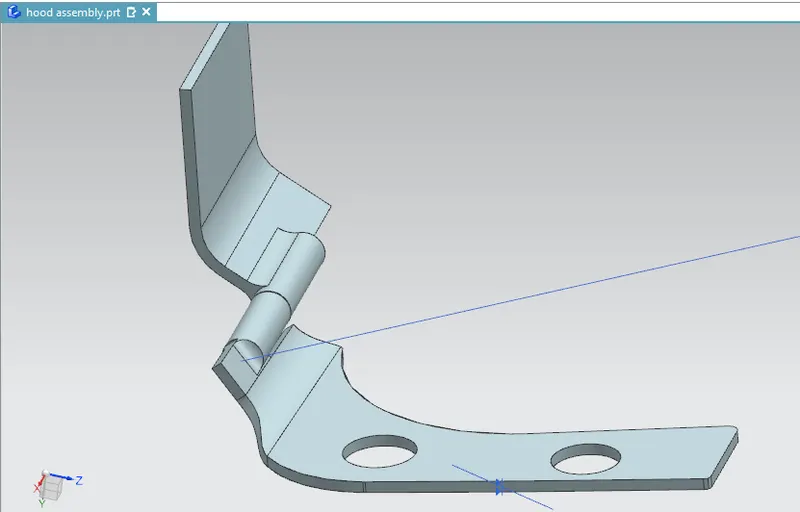
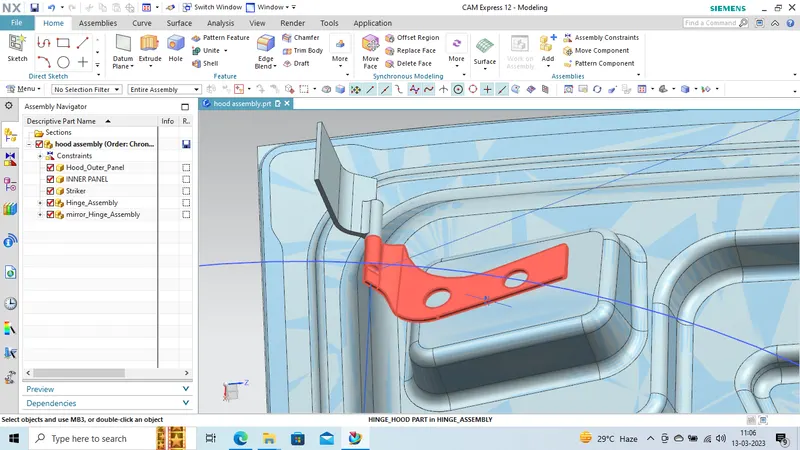
Hinge Assembly:
Latch and Striker Assembly: Latch Trajectory
Latch trajectory is given by the circle drawn from the hinge axis point. Hinge axis point is the centre point of the hinge axis. First, we can fix either the latch or the hinge. If we have fixed the hinge position then we should plot the Trajectory circle for the latch. For proper mating condition the striker axis through the tip of the striker should be tangential to the latch trajectory.
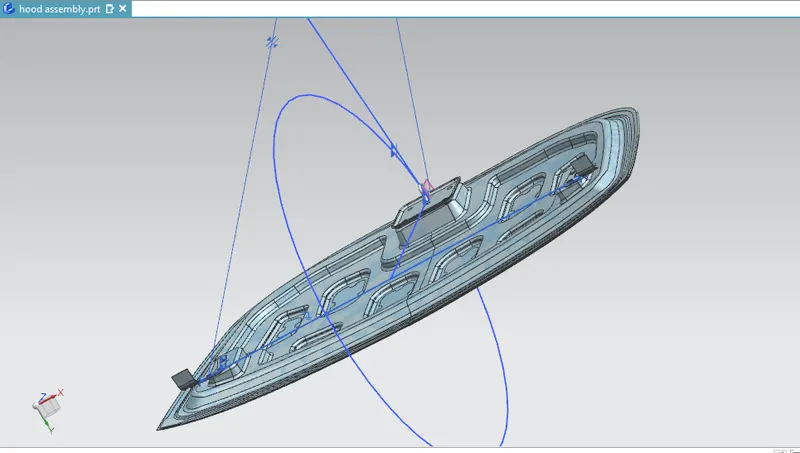
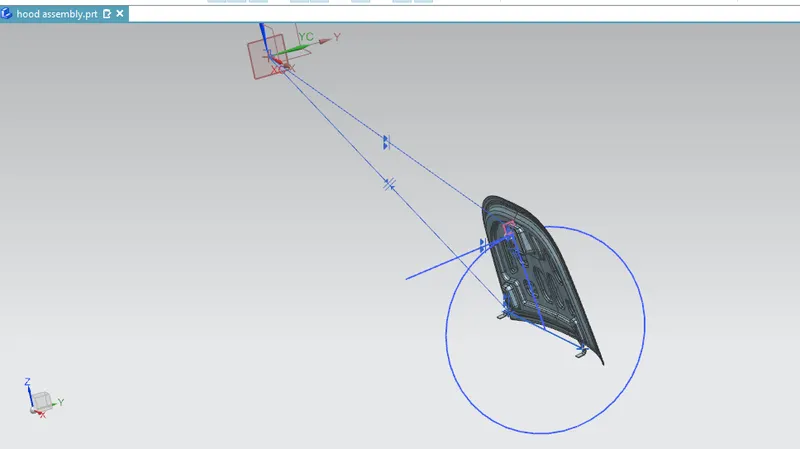
For the proper opening and closing of the hood, the striker should be perpendicular to the trajectory of the hood. For this, hinge is assembled at its position. Once it is placed, hinge axis is drawn.
- To check the hinge axis as the center we draw a big circle to the position the latch in such a way that it is perpendicular to the hood trajectory.
- In between the two hinges, the striker is perpendicular to the midpoint of two hinges, because while closing and opening of latch and striker the opening position.
Embossing Geometry:
Embossing is a stamping process for producing raised or sunken designs or relief in sheet metal.
- Metal sheet is drawn through the male and female roller dies producing a pattern or design on the metal sheet. Depending on the roller dies used, different patterns can be produced on the metal sheet.
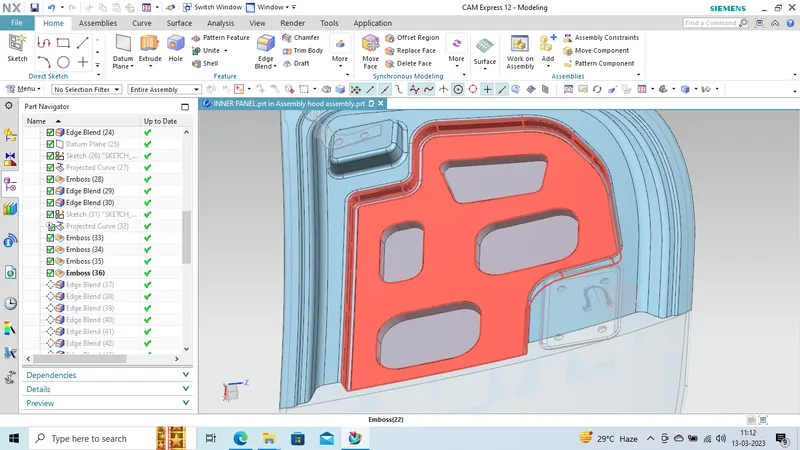
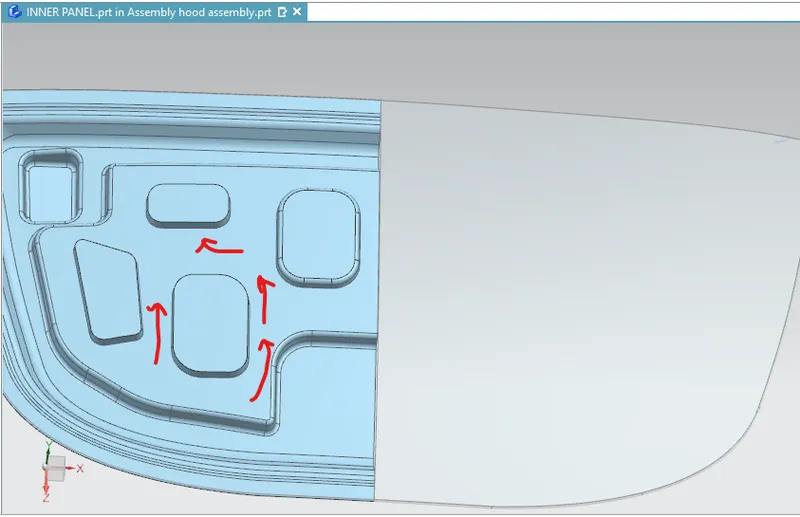
- Emboss should be in 7 degree to 25 degree inclinte in angle and it should not be in more than 90 degree angle,because of when we do stamping in manufacturing the stamping tool fits the sheet metal hence it will not come out of that sheet metal,So this is the main reason why the emboss face its in angle.
Mastic Data:
A mastic sealant is a type of liquid sealant that cures in an elastic state, that making it flexible while holding the bond of the surfaces that has attached together. It adheres to just about any material making an all purpose type of sealant.
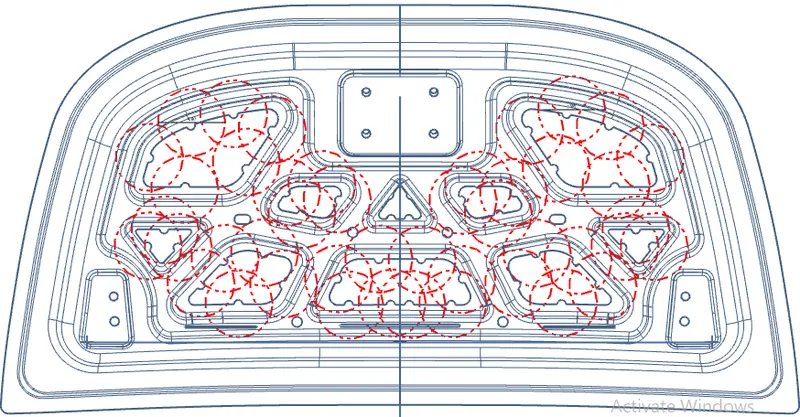
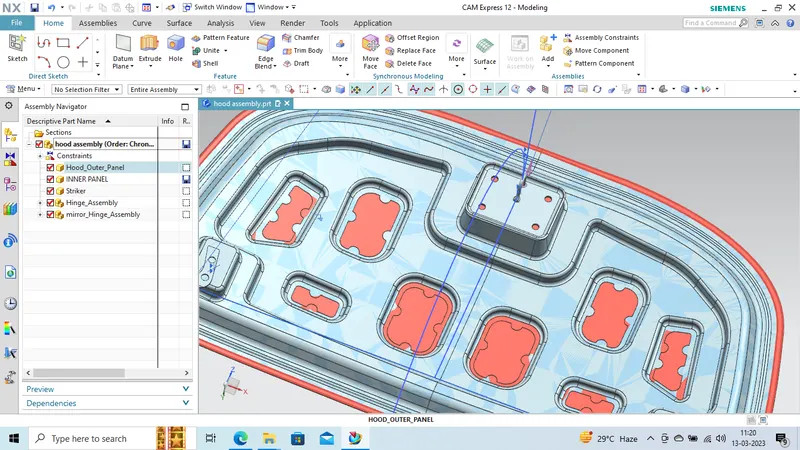
- The main purpose of the outer panel is for the atract looks. So we can't use bolts or welding. This has to be done with the help of the hemming and mastic sealants. Mastic sealants are elastic compound that be have like the rubber. It is placed between the outer and inner panel. Initially is it in paste form, but after the hot furnace bath it gets hardened thus joining the outer and inner panel. Mastic sealant has the tendency to increase the strength of the panel and has influence of 80mm diameter.
Heming:
Hemming is the process of joining both the outer and inner panel together. The hemming process roles and wraps the hood outer panel around the inner panel and holds it tightly together.
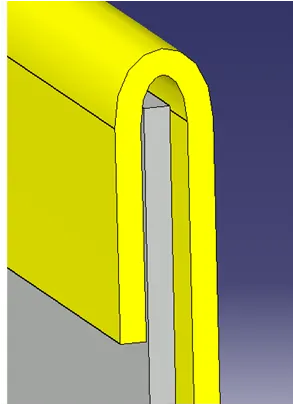
There are two types of hemming process
- Conventional die hemming
In conventional die hemming is the flange is folded over the entire length with a hemming tool.
- Roller hemming
It is the roll hemming process that is used for automotive sheet metals. Roll hemming is carried out incrementally with a hemming roller. An industrial robot guides the hemming roller and forms the flange. Roll hemming operation can also be divided into several pre-hemming and final hemming process steps. Roll hemming is very flexible to use and tool costs are significantly lower as compared to those of conventional die hemming. However, the cycle times are much higher since the hemming is realized using a hemming roller which follows a defined path.
Corner Reliefs:
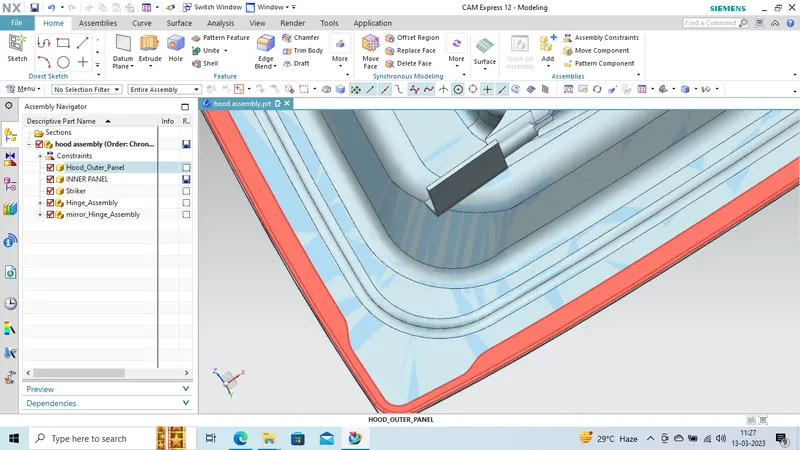
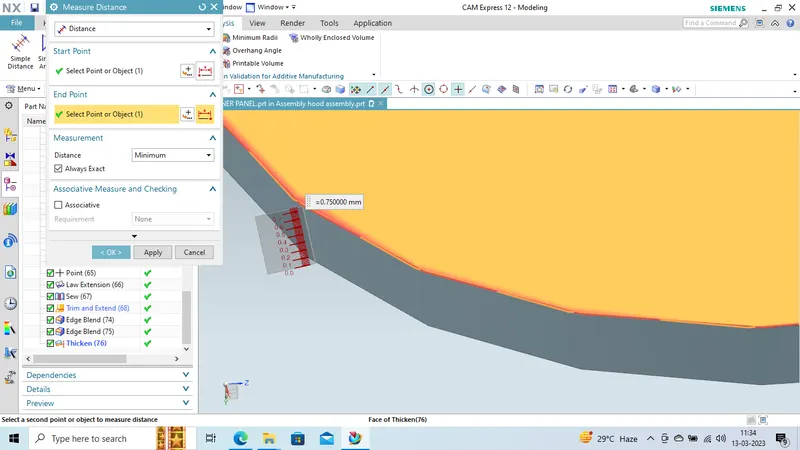
Thicken Surface:
- Outer Panel Thickness = 0.75mm
- Inner Panel Thickness = 0.75mm
- Reinforcement Thickness = 1.5mm
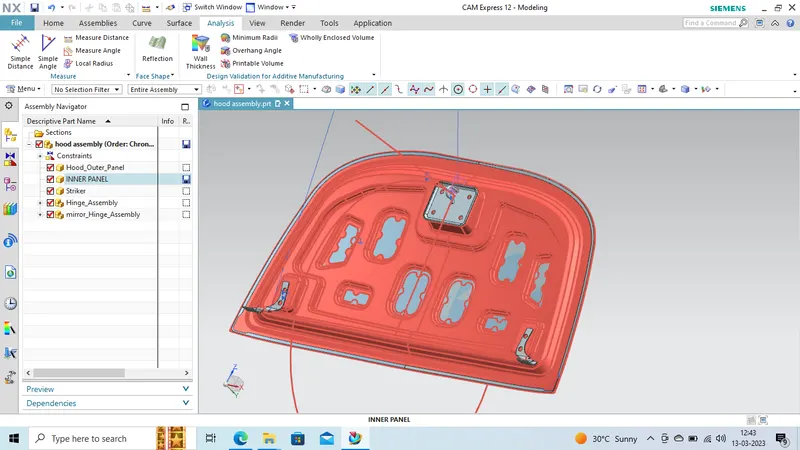
Final Assembly:
Conclusion:
I learned to design of Hood in Siemens NX Student Version software with given and required design guidelines for hood design and manufacturing.