Week 9 Challenge
- Generate seismic loading-based IS codal provisions and zone II. Any other data you can assume and input accordingly
ANS
AIM: To generate seismic loading-based IS codal provisions.
Tools Used:
- Load Cases
- Seismic Load
- Seismic Wizard
Procedure:
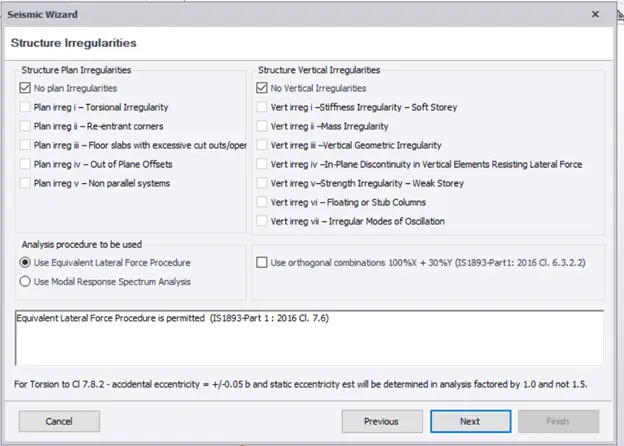
Step1: First open the previously saved file and click on the load tab and click on seismic load their in dropdown click on the seismic wizard to apply seismic loading to the model.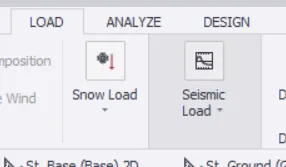
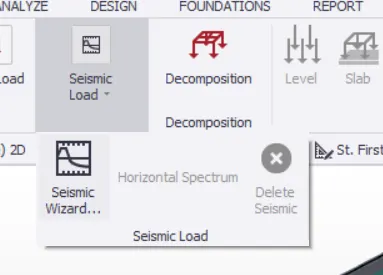
Step2: Now select and fill required data suitable for the structure.
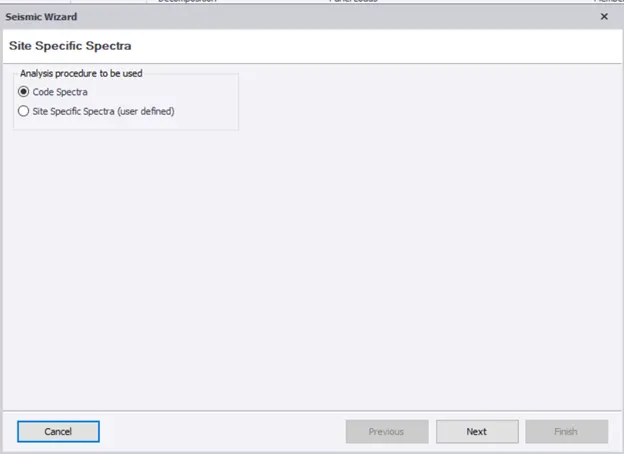
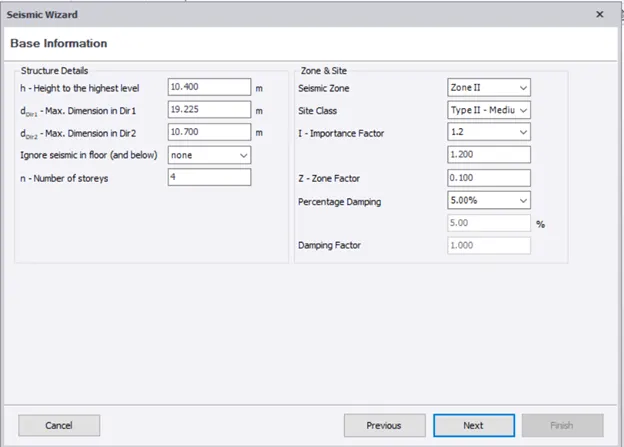
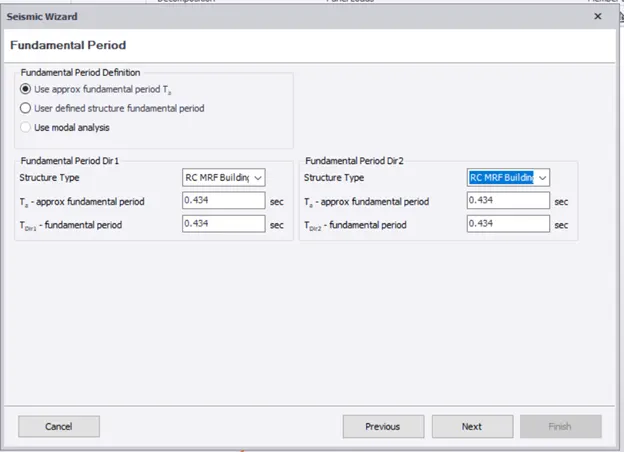
Step3: Now select the structure type as RC building.
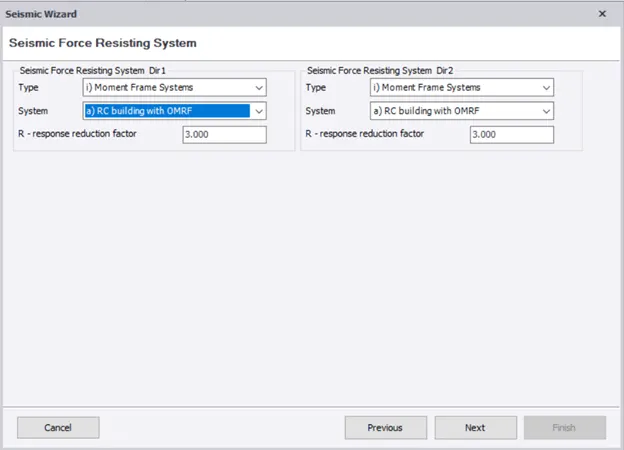
Step4: Include the load cases and click on Finish.
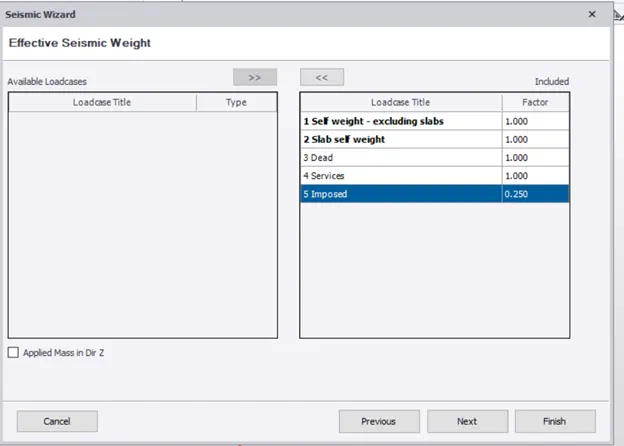
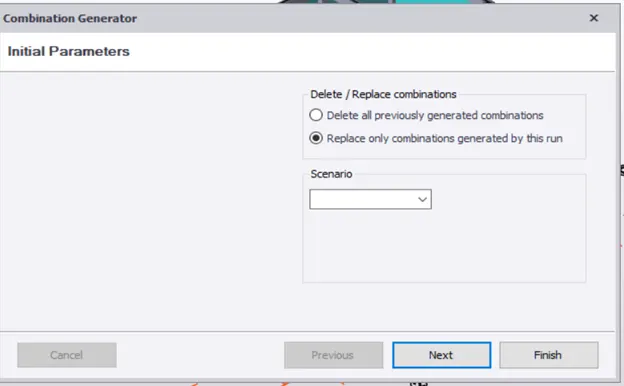
Step 5: All the load cases are generated and suitable load cases can be selected and applied to the model.
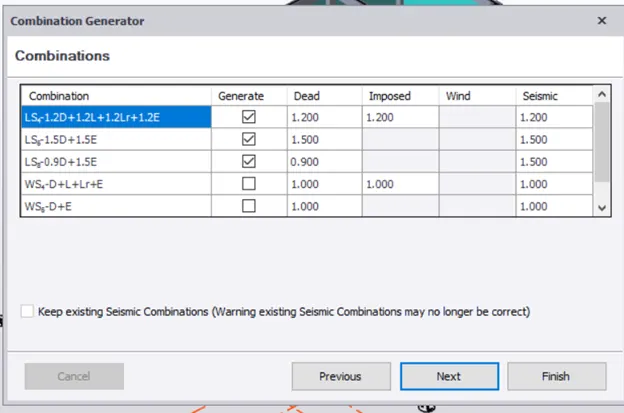
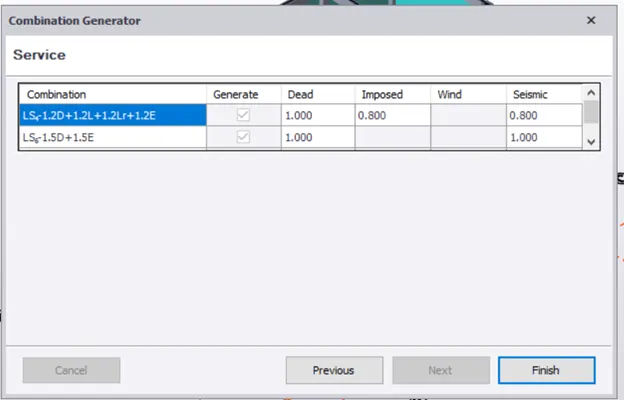
Finally, click on Finish.
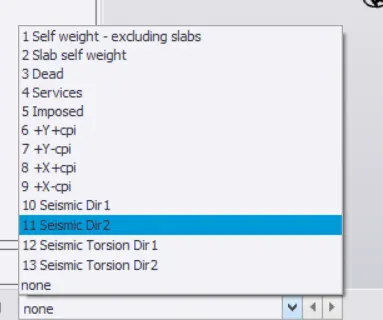
Step6: After this, we can observe that the seismic load had been applied to the model automatically. We can check that in the loading list at the bottom of the workspace.
RESULT: Hence by following the above procedure we can apply the seismic load to the model.
2. Run the analysis. Summarize your understanding of the analysis results
ANS
AIM: To run the analysis & summarize the analysis results.
Tools Used:
- Analyze
- Analysis Settings
- 1st order analysis
- Results view
- Review view
Procedure:
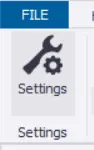
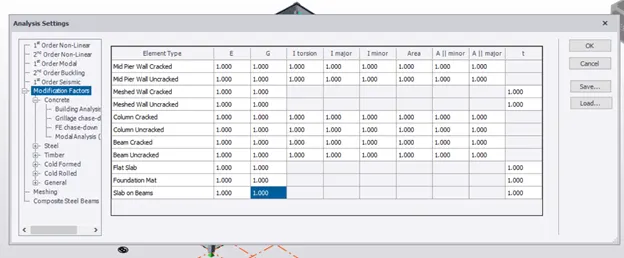
Step1: First, open the previously created file. After the application of all the loads on the model then in the analyze tab click on settings and check the modification factors and click on ok.
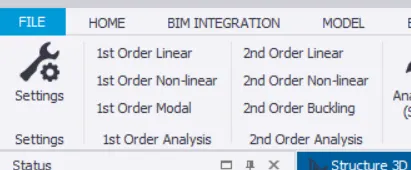
Step2: Now click on first order linear to do analysis for the model.
Step3: After that click on all the loads and load combinations and click on ok.
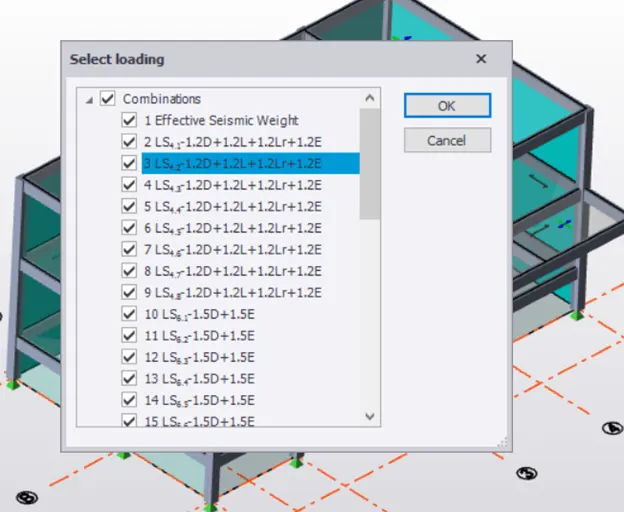
Then the analysis for the structure had been completed.
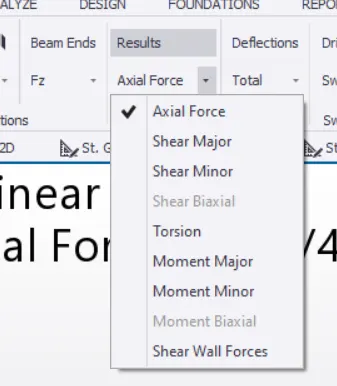
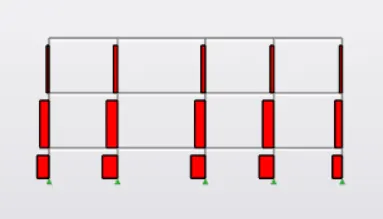
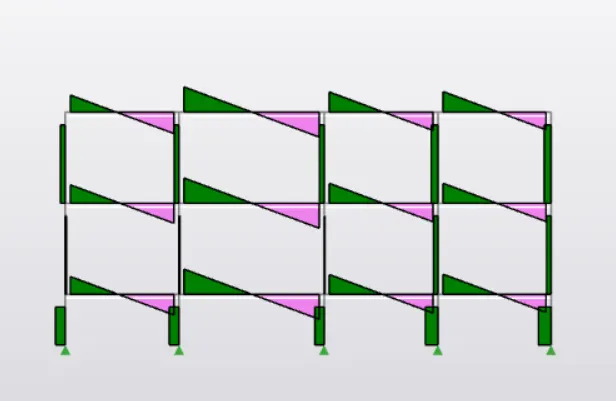
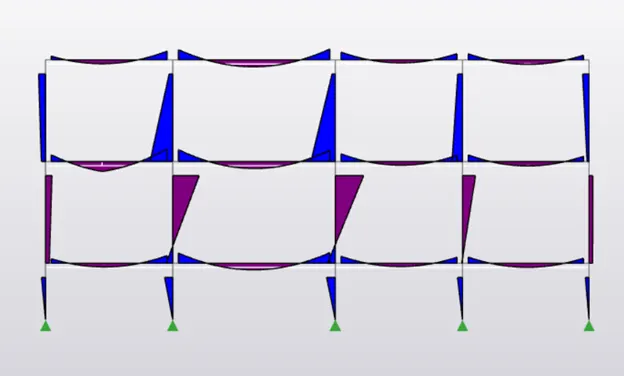
Step4: After analysis to check the results we have to click on results view and go to results tab then click on results tool then check for axial forces, moment major, shear major, deflection whatever to be checked we can check here for each load case and combinations for every frames and plan.
Axial Force
Shear Major
Moment Major
Deflection
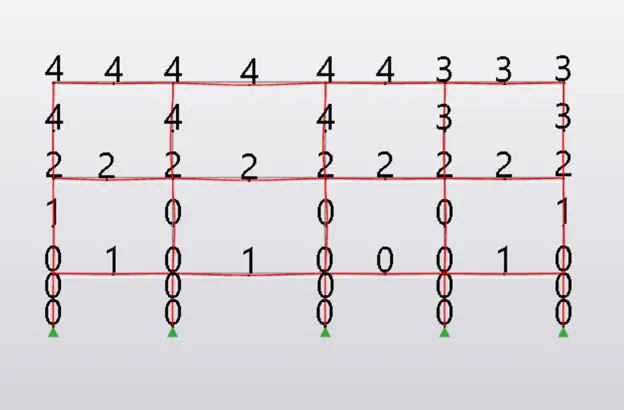
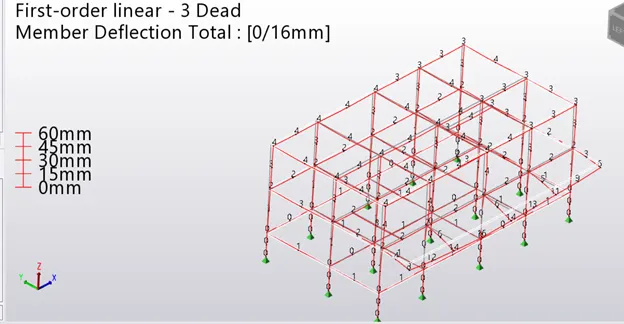
RESULTS: Now Validate the Structure for any errors, if there are no errors then the model is analyzed properly. If there are any errors encountered we have to rectify them by changing the property of the member or by changing the grade of concrete.
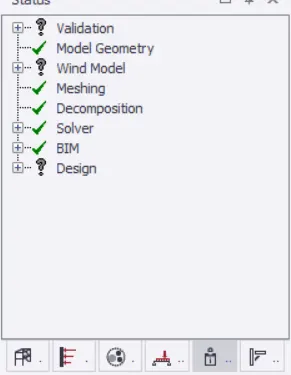
Hence by following all the above steps we had analyzed the model appropriately.