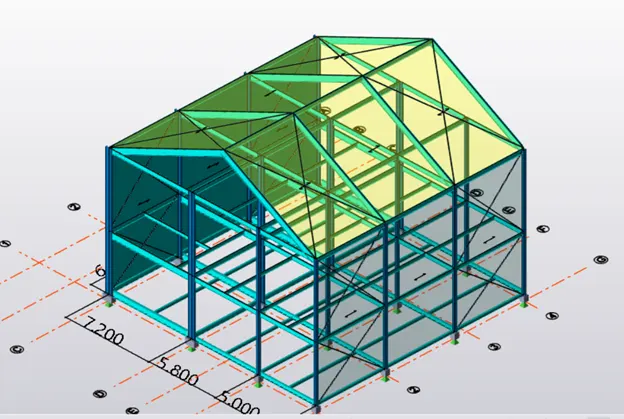
Week 3 Challenge
1. ANS.
AIM: Creation of beam properties for the First floor and modeling the beams on First Floor.
Procedure:
Step1: Open the previous week's file. Then in the home tab create new manage property sets required for first floor beams.
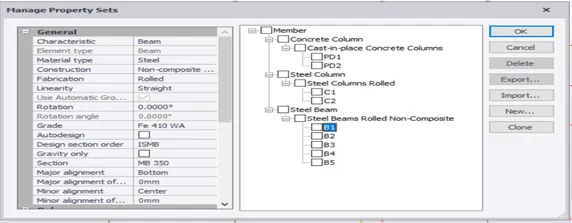
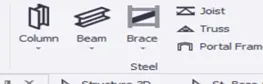
Step2: After the Creation of properties go to the model tab and click on Steel Beams.
Then go to Properties and select the required property and assign the beams between columns.
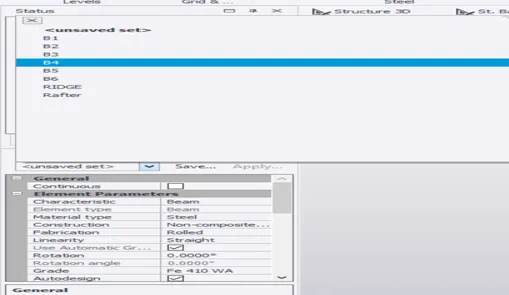
Step3: After assigning like this will be the level.
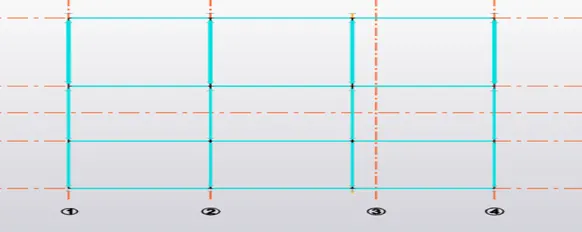
Step 4: Create the construction line at a required place to assign the Secondary beams.
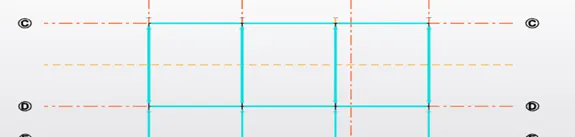
Step5: select the required beam in properties and assign.
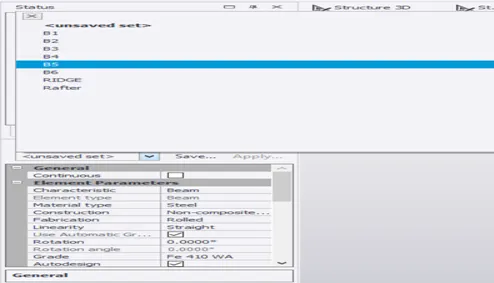
Step6: Like this will appear after assigning the secondary beams.
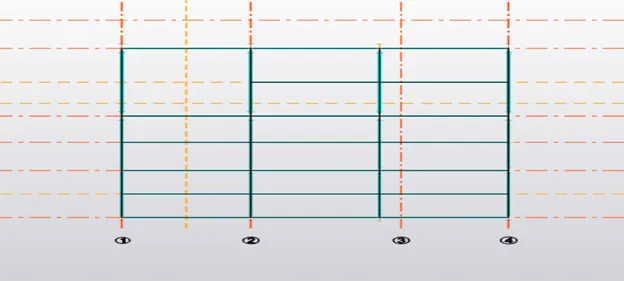
Step7: Observe the staircase area in the given model and place the construction lines to create the supporting beams for staircase.
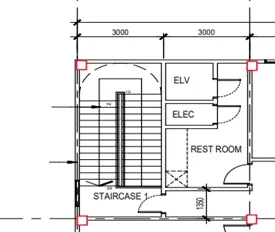
Step8: Like this have to create Construction lines.
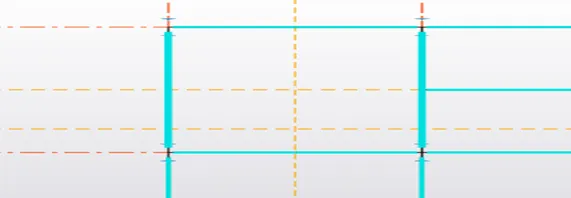
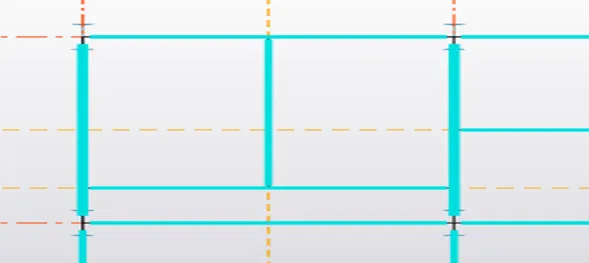
Step9: Like this have to create the supporting beams for staircase.
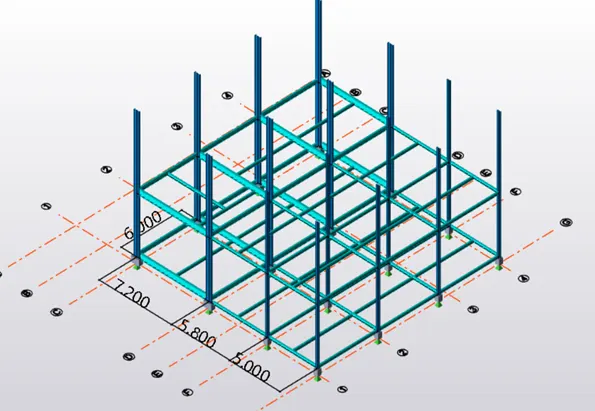
RESULT: Finally, after the creation of first floor beams like this the structure is in 3D View.
2.ANS.
AIM: Creating the rafter beam on the second floor as roof and moment frame action in one direction and adding bracings at locations as per the design intent.
Procedure:
Step1: After opening the required file open 3D View. Then in the model panel select frames and select each grid to create frames. After creation like this will appear.
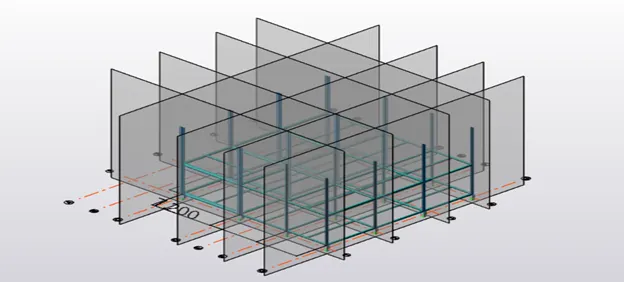
Step2: Open any Frame for example open frame1 then Create the Property Rafter beam in property sets.
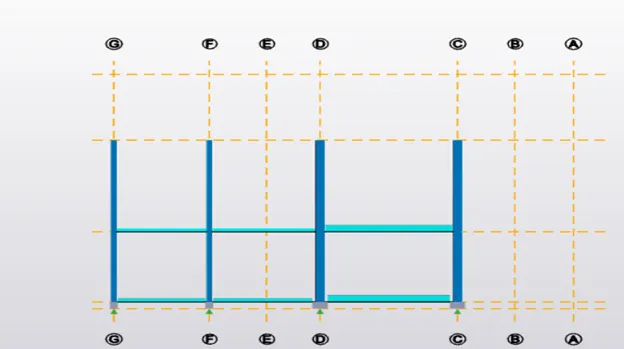
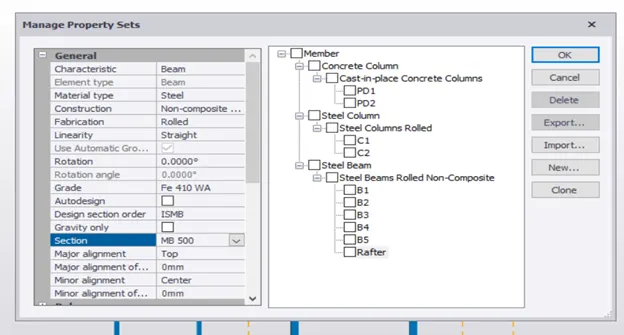
Step3: Place the Rafter beam like this as shown below.
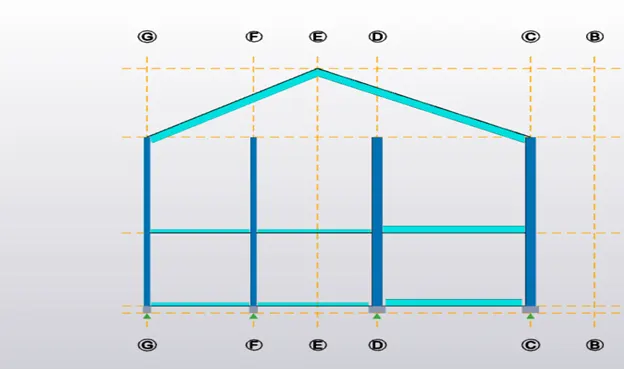
Step4: After creating the rafter beam double click on it to change the releases to fully fixed.
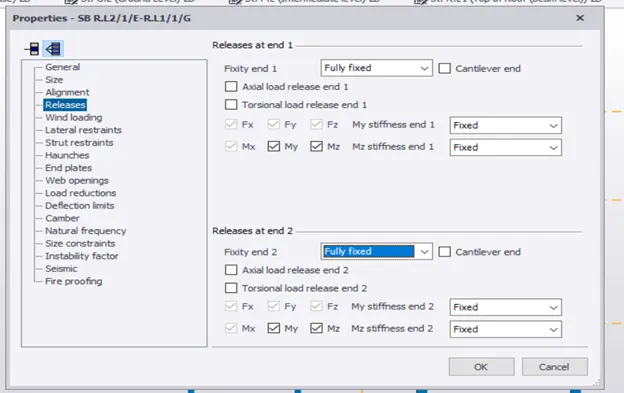
Step5: Go to 3D View and copy the rafter beam created and place them in the required places. After placing it will appear like this.
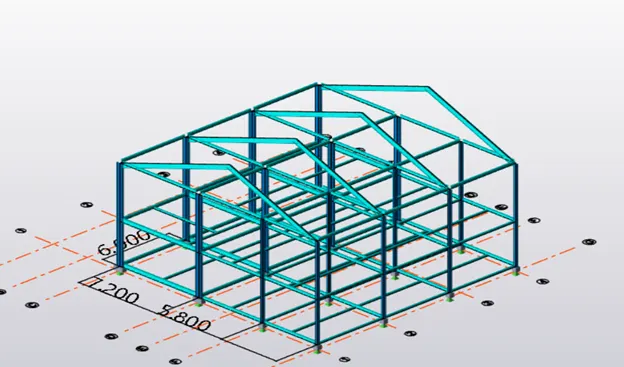
Step6: Next create the Bracings property in property sets. Then go to model panel select x brace in the dropdown list of the brace.
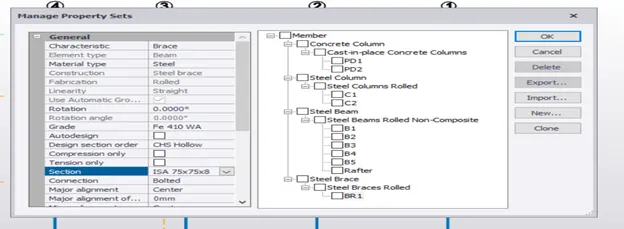
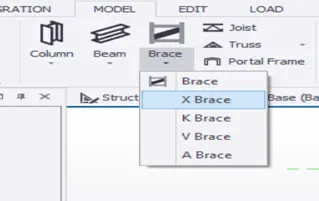
Step7: Open any one frame and create X- Bracings like this
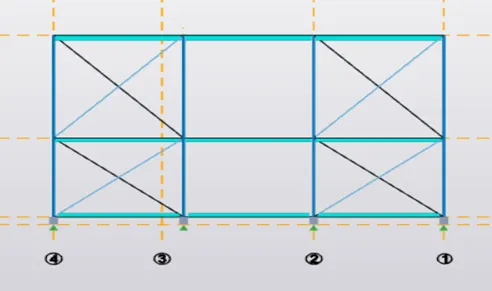
Like this will be in 3D View after the creation of bracings.
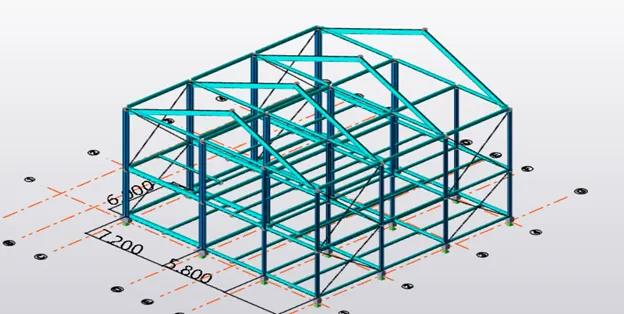
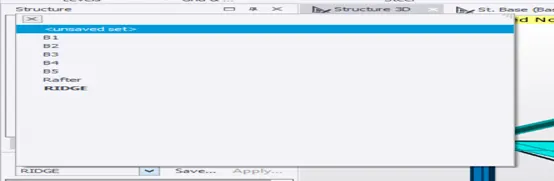
Step8: Create a Ridge beam in the 3D view at the top. Before that create the property and select it in properties then assign it.
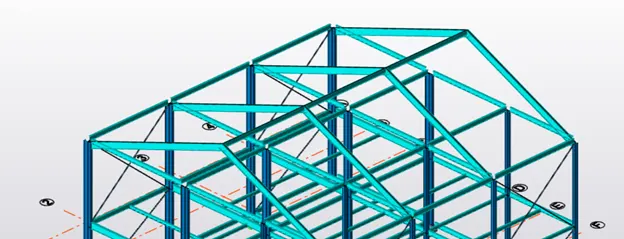
Step9: Like this create X- bracings on the roof too.
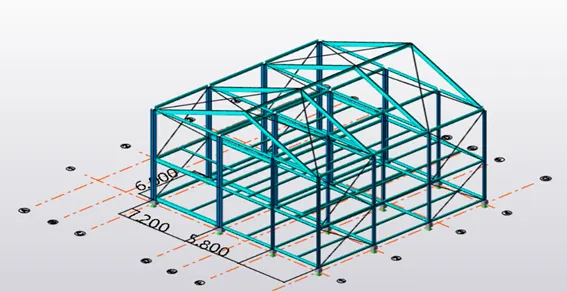
Step10: Select wall panel in the walls and loading objects in the model panel. Then open the frame view then create a wall panel between the columns.
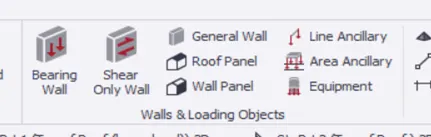
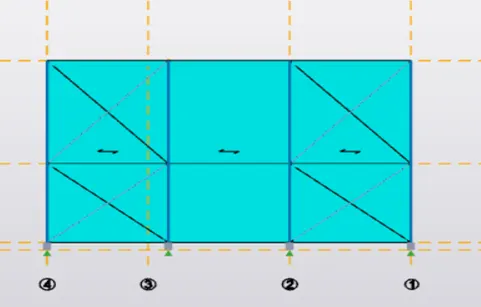
Step11: Open the 3D view and create roof panels too.
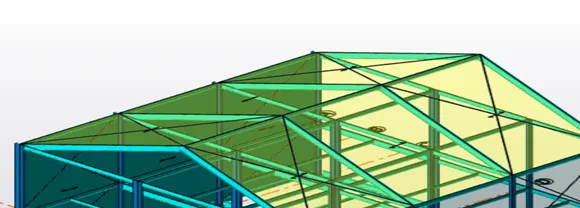
RESULT: Finally, after placing rafter, bracings, and panels both wall and roof the structure will appear like this in 3D View.