Week 5 Challenge
1.ANS.
AIM: To Generate manual wind loading in the design report based IS code as per the following input
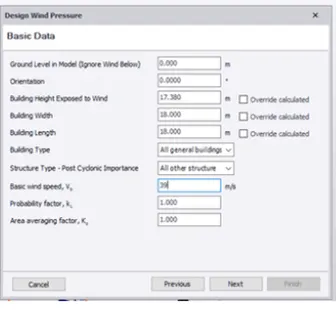
- Basic wind speed = 39m/s
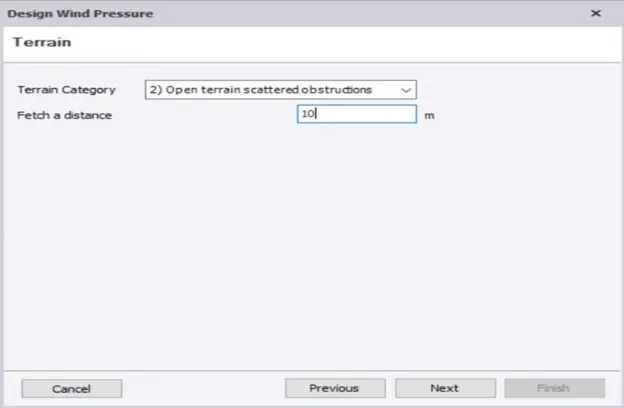
- Terrain category 2
Procedure:
- First, we want to calculate wind load in an excel sheet
- Using is 875 part3 codebook we are considering some values to calculate wind load
- Now let us assign some given values and some more values –
Wind pressure = 39m/s
Terrain category = 2
Life of structure = 50 years
Class of structure = A
- Consider some more values like the largest dimension of structure and the smallest dimension of structure, the height of the structure.
- Calculate l/w and h/w values from those values take A, B, C, and D values from codebook table 5
- From code book consider values of k1,k2,k3 & k4.
- Then calculate Vz =Vbxk1xk2xk3xk4
- Then find design wind pressure using the formula Pz = o.6xVz^2
- From codebook IS 875 find internal and external pressure coefficients.
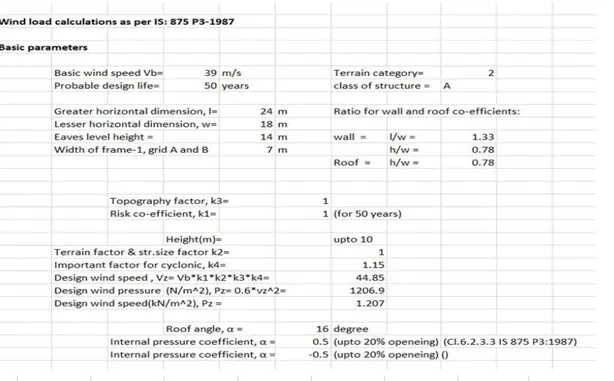
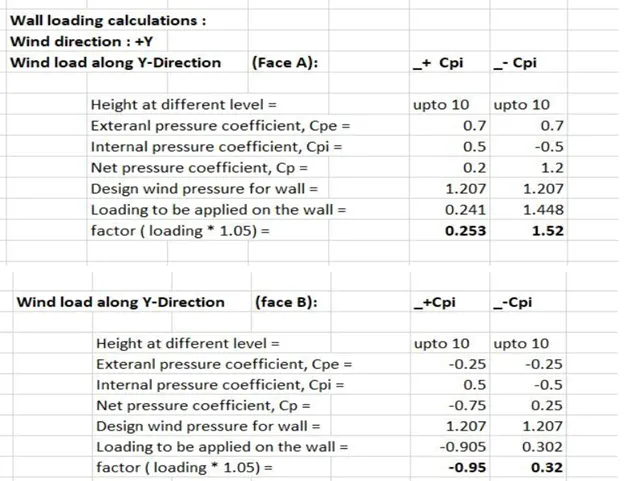
- Now by considering +&-cpi we have to calculate the load applied on walls of different faces
- We get for 10m height to get the value for 15m then we have to multiply the 10m height load with 1.05 which is the k2 value for 15m height.
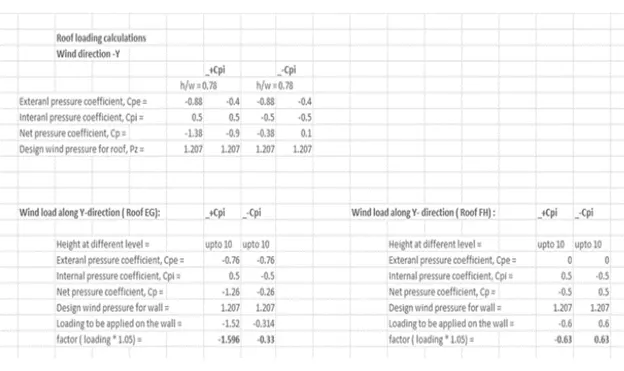
- Similarly, we have to calculate the wind load on the roof also like wall load instead of considering the rations here we have to consider roof angle(18 degrees).
Result: We had generated manual wind load calculations by using IS 875 part3 of the latest version and by considering
Vb = 39m/s
And terrain category = 2
We had been calculated the load values in +Y+Cpi, +y-Cpi, -y+Cpi, -y-Cpi, +x+Cpi, +x-Cpi, -x+Cpi, -x-Cpi.
For WALL
For ROOF
- ANS.
AIM: To apply the Wind loadings on the model of both Wall & Roof from the above calculations.
Procedure:
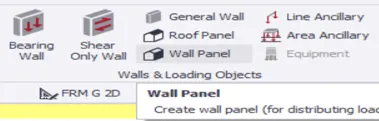
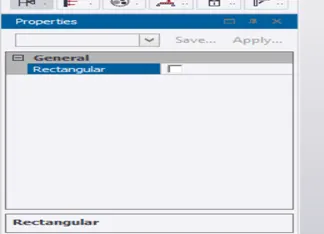
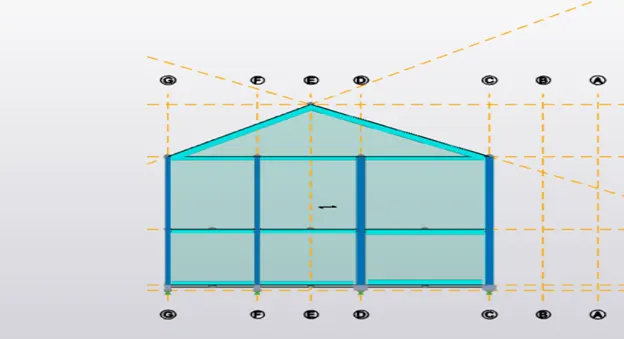
Step1: open the previous file and apply the wall panels in 3D view by selecting the wall panel in the model tab. By selecting the property in the property palette and apply to the selected frames.
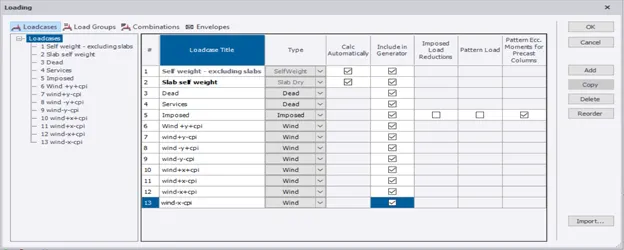
Step2: Now create the Wind load case in load tab like Wind+Y+Cpi, Wind +y-Cpi, Wind -y+Cpi, Wind -y-Cpi, Wind +x+Cpi, Wind +x-Cpi, Wind -x+Cpi, Wind -x-Cpi.
Step3: Select the wind +Y+Cpi in the loading list at the bottom of the window and select the area loading.
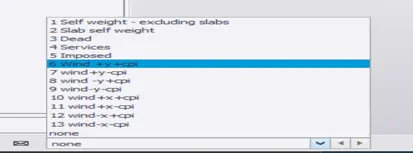
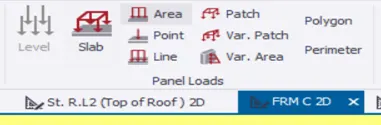
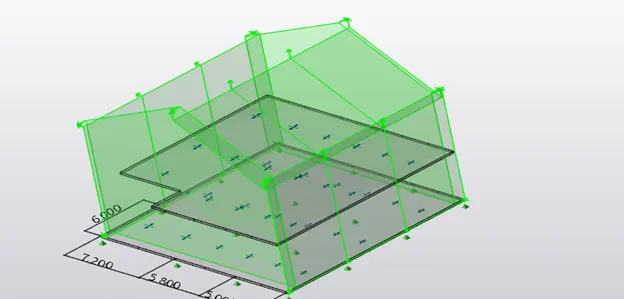
Change the wall load value as calculated above and apply the loading in the appropriate frame.
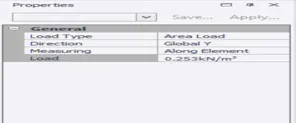
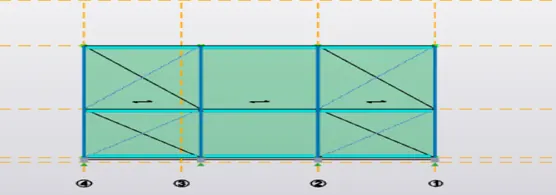
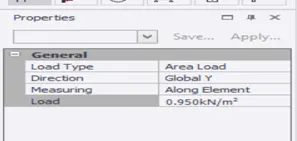
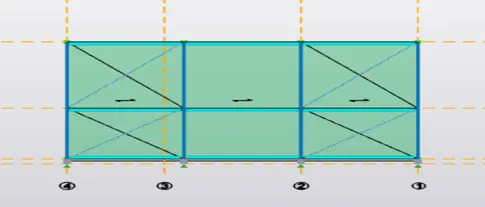
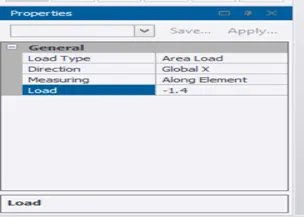
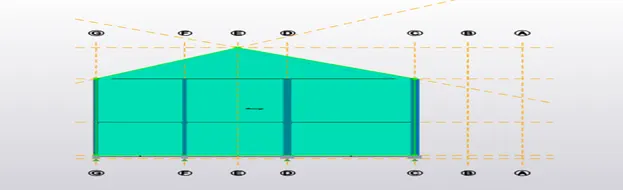
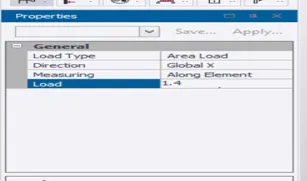
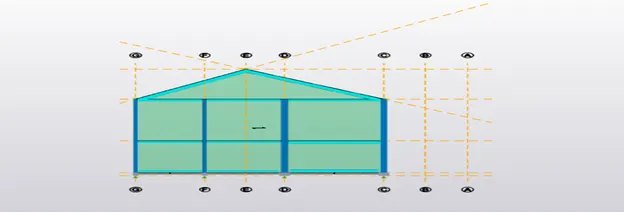
After the application of load on every wall load, it will look like this in 3D view.
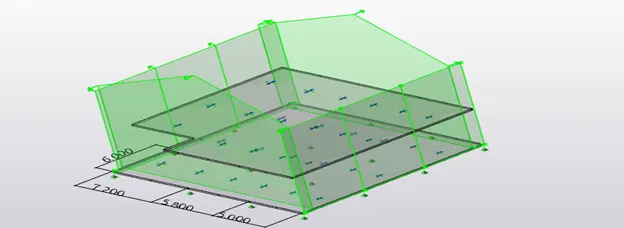
Step4: Now apply roof wind loading +Y+Cpi and give the value which is calculated above in 3D view.
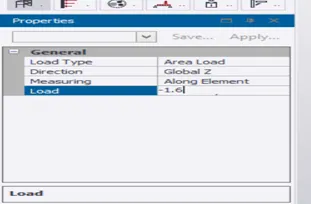
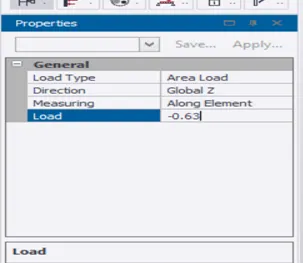
After application, it will look like this in 3D view.
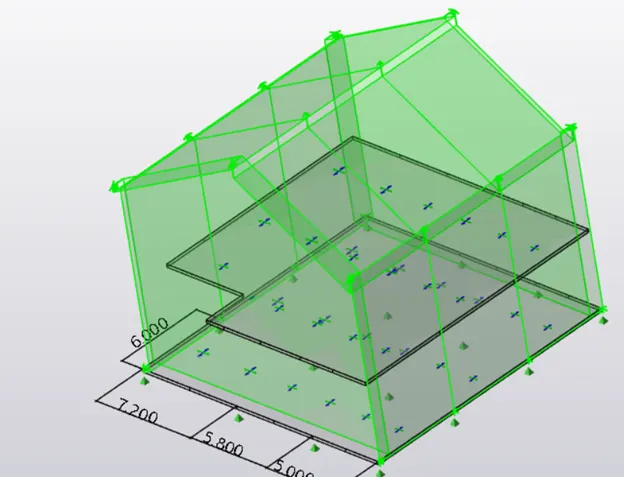
Similarly, apply Wind+Y+Cpi, Wind +y-Cpi, Wind -y+Cpi, Wind -y-Cpi, Wind +x+Cpi, Wind +x-Cpi, Wind -x+Cpi, Wind -x-Cpi load cases also on the model.
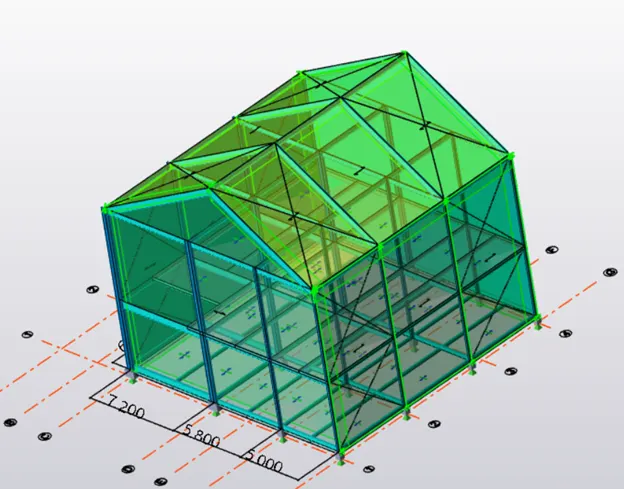
RESULT: Successfully, applied all the wind load cases. After the application of the wind loadings on the model based on the above calculation, the model will look like this.
3.ANS.
AIM: On a separate model generating wind loading using wind wizard.
Procedure:
Step1: After opening the new file create the levels and Grids as required.
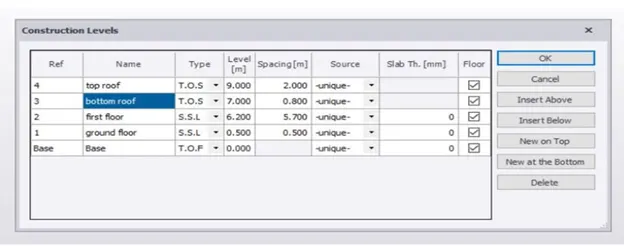
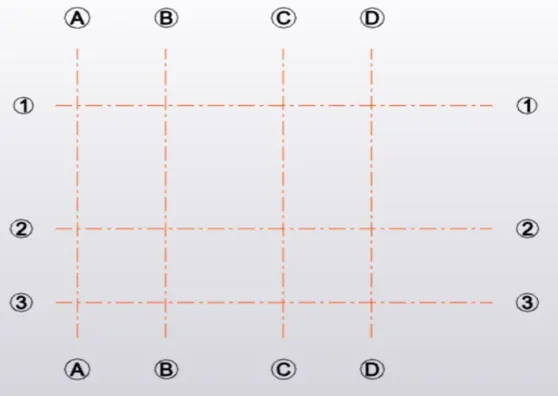
Step2: Create the material properties in manage property sets as required and apply them in the model accordingly.
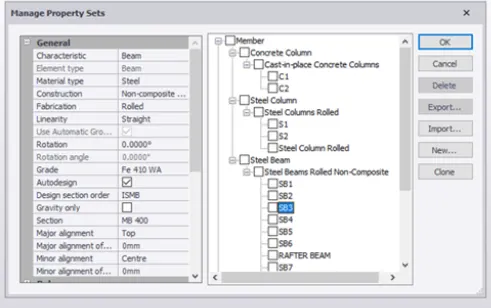
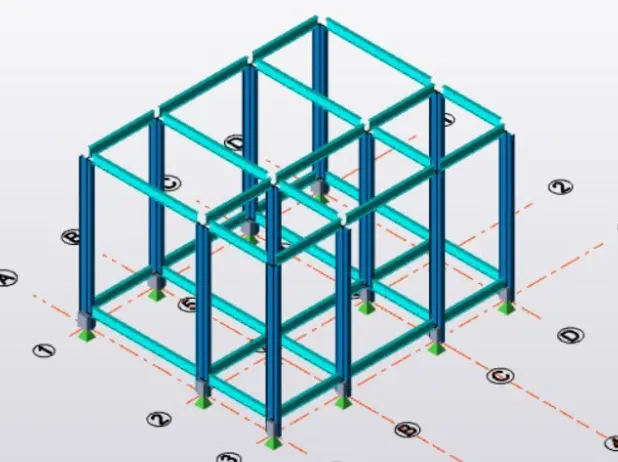
Step3: Model the rafters and ridge beam as required.
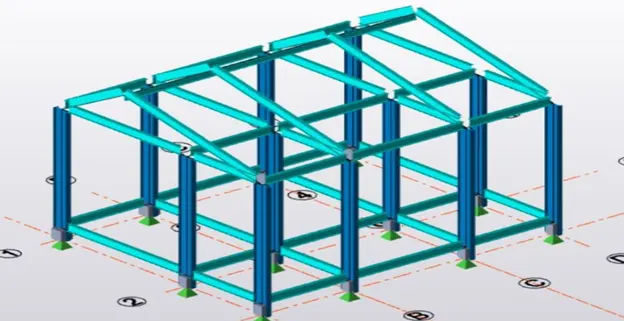
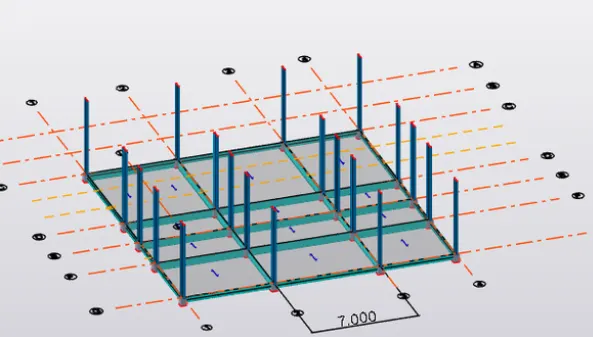
Step4: Apply the Slab in every level according to the model.
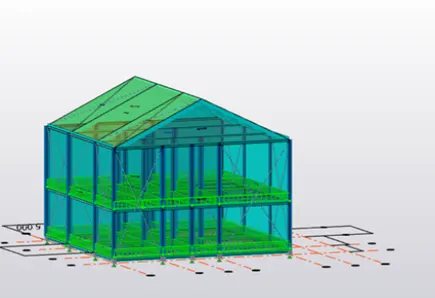
Step5: Model the wall panels and roof panels. Apply the dead load as calculated by following the IS 875 part1.
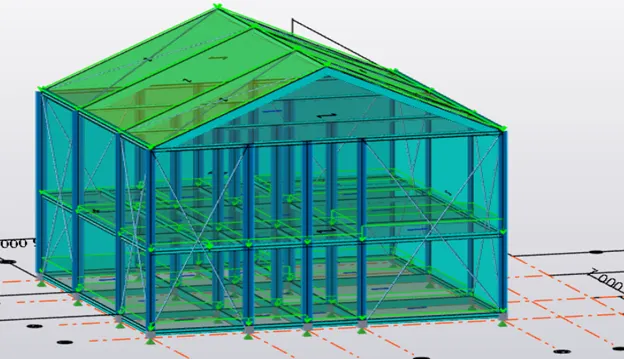
Step6: After the application of the dead load now apply the live load according to the sketch by following the IS 875 part2.
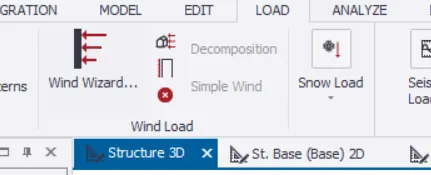
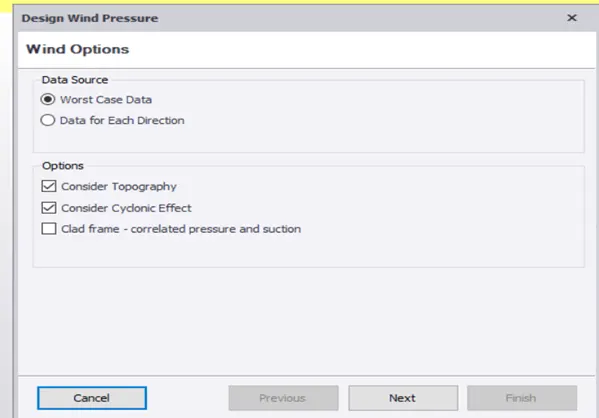
Step7: Now click on Wind wizard in the load tab then the design wind pressure window will open. Then apply the required options and go to next.
Step8: Given the details as a sketch and go to next. And then give terrain details.
Click on next again
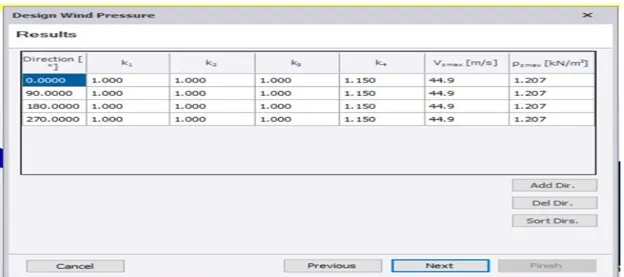
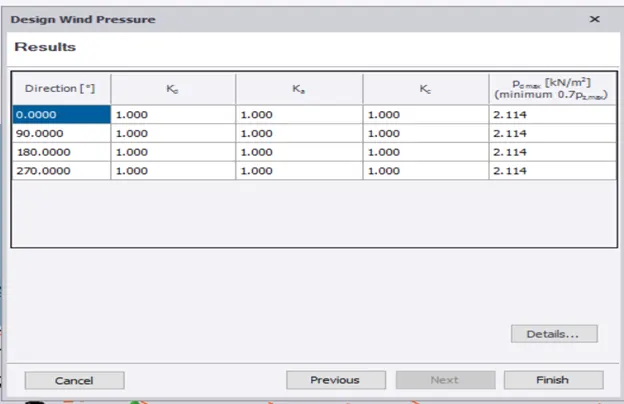
Final results are displayed then click on finish
Result: We have successfully applied wind loads to our model with the help of the Wind Wizard. By using wind wizard software will automatically calculate the wind load by giving the required details.
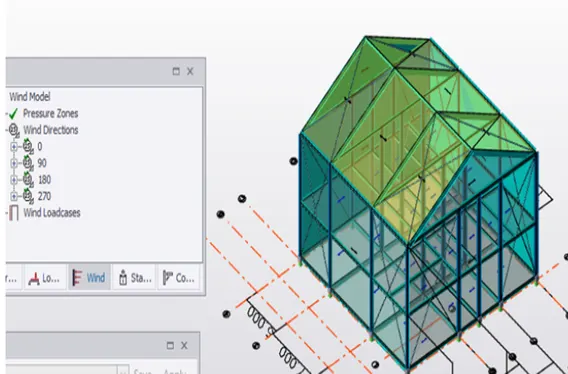
The final output looks like this.